Workbench
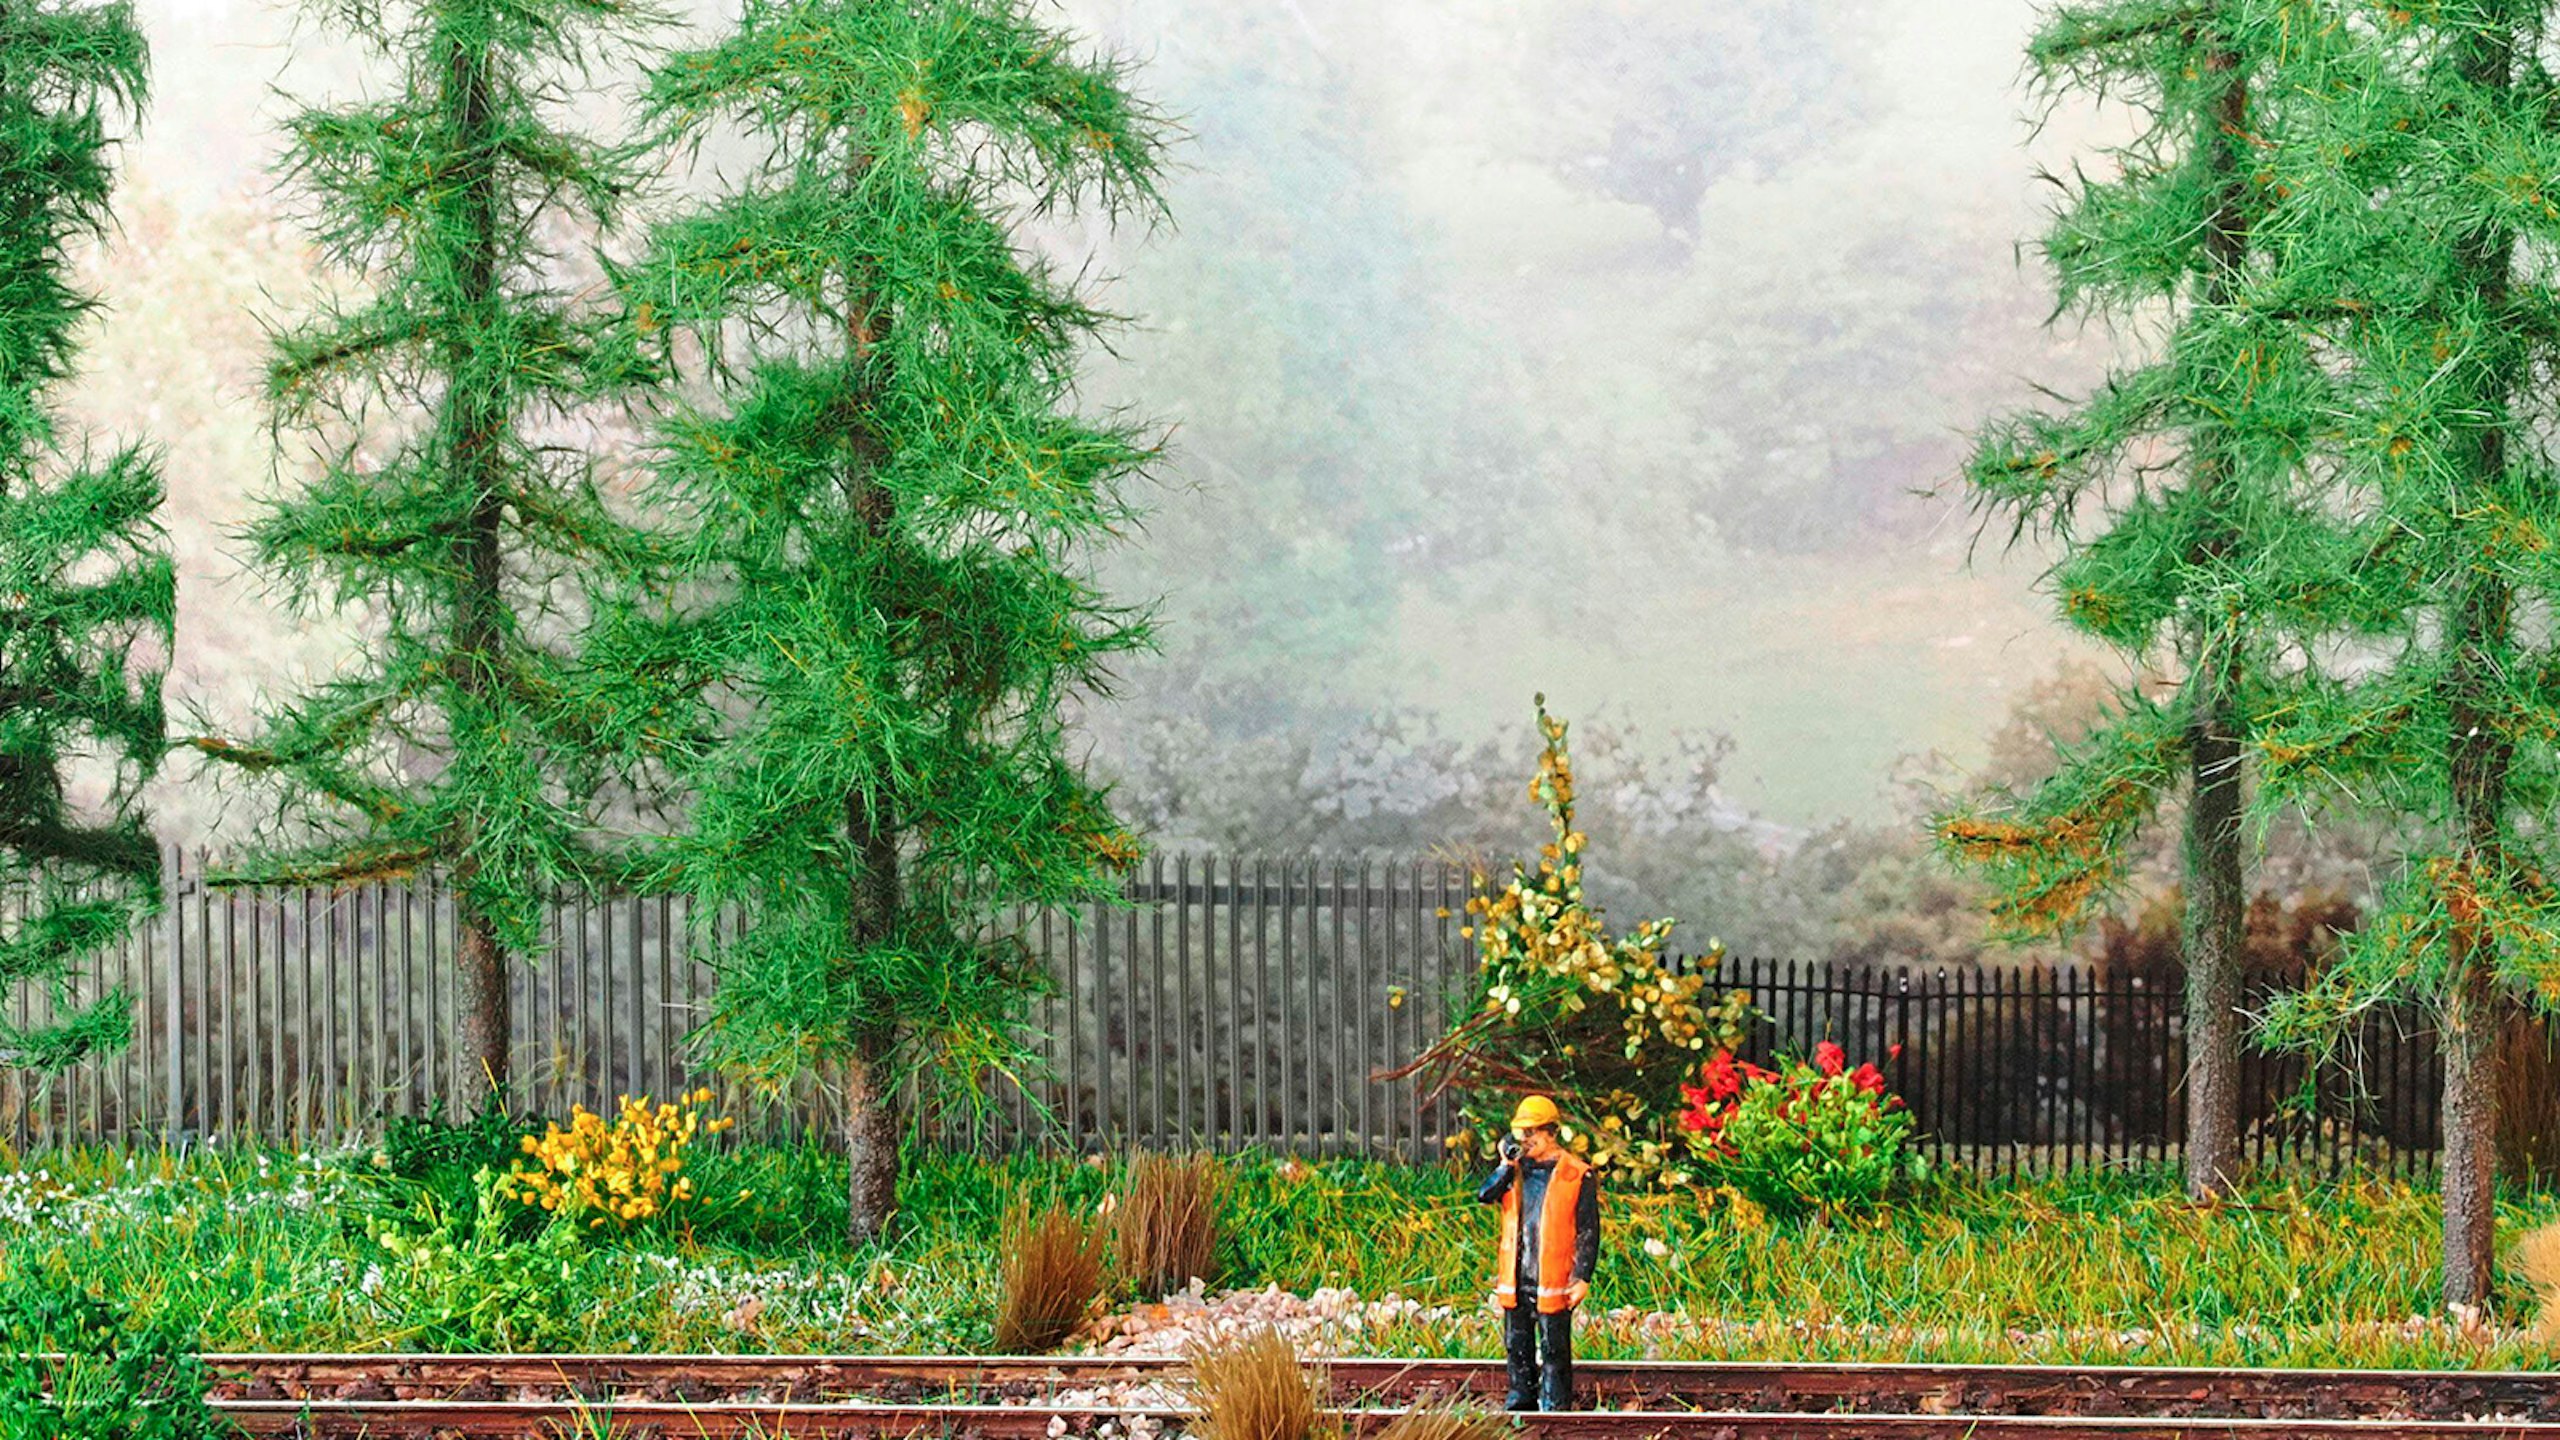
Peter Marriott can’t see the wood for the trees as he hones his arboricultural skills, experimenting with a fir tree kit from the Netherlands.
PHOTOGRAPHY: PETER MARRIOTT
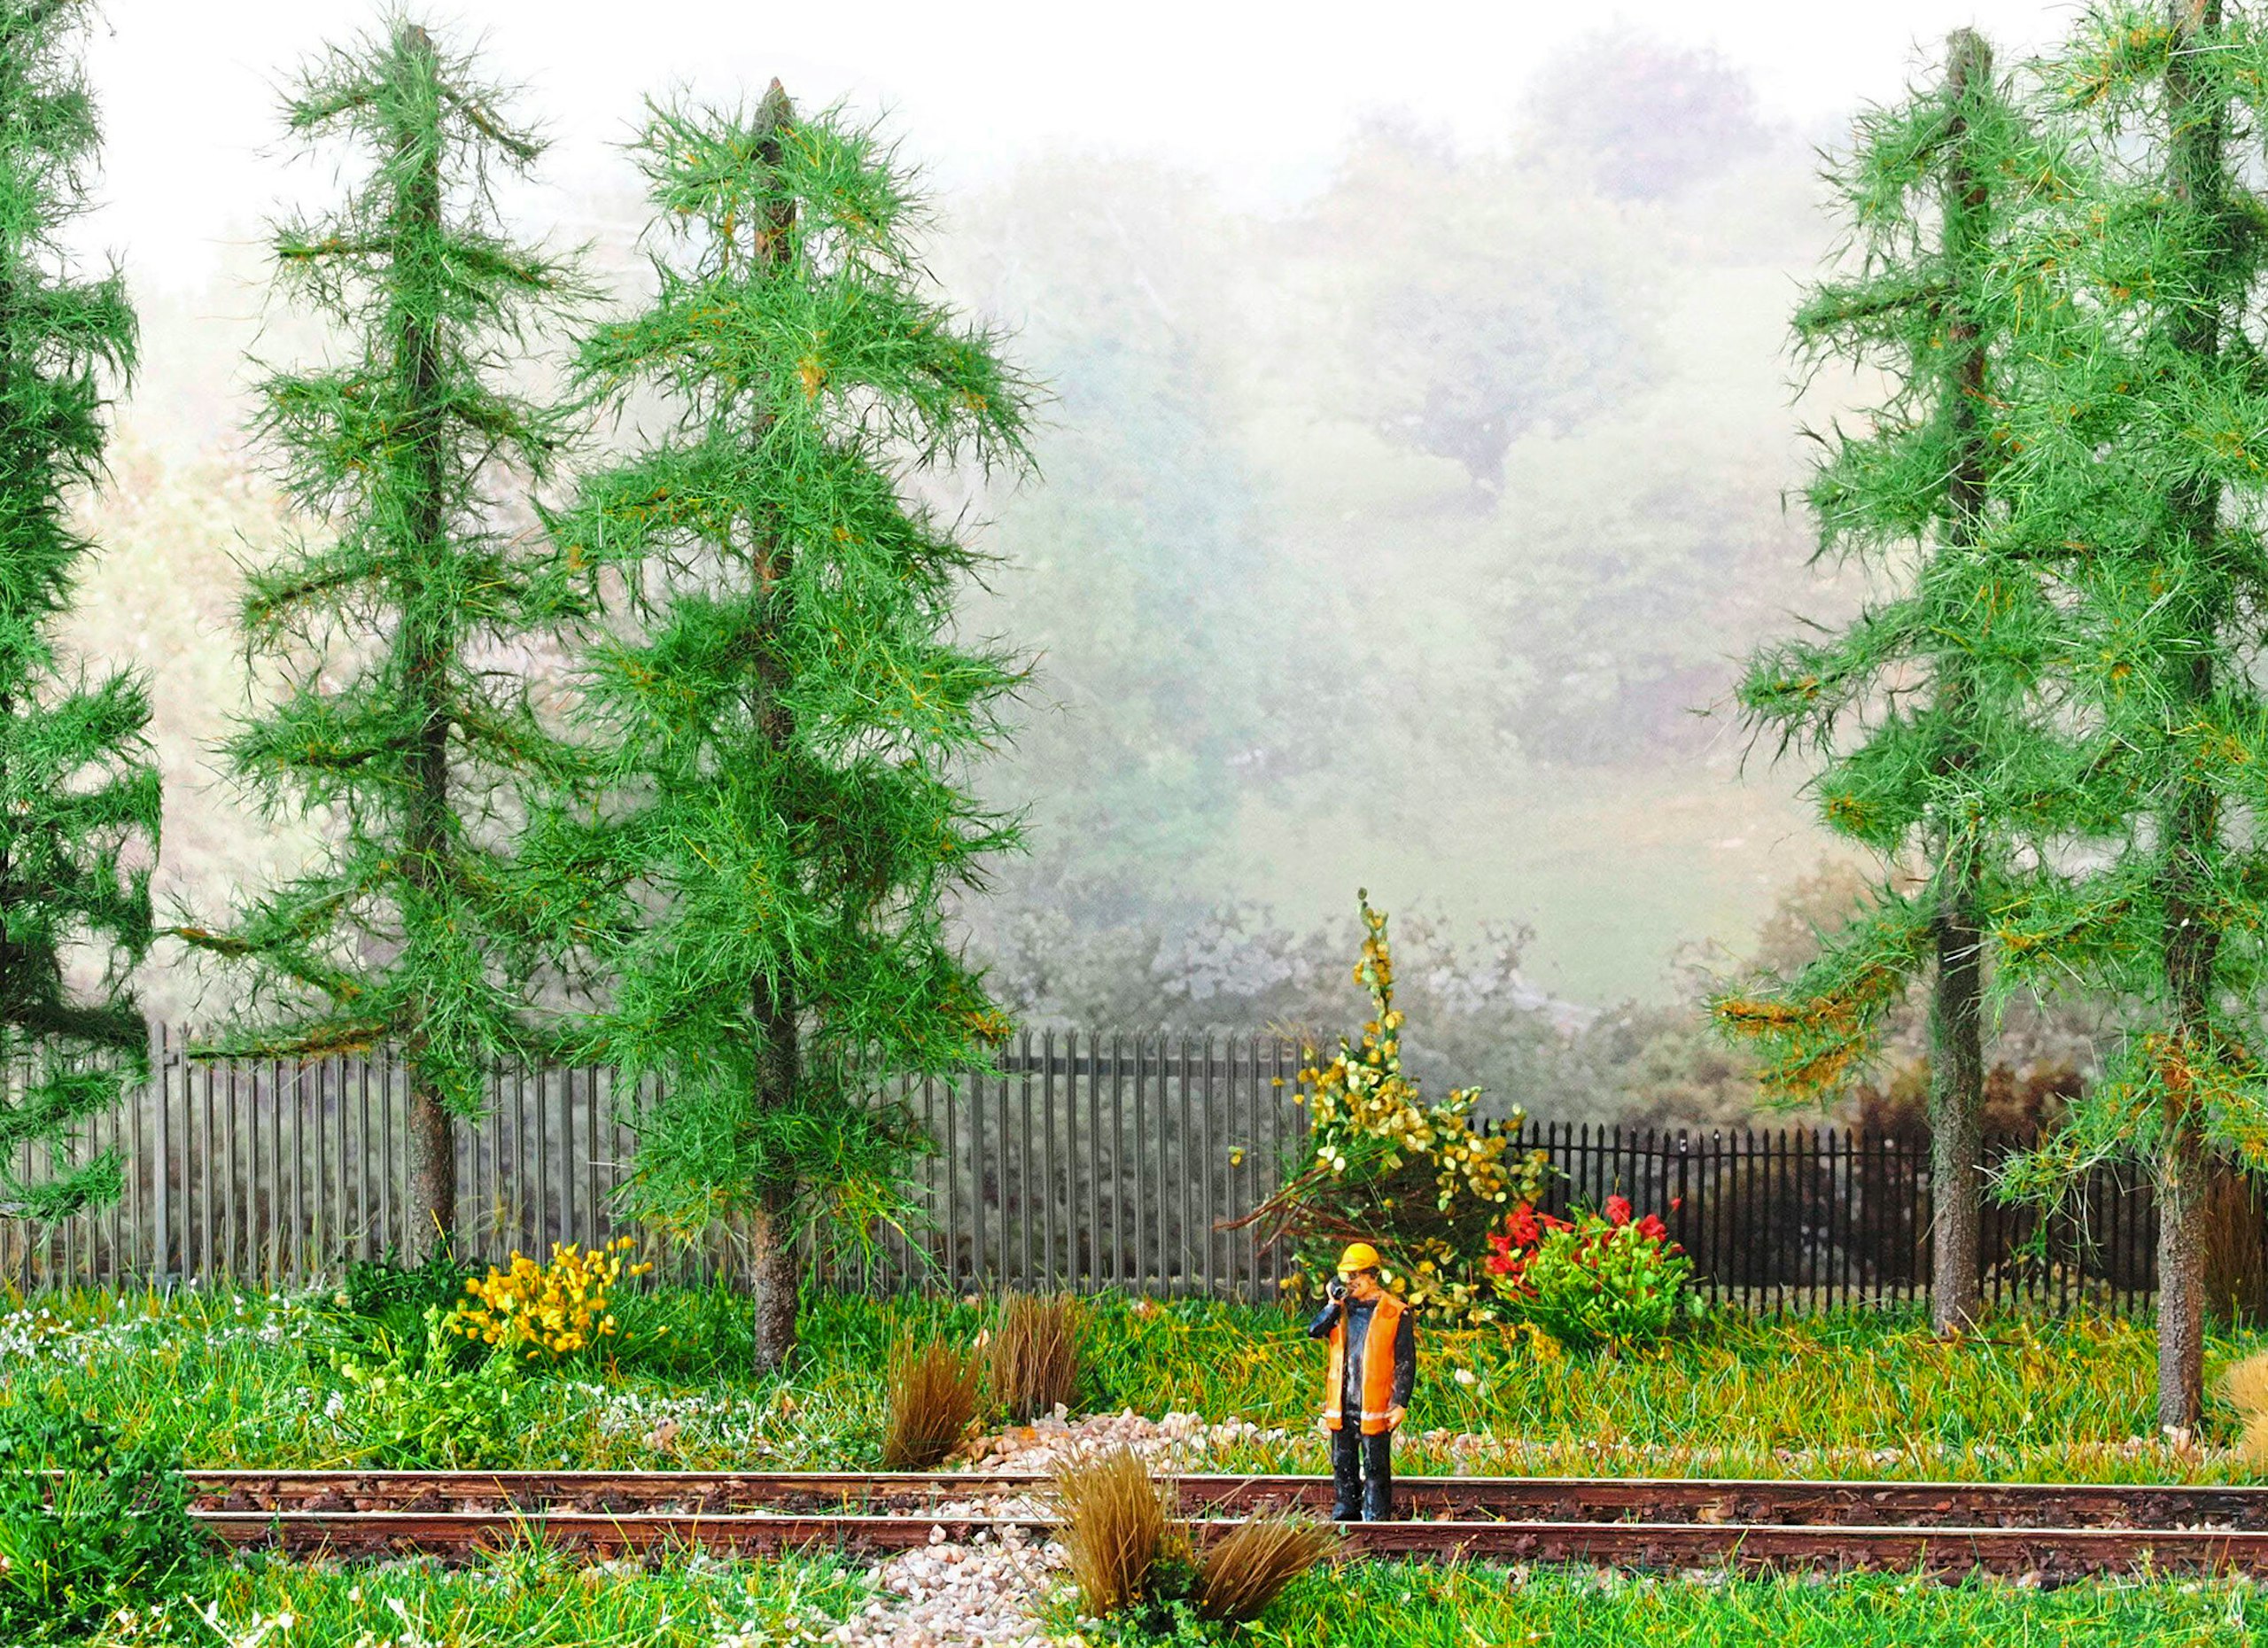

When it comes to modelling a garden, wooded bank or woodland scene, some prefer to make their own trees rather than buy ready-made ones in the quest for a realistic look. Many of us have a go at making our own, but buy ready-made trees to harvest bits and ideas to improve them, and I’ve seen expert modellers turn fine wire and hot glue into excellent-looking specimens at some of the major railway shows.
At the ON TRAXS 2026 model railway show in the Netherlands, I came across a demonstration of a Unique Scenery Products fir tree kit, which gave impressive results. I bought one and, on returning home, set about building it – only to find it was a little lofty!
The kit was for ten fir trees up to 23cm tall, and I didn’t consider how tall that would be on my layout (one of the shorter tree kits might have been a better bet). However, silver linings and all that, and I have turned this to my advantage by cutting most of the trunks in half – double the trees for the same price.
Each kit comes with ten timber tree trunks of varying heights, depending on the pack bought, as mentioned earlier. The trunks are pre-drilled with holes at right angles, which is a wonderful time-saver. In addition, there are approximately 50 pieces of florist’s wire, plus instructions in words and pictures of the step-by-step process, as well as a template to work with if the kit is going to be made according to the instructions. All this is, of course, in English, so no need to become fluent in Dutch.
‘PLANT’ YOUR IDEAS
Before you start modelling, take a long, hard look at real trees while you’re out and about, as it’s amazing what our eyes take for granted. Observe the texture and colour of the bark, the shape of the branches, and the variety of the leaves. Of course, not all leaves are the same size or colour, but their variety is surprising when you take the time to really look: each tree is unique. Sometimes the whole or part of a tree may have died; some may have lichen or ivy growing on them, and some may suffer from disease – all excellent fodder for the model maker.
Each tree I crafted using this kit took approximately 15 minutes to make. If you set up a ‘production line’ to make the same type of tree, this time can be reduced to around 10 minutes each. Before you start, make sure you have all the materials and tools you need to hand. Also, bear in mind that the suggested times do not include the drying of the bark paint and adhesive.
What you will need
SHOPPING LIST
● Florist’s foam to stand the trees in during the build process
● Adhesive, such as white glue, plus extra-hold unscented hairspray • Static grass fibres (2mm, 2.5mm, and 4mm lengths)
Availability: Noch, www.noch.com, Woodland Scenics, woodlandscenics.com, and WW Scenics, www.wwscenics.com
● Vallejo Earth Texture (26218)
Availability: Model shops and all Vallejo stockists
TOOLS
● A pair of sprue cutters
● Paintbrushes for the adhesive and the bark effect
● Electrostatic grass planting tool
Earthy results
Vallejo Earth Texture Dark Earth (Art. 26218) is a thick, dense paste that is versatile for creating realistic ground textures on layouts depicting muddy paths, forest landscapes, or damp meadows. Dark Earth can be easily applied with a brush, palette knife or other tools and, with its thick consistency, easily creates rough, realistic textures that, once dried, form a sturdy, dense surface. In addition, I found the product dried well to represent tree bark.
The paste dries in about 30 to 45 minutes, depending on the thickness of the layer. It can also be diluted with 20% to 40% water to achieve a smoother finish or add subtler details. The product contains no solvents and is non-flammable, making it suitable for all ages and safe for use in enclosed spaces. It comes in a 200ml pot, which retails at around £10. One pot would be sufficient for hundreds of trees. Available from all Vallejo stockists.
STEP BY STEP
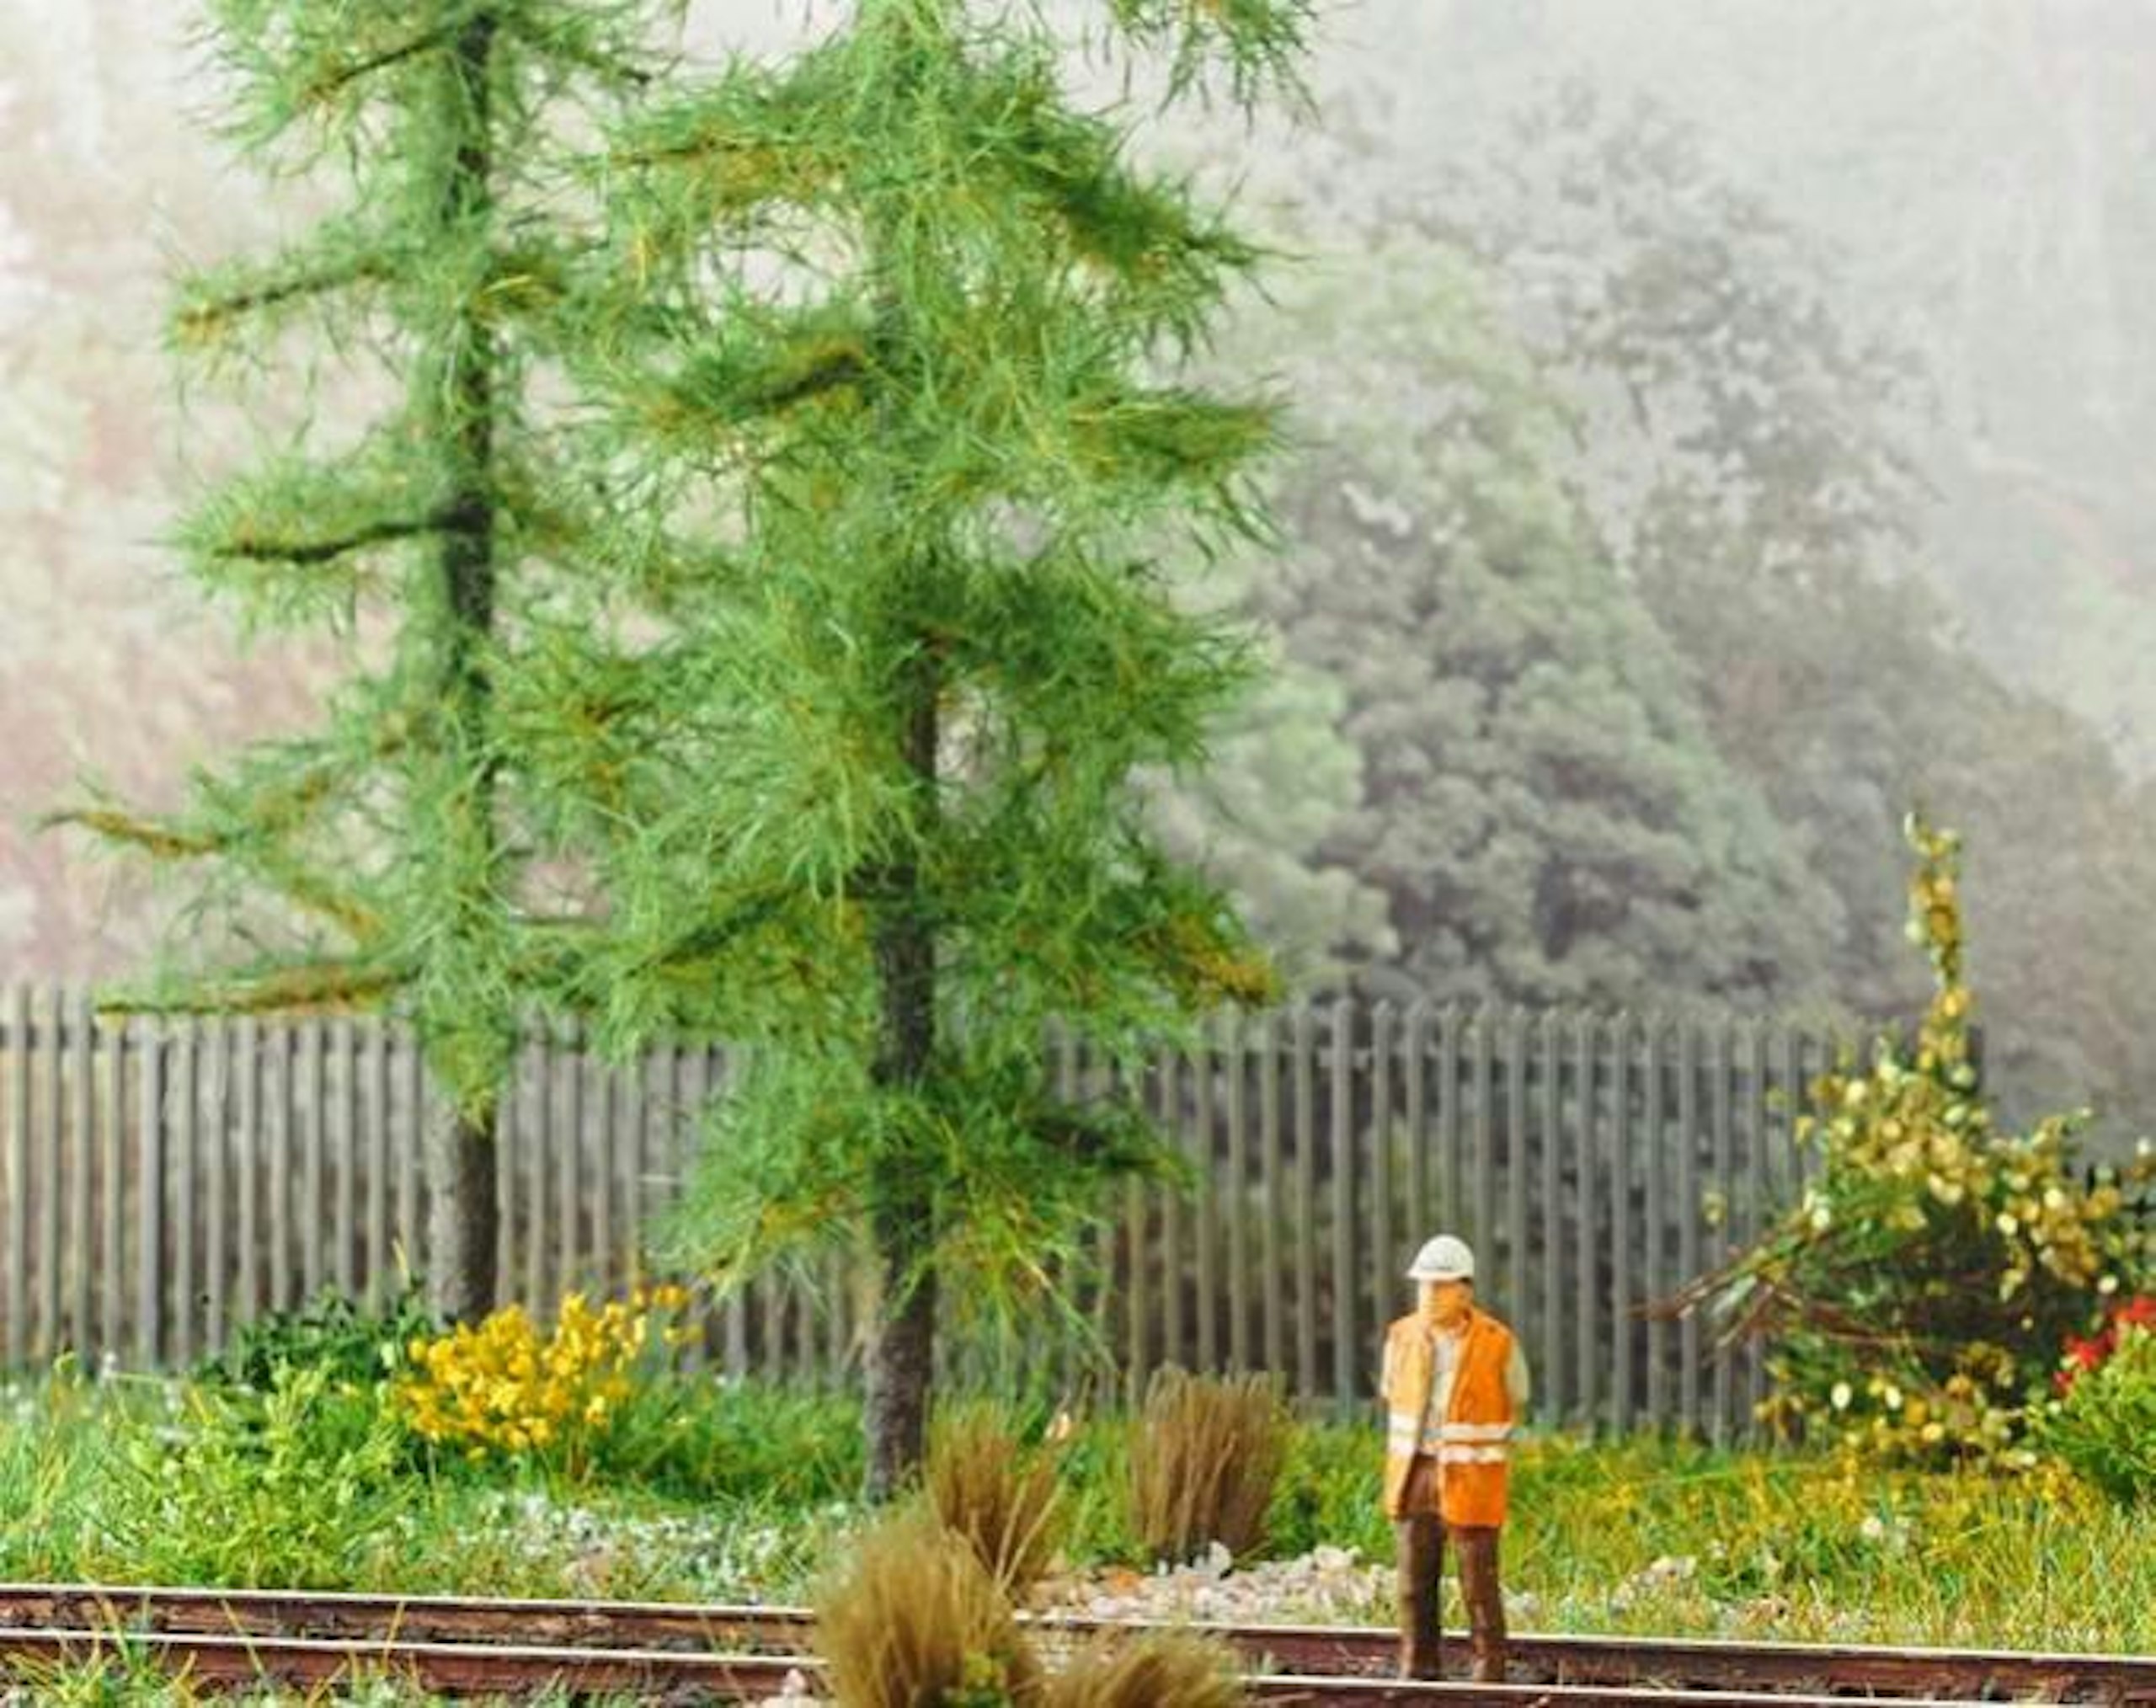
1 This may sound obvious, but it’s easy to get wrong: use the right size of tree for the scale of your layout. Short trees run the risk of looking like saplings if the scale is off.
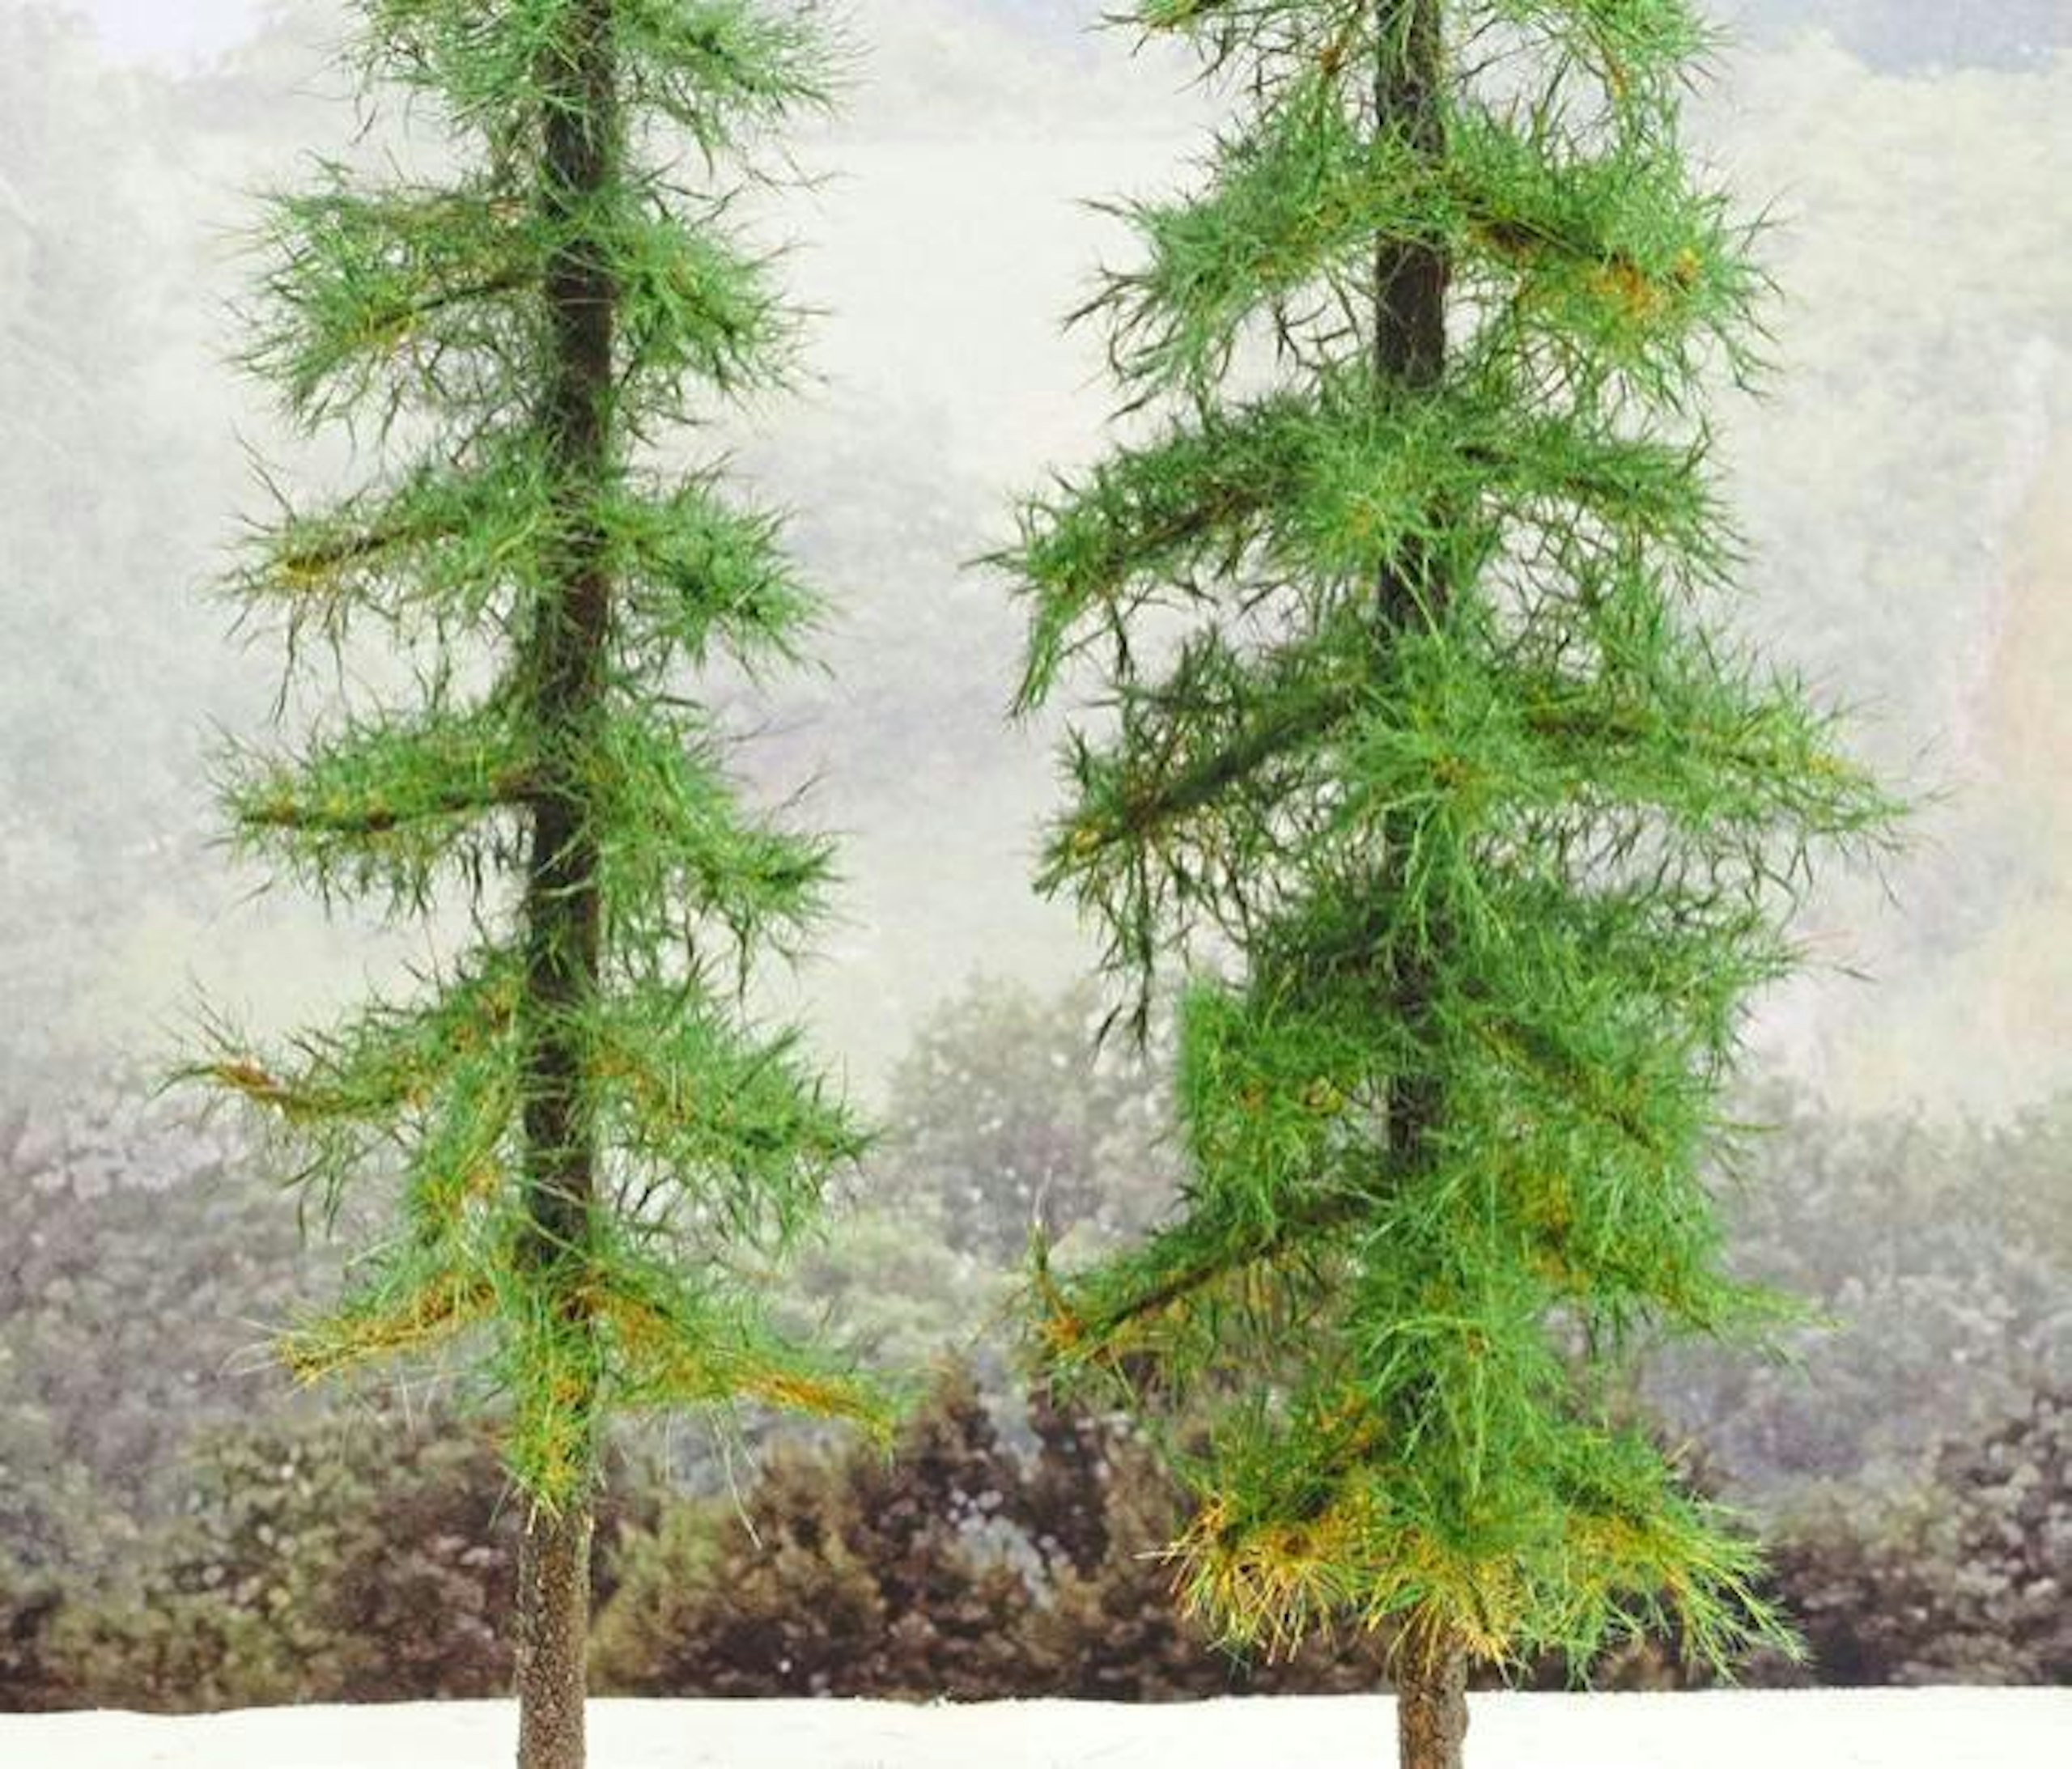
2 A 25cm model tree is a 40m tree in ‘N’ scale; 20m tree in ‘HO’ scale; and 11m tree in ‘O’ scale. A 20cm model tree is a 35m tree in ‘N’ scale, 17m tree in ‘HO’ scale; and 9m tree in ‘O’ scale.
3 Consider the elevation of your location – not all trees survive on higher ground: deciduous trees can grow up to 1,300m above sea level, but conifers can thrive at higher altitudes.
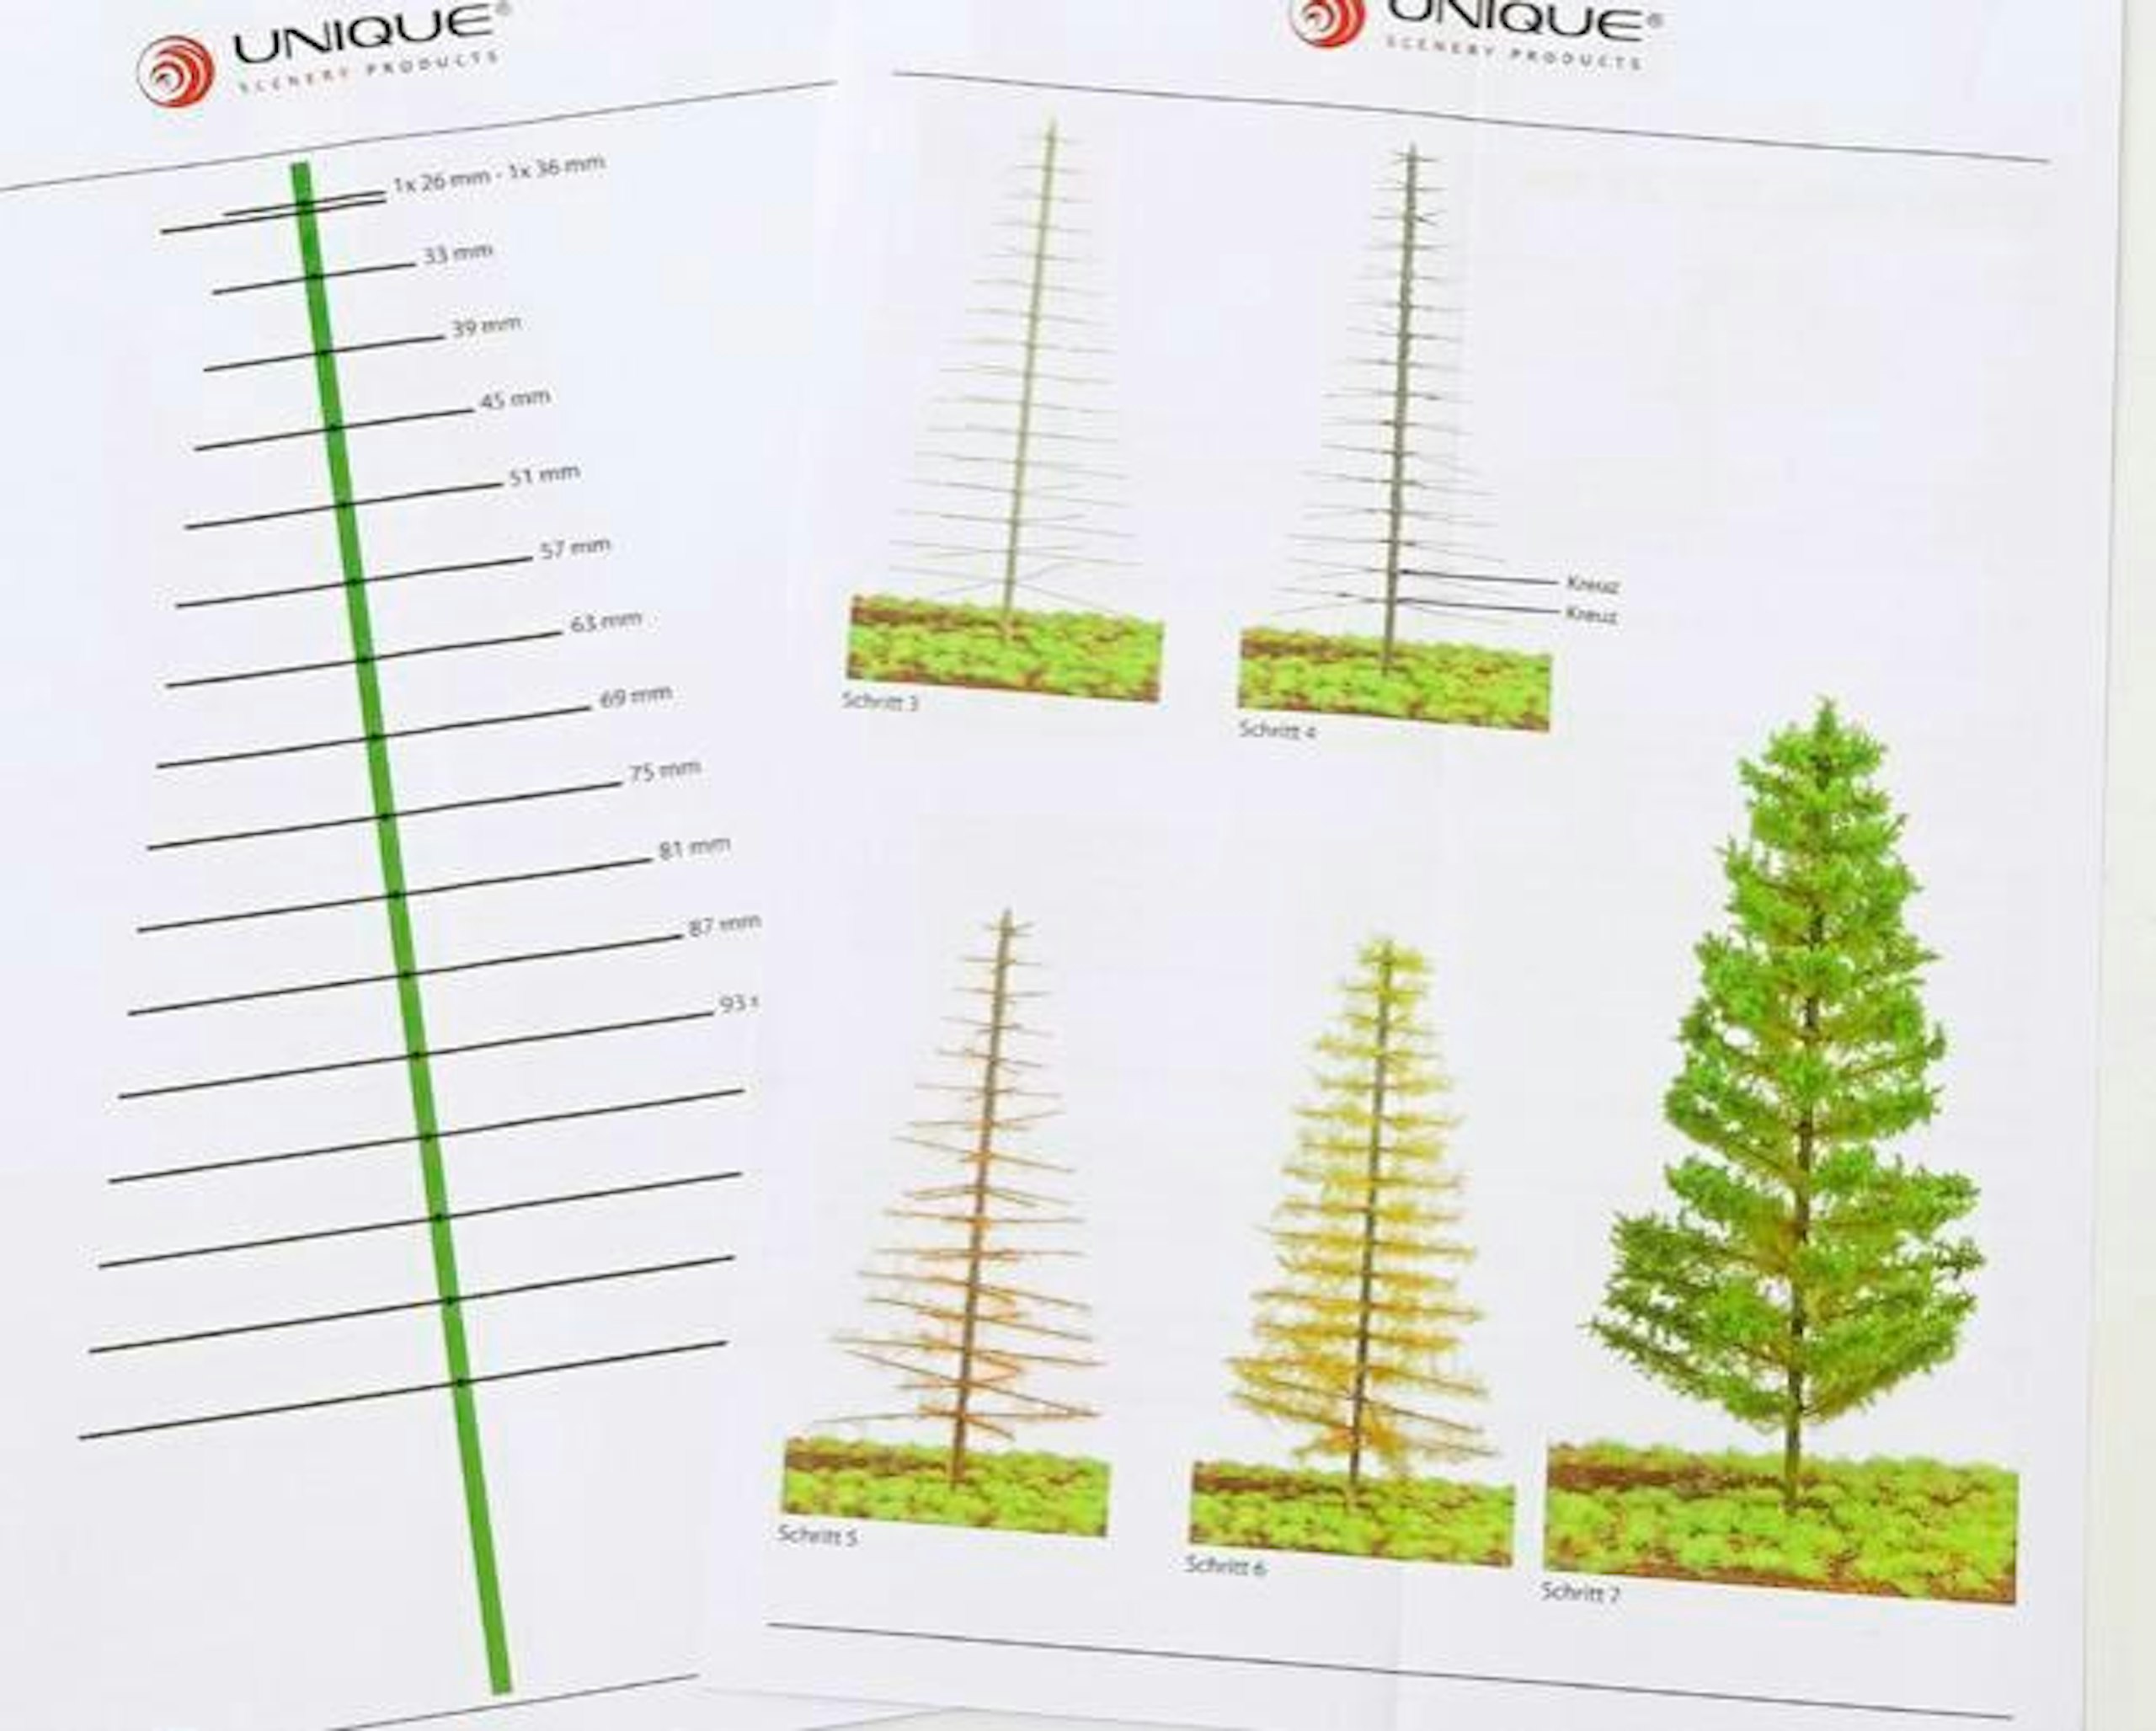
4 Planning stage over, you’re ready to start. Each kit will be different in its approach, so read the instructions to avoid missing a step. My kit has step-by-step photos and templates.
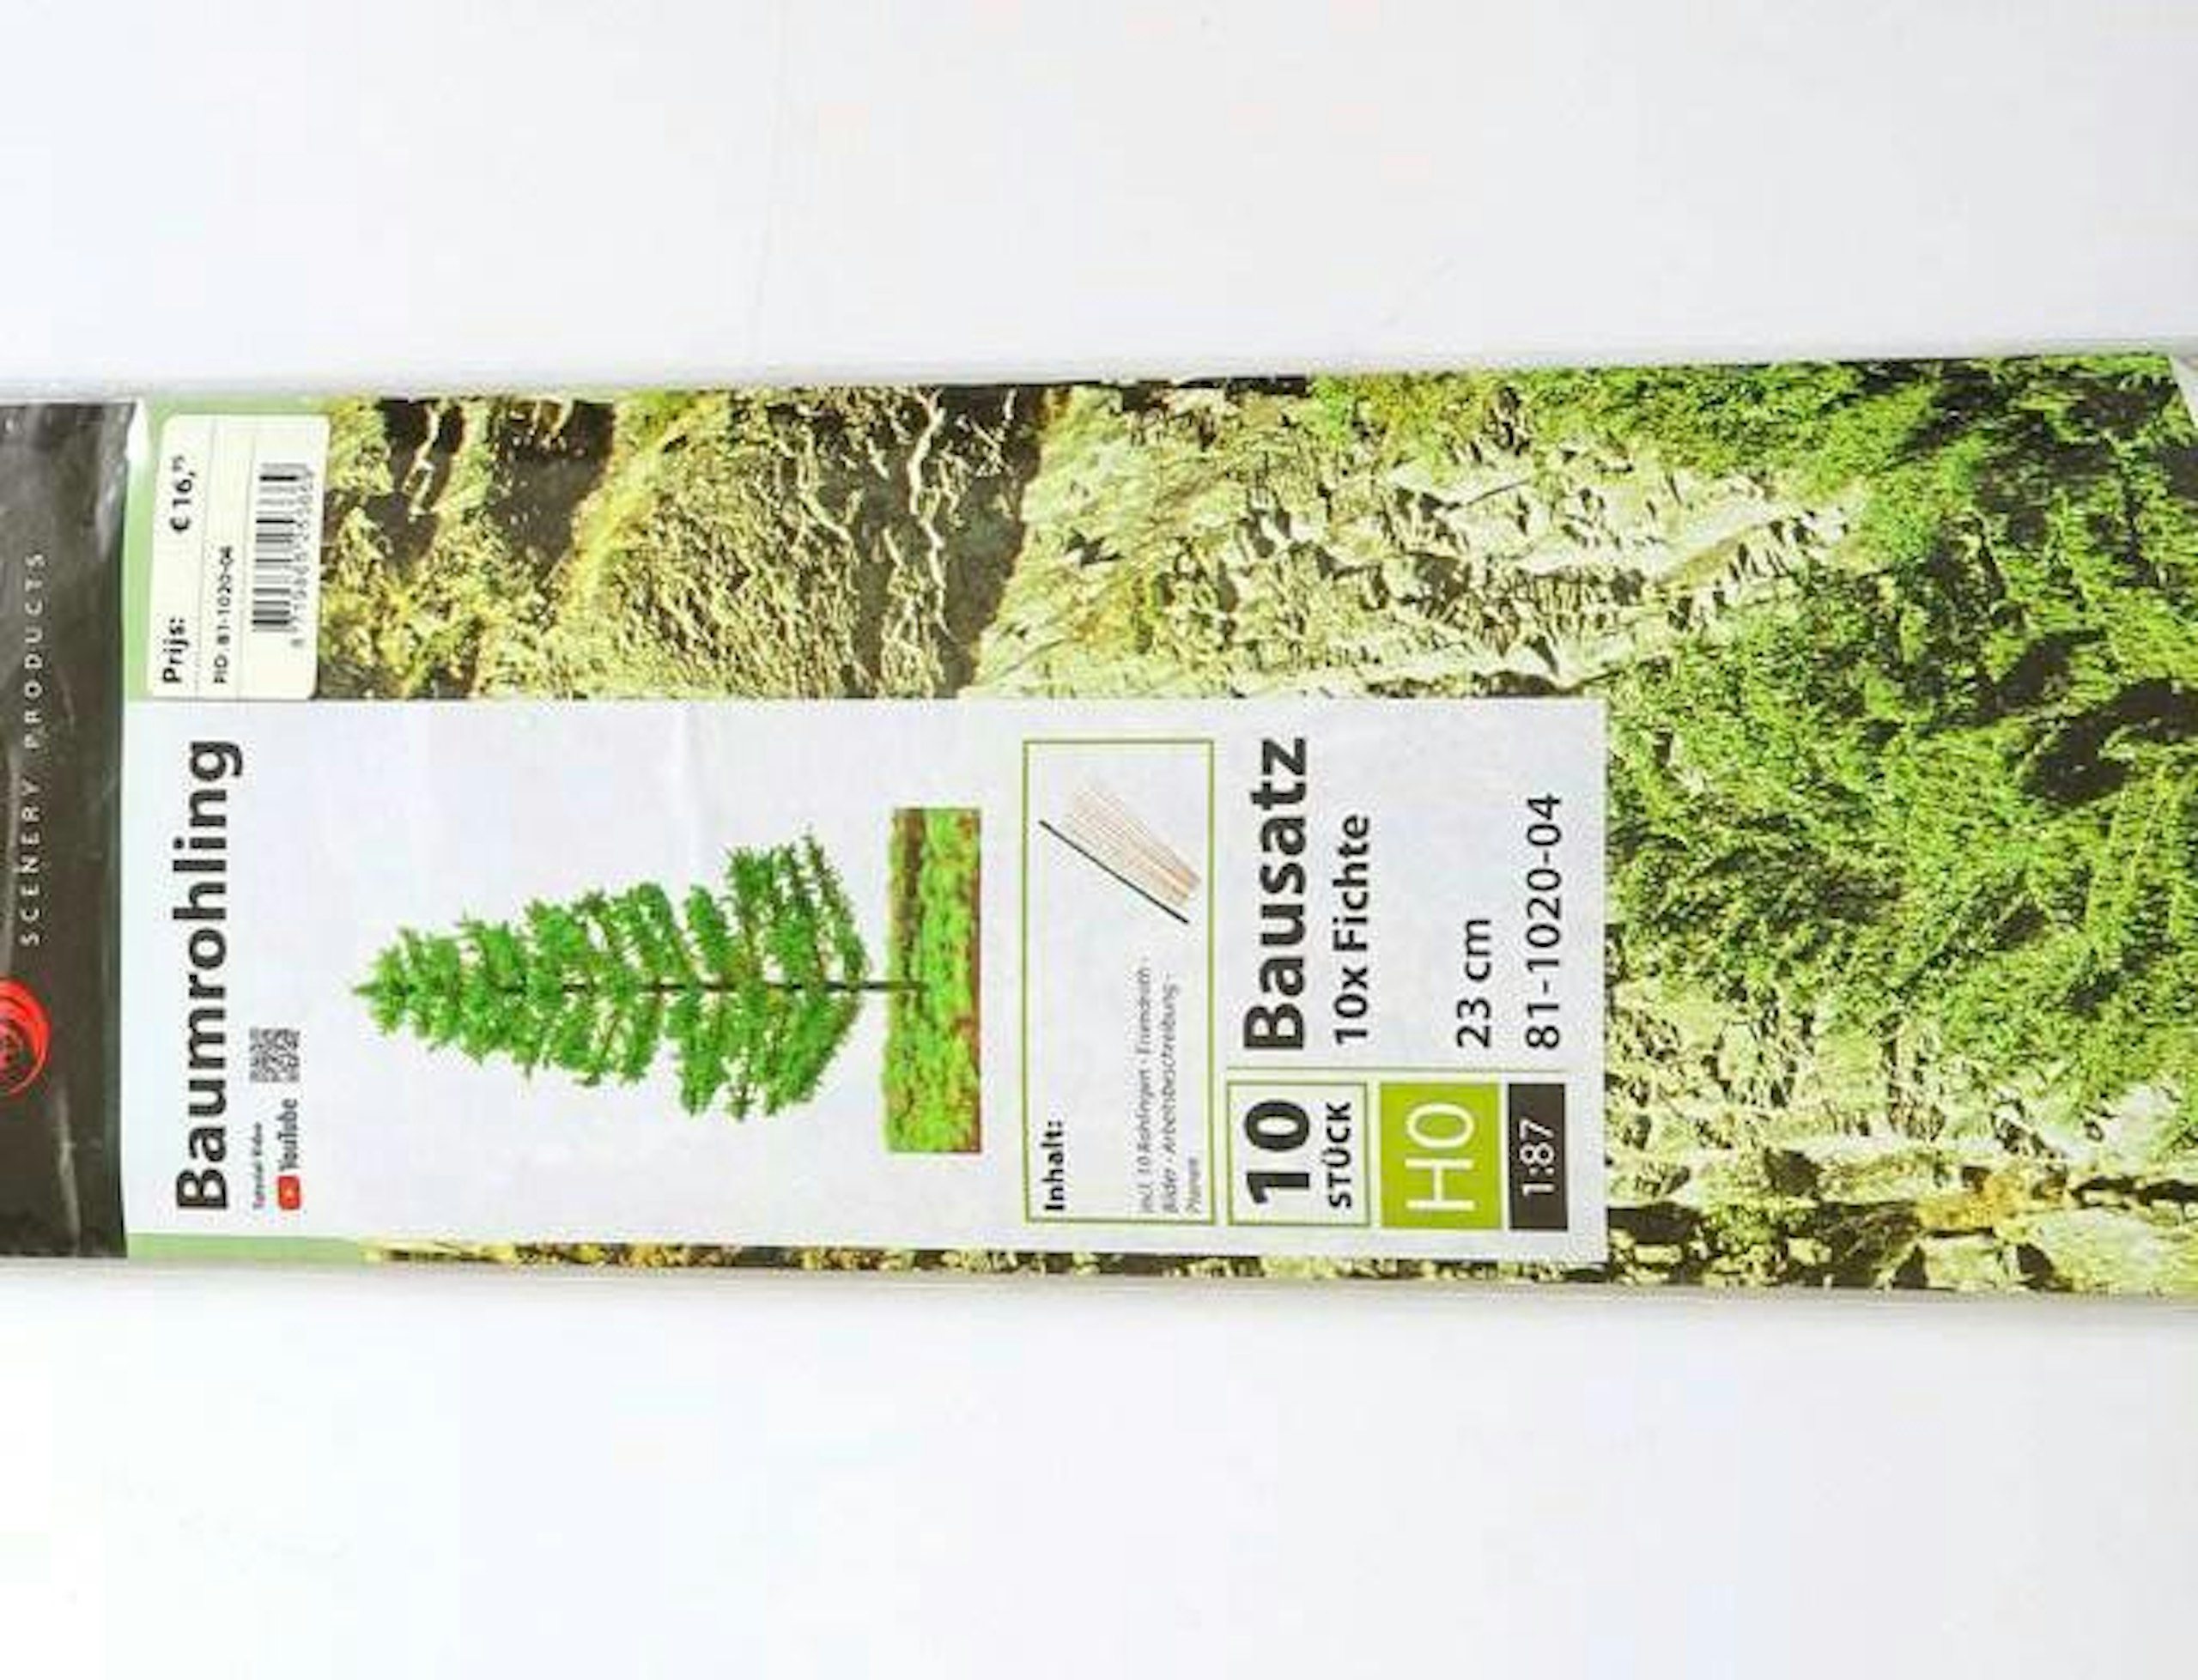
5 My kit is from Unique Scenery Products, based in the Netherlands, with an online shop (see en.scenery.shop). This kit is for ‘HO’, but the trees could be used for larger scales, too.

6 Follow the templates to cut each florist’s wire to the correct length. Each kit comes with ten trunks of varying heights, depending upon the pack, pre-drilled with holes.

7 I didn’t need 23cm tall trees, so cut the trunks in half using sprue cutters. One of the trunks will have holes to the ground – dab white glue on these holes (paint will cover them later).

8 Using sprue cutters, I cut two pieces of wire to the same length, because each layer of branches requires two pieces. Once the wires are ready, pop into the holes at each layer.

9 Wood glue, contact adhesive or Mod Podge are all good glues for fixing the wires in position. It is best to leave the adhesive to set for a few hours before the next step.
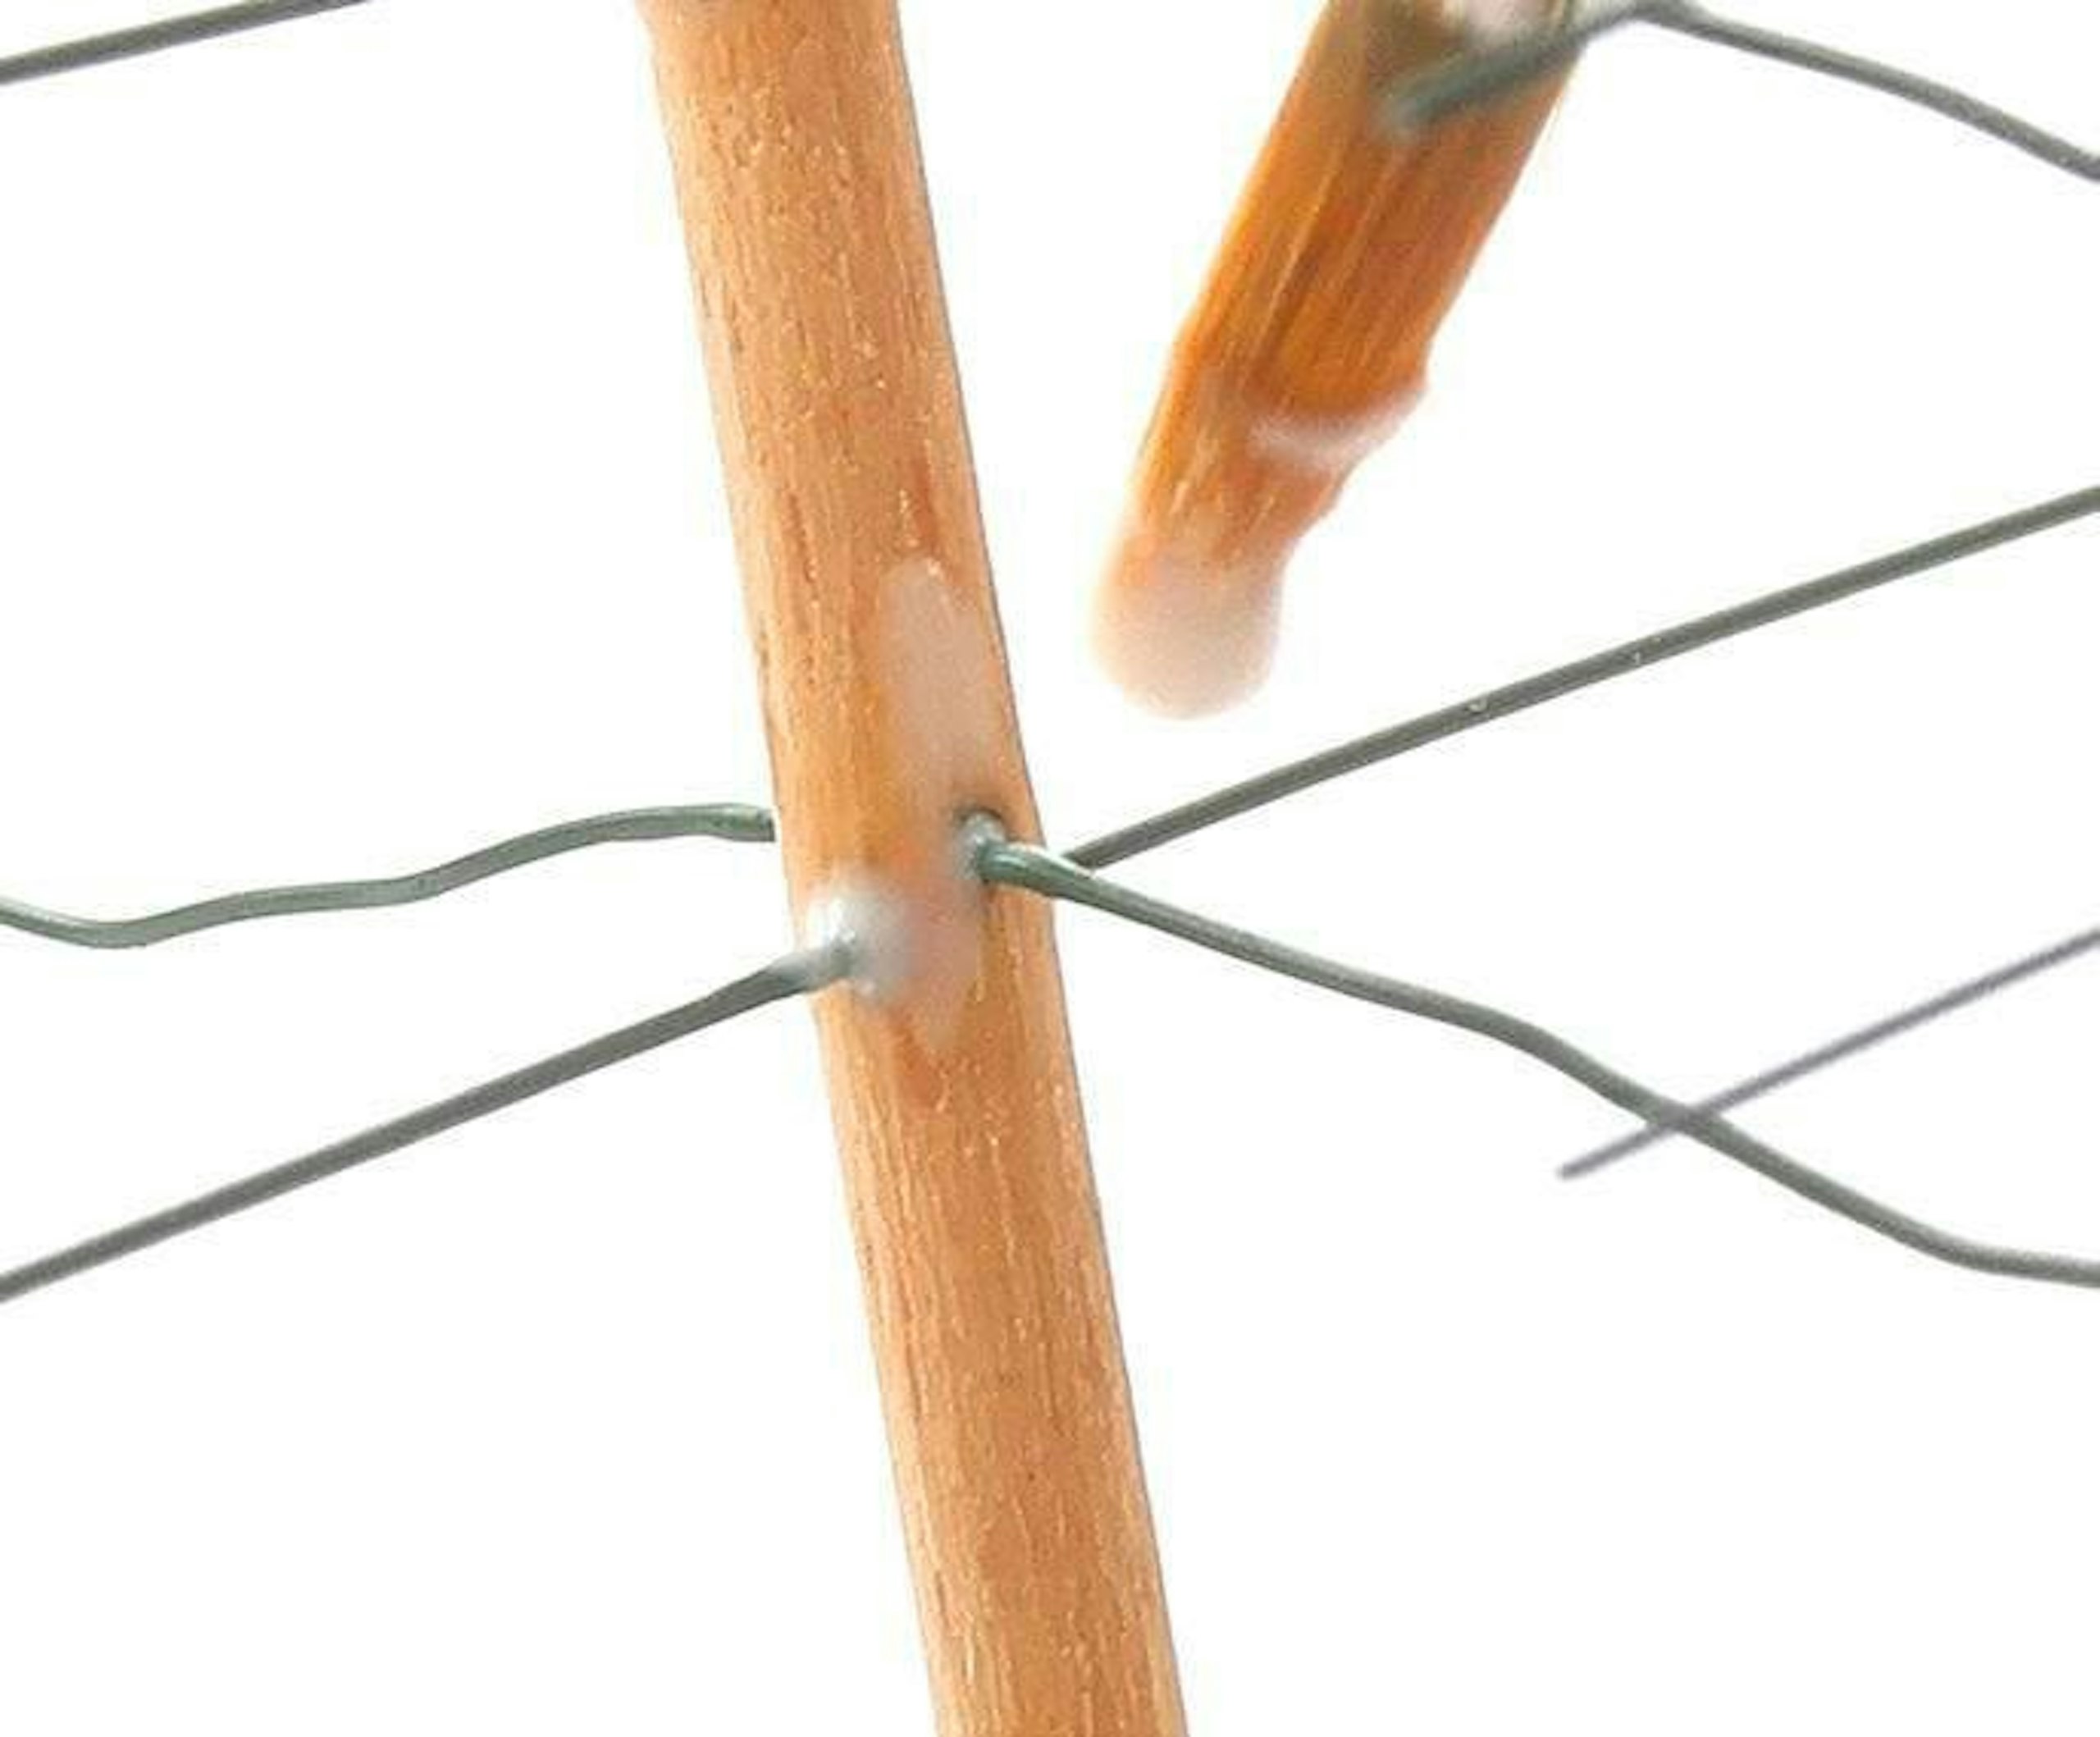
10 After pushing the wires in at right angles on each layer, I introduced a blob of adhesive to each wire and, again, left the glue to dry for a few hours.

11 After painting on the adhesive, I stood four of the completed tree trunks – with branches – in a piece of florist’s foam to dry for a few hours before moving on to the next step.
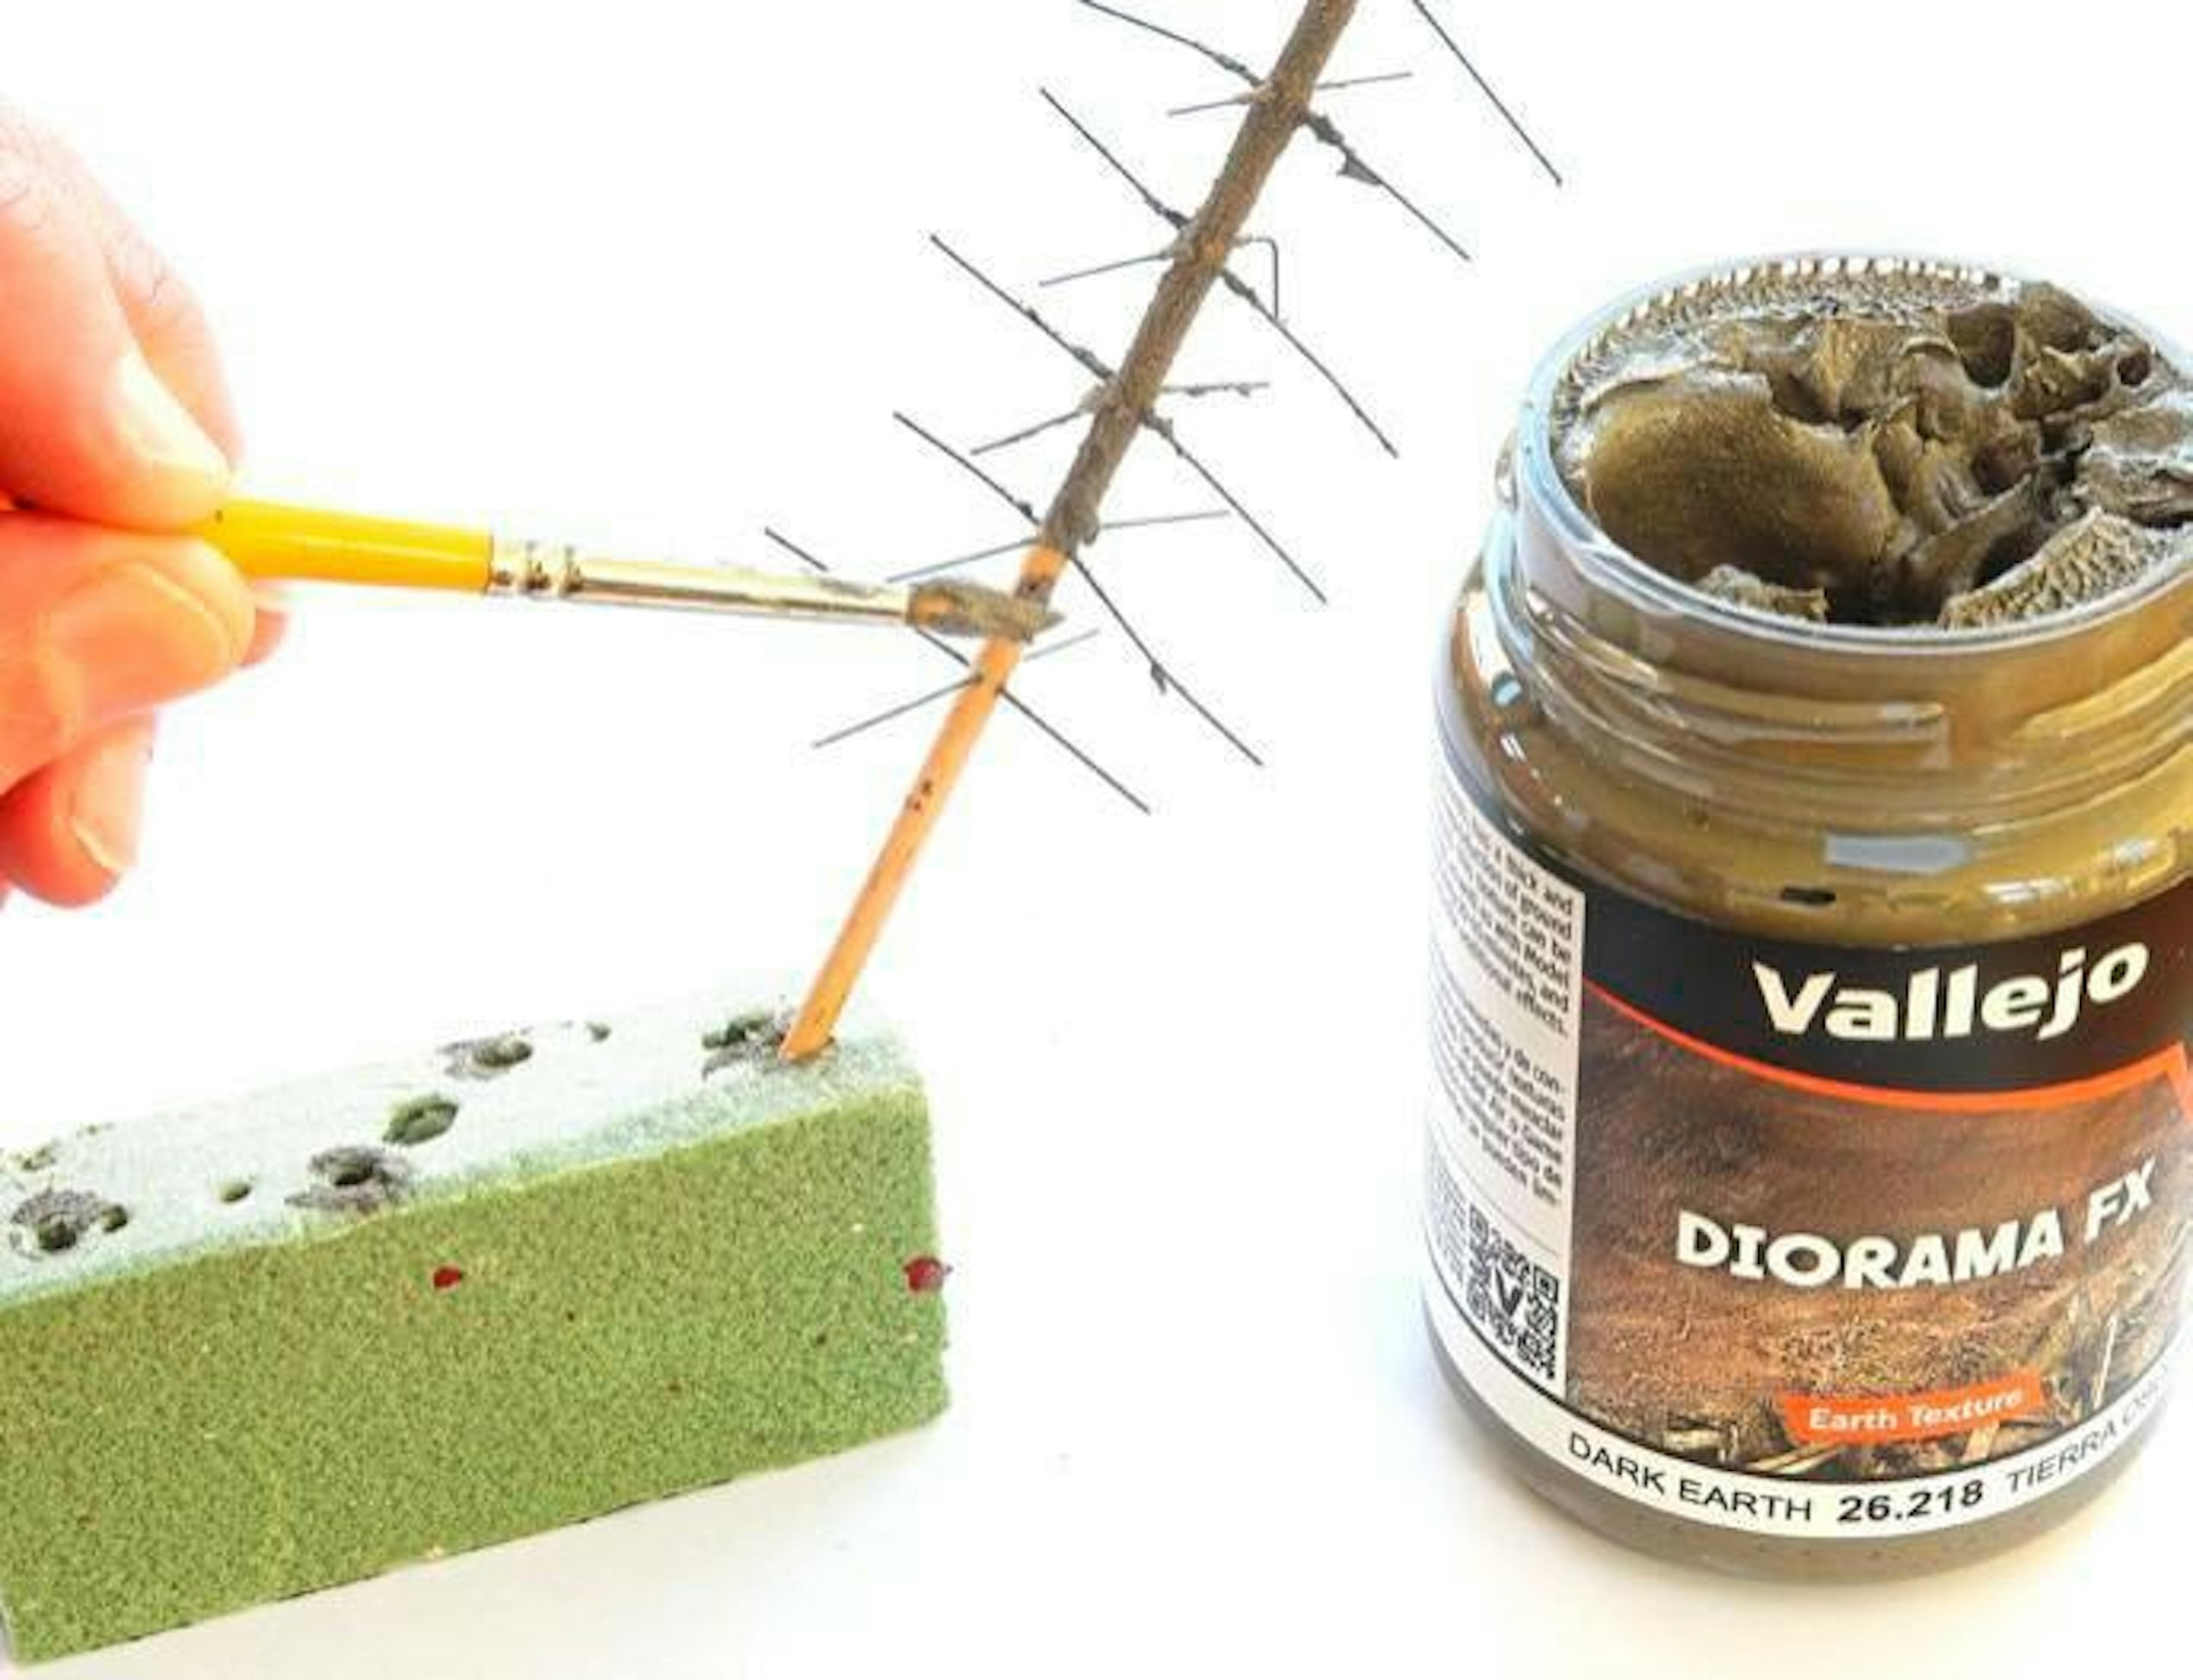
12 Next, I painted the trunks with Vallejo Diorama FX Earth Texture, then left the tree to dry. Once dried, I looked at the tree’s outline and trimmed stray branches using sprue cutters.
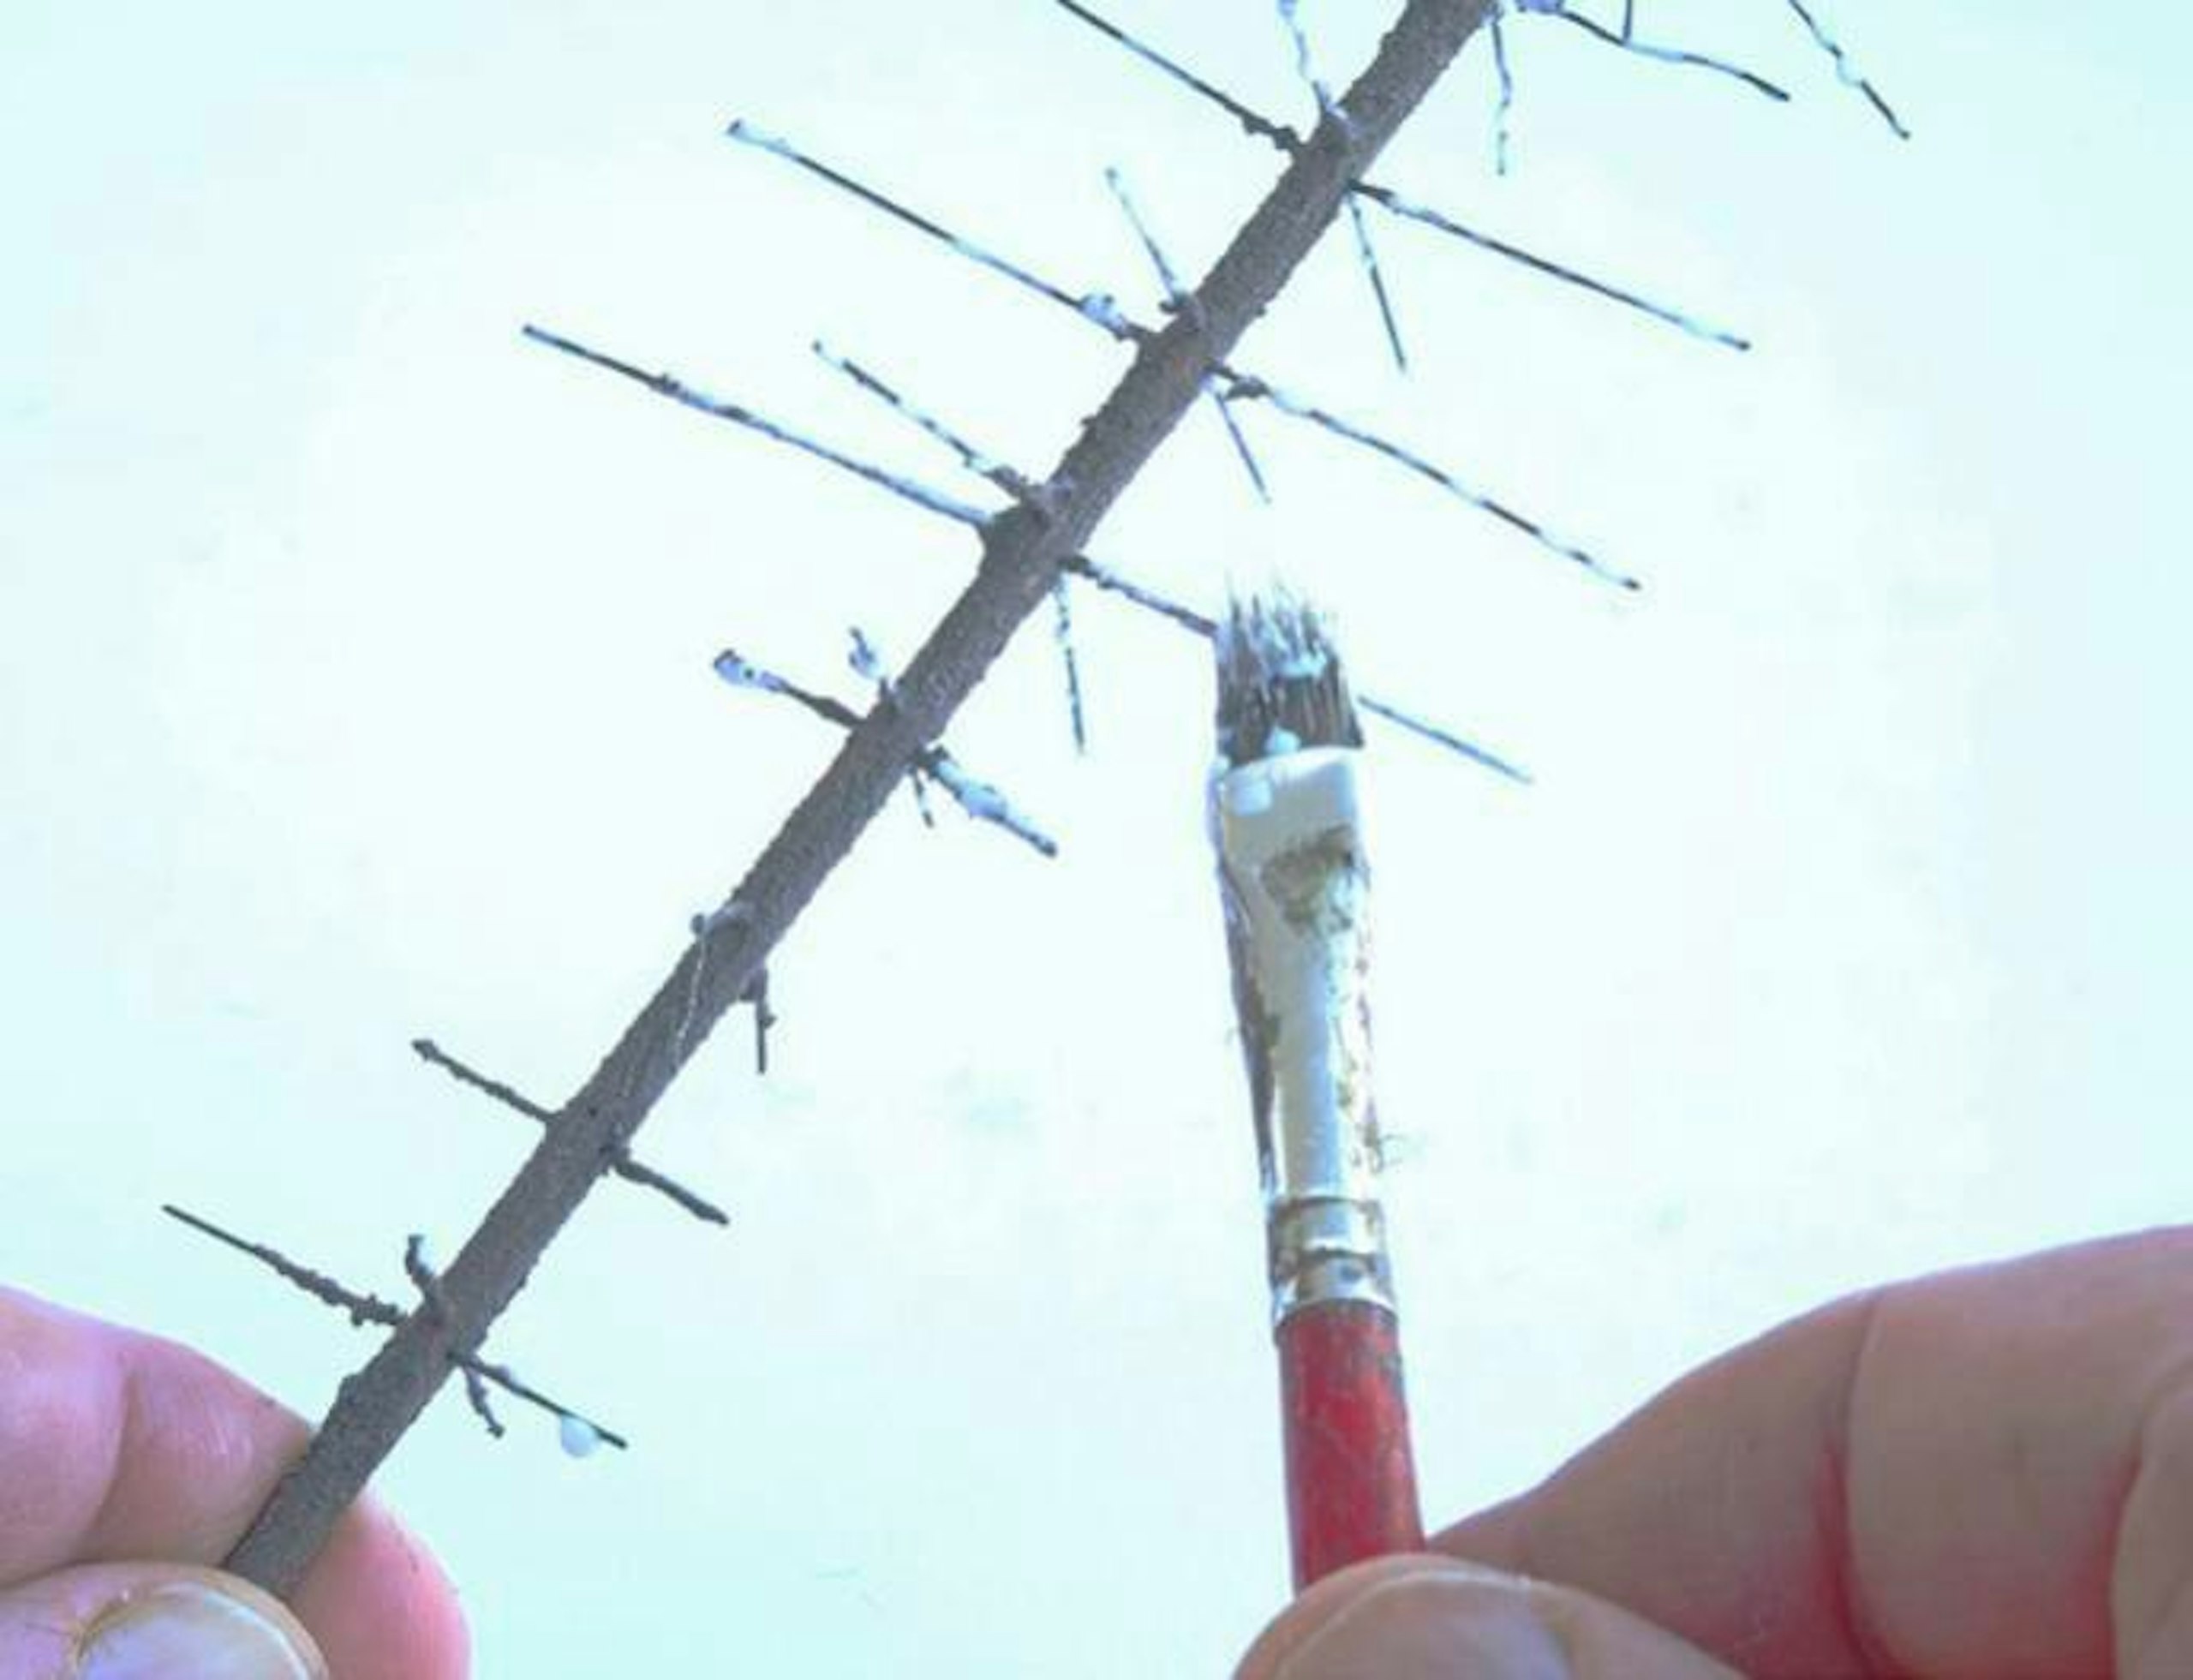
13 I decided to paint the branches with adhesive rather than spray them so only a small amount of adhesive will get onto the trunks. I used Woodland Scenics’ Static-Tac.
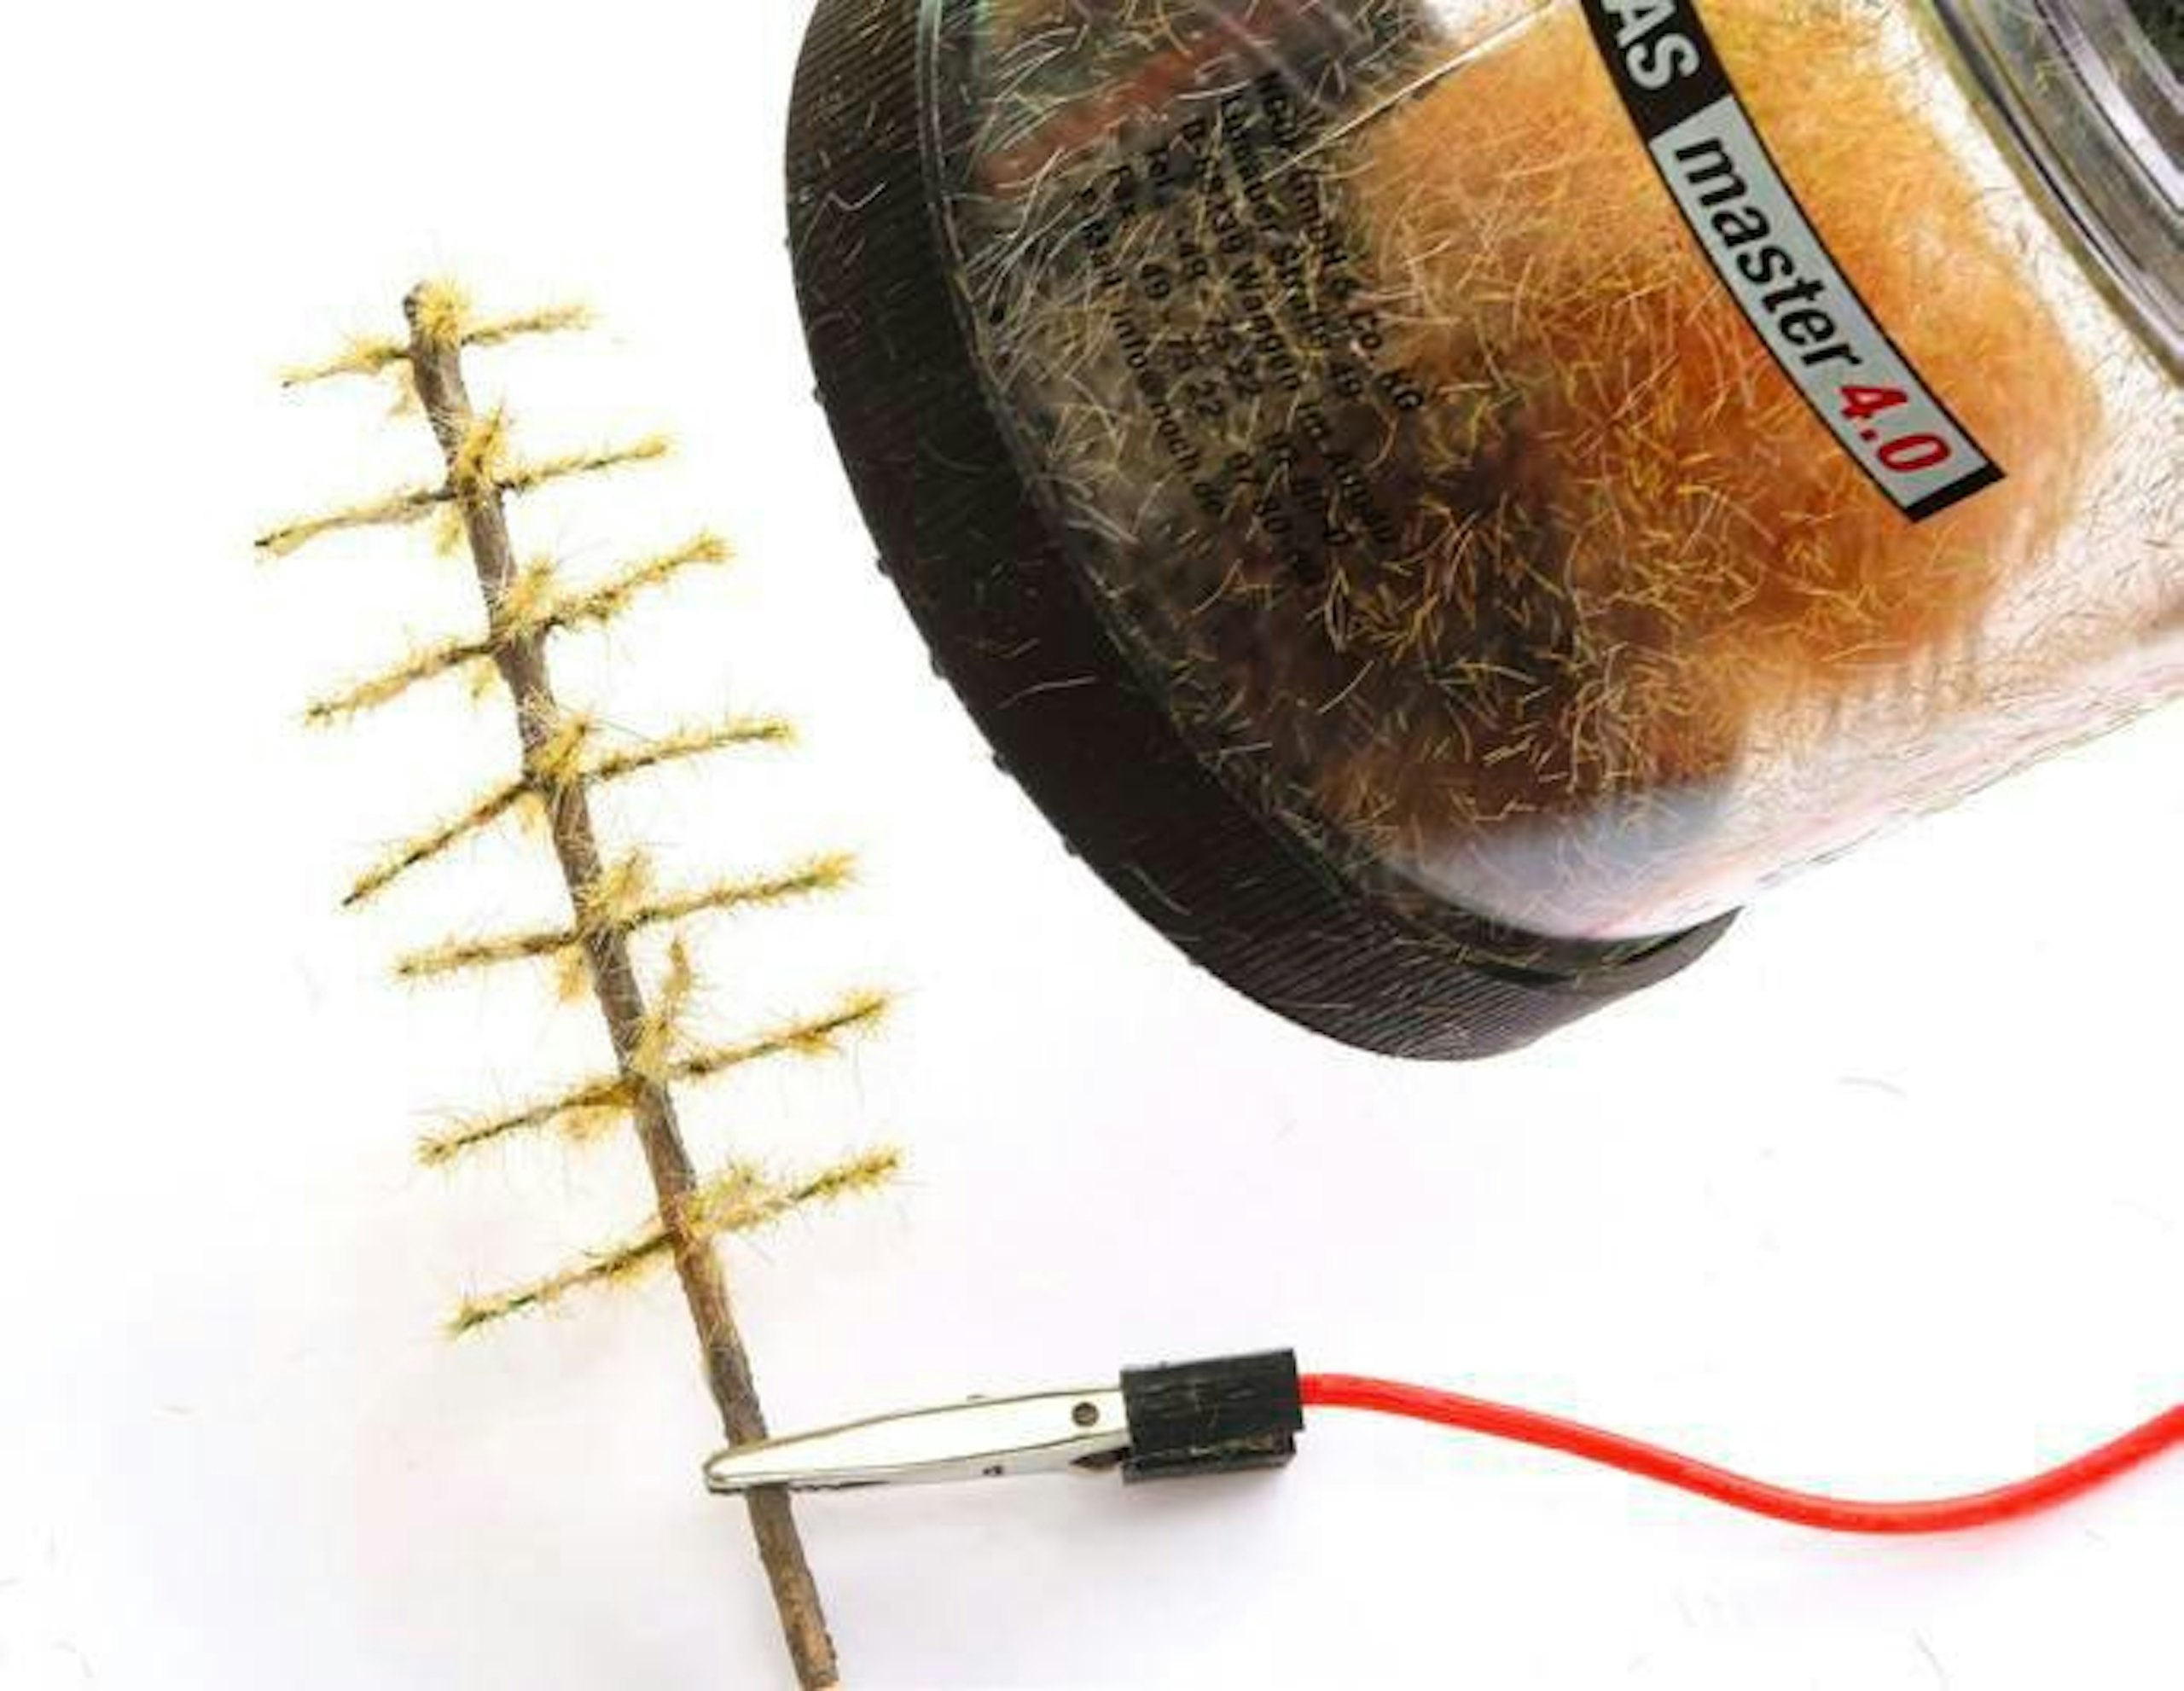
14 For the first layer of static grass fibres, I used 2mm light brown colour fibres then, when that was complete, I left the tree to dry for around three hours.
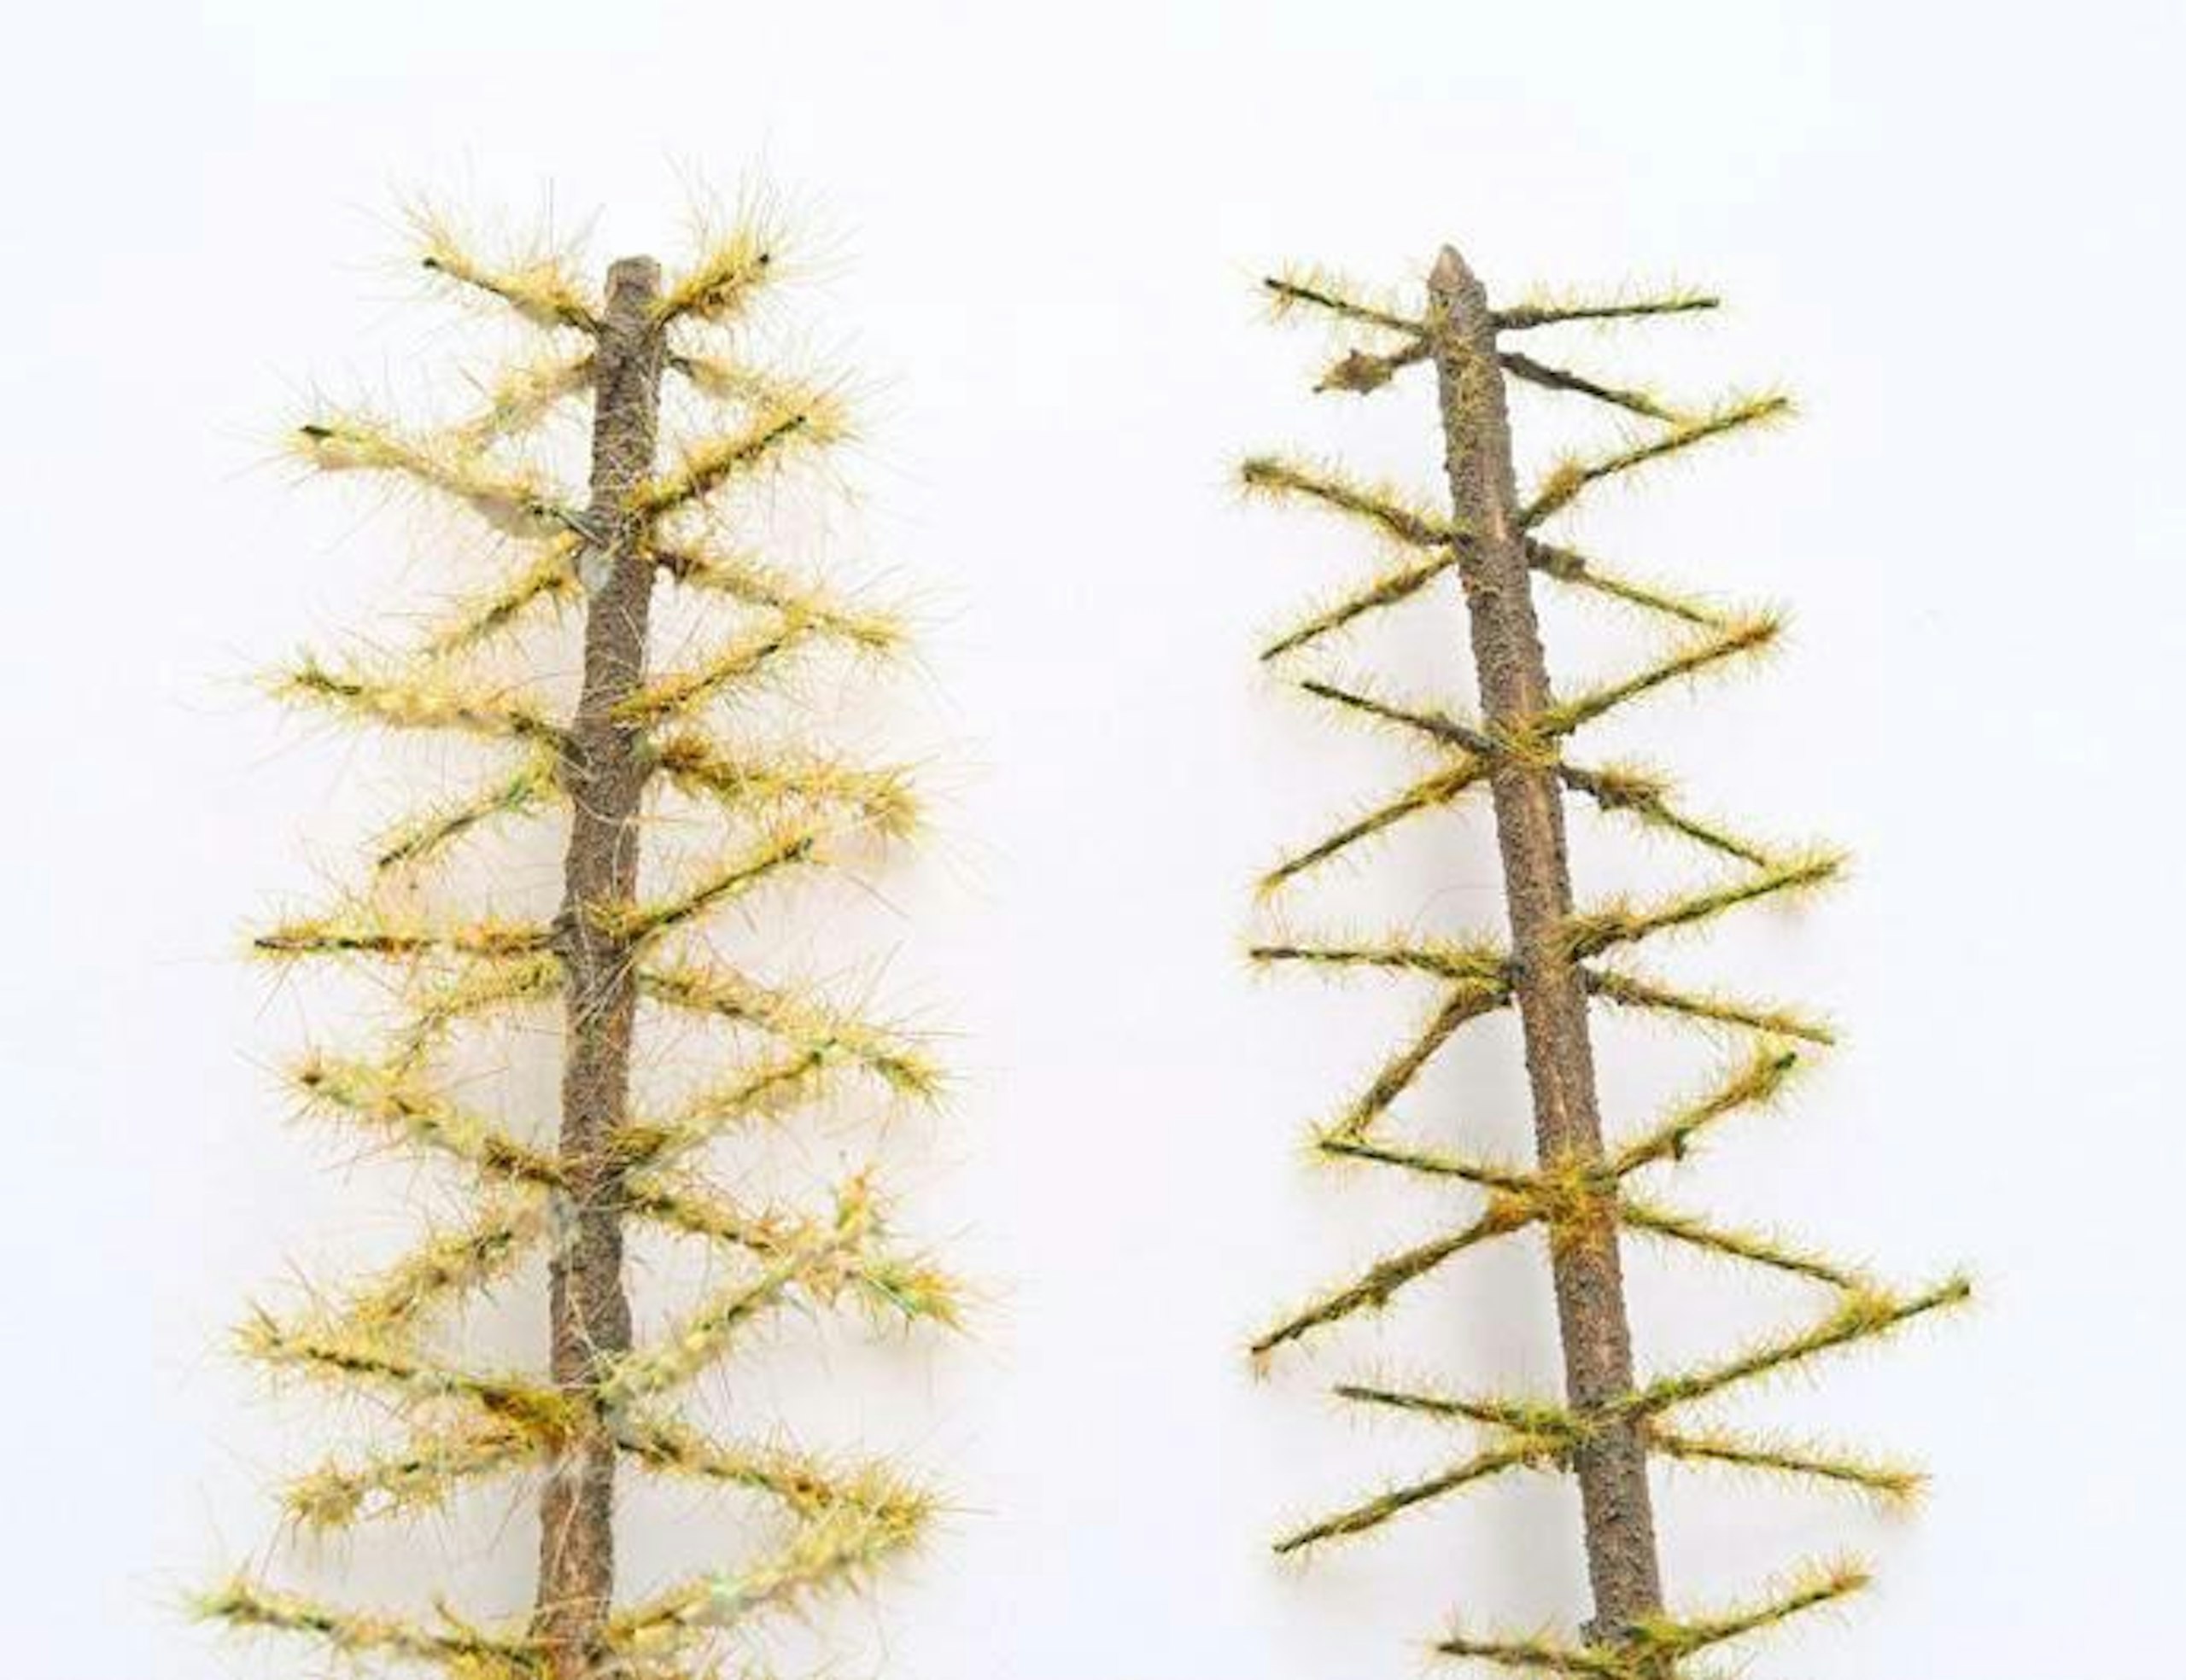
15 The tree to the left has had two layers of short static grass fibres, demonstrating how the foliage on the branches soon builds up layer by layer.
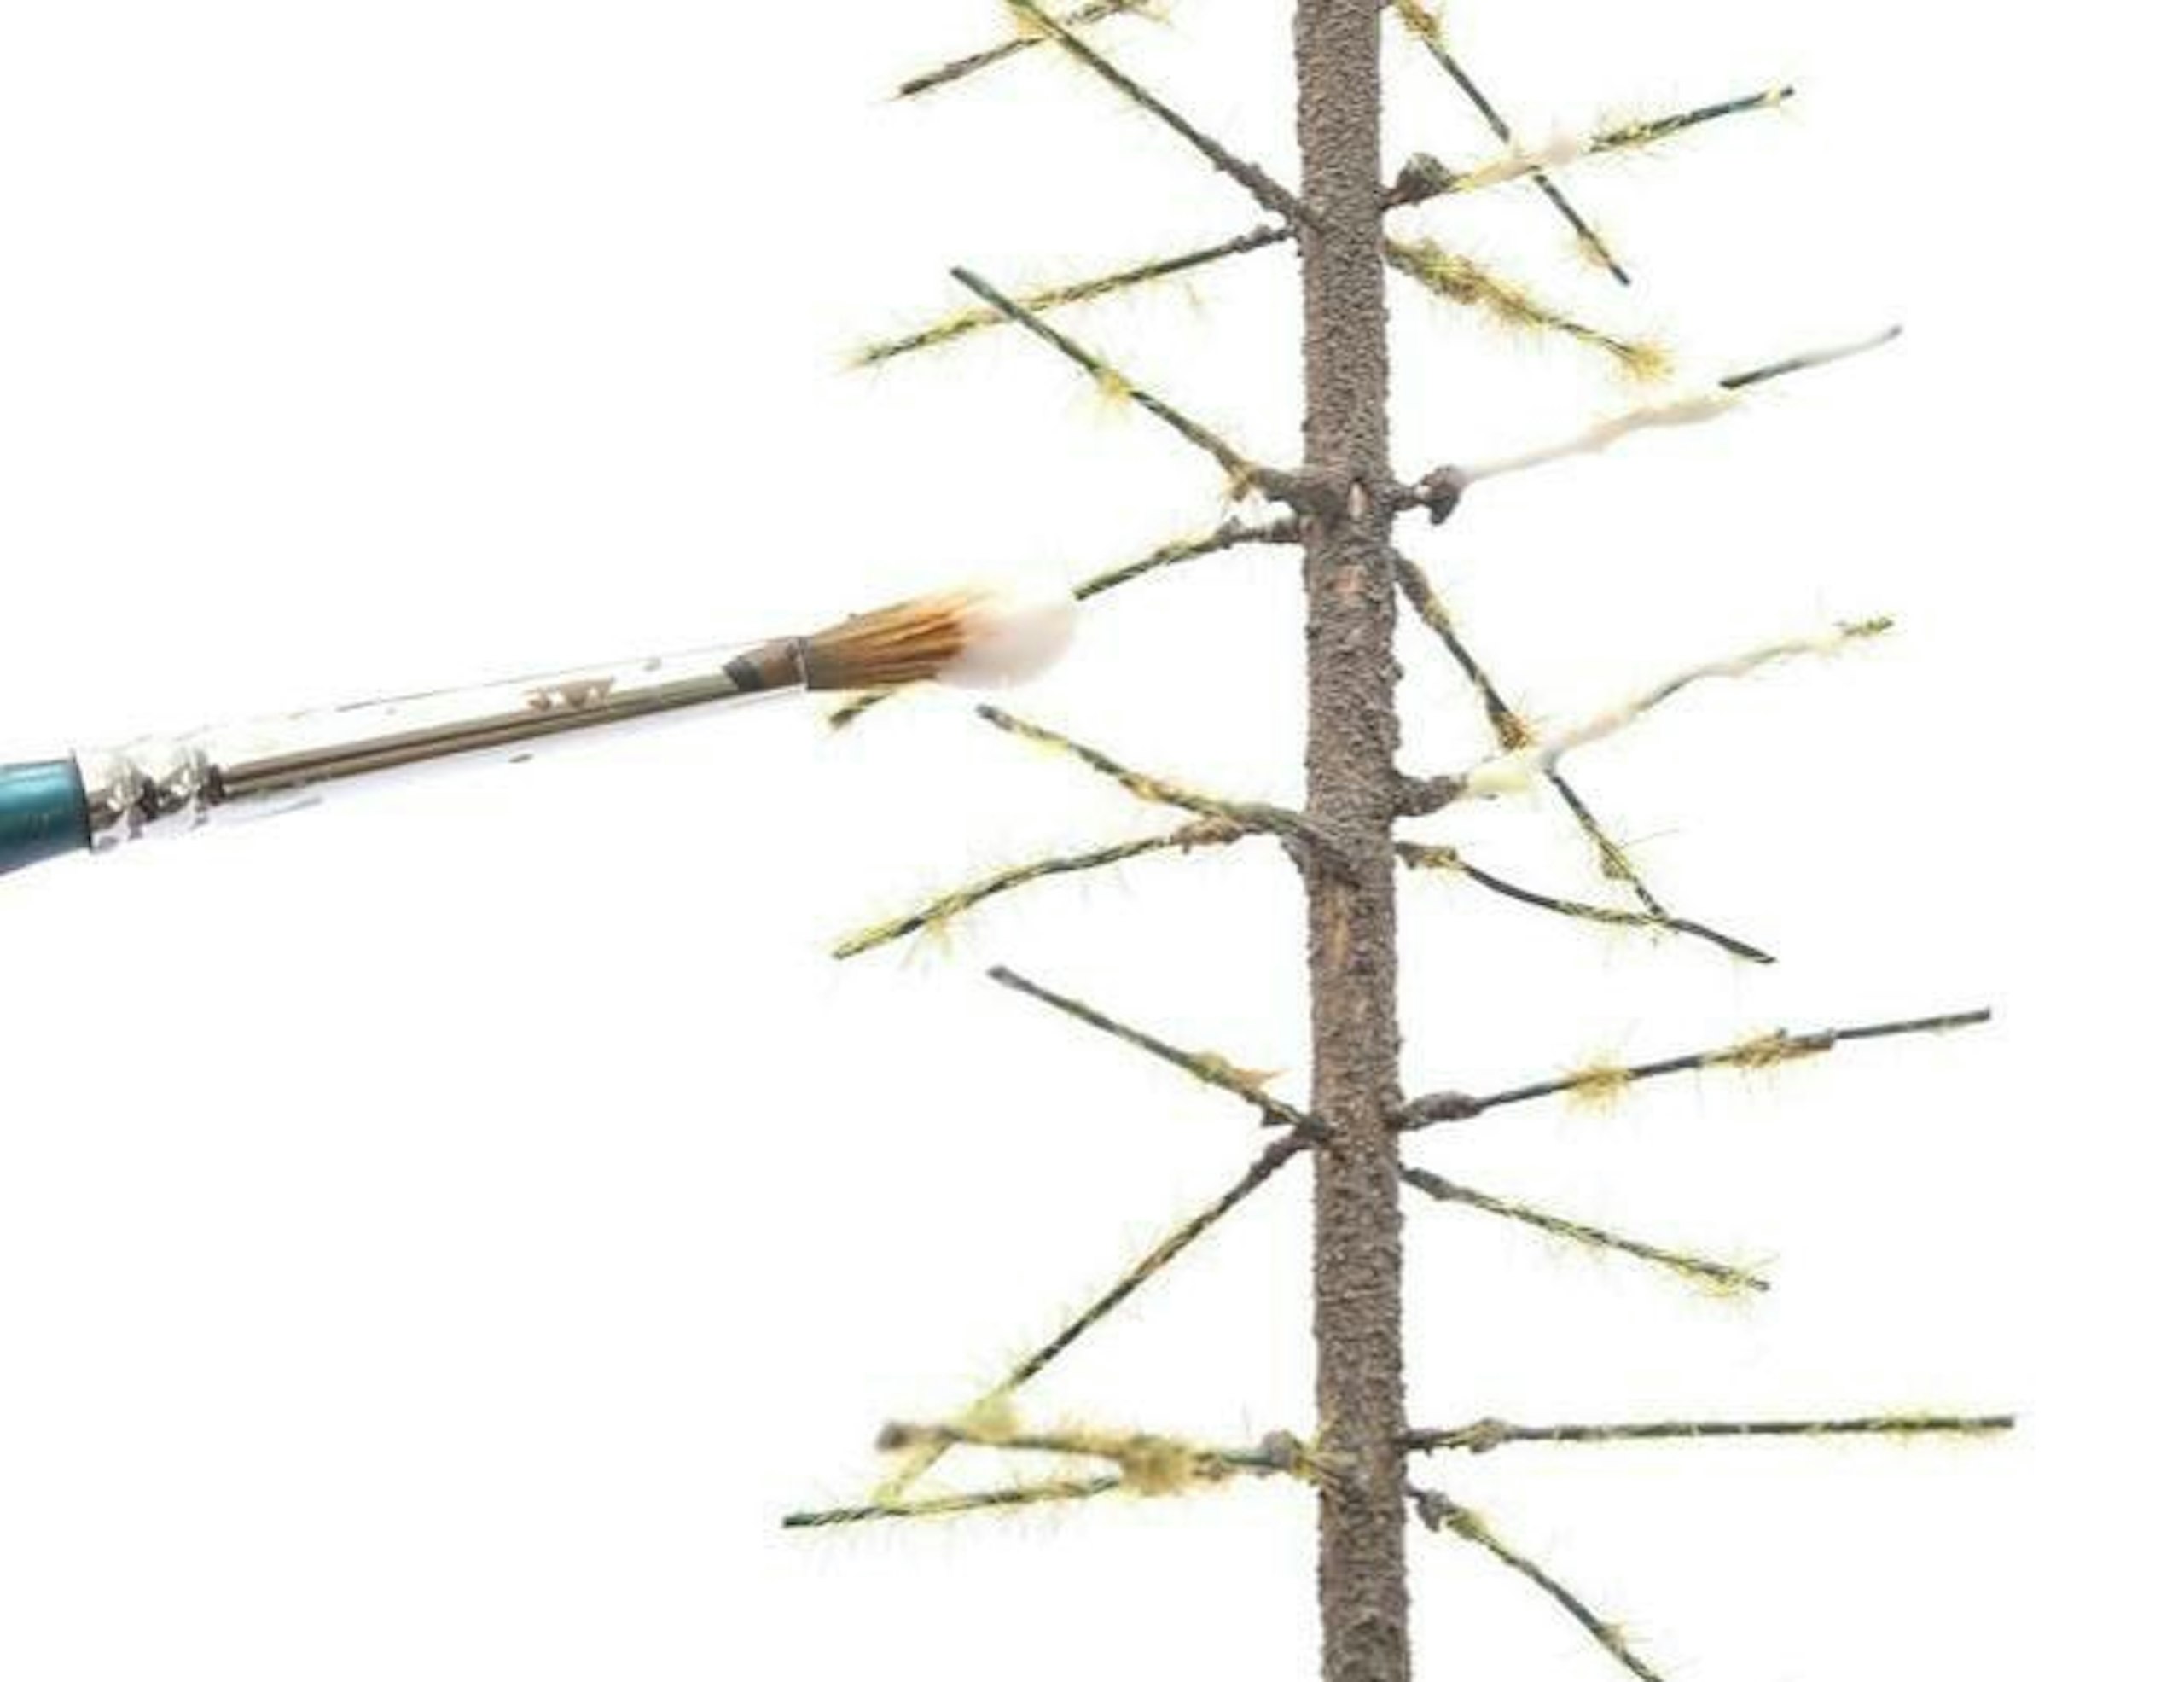
16 This demonstrates the need to plant grass fibres quickly into wet adhesive. On some branches, no fibres had stuck because it was a warm day and the glue had lost its ‘stick’.
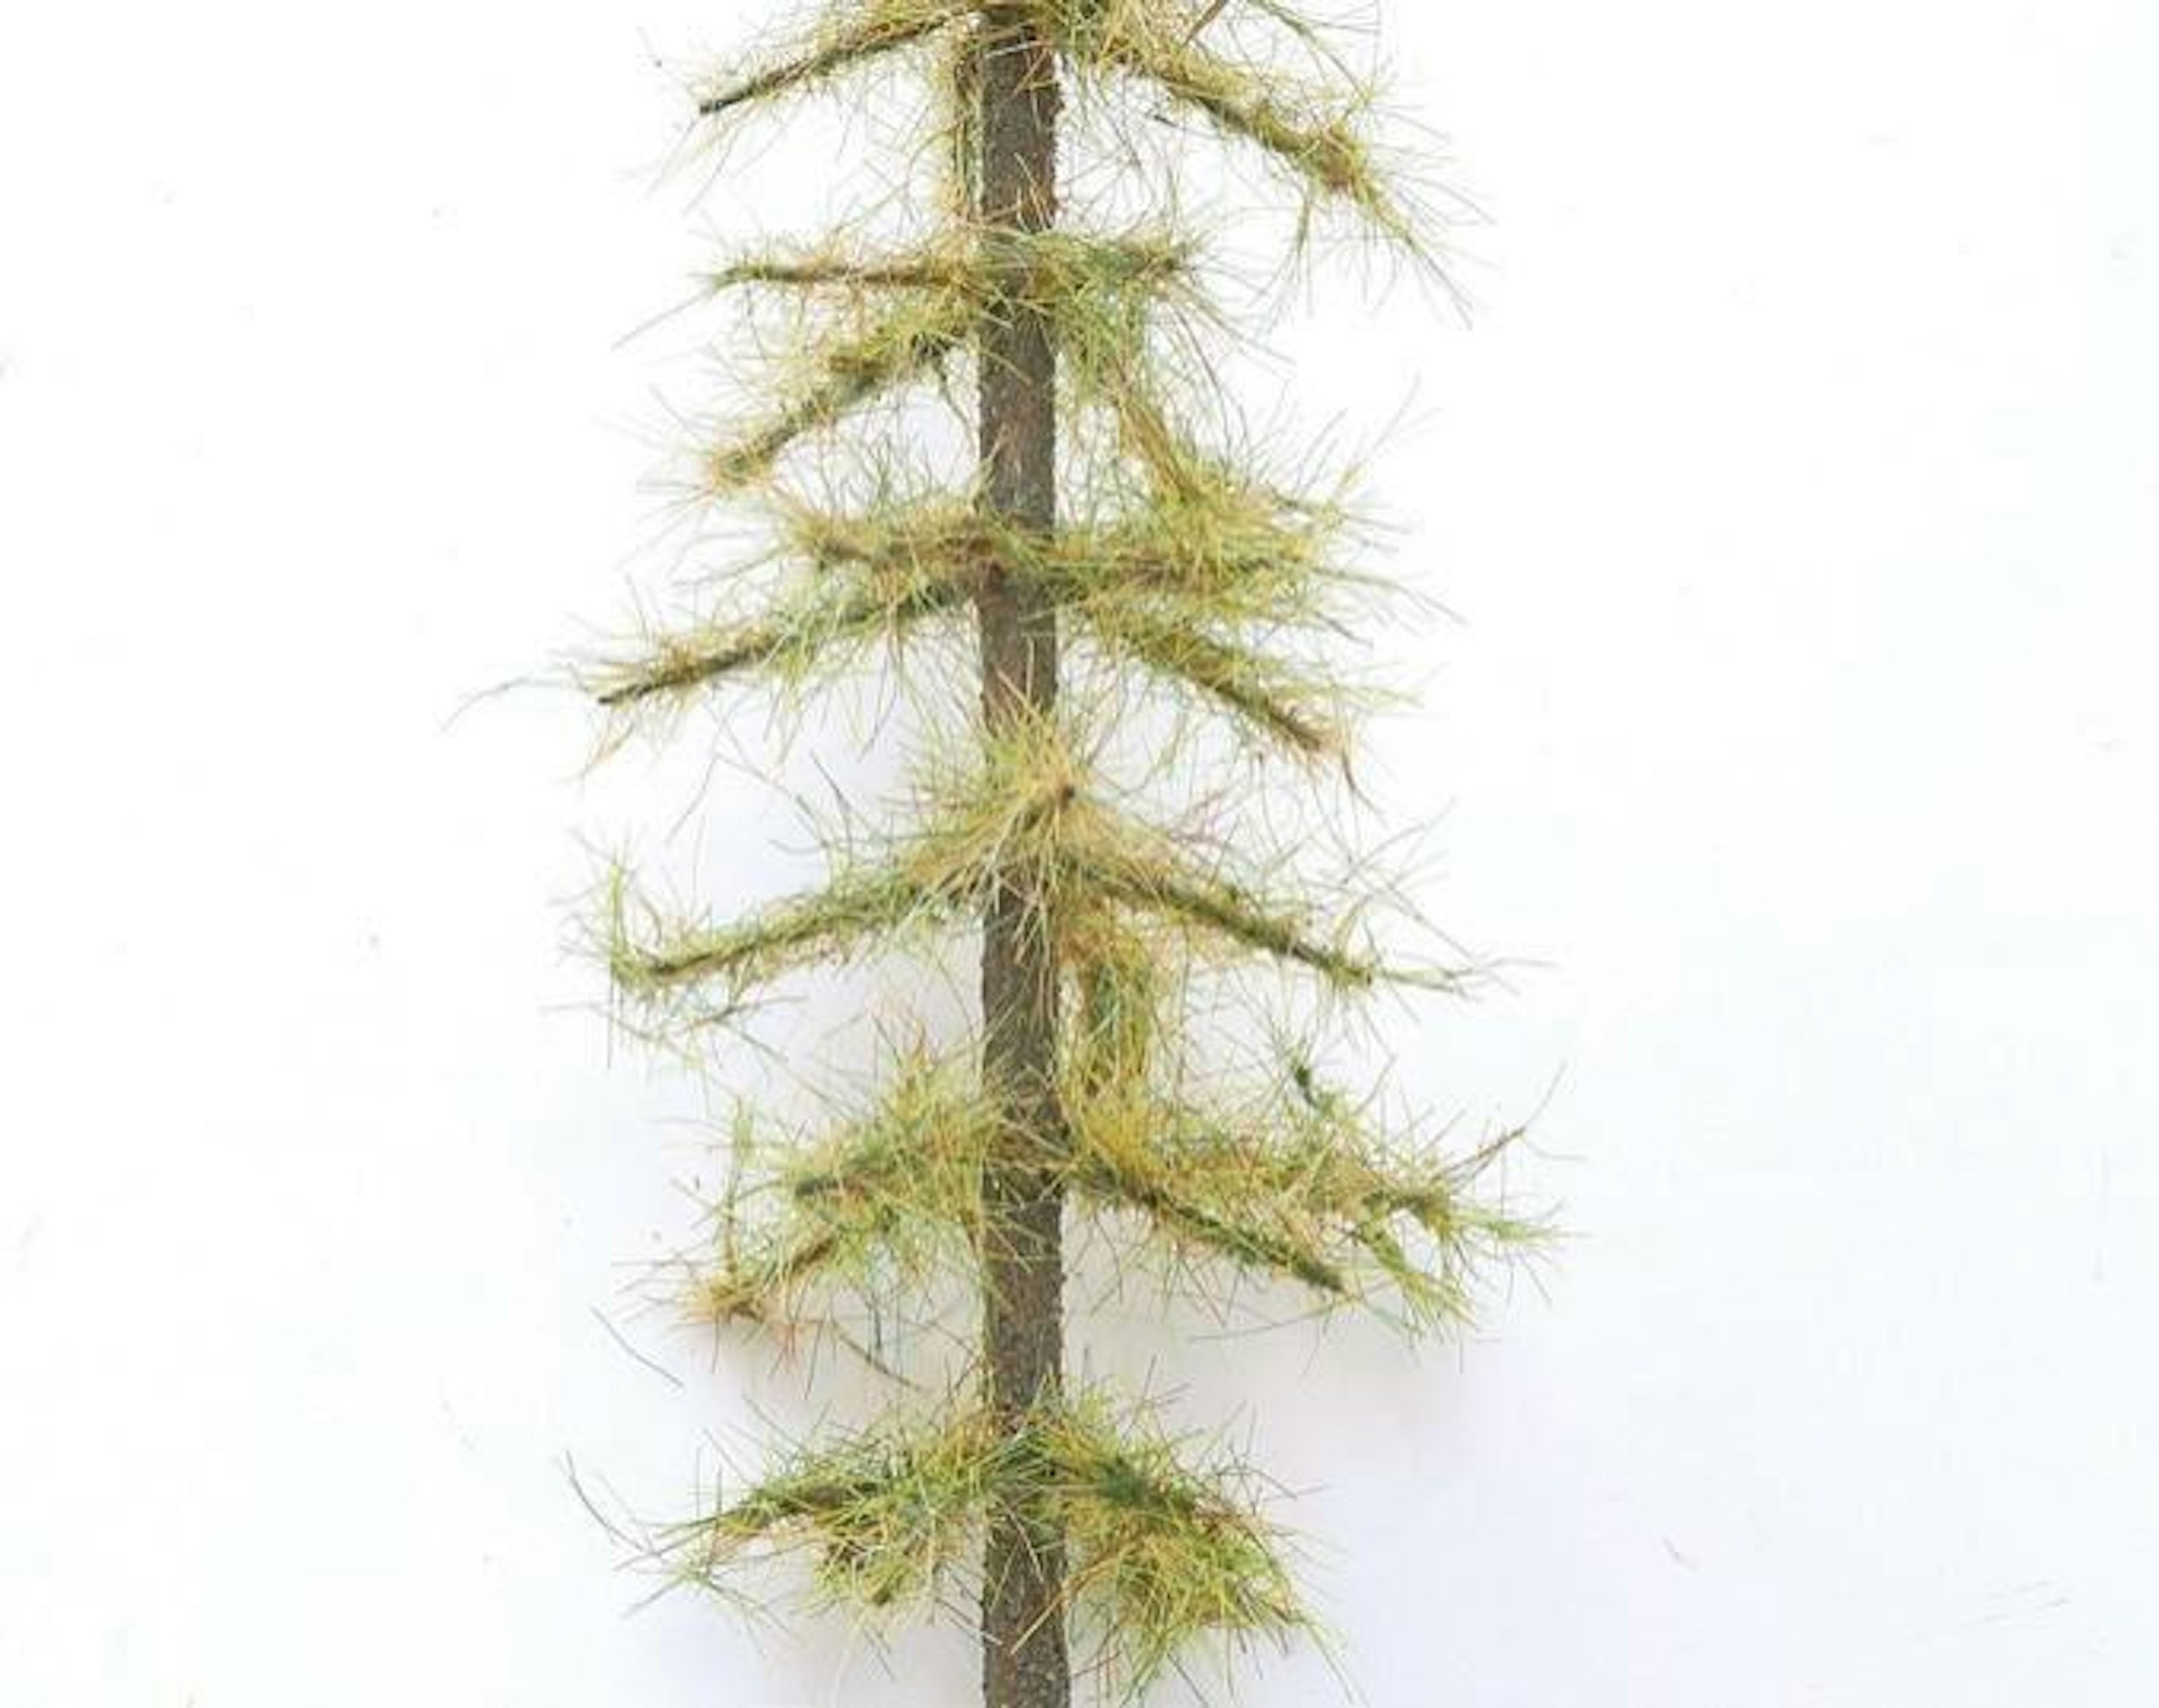
17 This tree has had one layer of 2mm fibres, followed three hours later by a layer of 4mm fibres. In hindsight, it would have been best to cover the top of the trunk with fibres too.
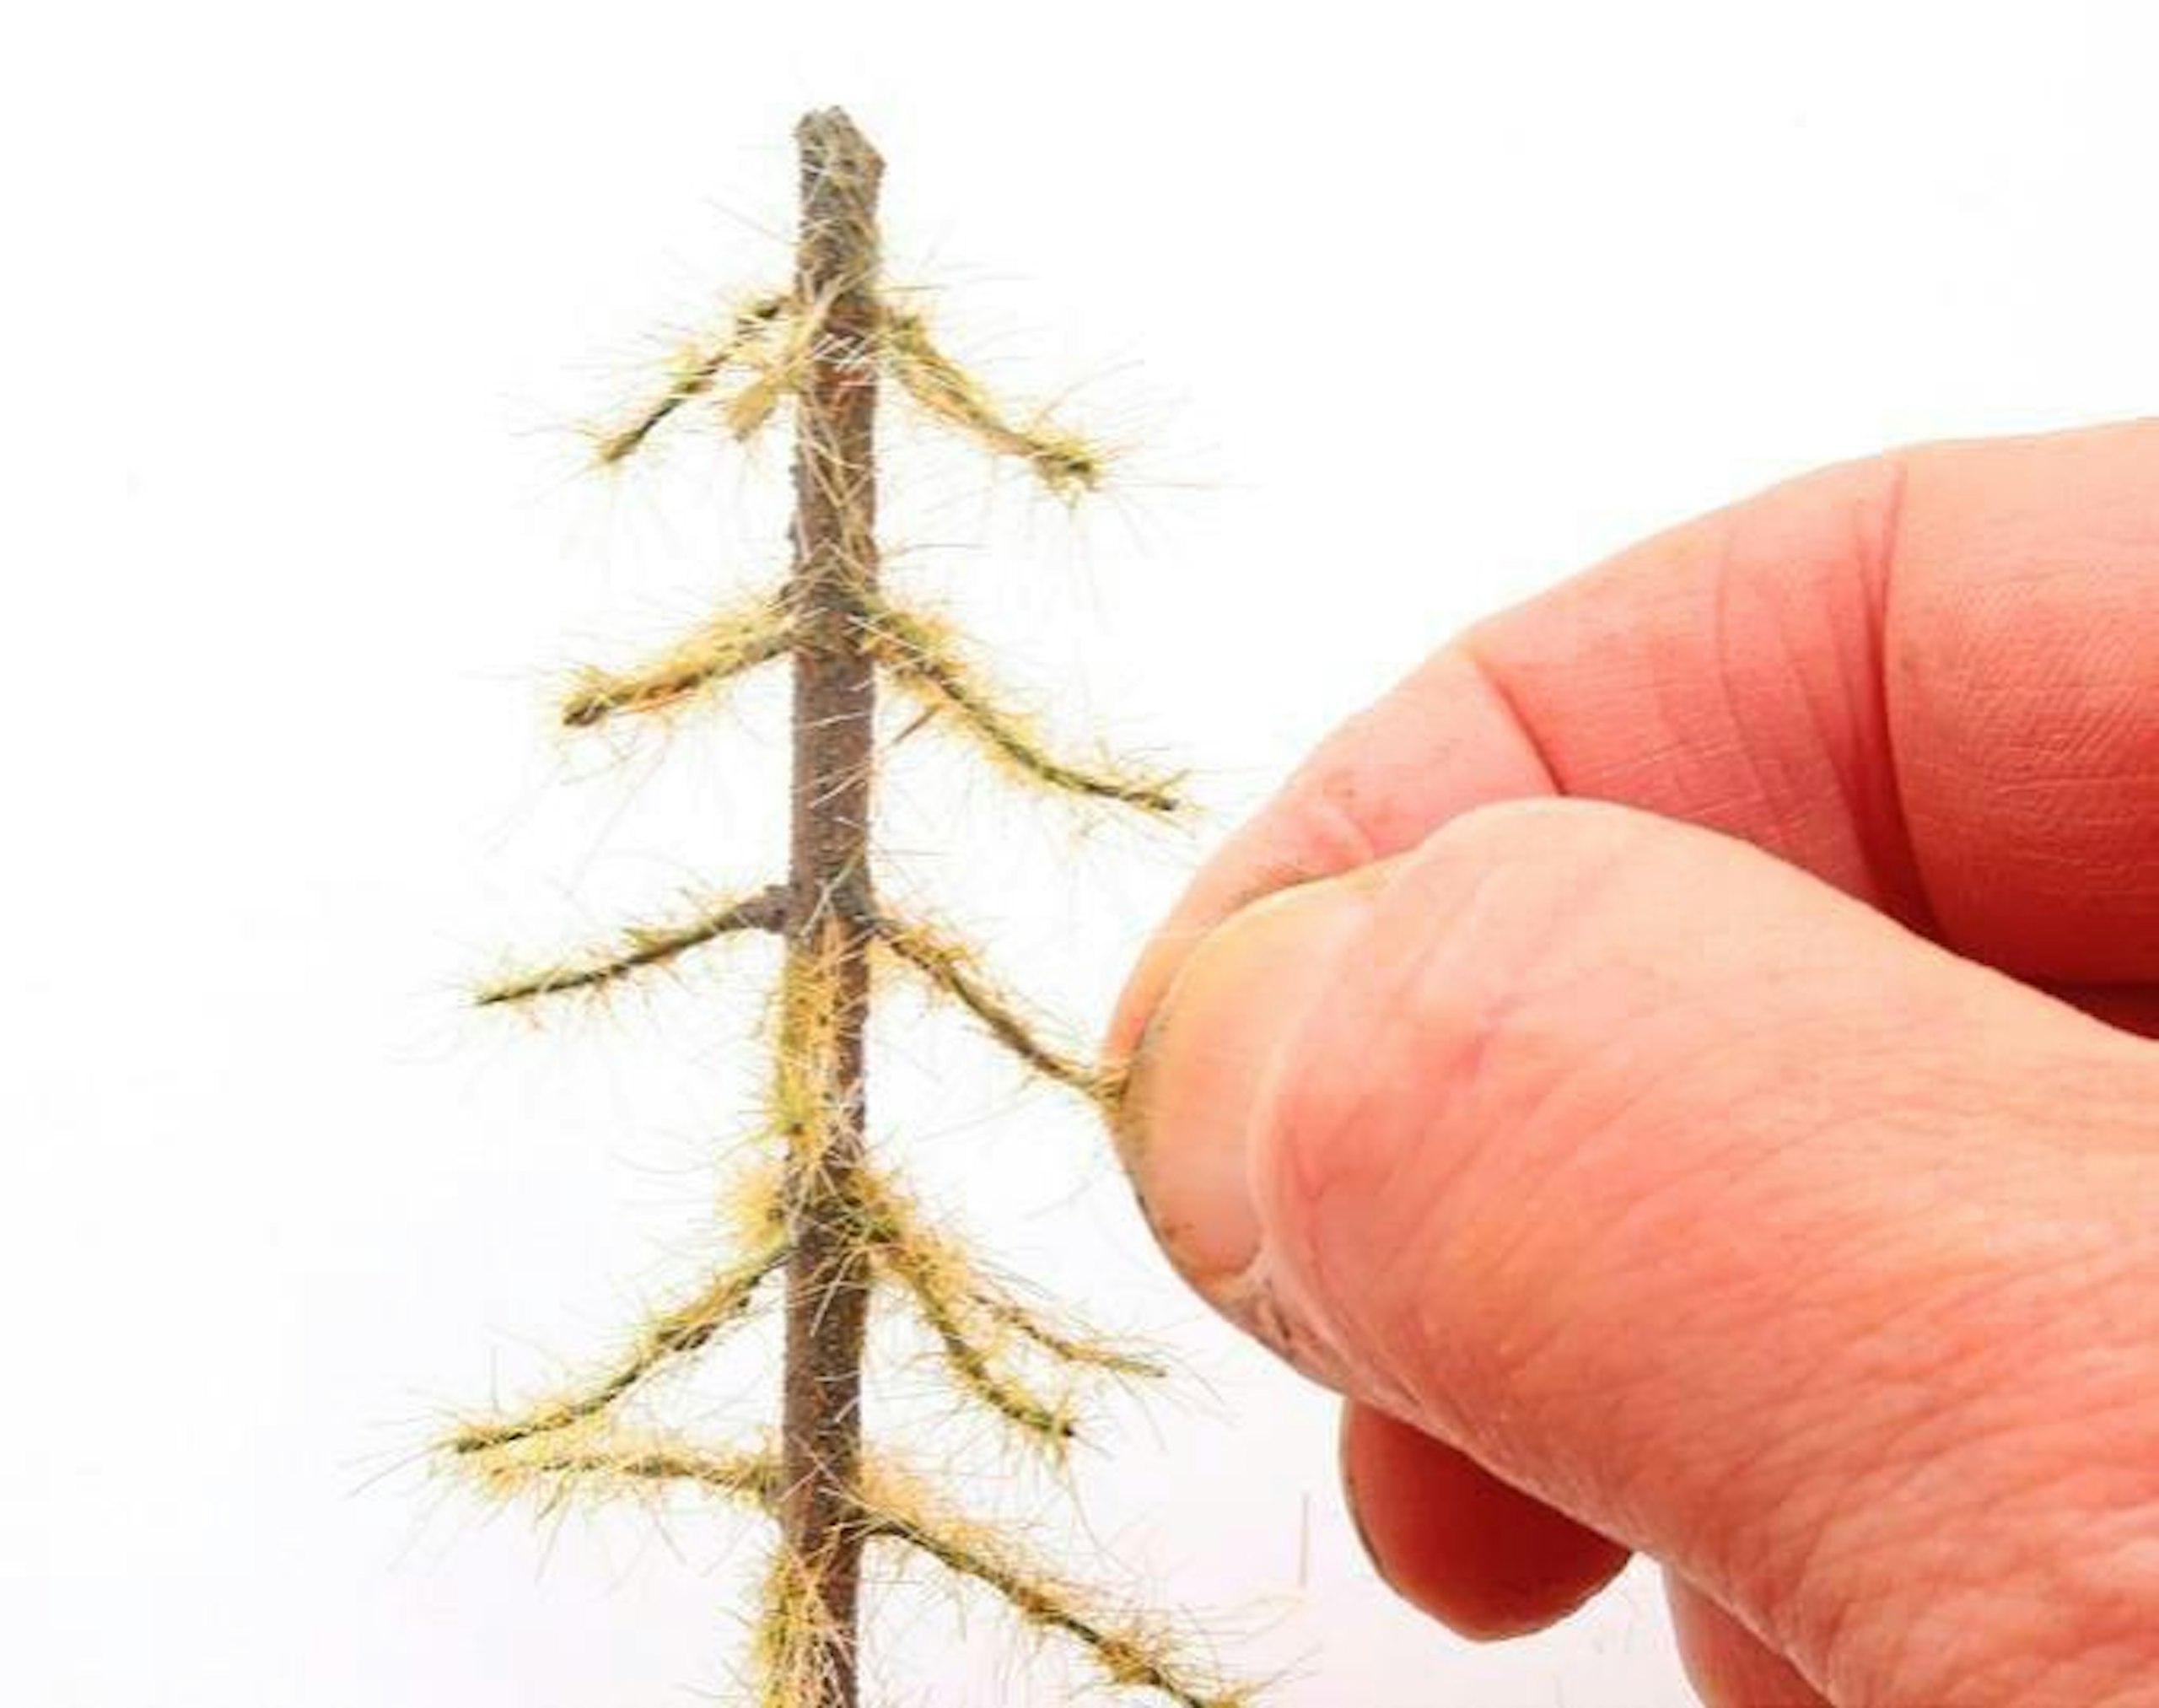
18 The next step was to bend the branches using my fingers to create the natural ‘droop’ of a real tree. This is a quick two-minute job on each tree.
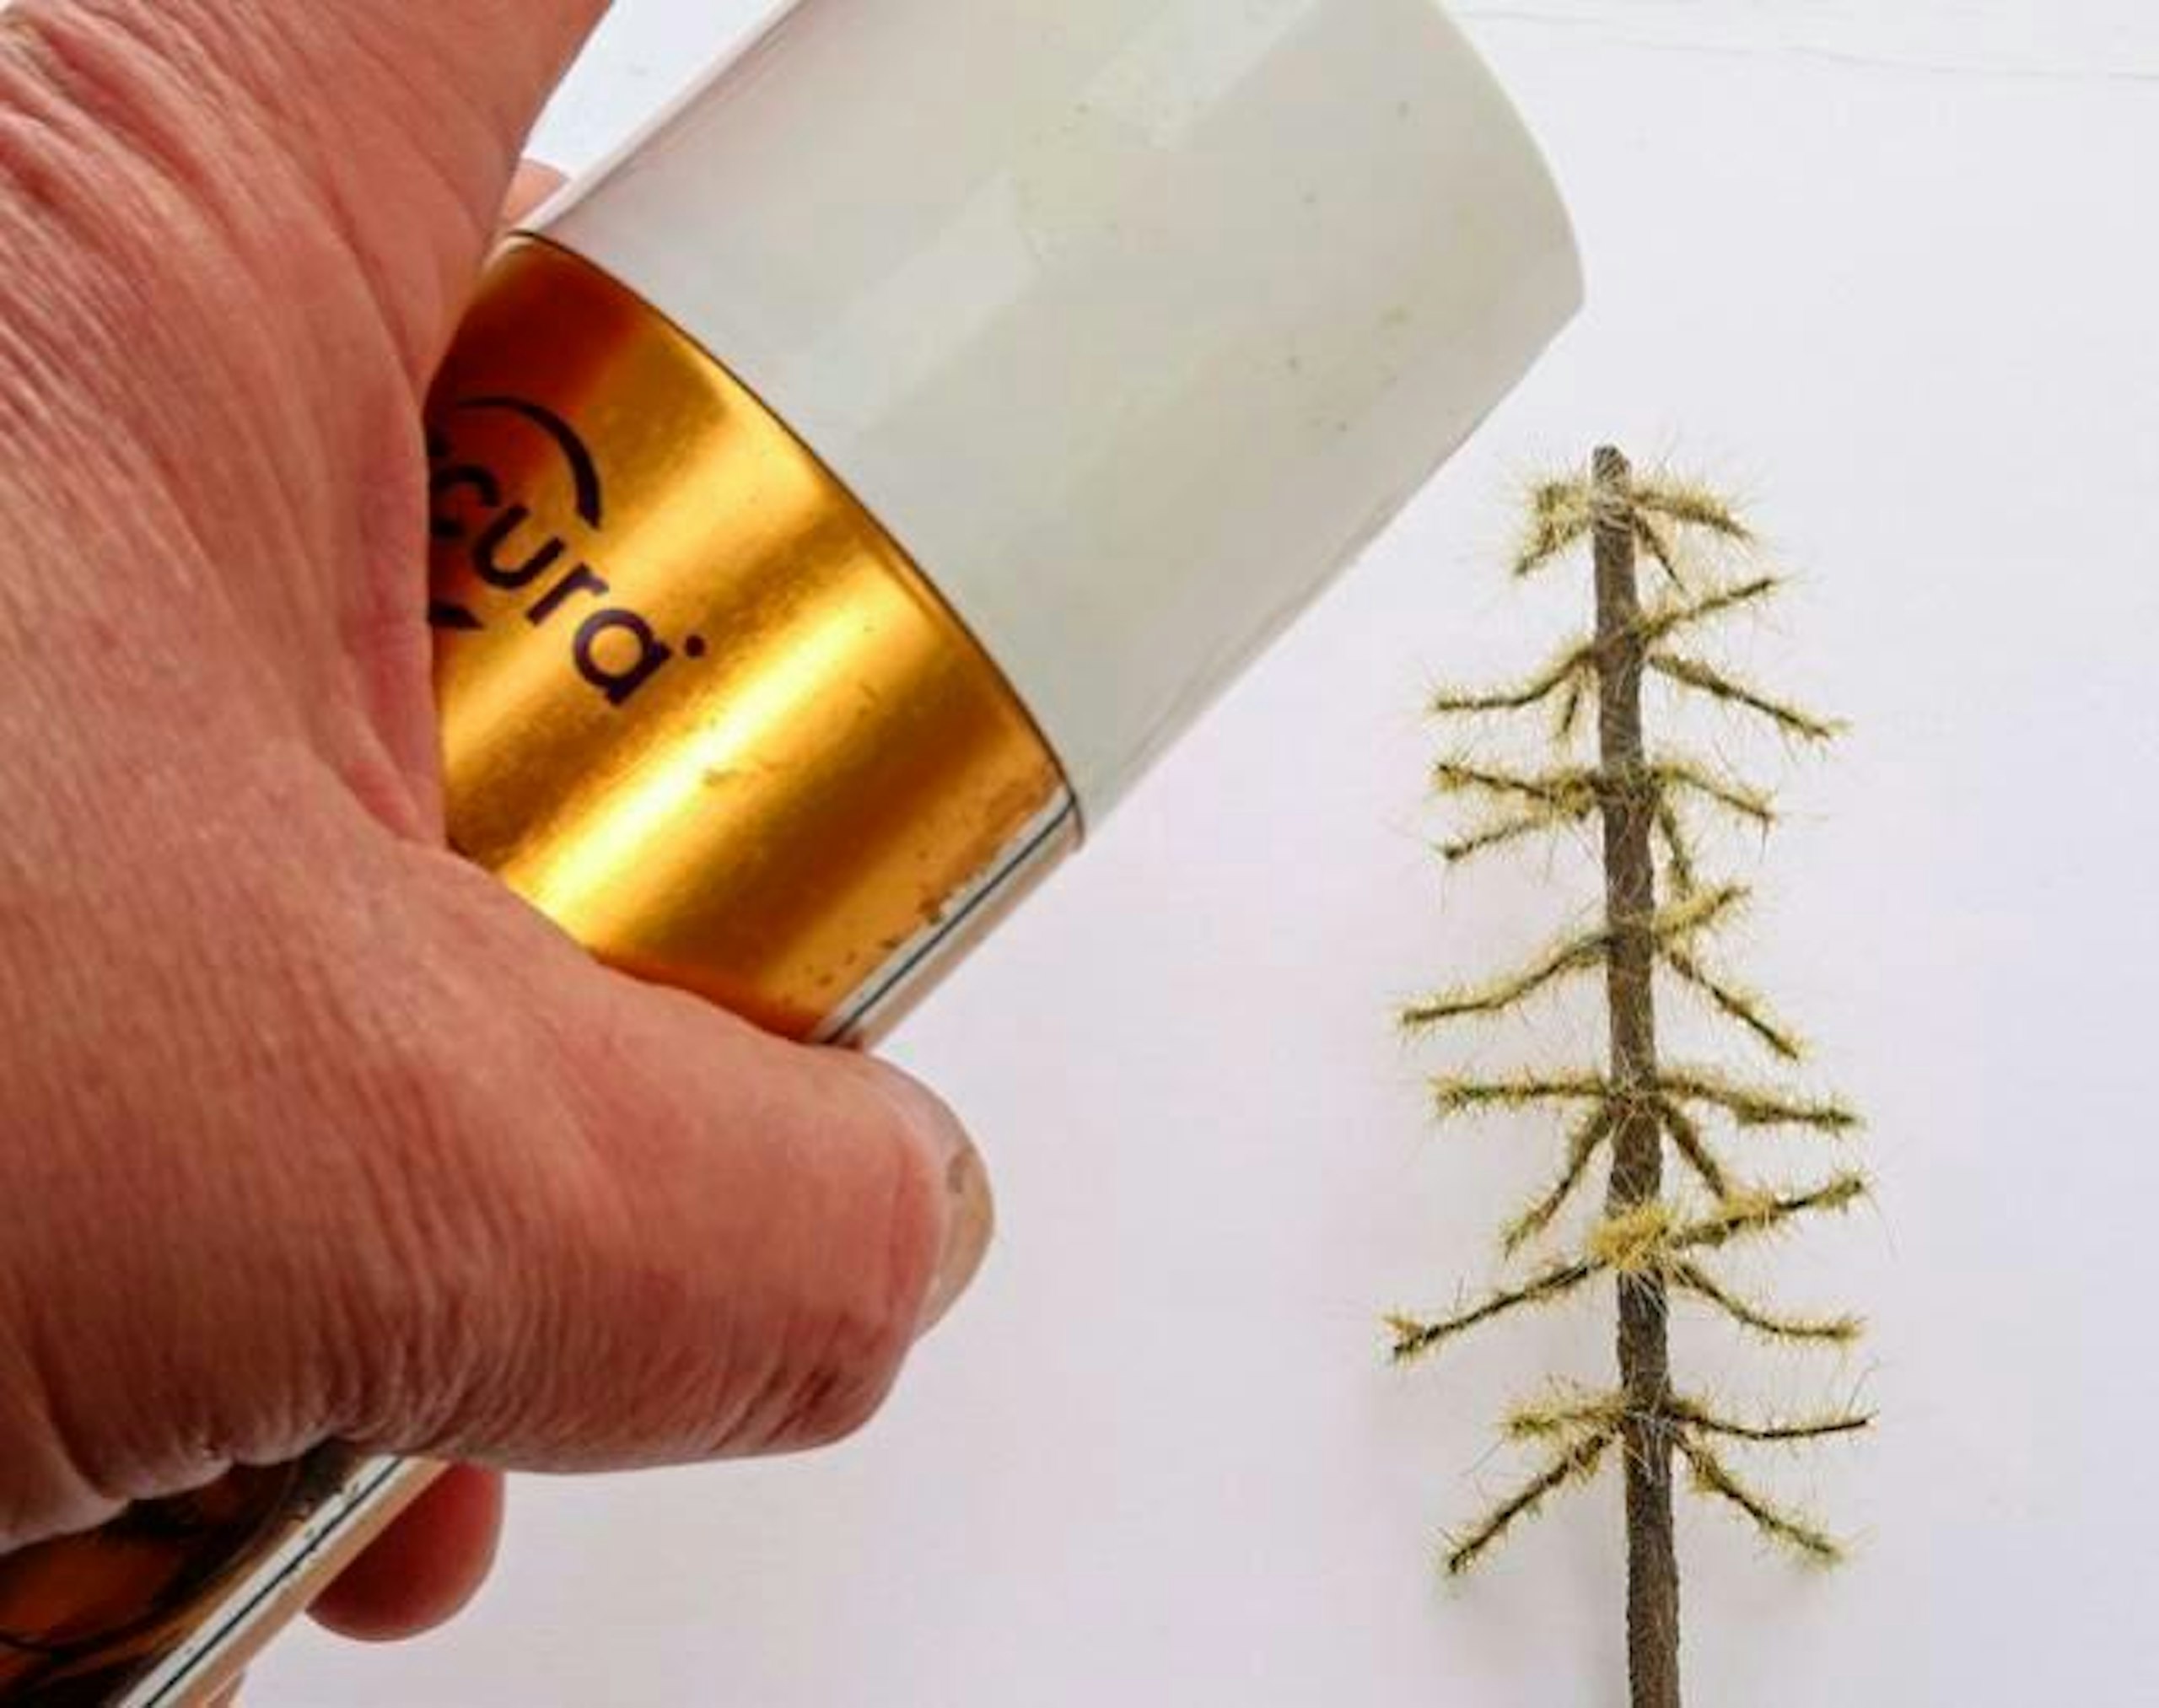
19 For the third layer of grass fibres, I used extra-hold unscented hairspray bought from the supermarket, and sprayed it up and down over the branches.

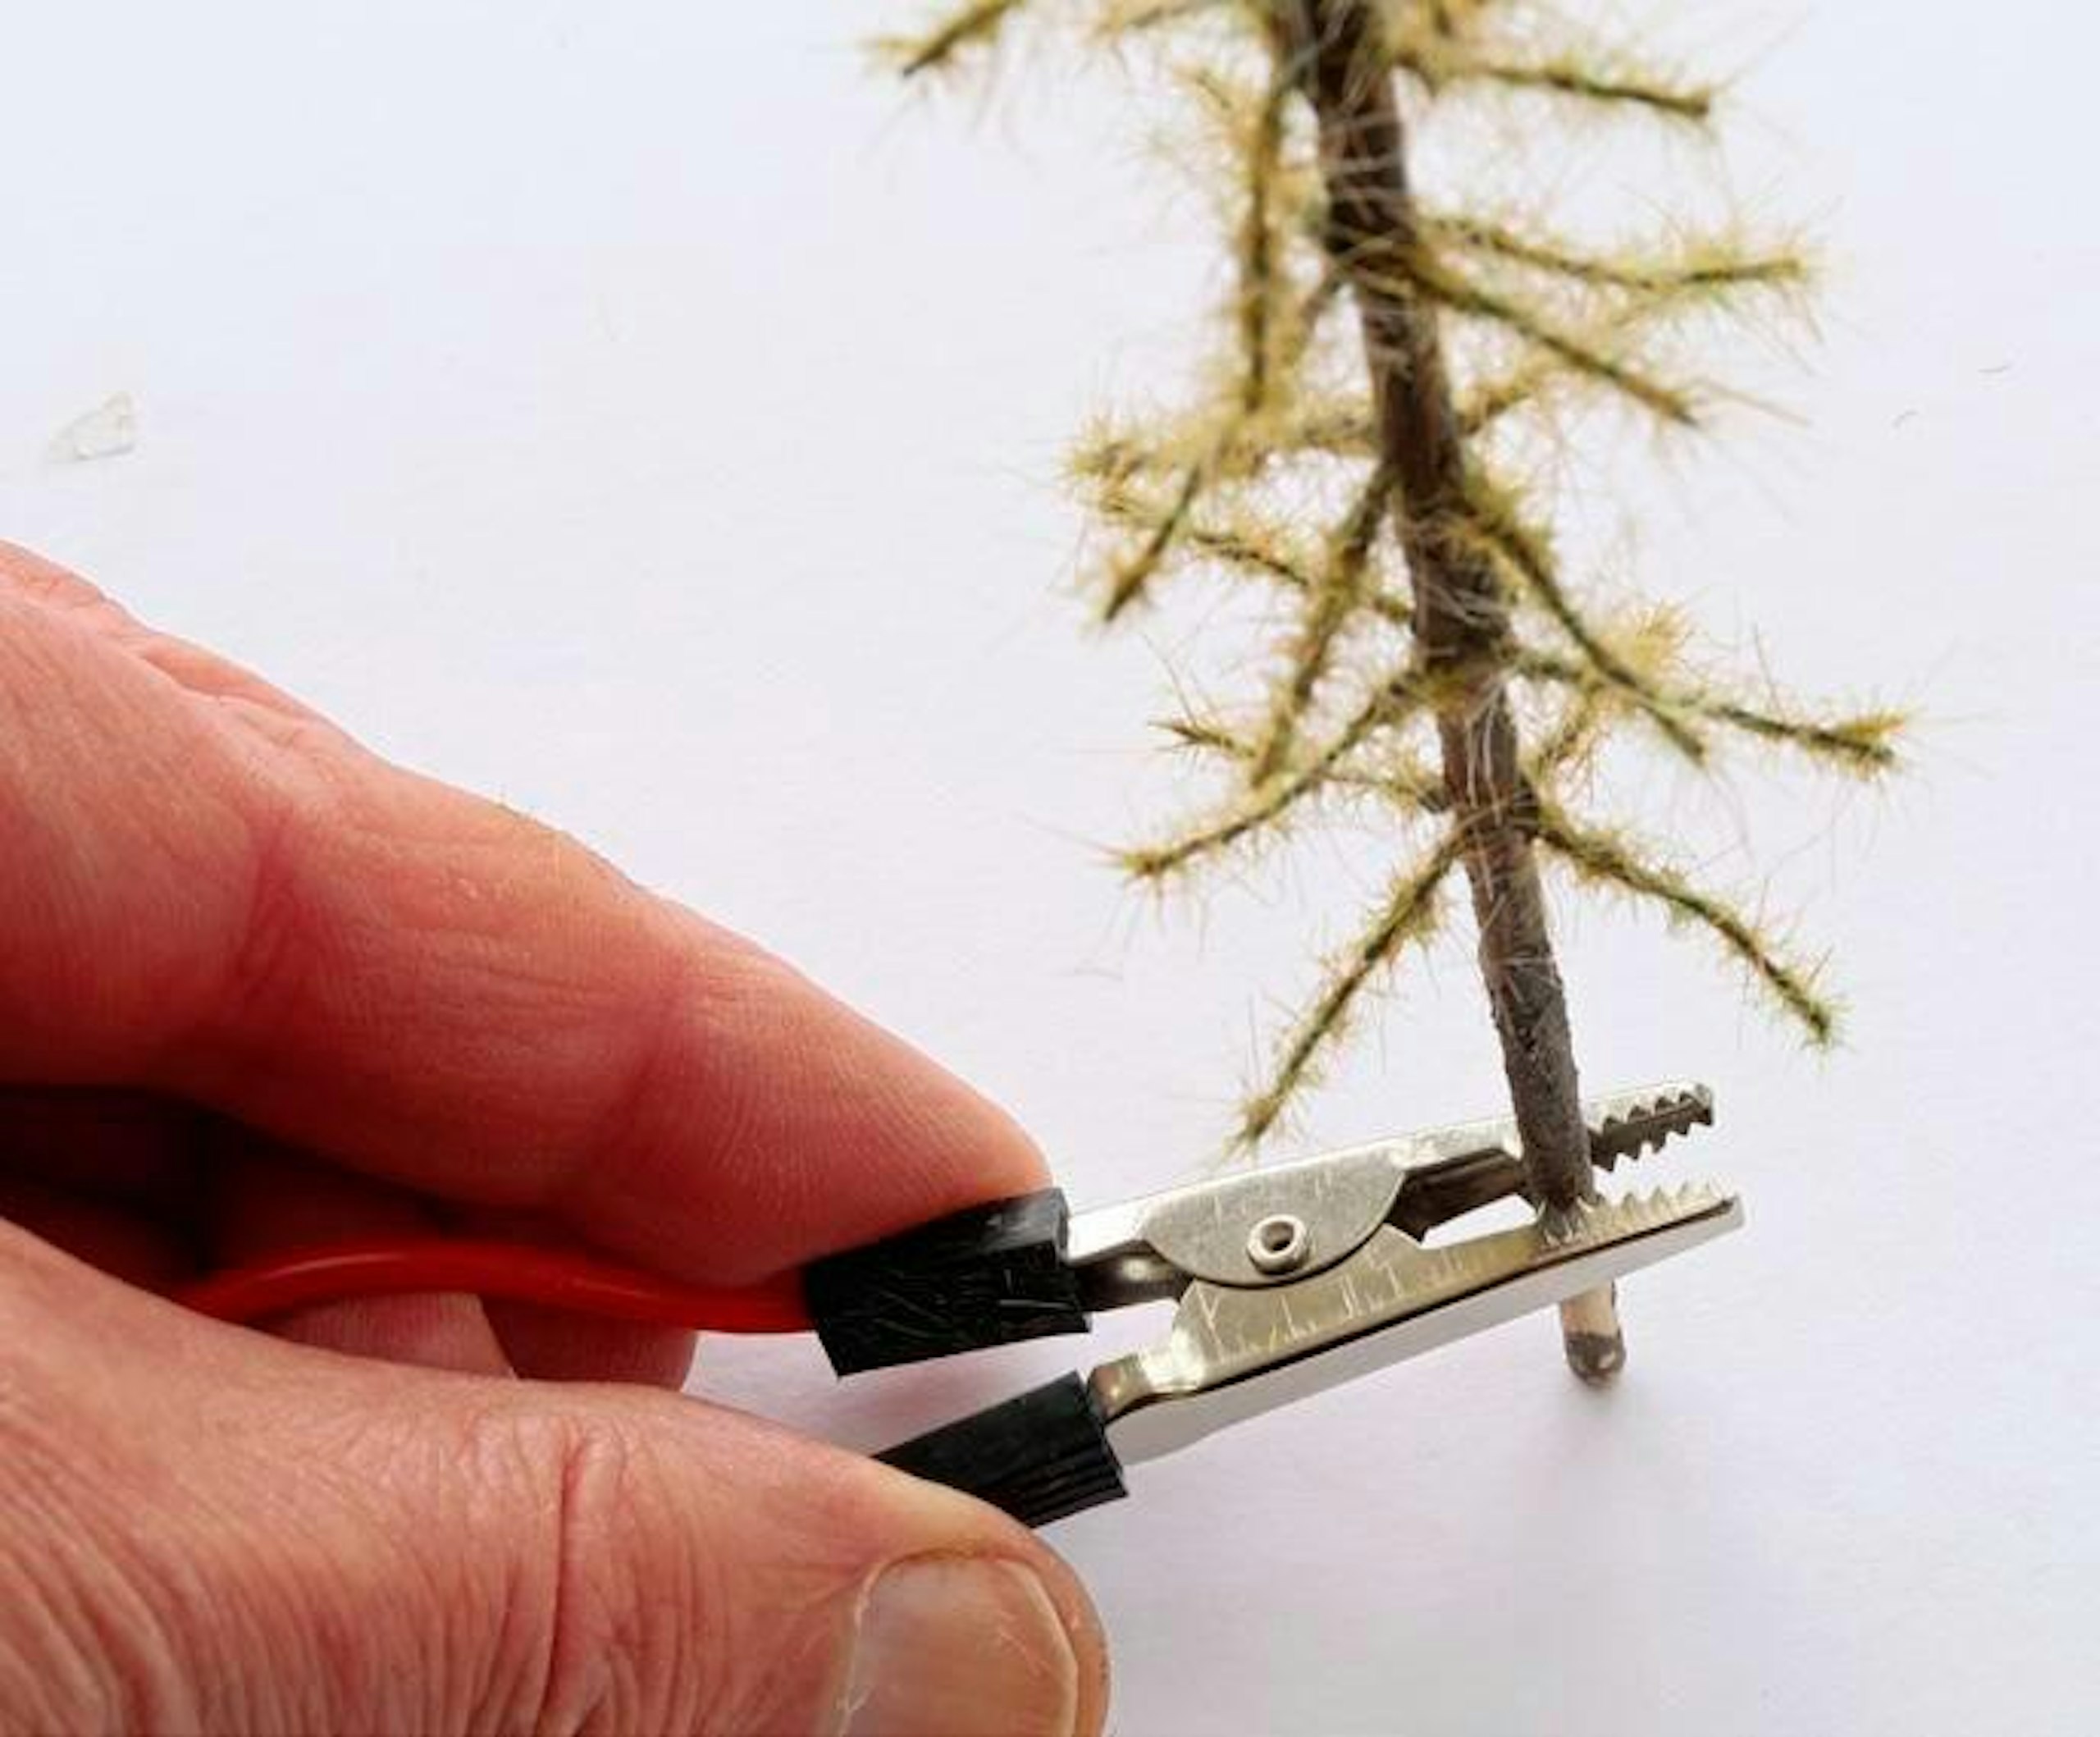
20 I added green static grass fibres to my Gras-Master and attached the grounding pin to the trunk to create the circuit before switching on.
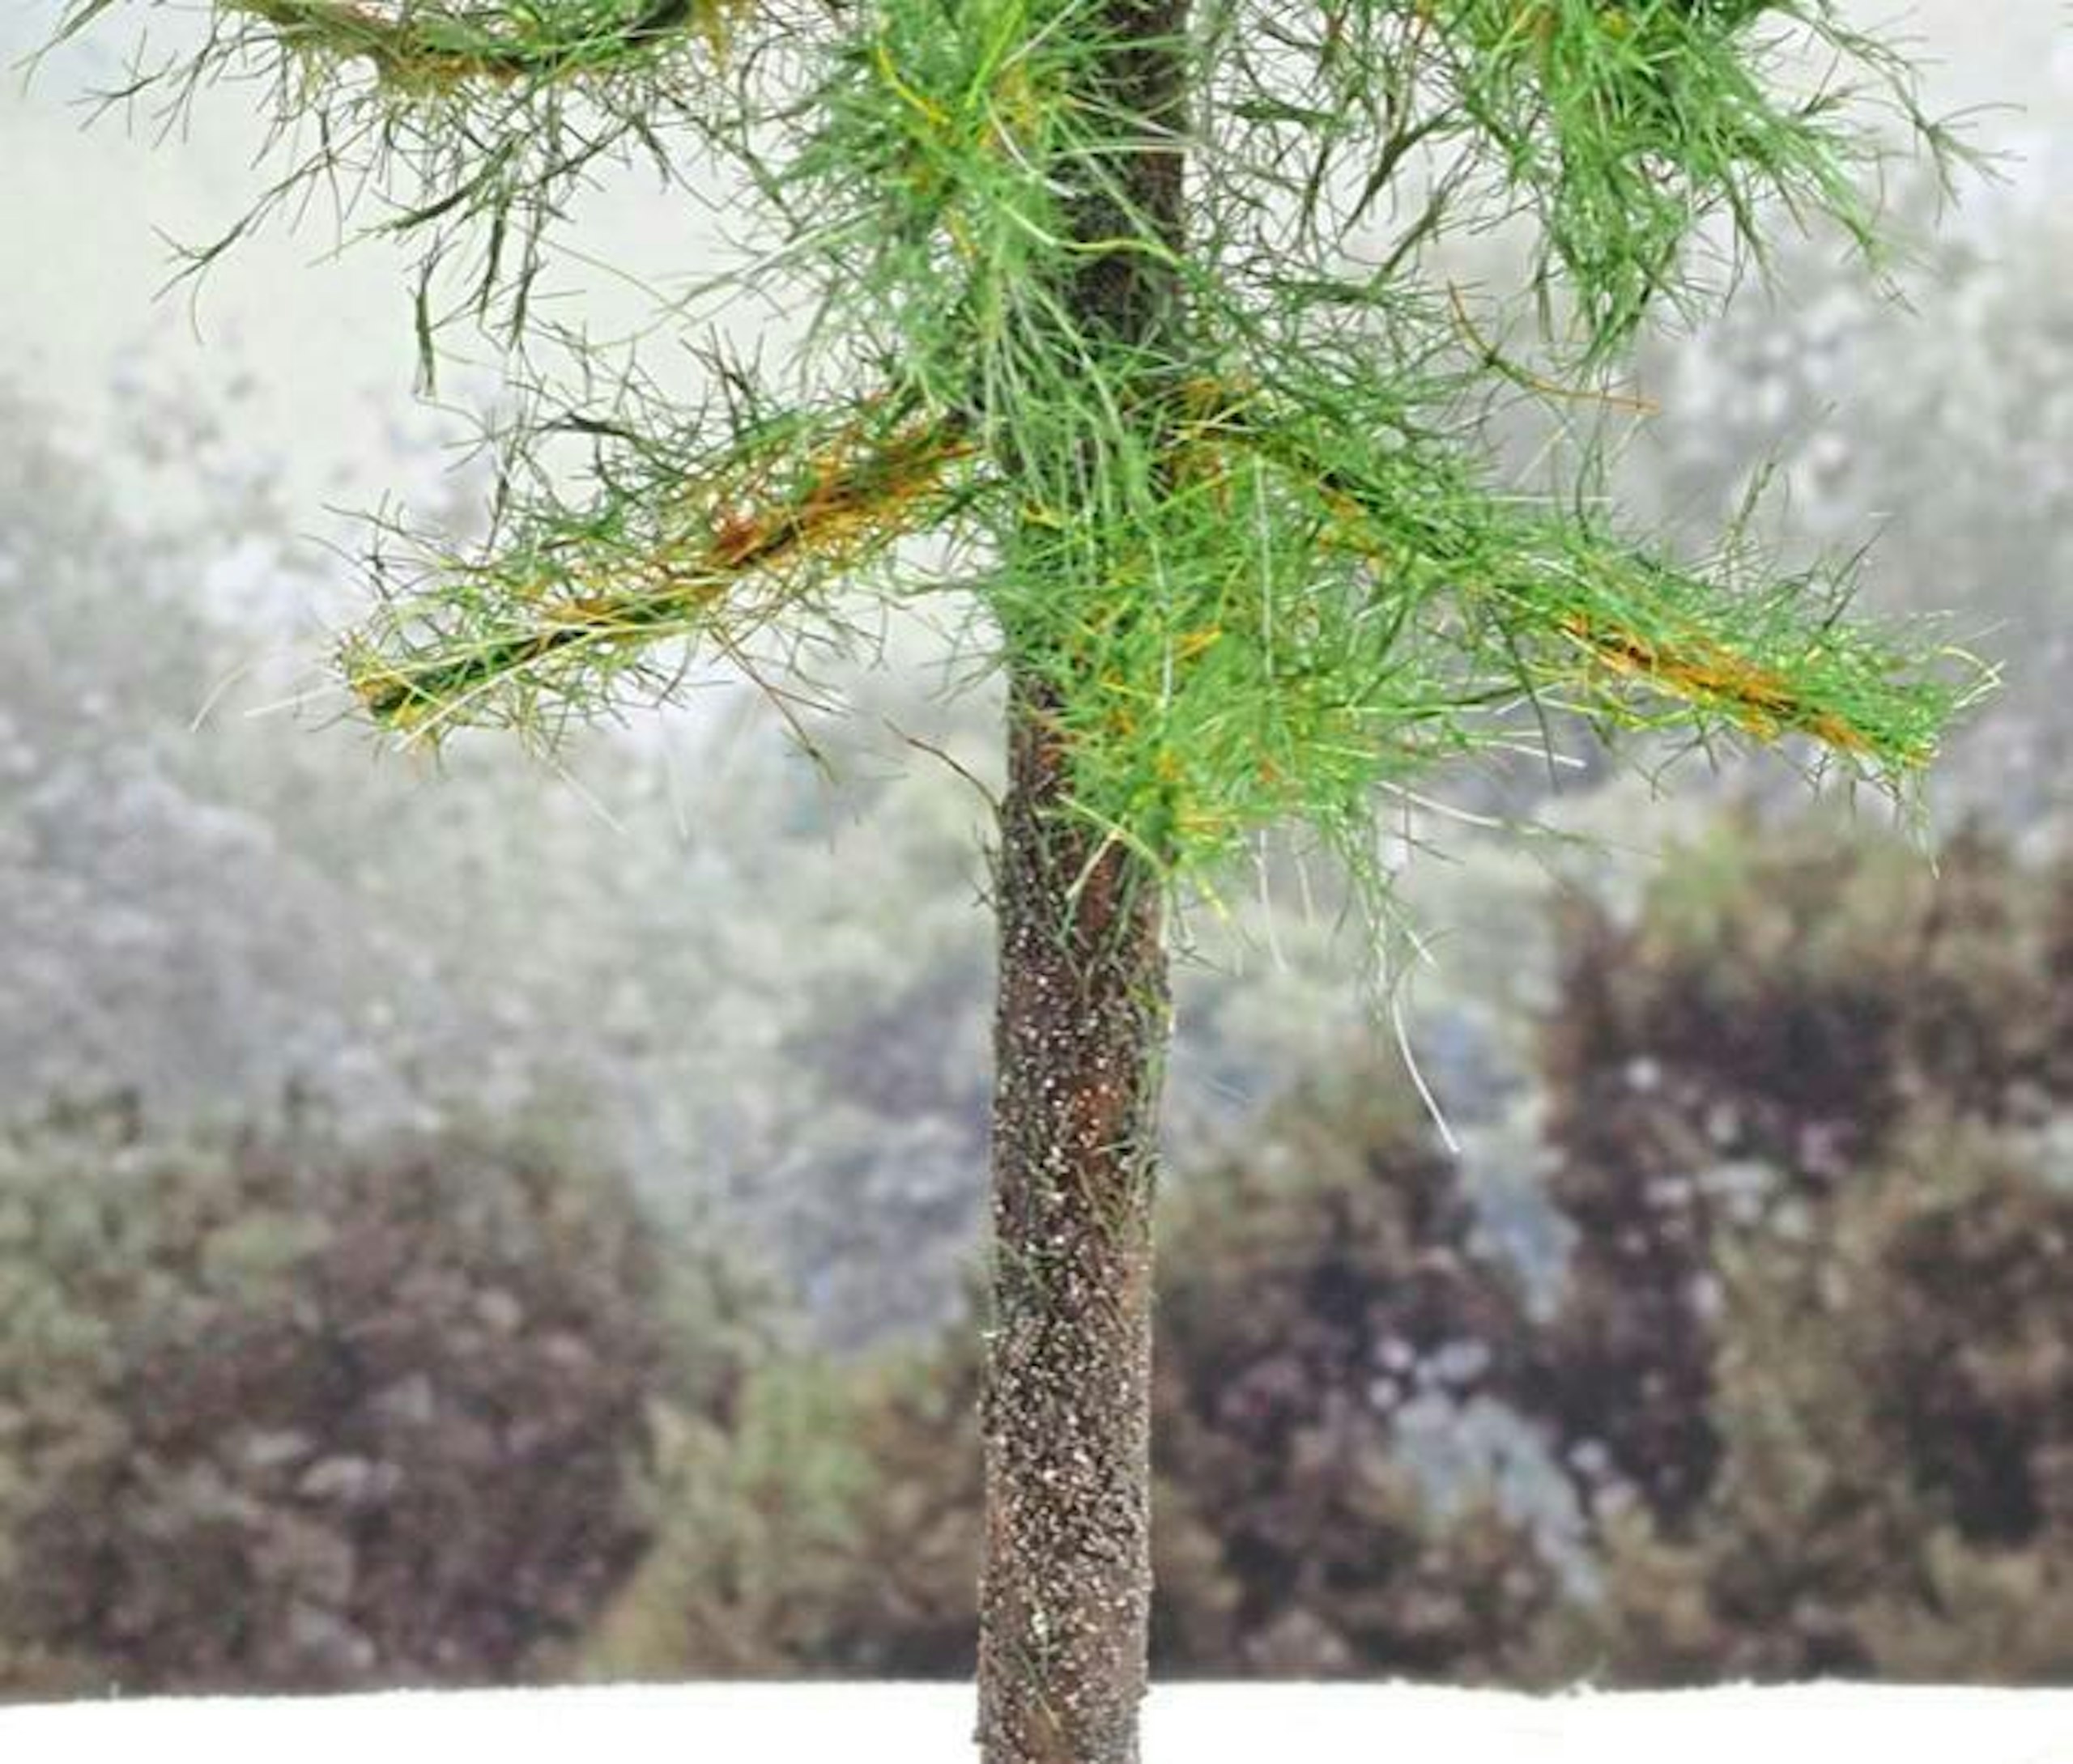
21 After just two minutes’ work, this was the result. The first two layers of brown fibres still show though and make a realistic colour variation on the branches.
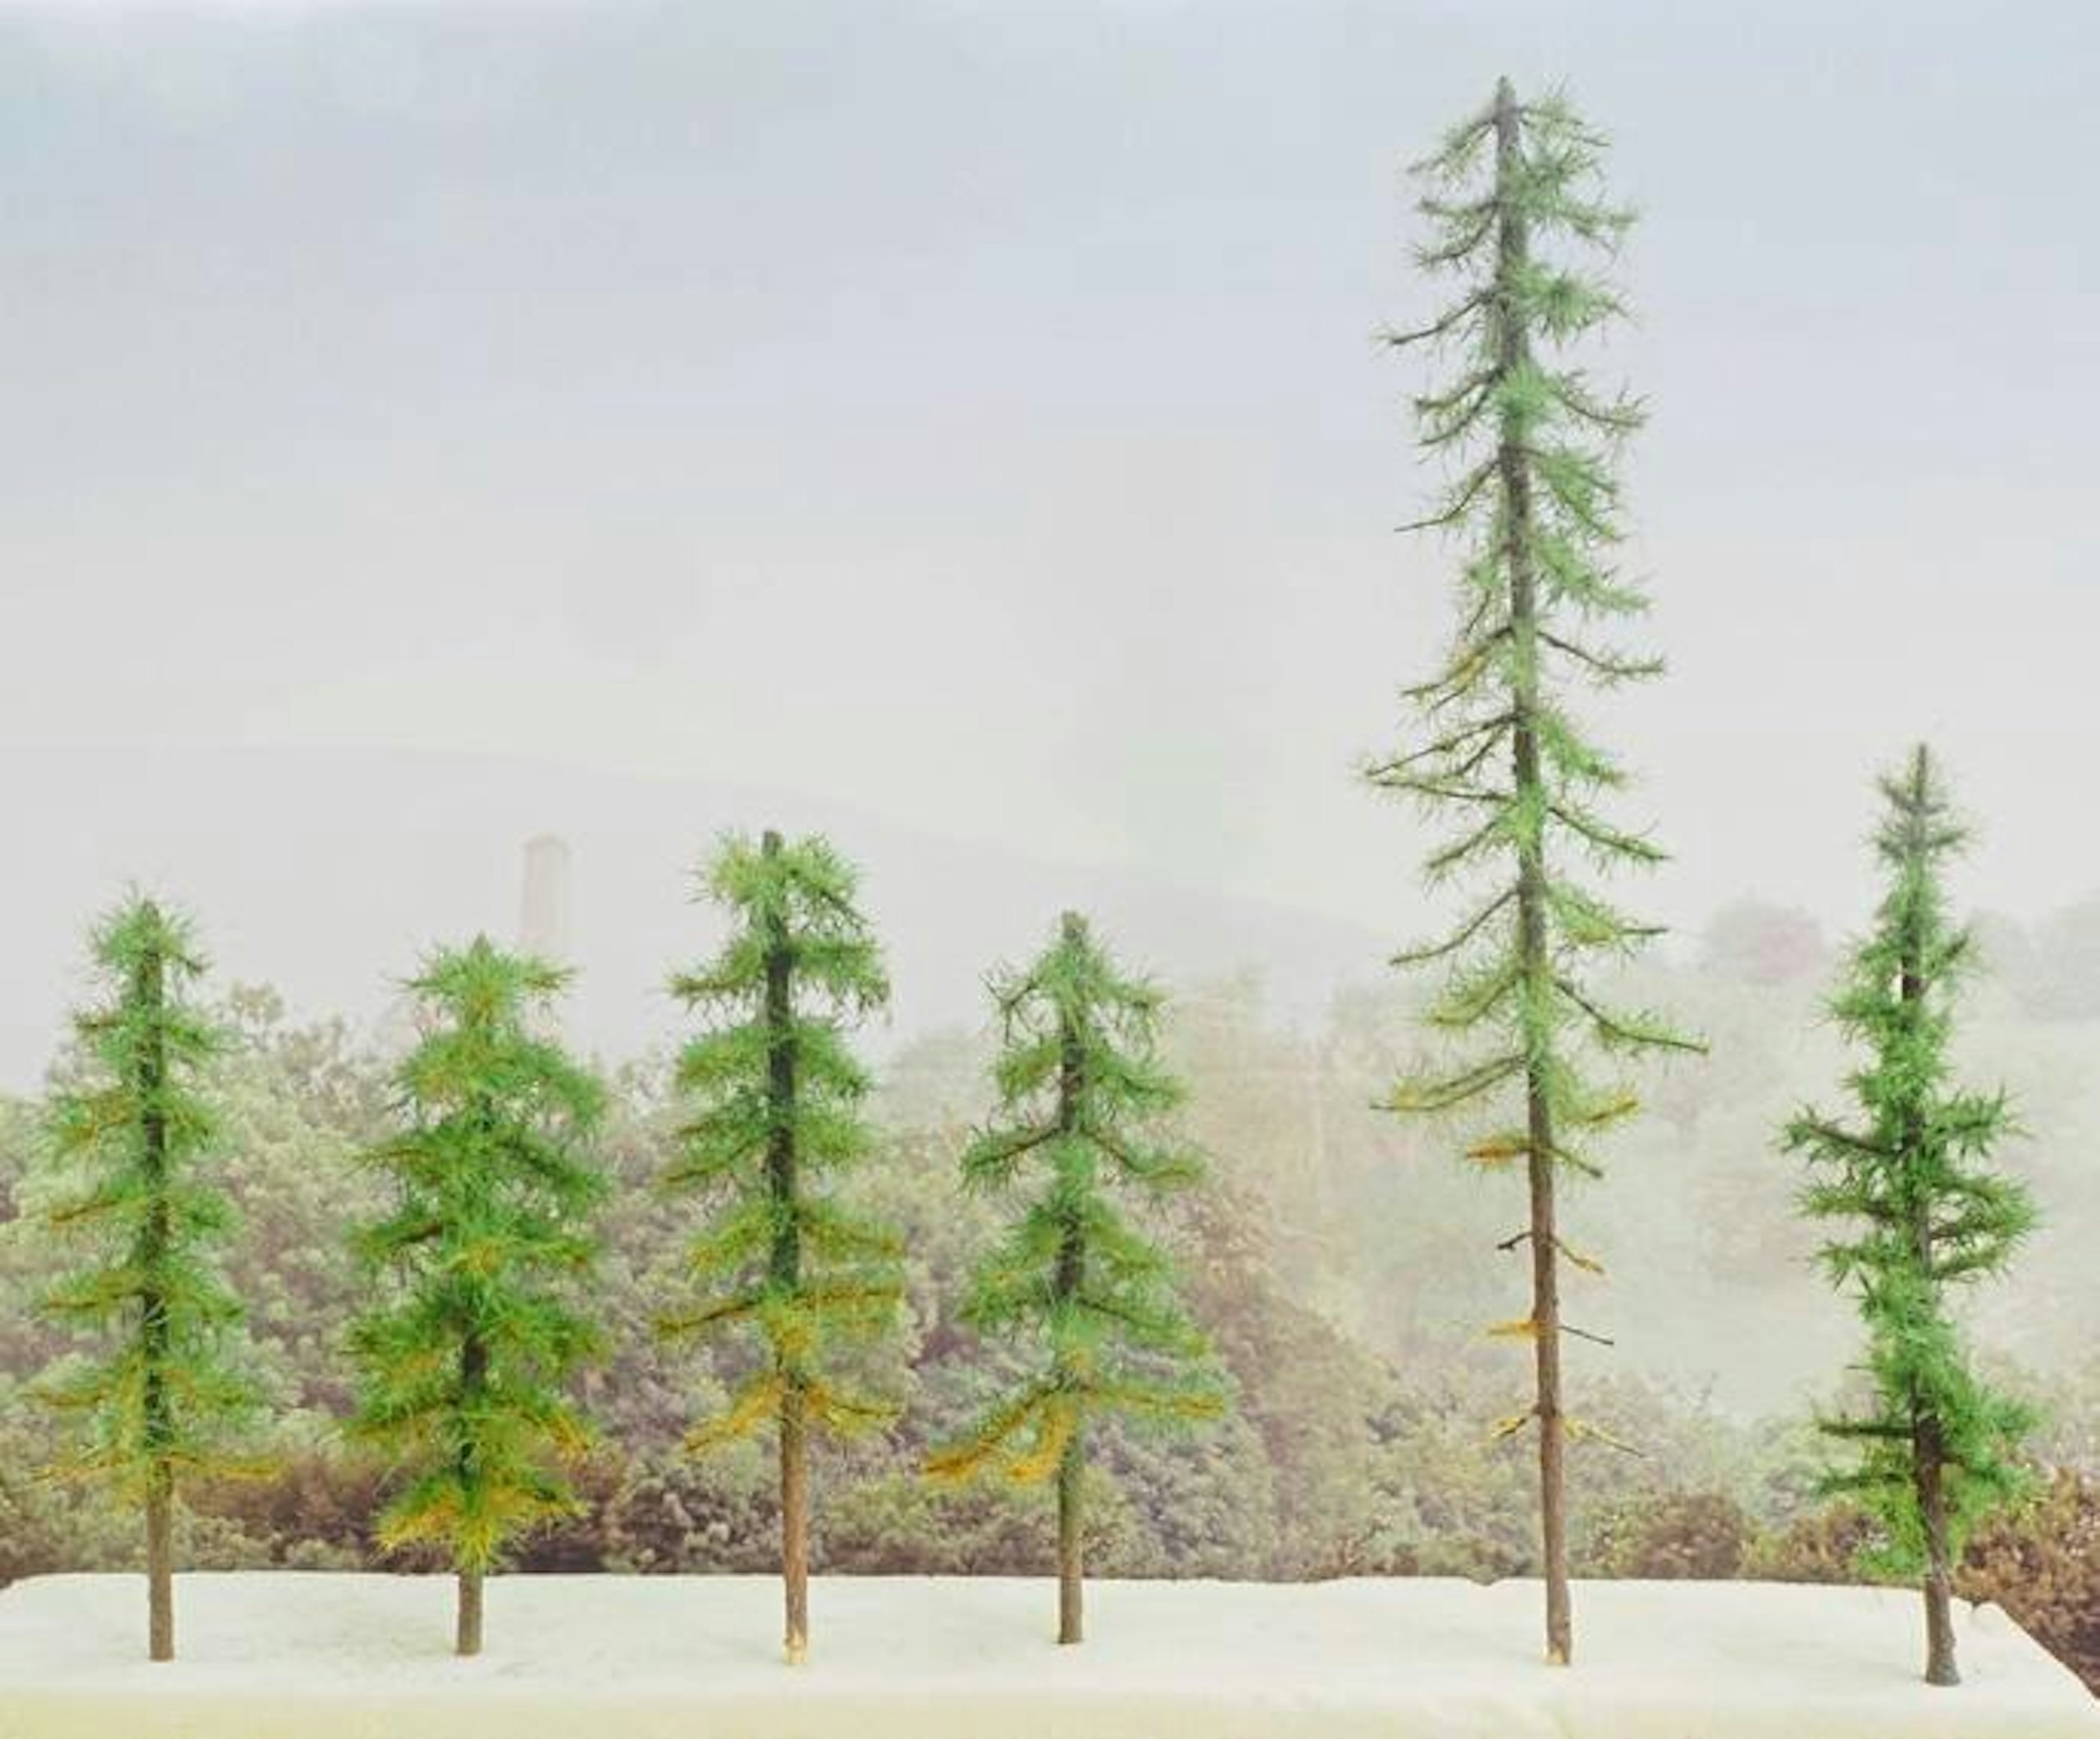
22 The first four trees are from the kit. The fifth is 23cm and needs more fibres. To the right is a plastic tree armature by Woodland Scenics that I used to test planting static grass fibres.
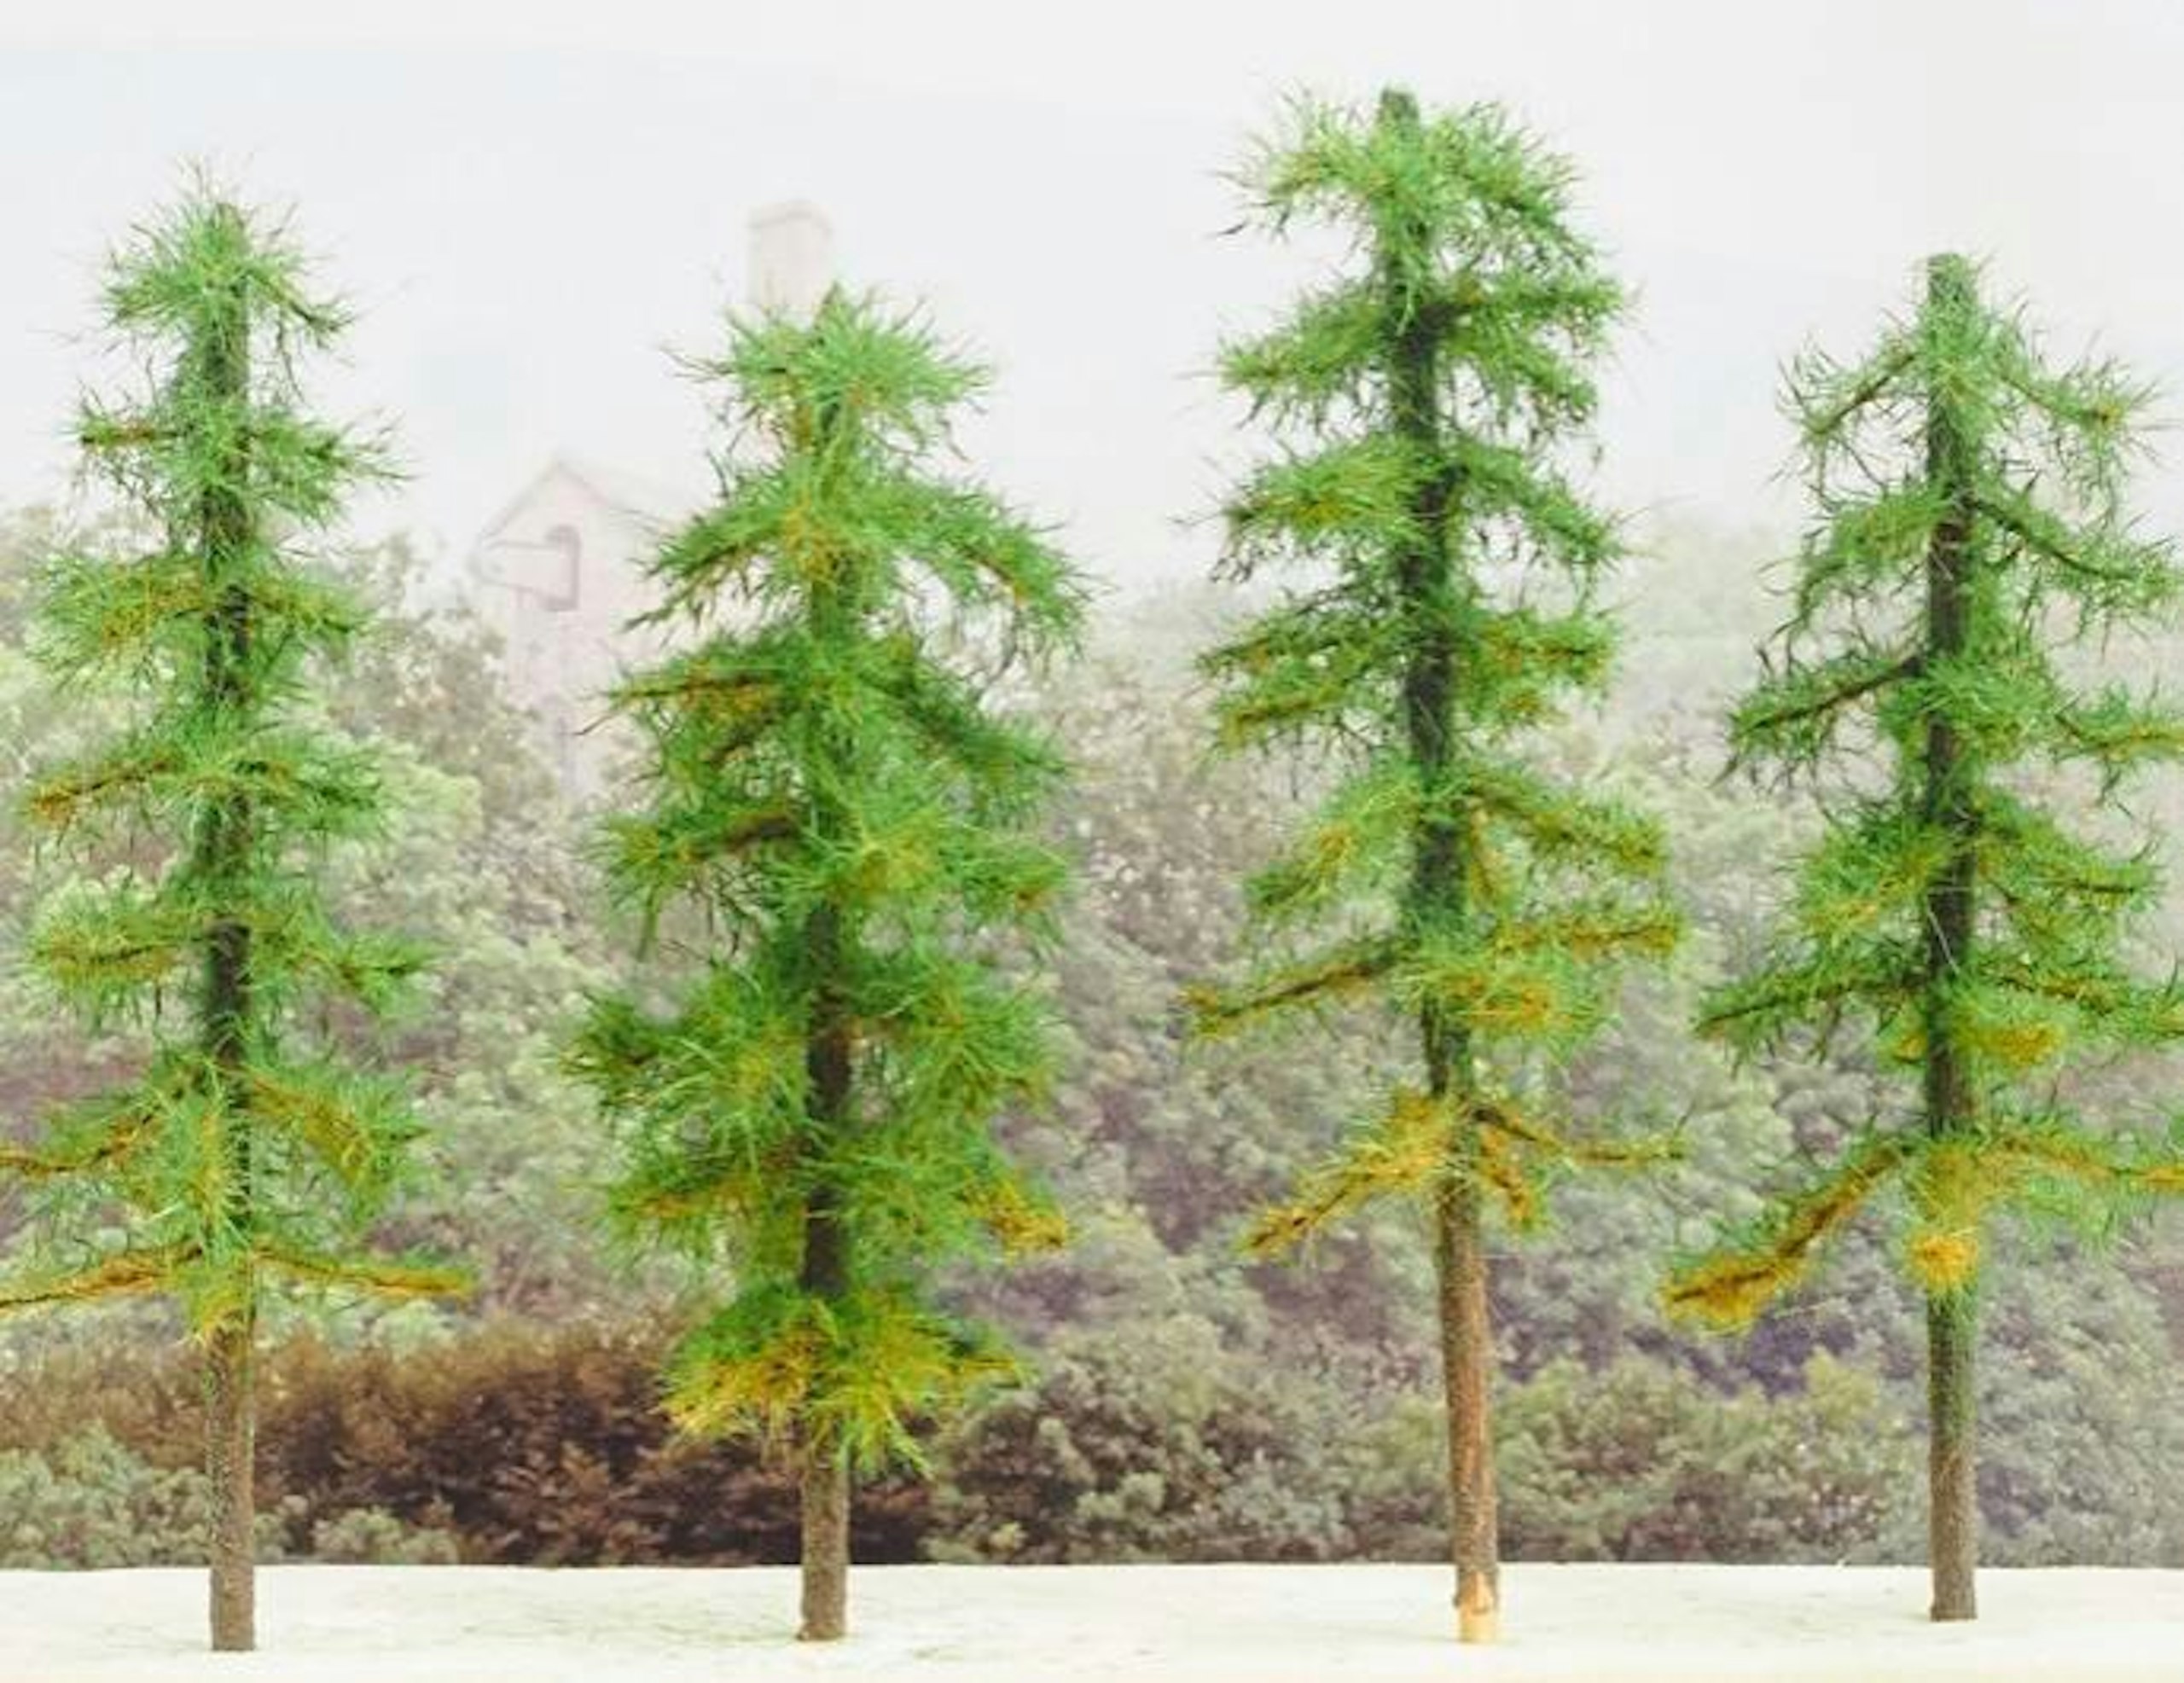
23 My 12cm tall trees built using the kit. The second tree on the left tree has an additional layer of green static grass fibres, which have filled out the foliage nicely.

24 Seen on a project layout: it is not necessary to add static grass fibres to each of the lower branches on taller trees. Leaving some bare creates the impression of dead old branches.
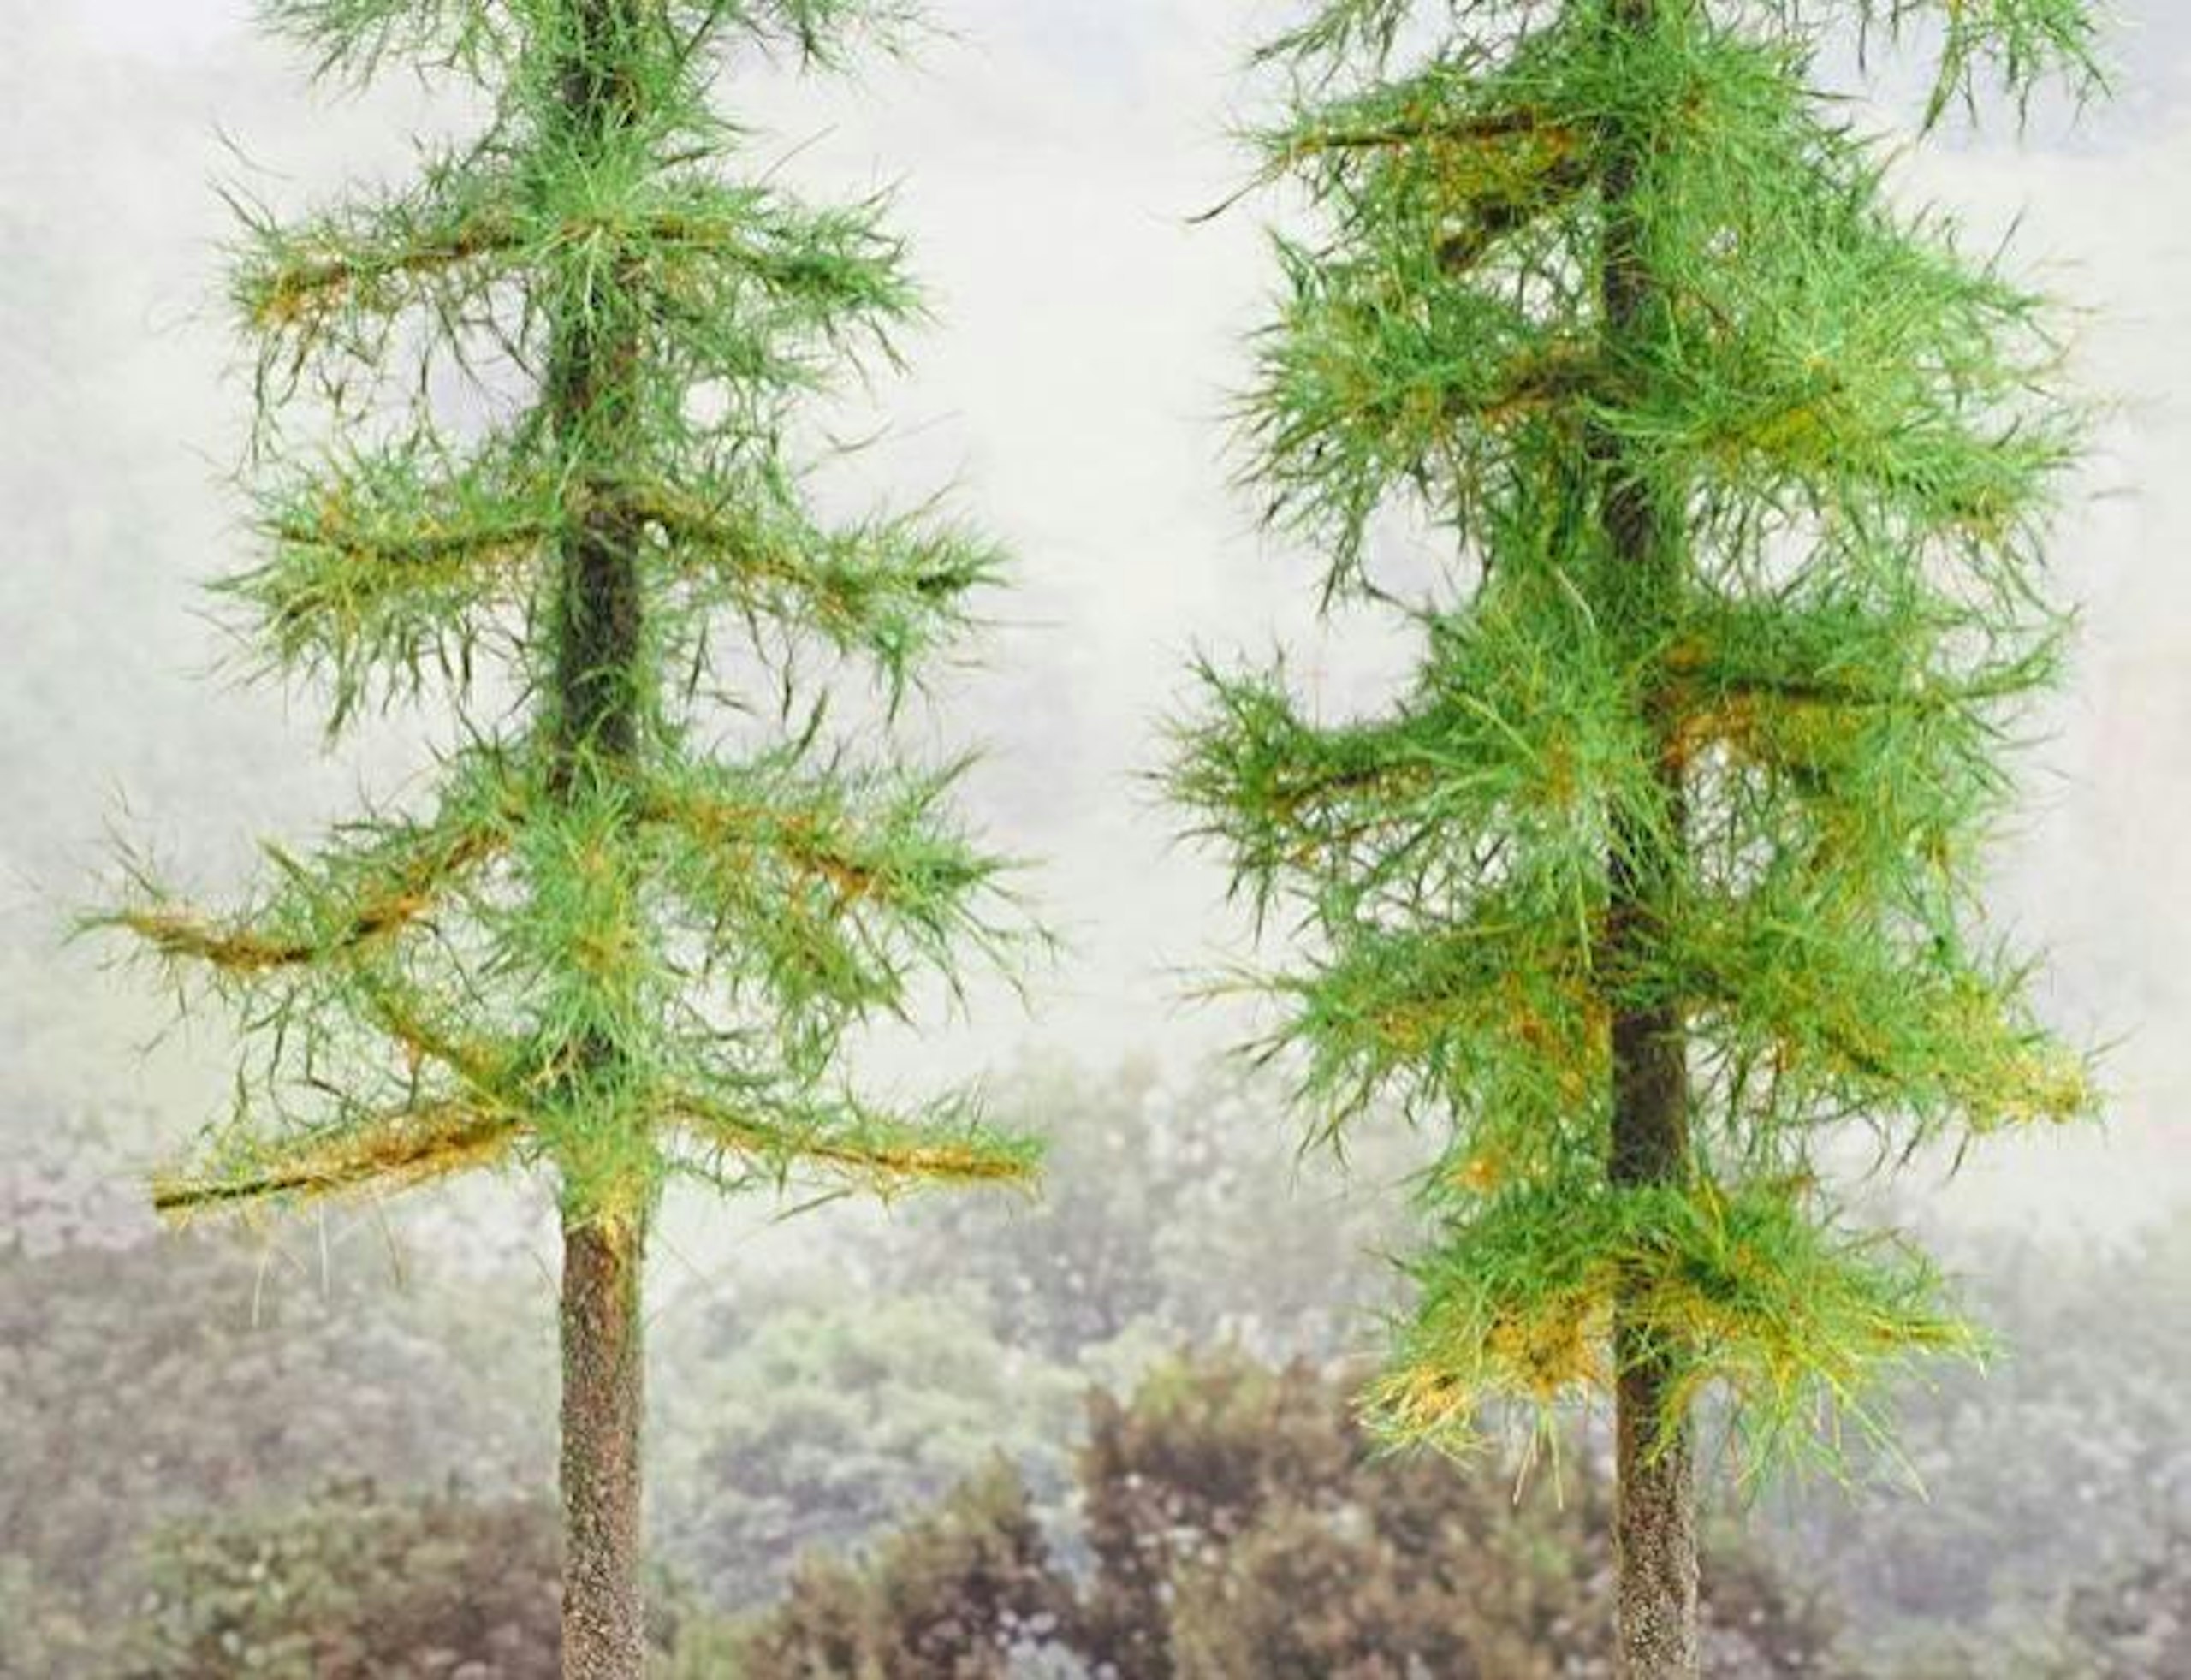
25 The tree on the right has had an extra layer of green static grass fibres. One 2mm layer of brown fibres then a 4mm layer is good as a basis for the two layers of green fibres.
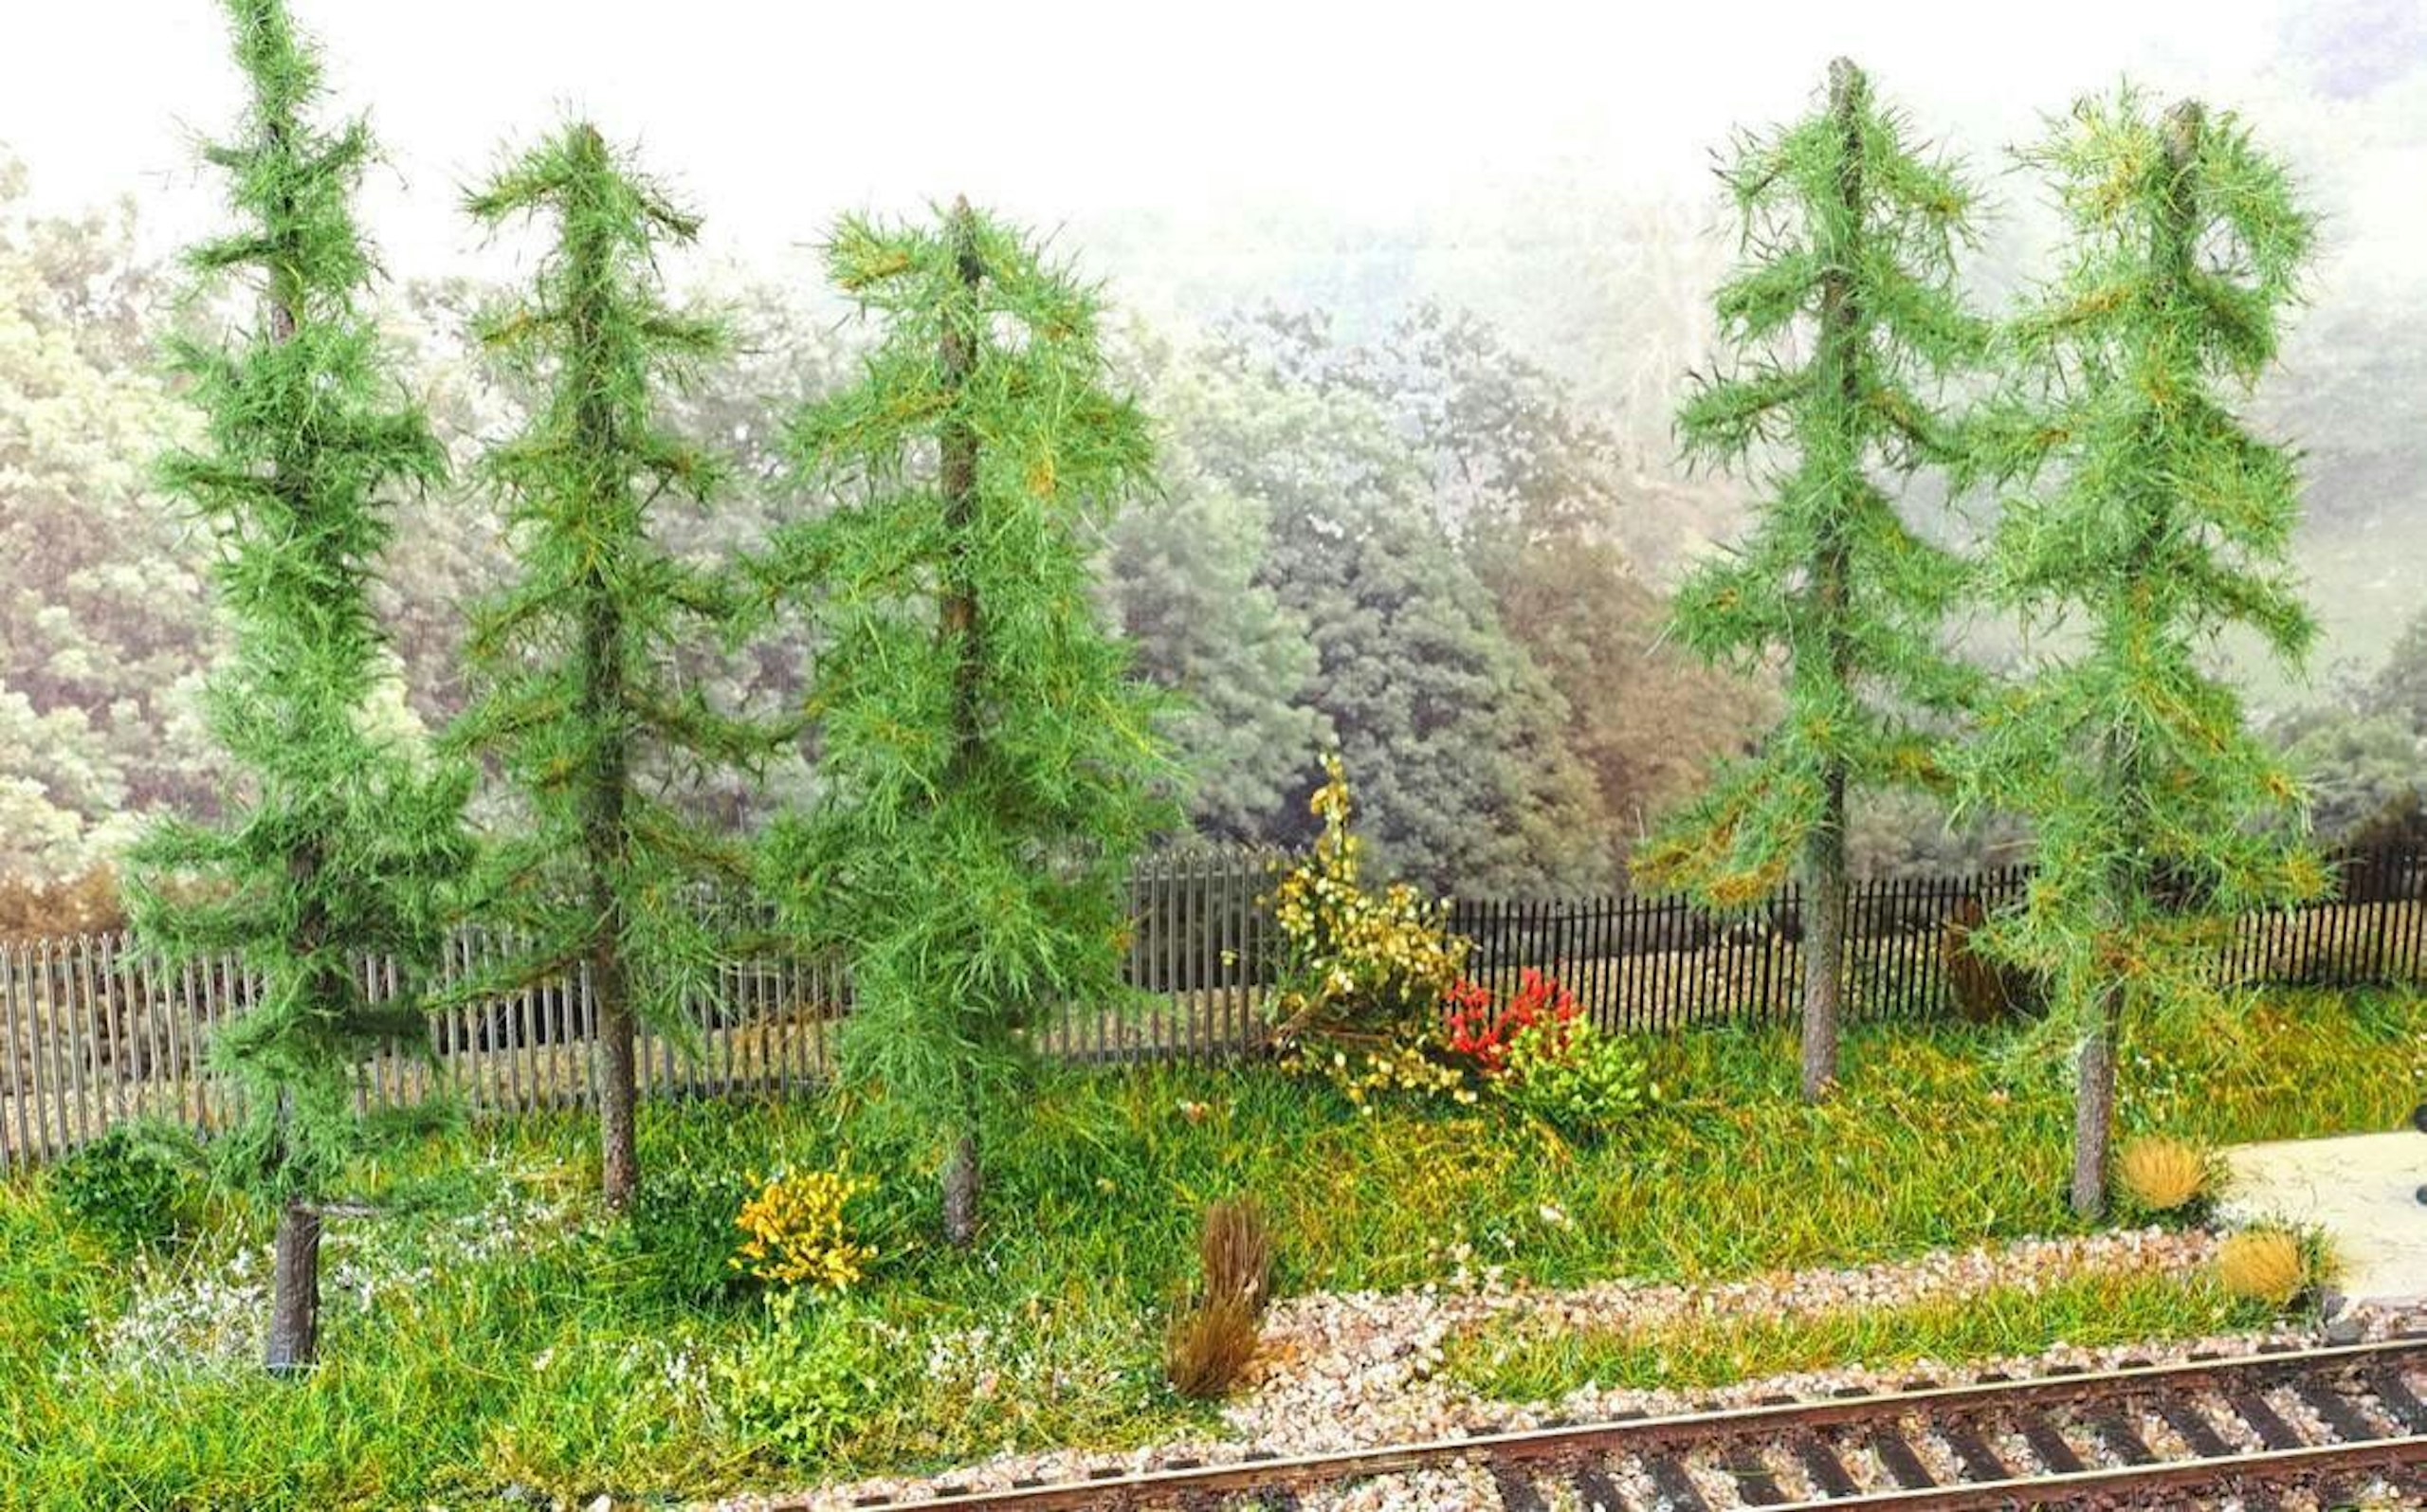
26 The finished woodland scene. I am impressed by the result! Each tree costs £1.50 (because I made 20 trees from the kit rather than the supplied 10) – and this cost also included the paint, adhesive, and the grass fibres I used.
Expert tip
Do your research as to which trees are native to your layout, and which can be seen in the vicinity of the track if your layout is based on an actual location. Look at photographs of the area and, if possible, take your own images from various angles and lines of perspective to help you plan. Think too about each the type and age of your trees, and again, do your research. As a guide, a silver birch can grow to 30m, which is around six times the height of a locomotive. Beech trees grow up to 40m in height.
Subscribe to a Model Rail Print+ Subscription today and you'll get instant digital access, PLUS FREE UK delivery so you will never miss an issue.