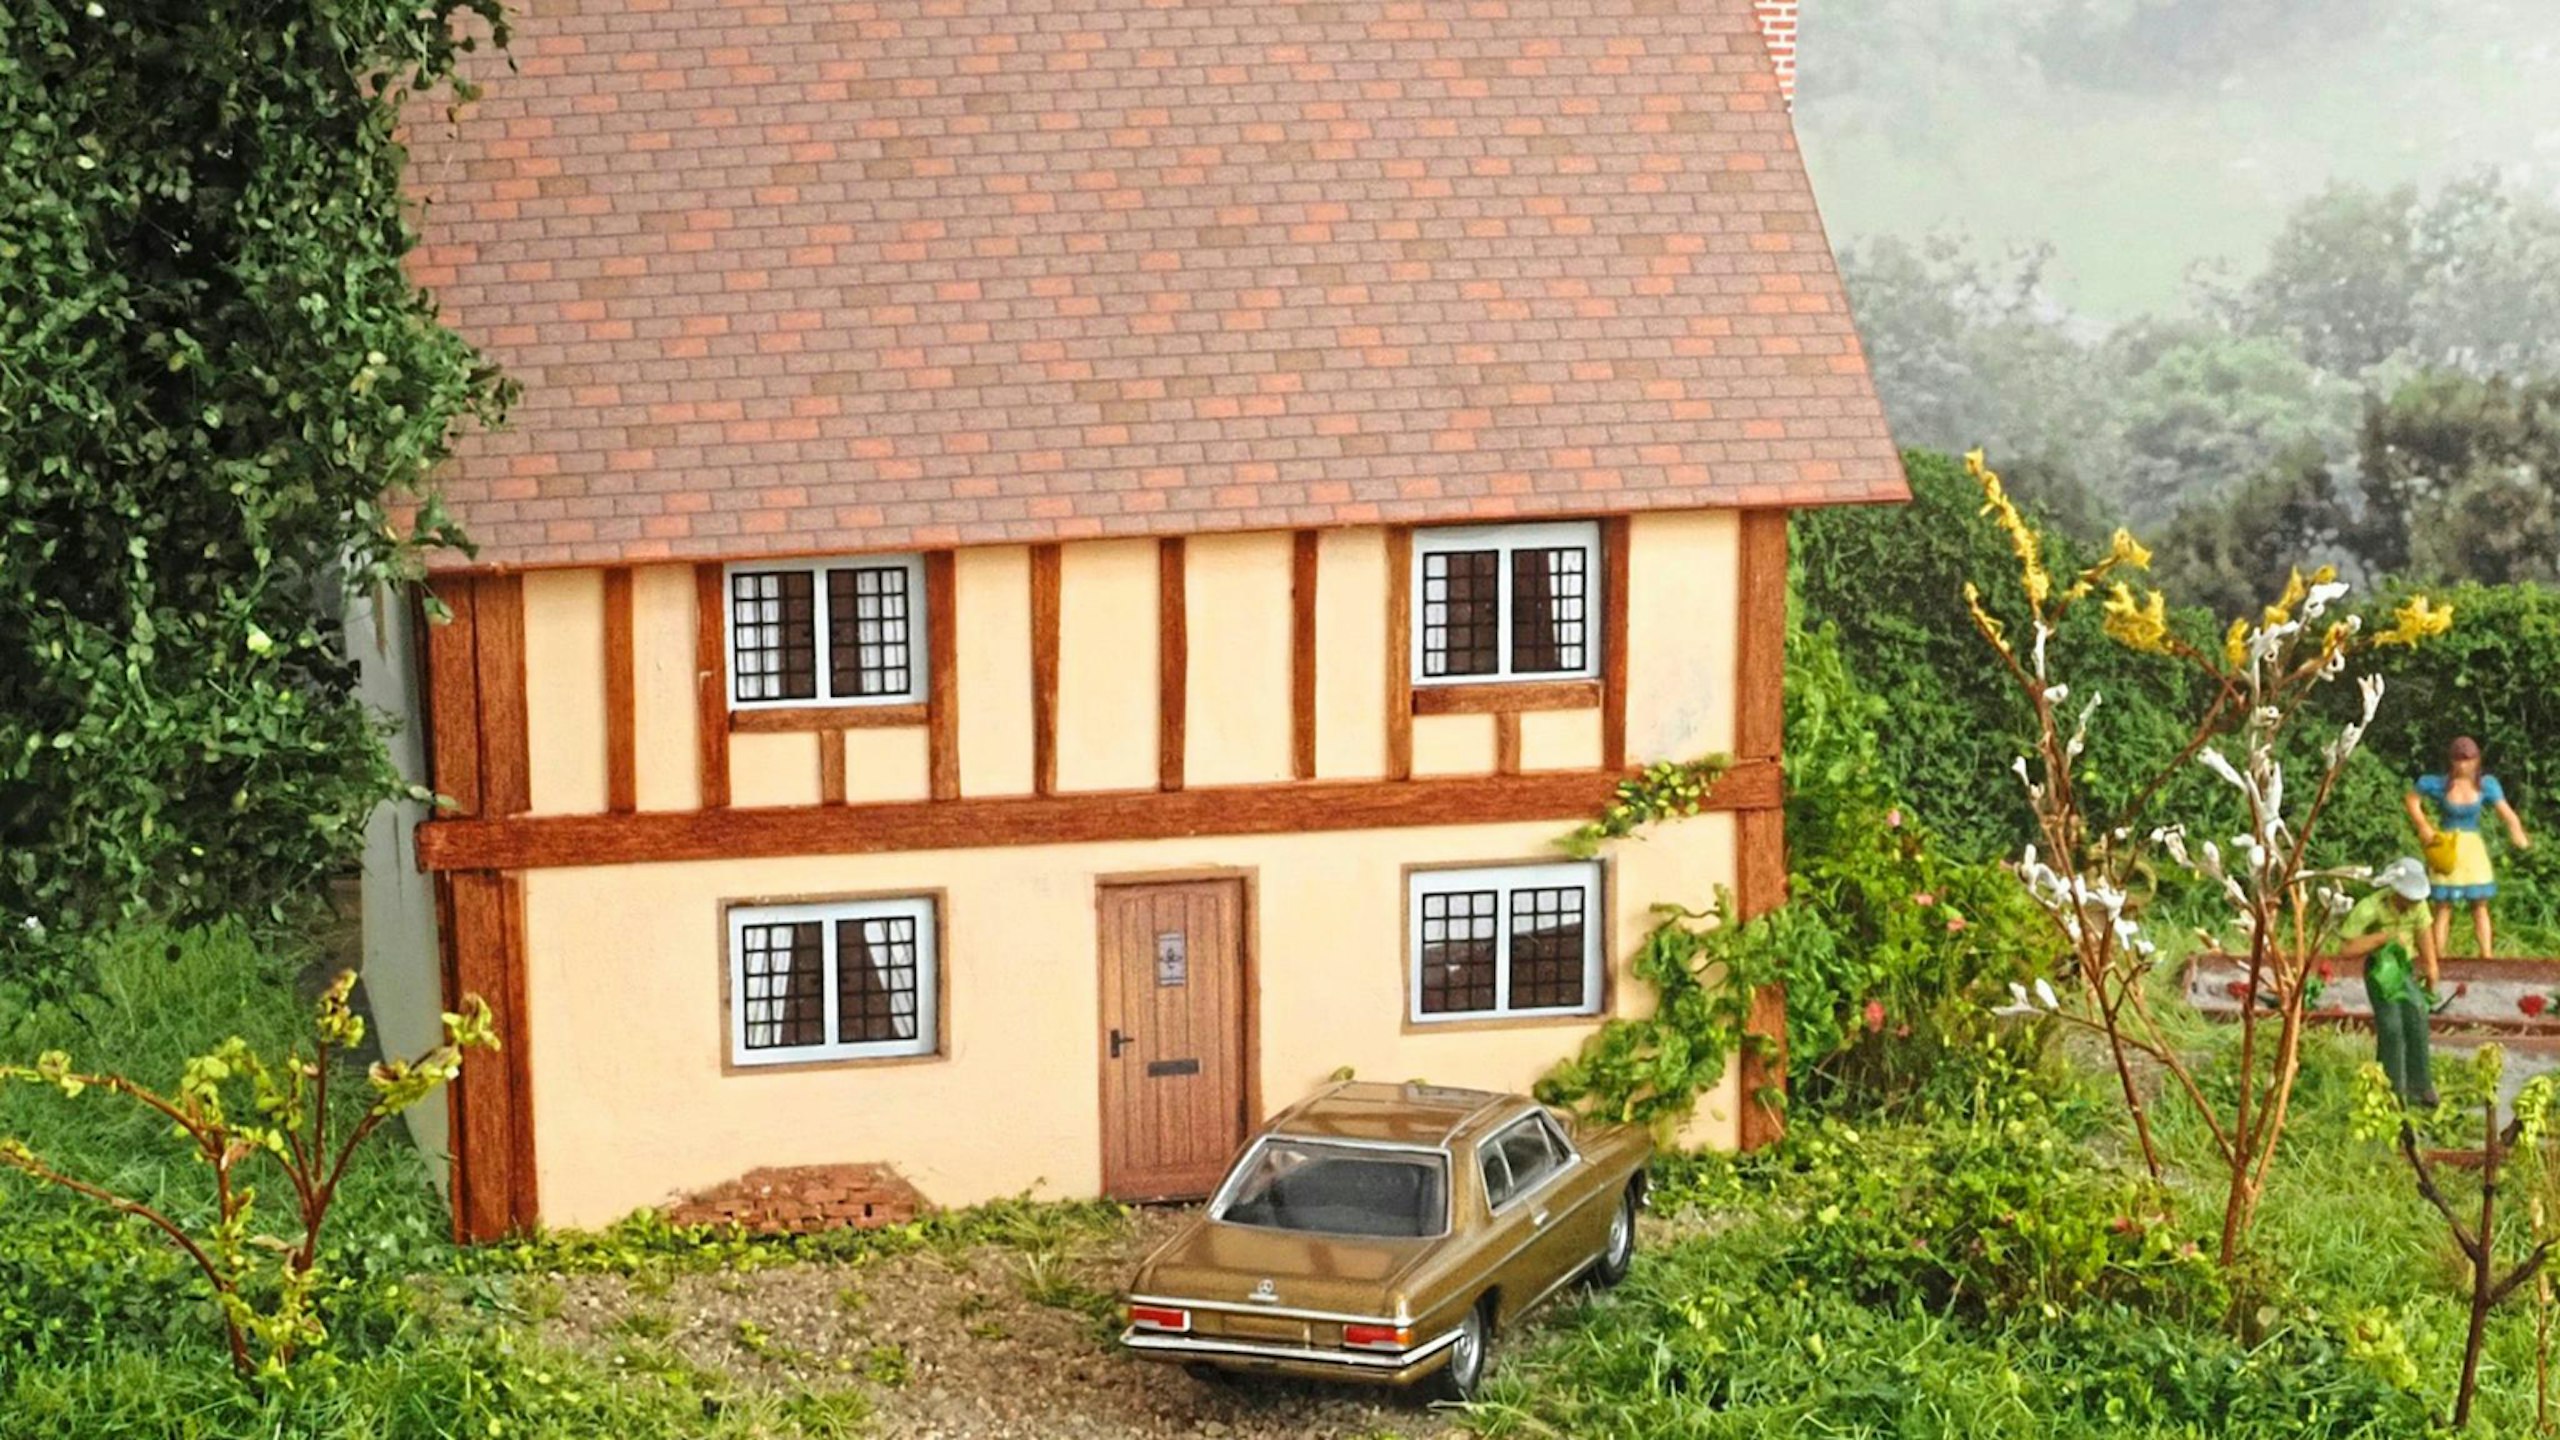
Workbench
Peter Marriott brings the outside in as he takes a simple card kit and gives it the full Gardeners’ World treatment.
PHOTOGRAPHY: PETER MARRIOTT
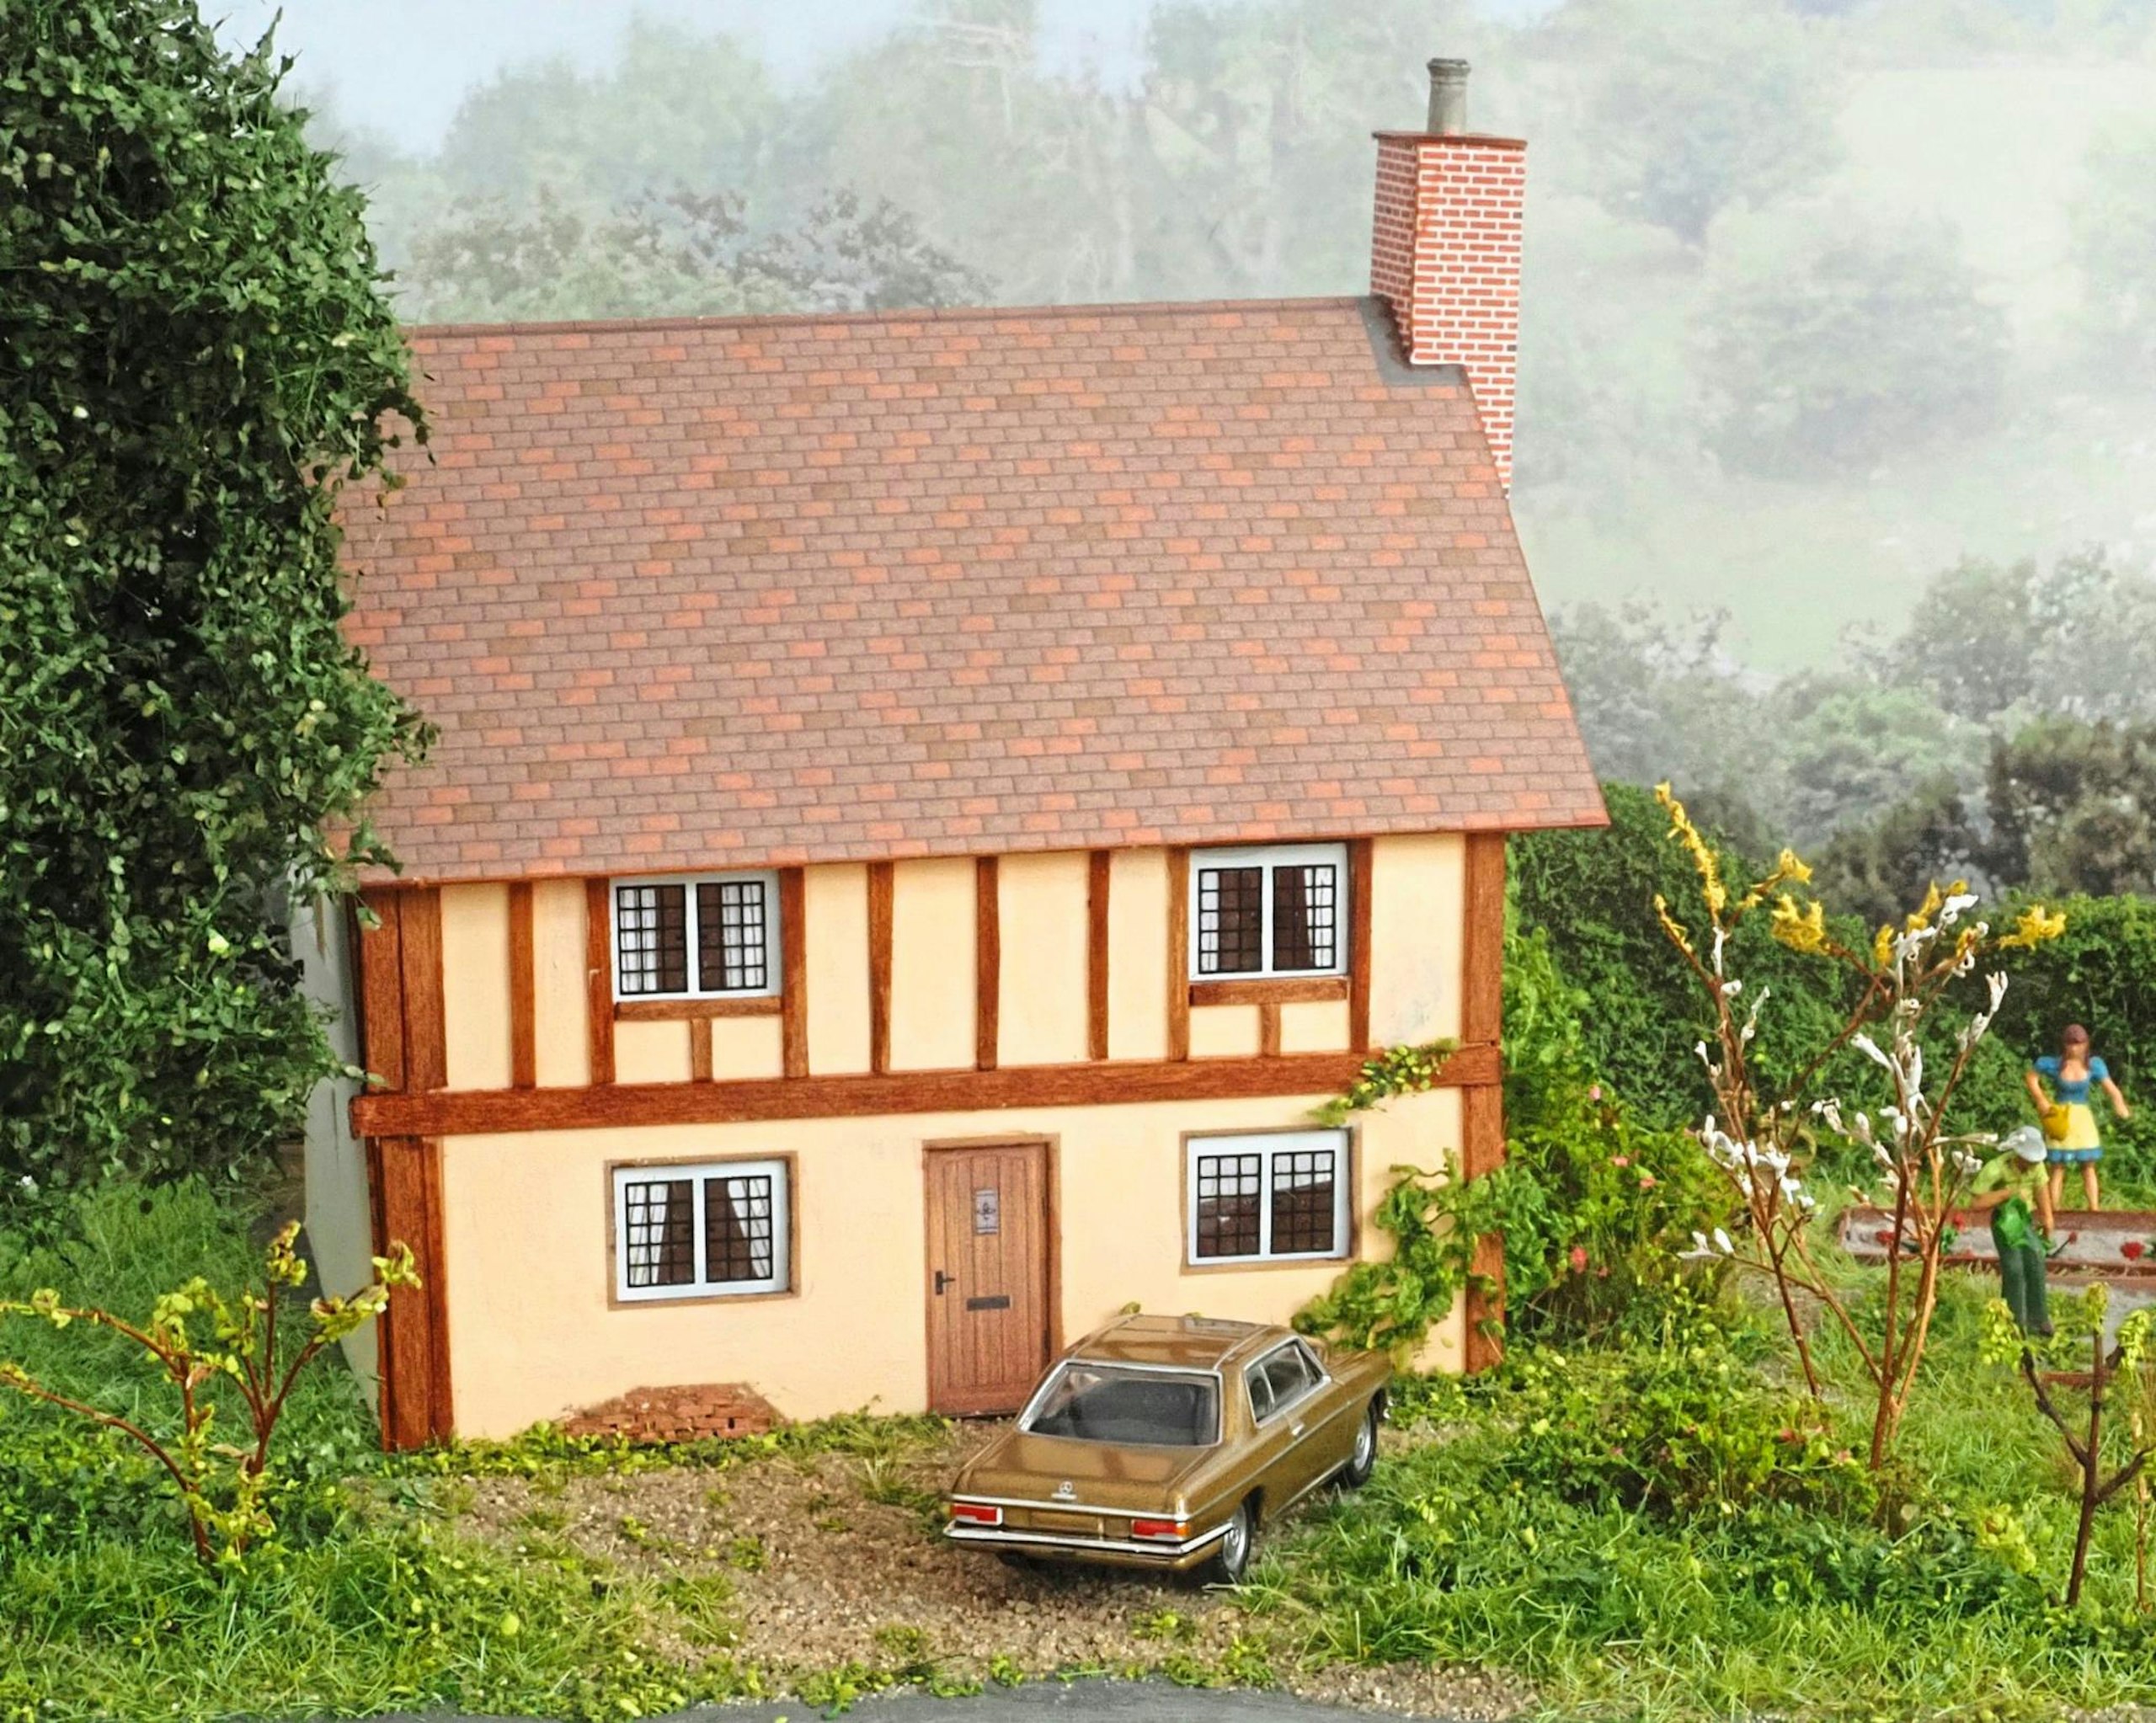
The Forge Cottage was created from part of a larger card kit from Barleycorn Designs, with a few extra modelling flourishes by Peter.

I had heard about Barleycorn Designs’ card kits, but never actually built one. However, their eye-catching price (a mere £5) led me to wonder how they went together. These kits have been available since 2010 and can be bought through model shops. Each ‘cottage’ features exterior and interior walls and floors, with embossed tiles on the roof and printed plastic glazing. Details of fireplaces, pictures and curtains are also included. At first glance, the card appeared to be well cut, and I anticipated that the build would create a strong structure.
The kits come with a detailed set of instructions permitting the roof and top floor to be made to lift off, so the interiors can be accessed after construction. Individual rooms can also be lit with LED lights.
The basis for the cottage on this diorama was part of the Old Forge cottage kit. The kit can be built in its entirety (making a 240mm long structure) to represent a forge and cottages, but I opted to construct just the cottage.
To add visual interest, I decided to add areas of exposed brickwork. This was not something I’d tried to model before, but I had some mid-red bricks by Juweela. These are nicely made and come in different scales and colours.
Another enhancement I made to the exterior was to add strips of basswood over the printed rendering of exposed timbers. This would give the walls more of a three-dimensional appearance, while adding natural grain texture.
GETTING GREEN FINGERS
In addition to the card kit, I had come across some interesting scenic materials in the same model shop – Scale Models Centre of Roughton, Norfolk – which I was keen to add to the build (find out more at www.scalemodelscentre.co.uk).
First, I came across an unusual material intended to represent climbing plants or vines. It looked like the usual foam pieces attached to a thin plastic web, but, on taking it out of the pack, I realised it was a woollen fibrous material, a bit like a woollen scarf, in that when teased out, it breaks down into strands, with a leaf-like effect attached to them.
This is a novel material I couldn’t wait to use as brambles, tree foliage, climbing plants and the like. I made the decision to use white glue that dries clear when attaching it to a branch or wall. At just £2.50 a pack this seemed worth experimenting with.
Next, I came across a pack of small natural twigs with foliage suitable for making branches and small, delicate trees for various seasons. The material comes with dainty ‘trunks’ or branches, and various coloured fine scatters can be added to the ‘flowers’ on top of a little white glue. Potentially, these are useful as blossom bushes or small trees, and the entire material can be sprayed with deep brown or black acrylic paint to vary their appearance. I looked forward to working with this natural material as it’s not a plastic or other man-made fibre.
All in all, I was pleased with my new ‘finds’ and keen to design a typical summer garden scene, worthy perhaps of a Gardeners’ World mention!
What Peter used
SHOPPING LIST
● Juweela 27034 mid-red bricks, basswood strip and various scenic materials
Availability: Model Scenery Supplies
Web: www.scalemodelscentre.co.uk
● Woodland Scenics static grass fibres, scatter materials and glues
Availability: Bachmann stockists
Web: www.bachmann.co.uk
● Noch Gras-master 4.0 electrostatic grass applicator, Grass Stamp set
Availability: Noch stockists
Web: www.gaugemasterretail.com
TOOLS
● Modelling knife and spare blades
● Cutting mat
● Steel rule
● Tweezers
● Paintbrushes
● Felt-tip pens
STEP BY STEP: ENHANCING THE COTTAGE
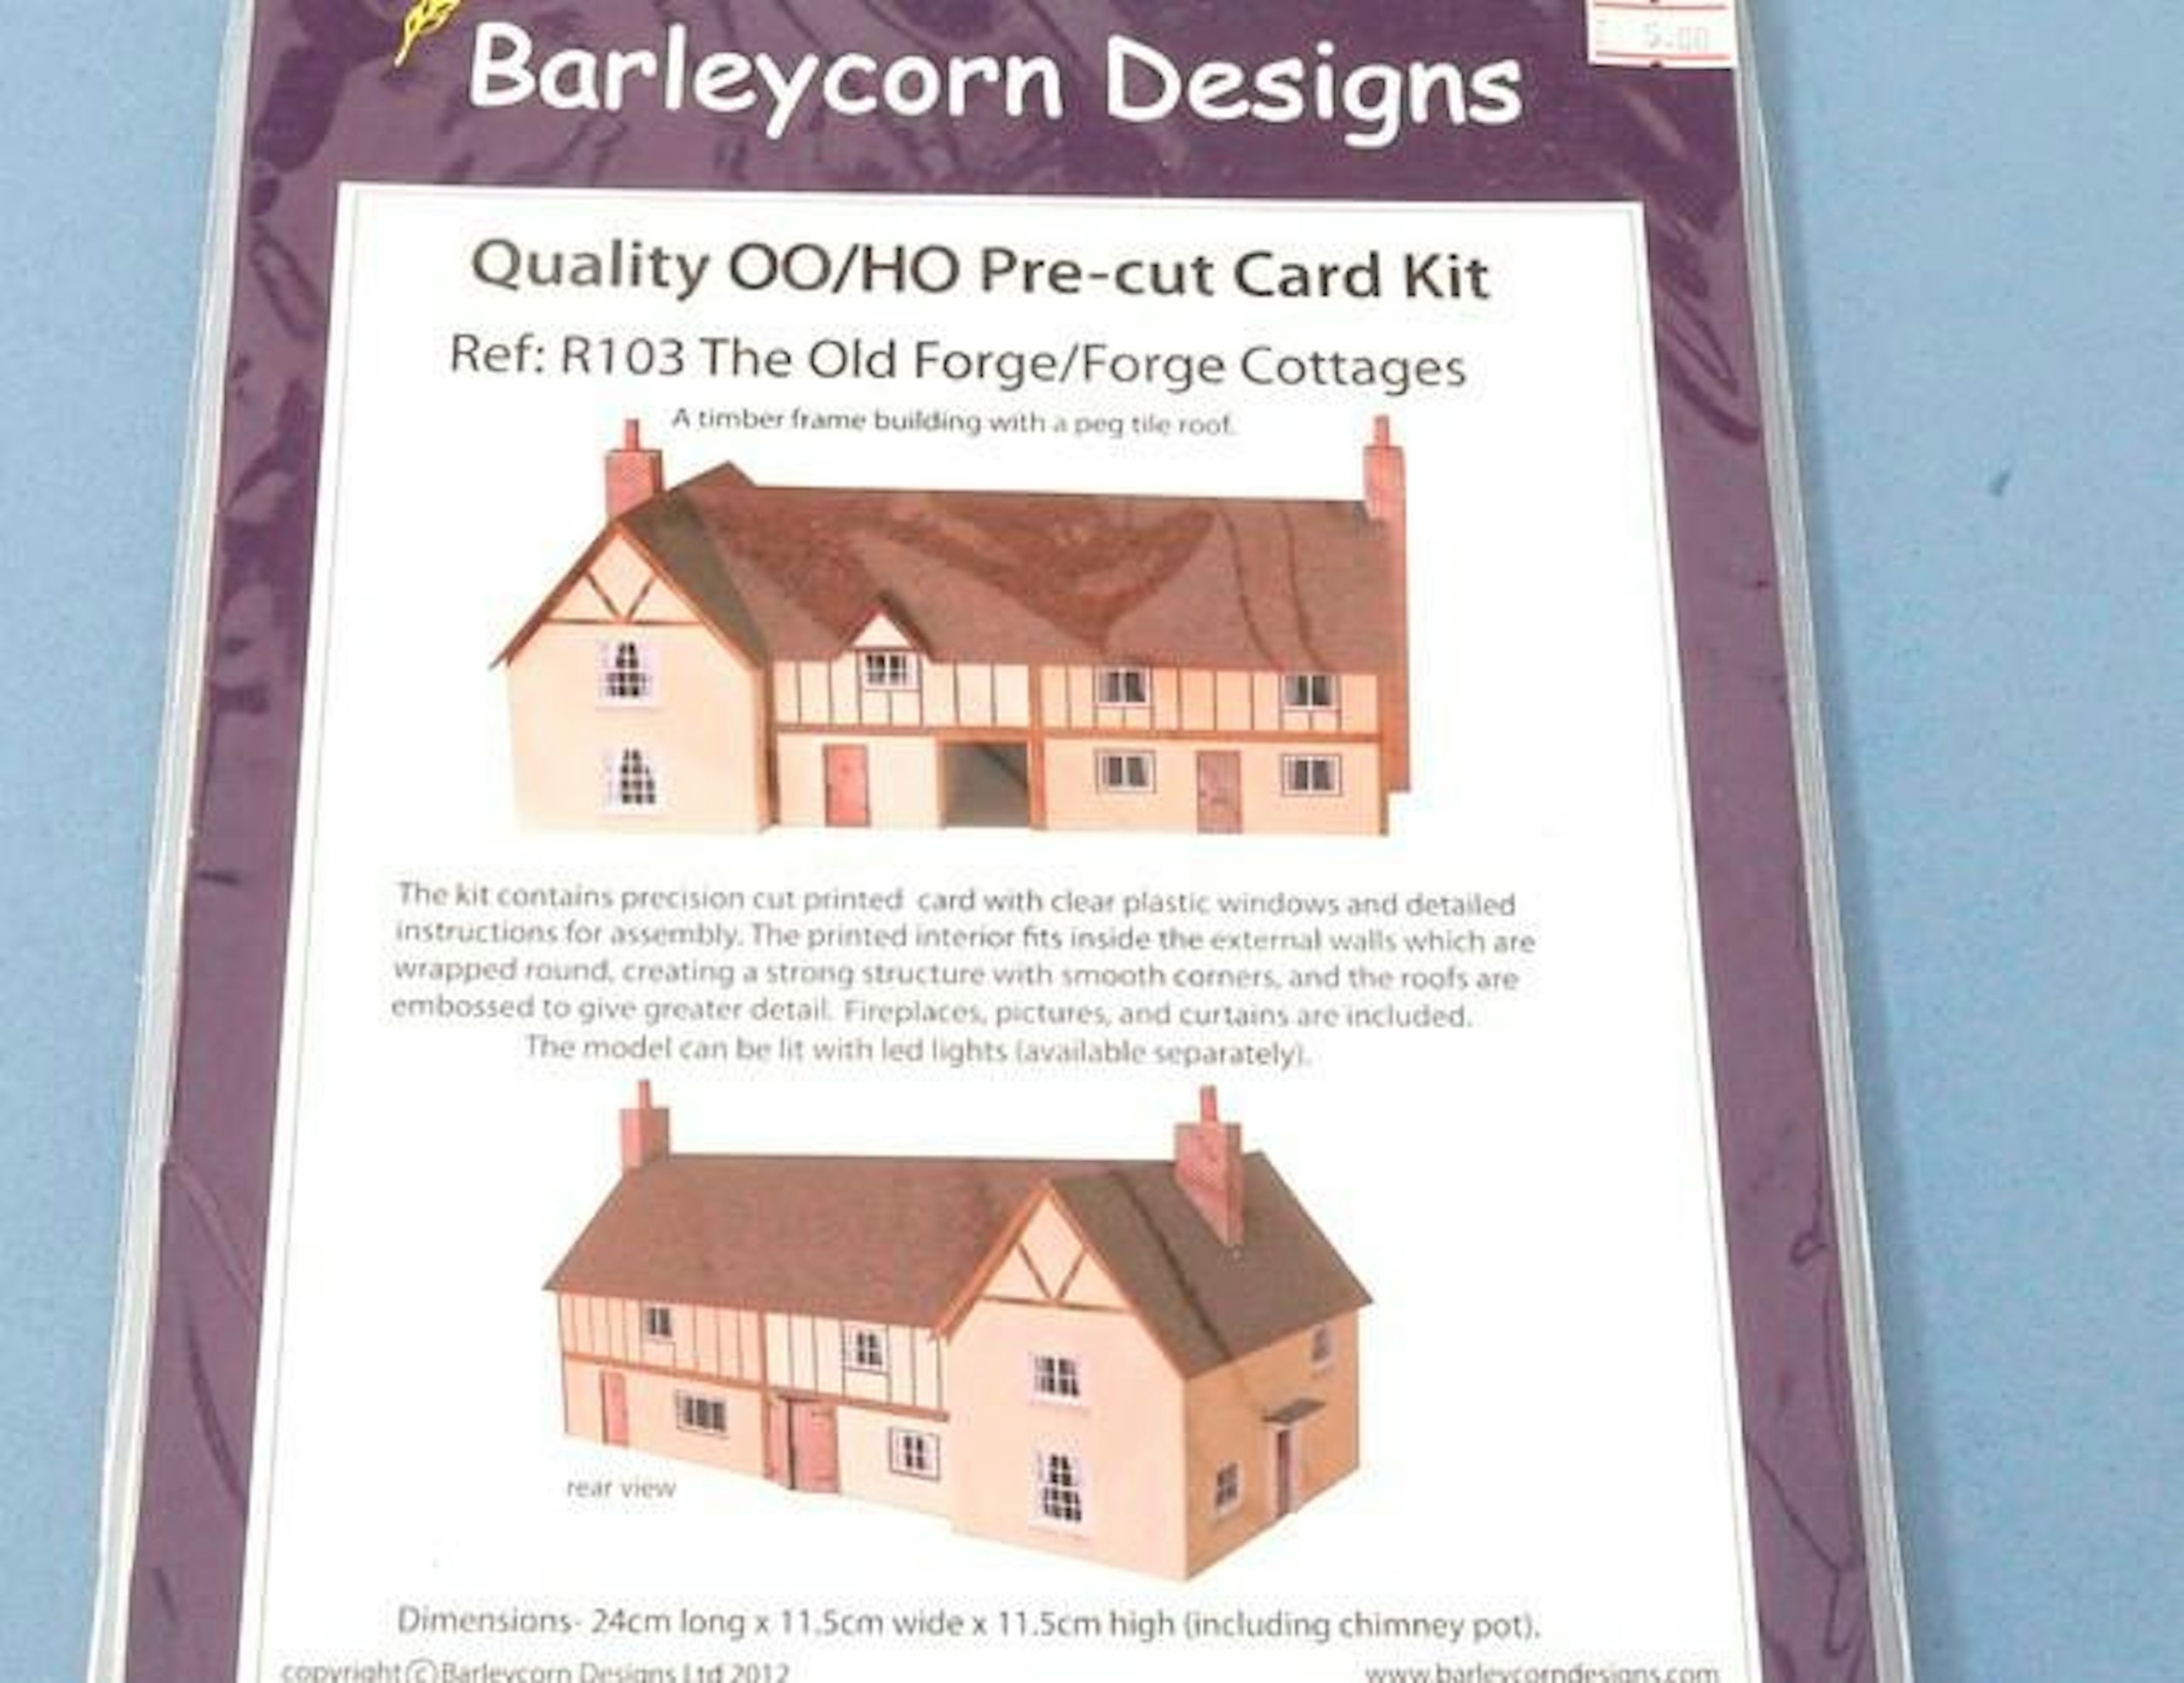
1 The basis for this diorama is part of the Old Forge cottage by Barleycorn Designs. This card kit contains exterior and interior walls, which are die-cut to ease assembly, and the roof panels feature embossed tile detail.
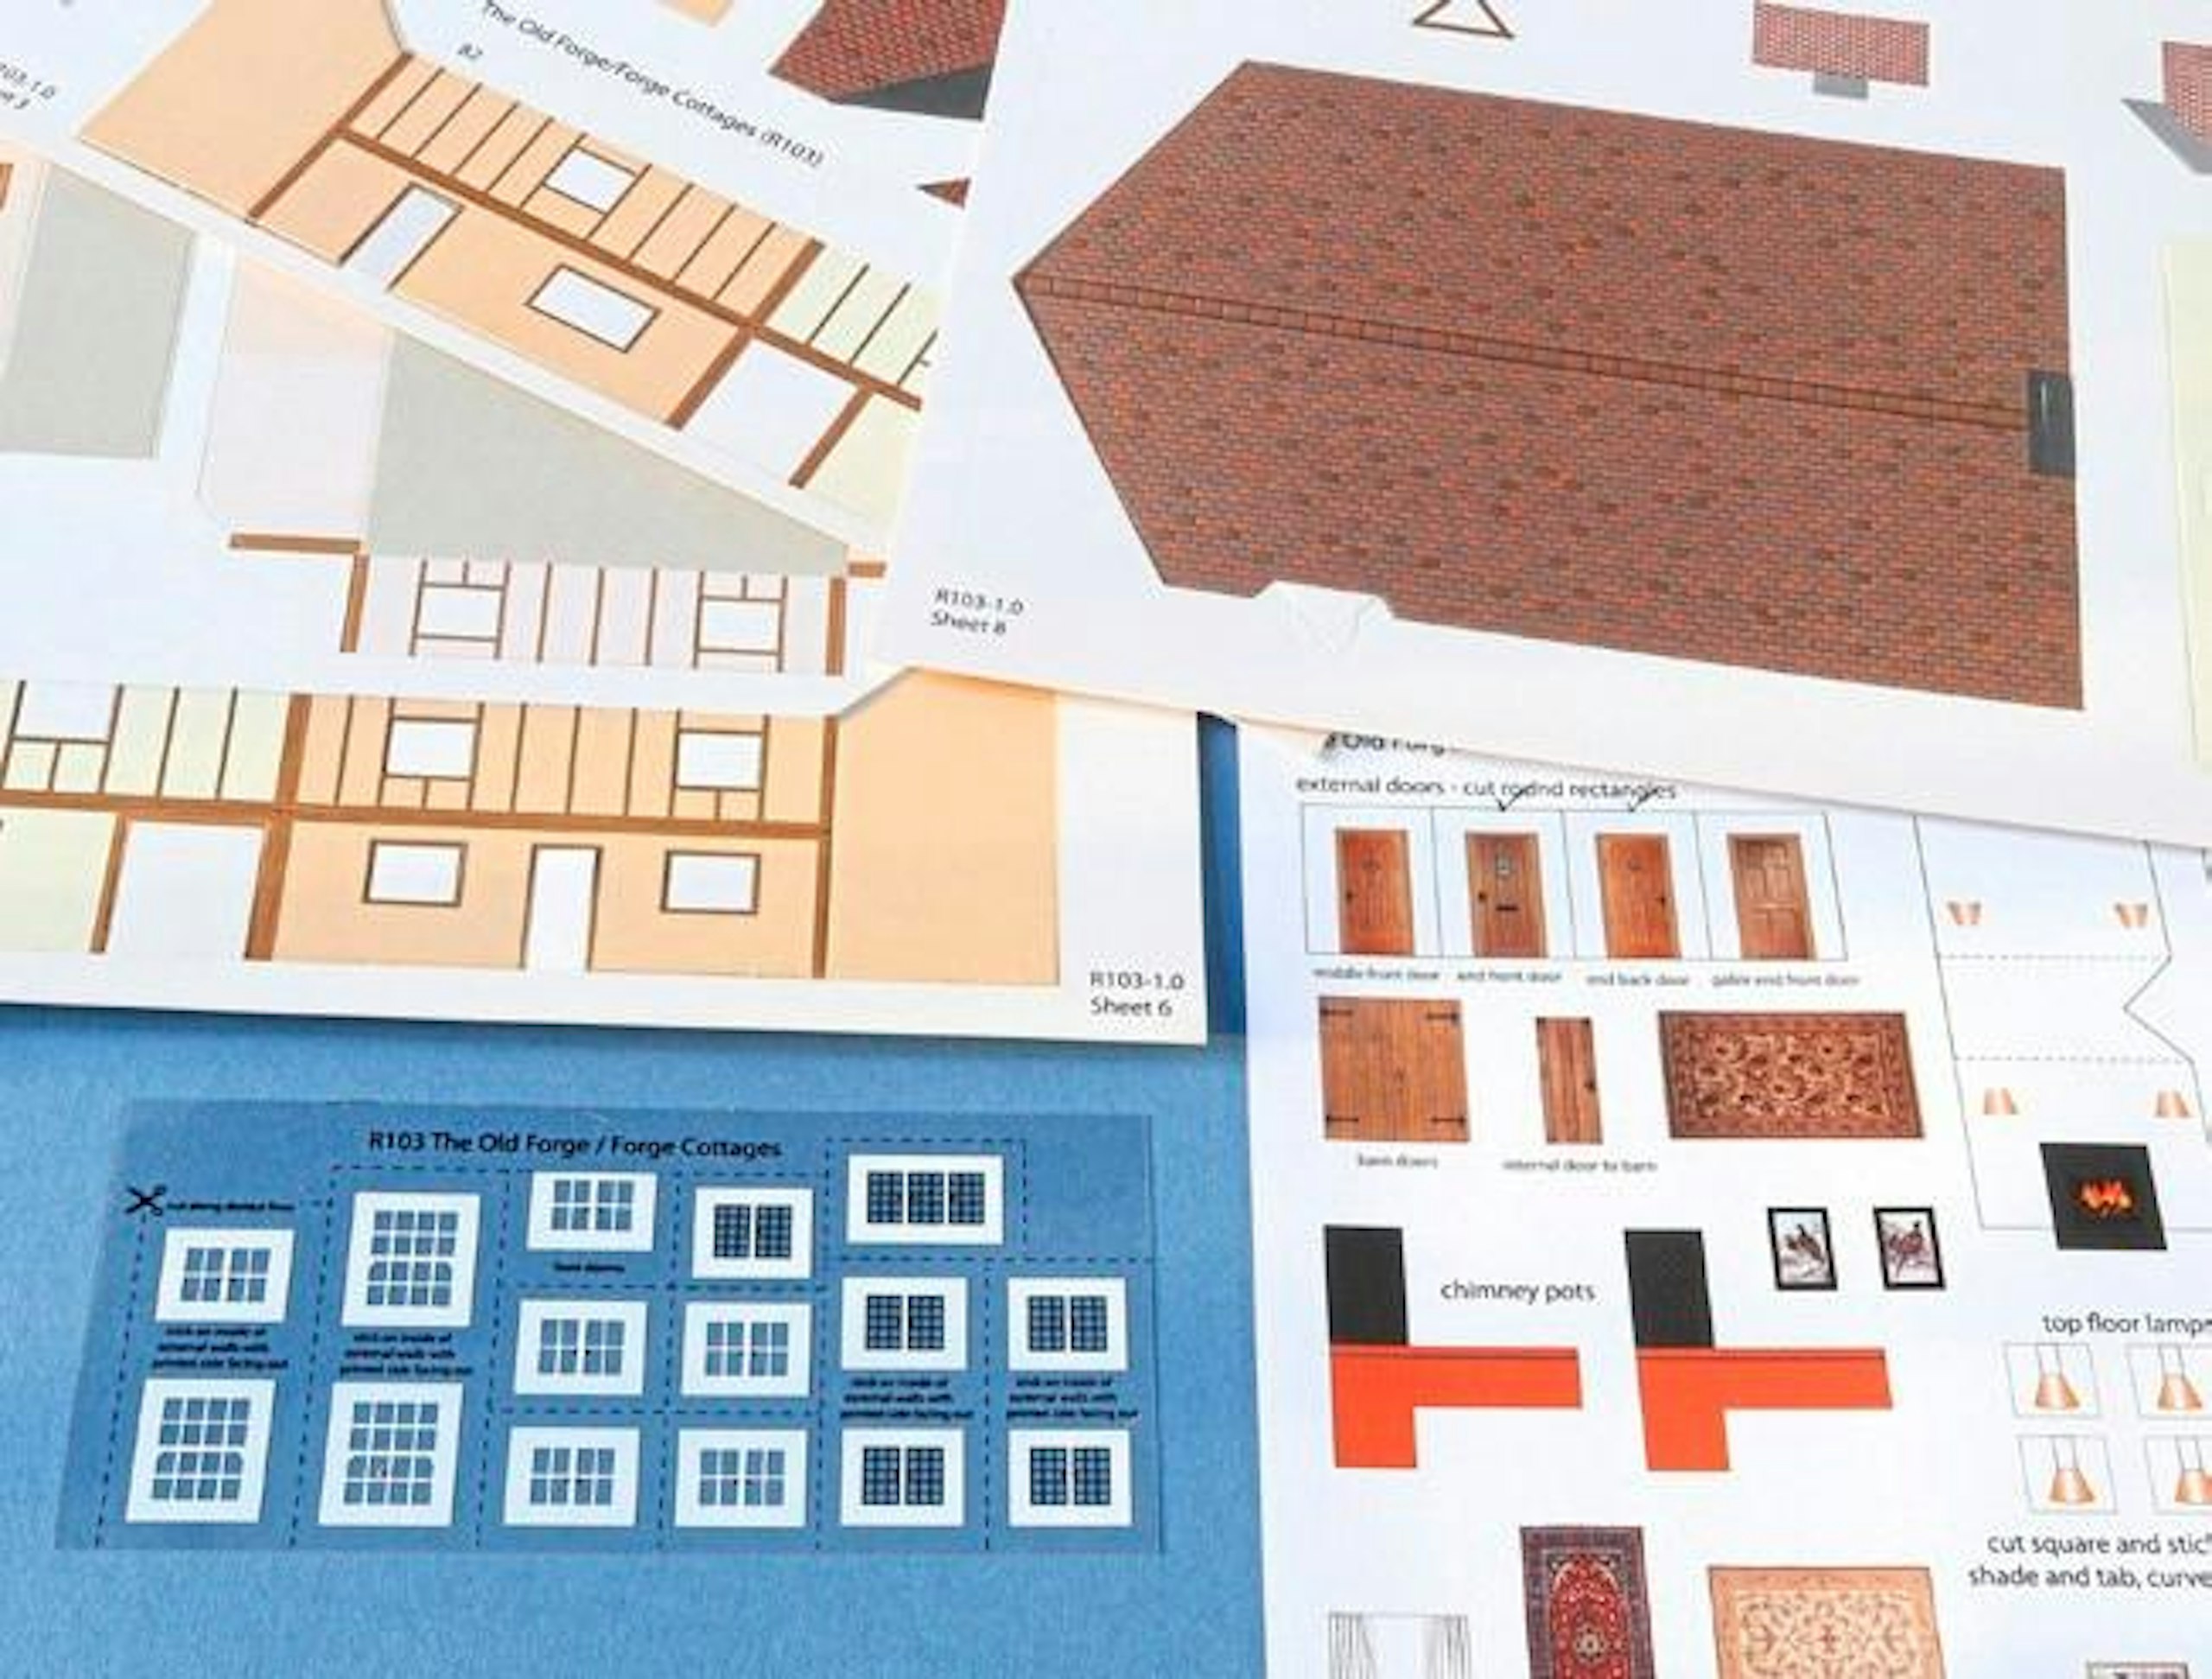
2 The kit includes lots of interior detail including fireplaces, pictures and curtains, plus glazing sheets pre-printed with window frames. Full instructions are supplied and the parts form a strong structure.

3 I decided to try adding some areas of bare brickwork on the exterior walls, where the rendered finish has broken away. A pack of individual red bricks was obtained from the Juweela range.
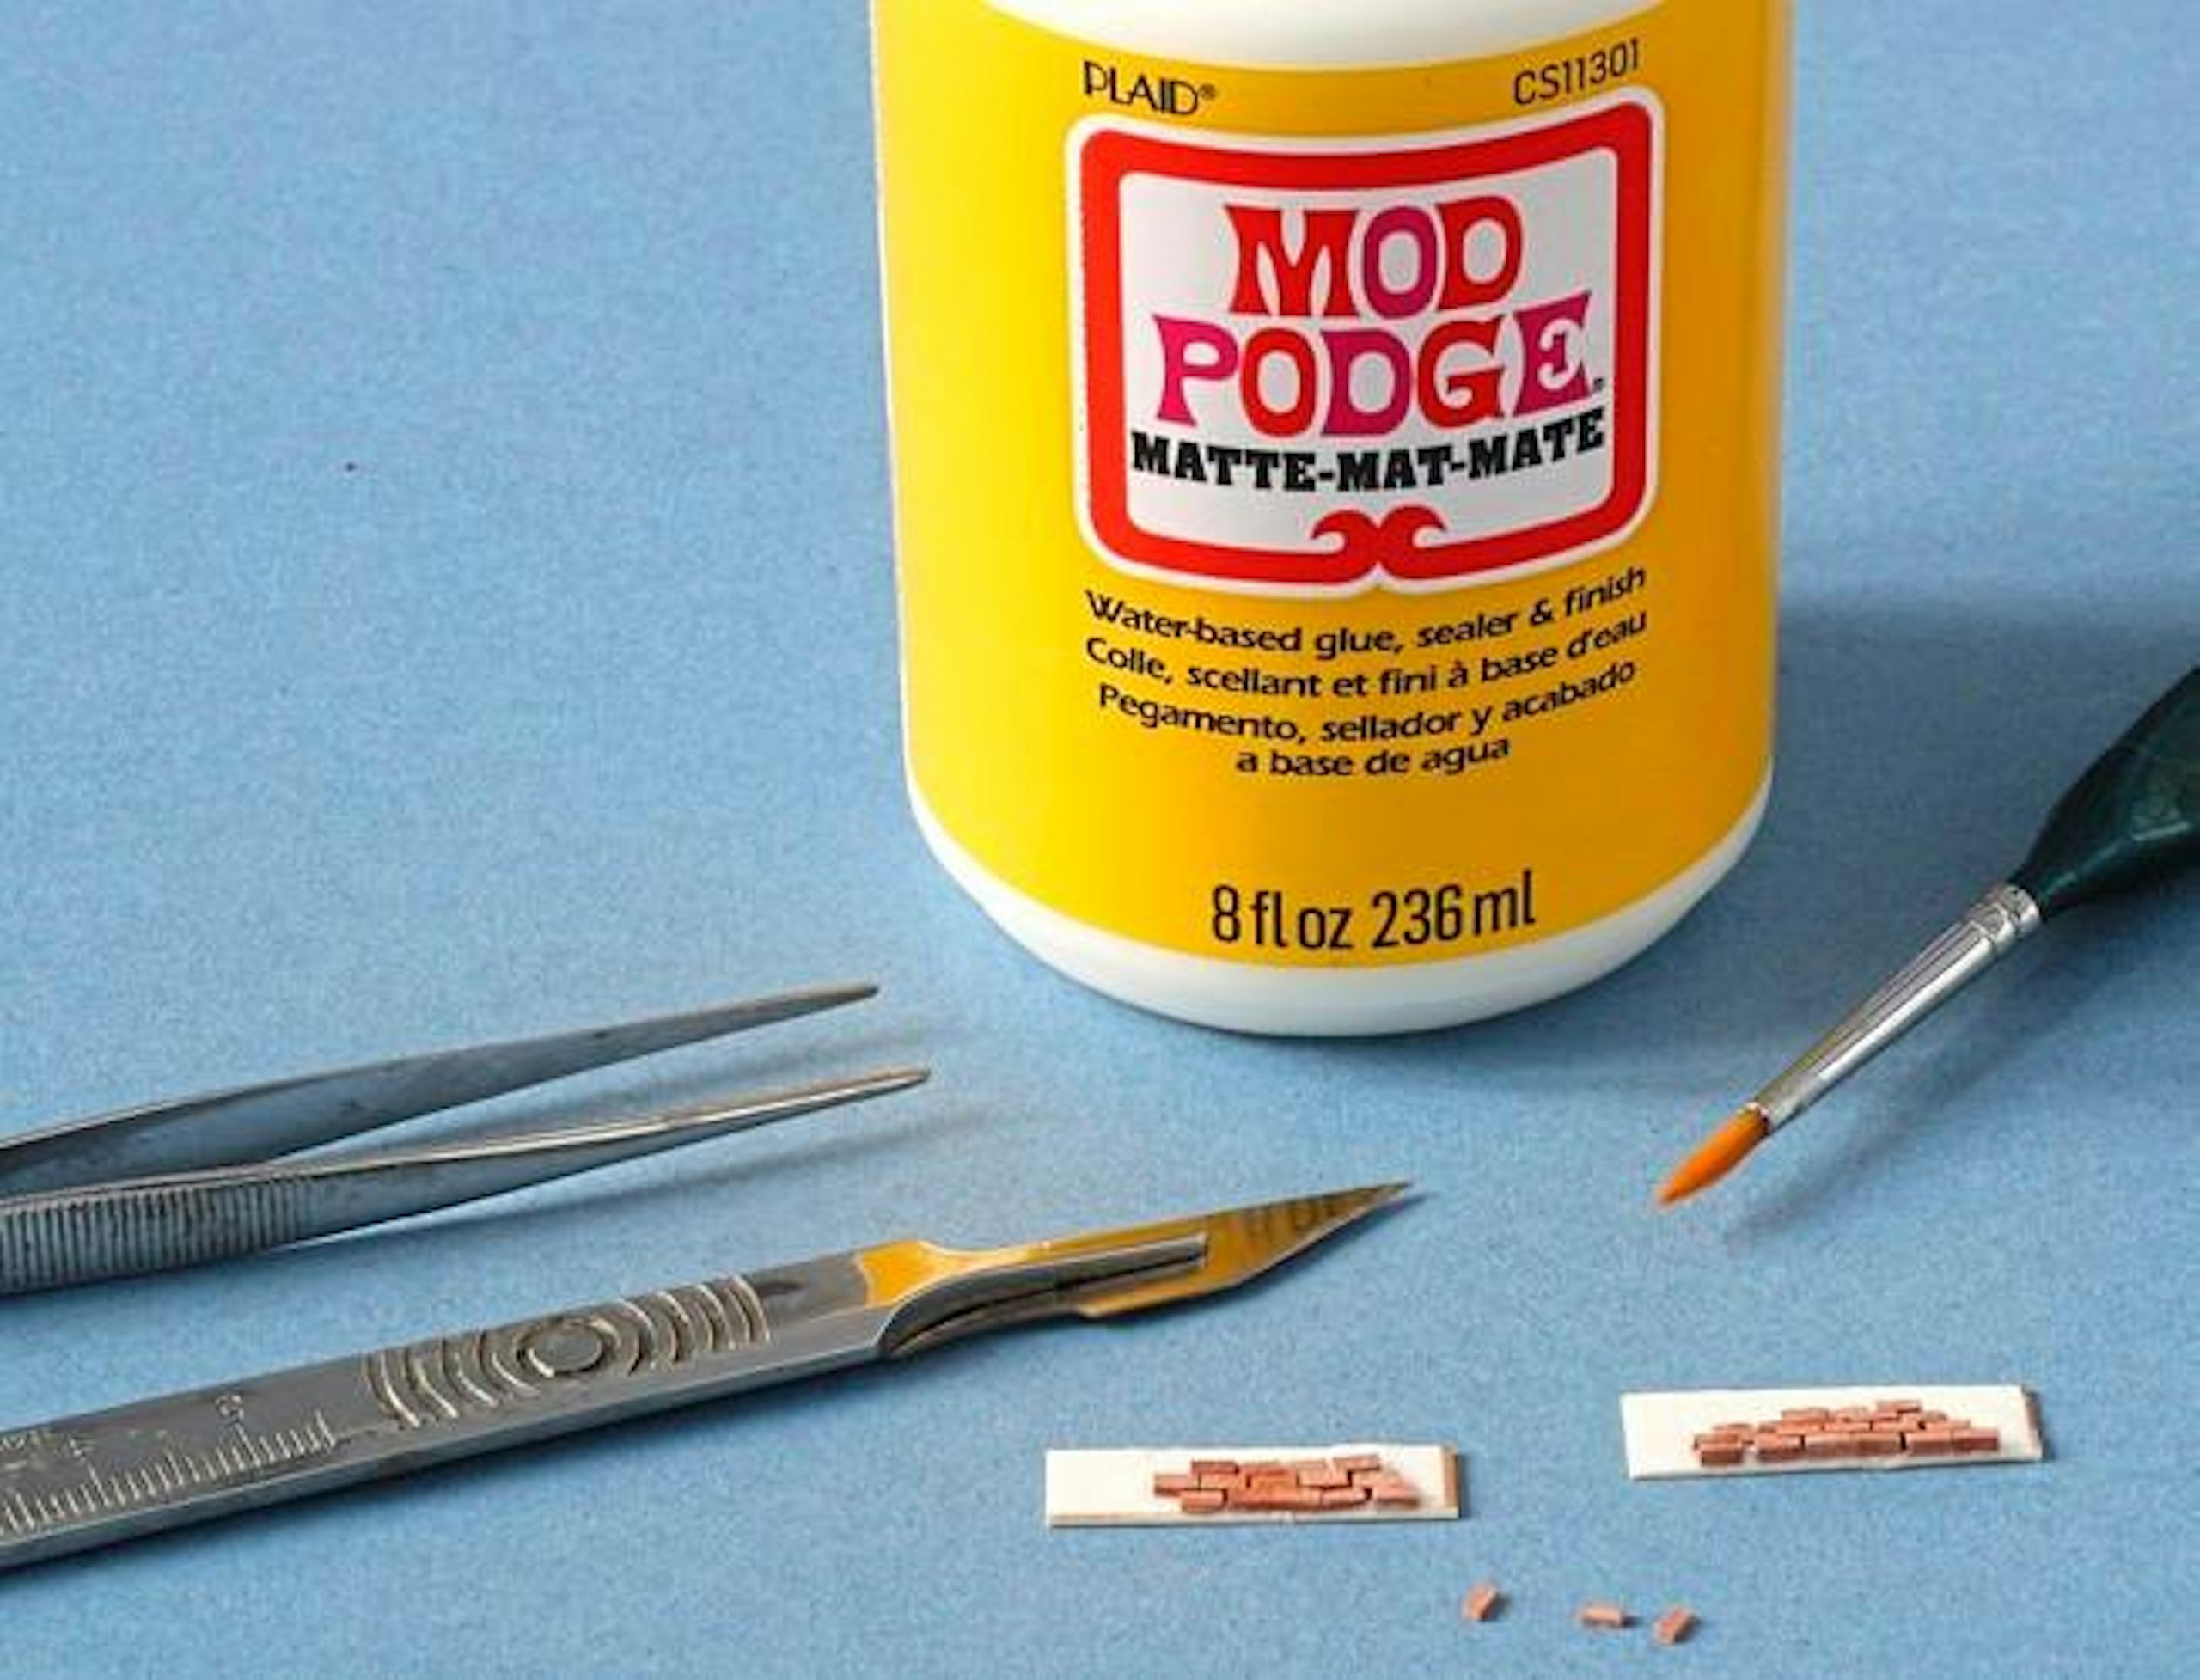
4 Two pieces of card were cut to form backing panels and the bricks were fixed in place with Mod Podge Matt adhesive. The bricks were arranged in a typical stretcher bond pattern.
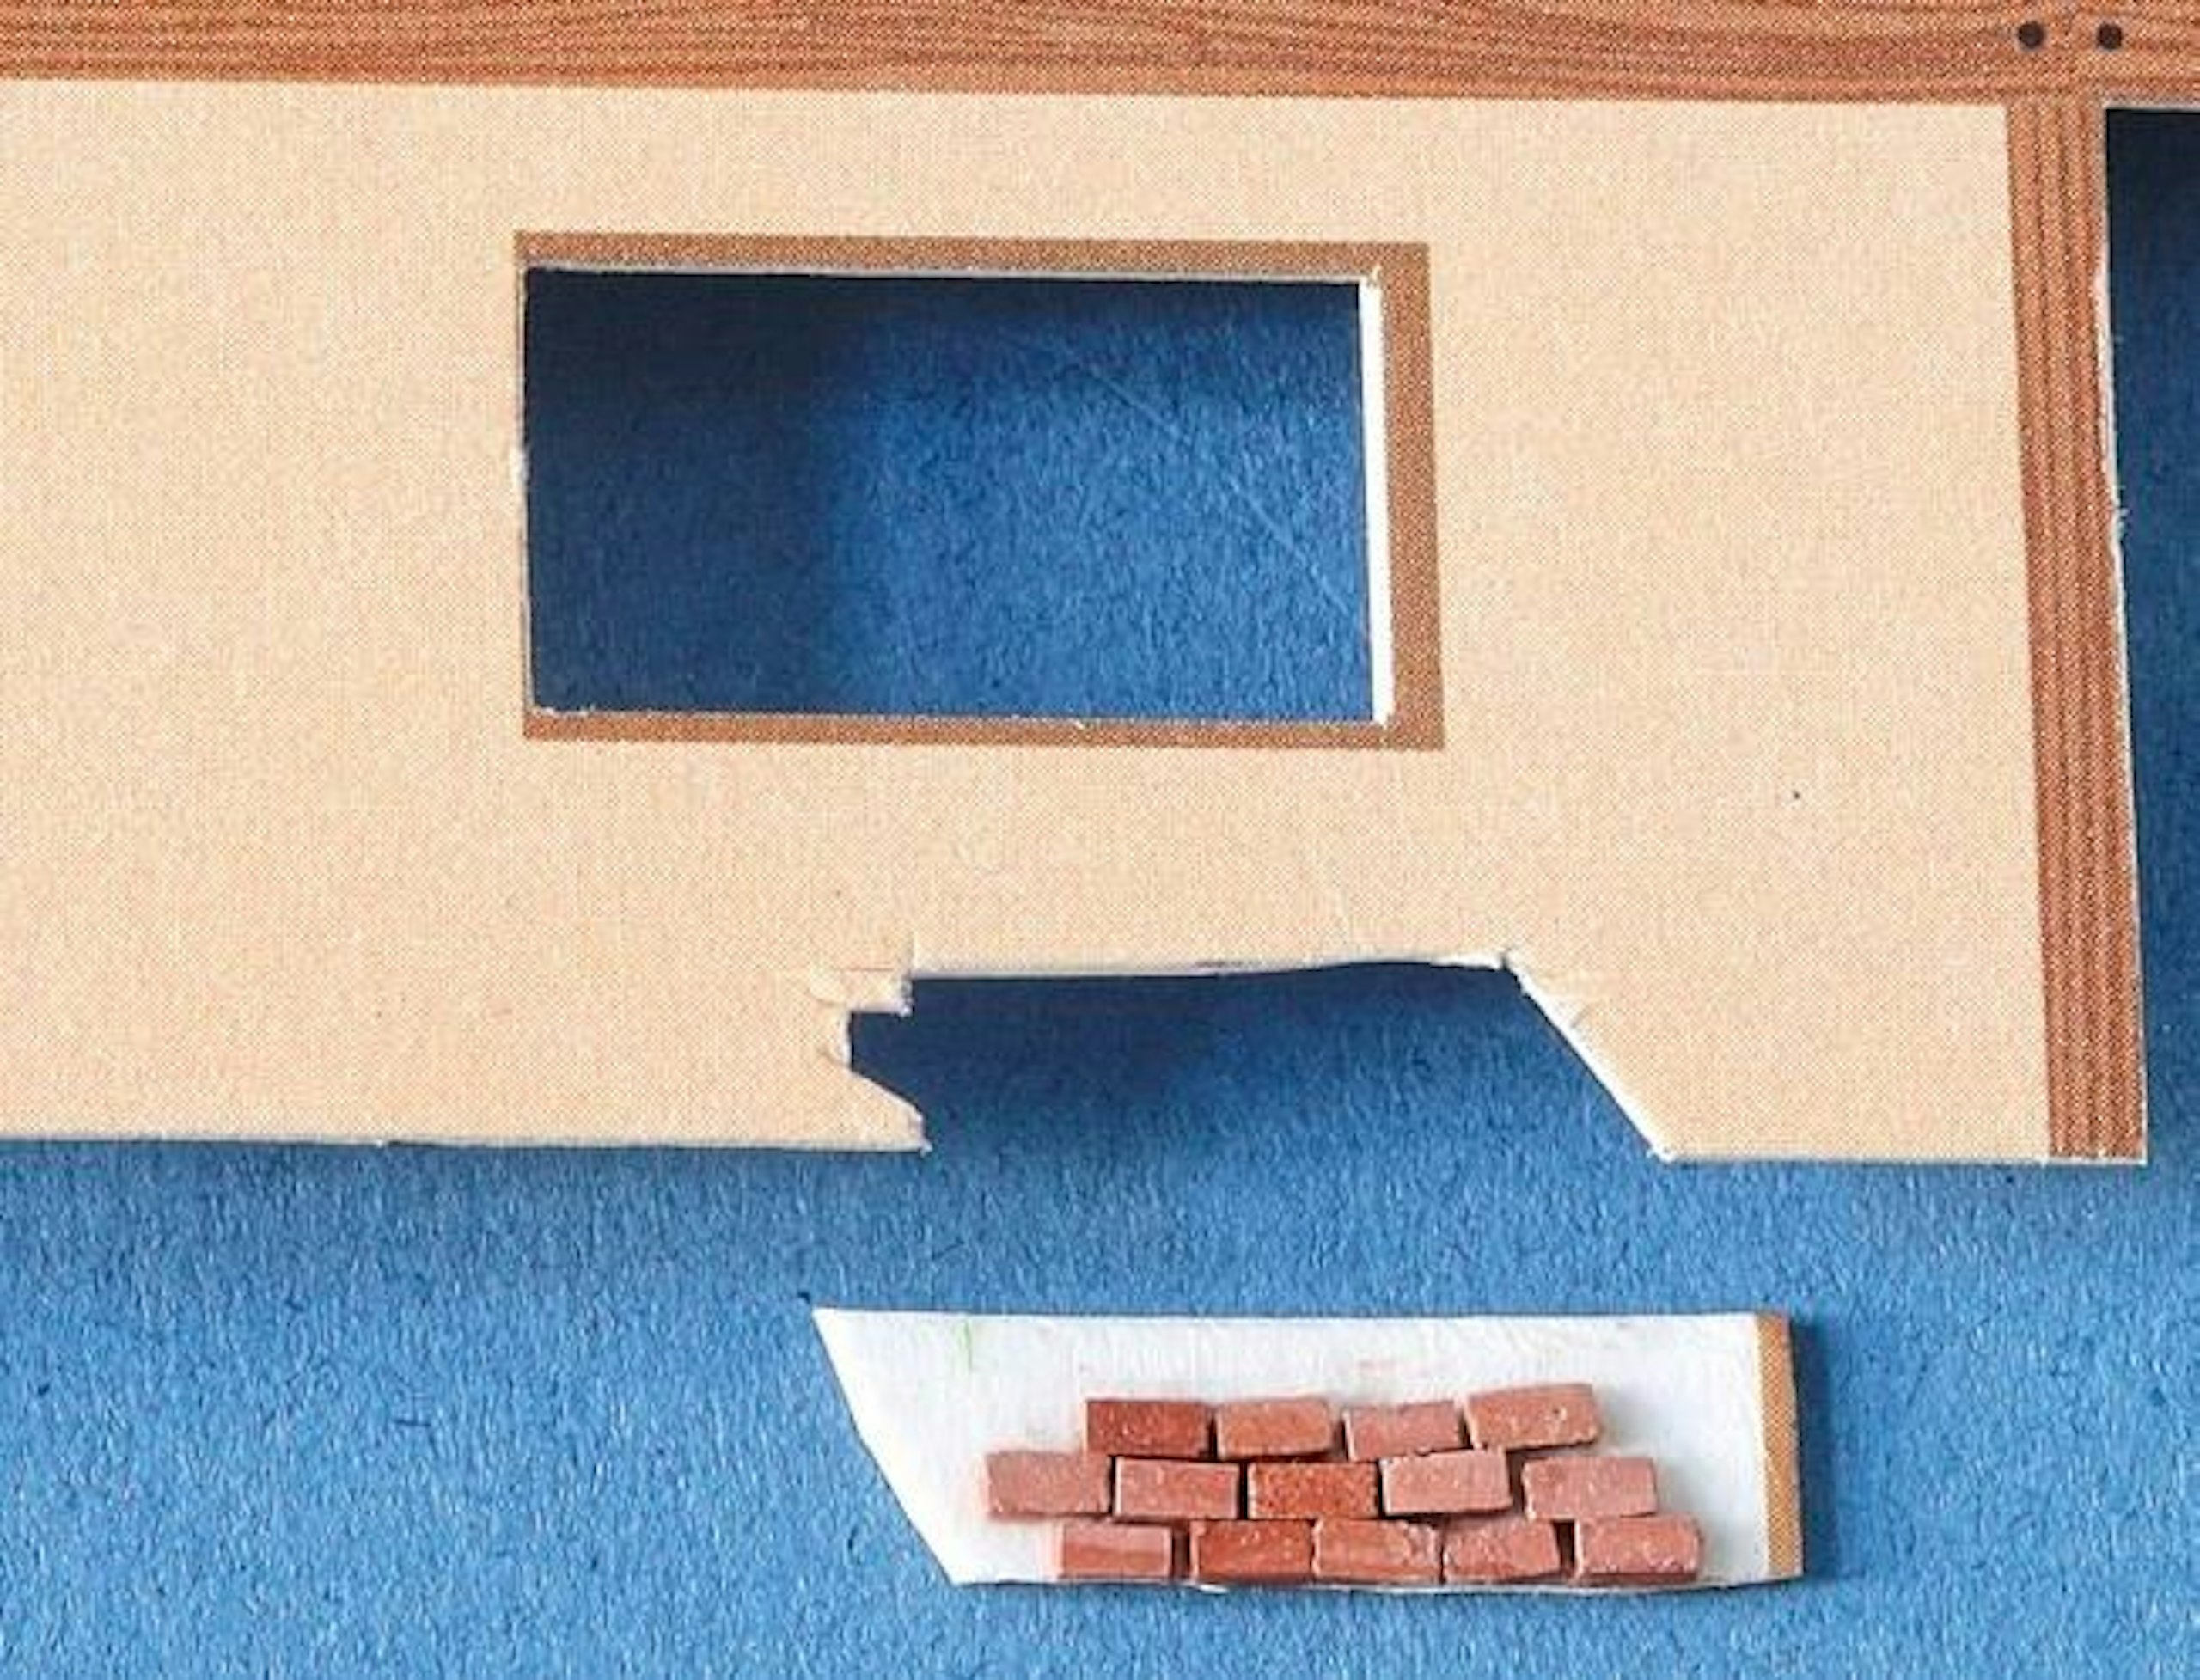
5 After cutting out sections of the cottage’s walls, the brick panels could be installed from behind, ensuring an area of card around the bricks to form a glue bond with the inside wall.
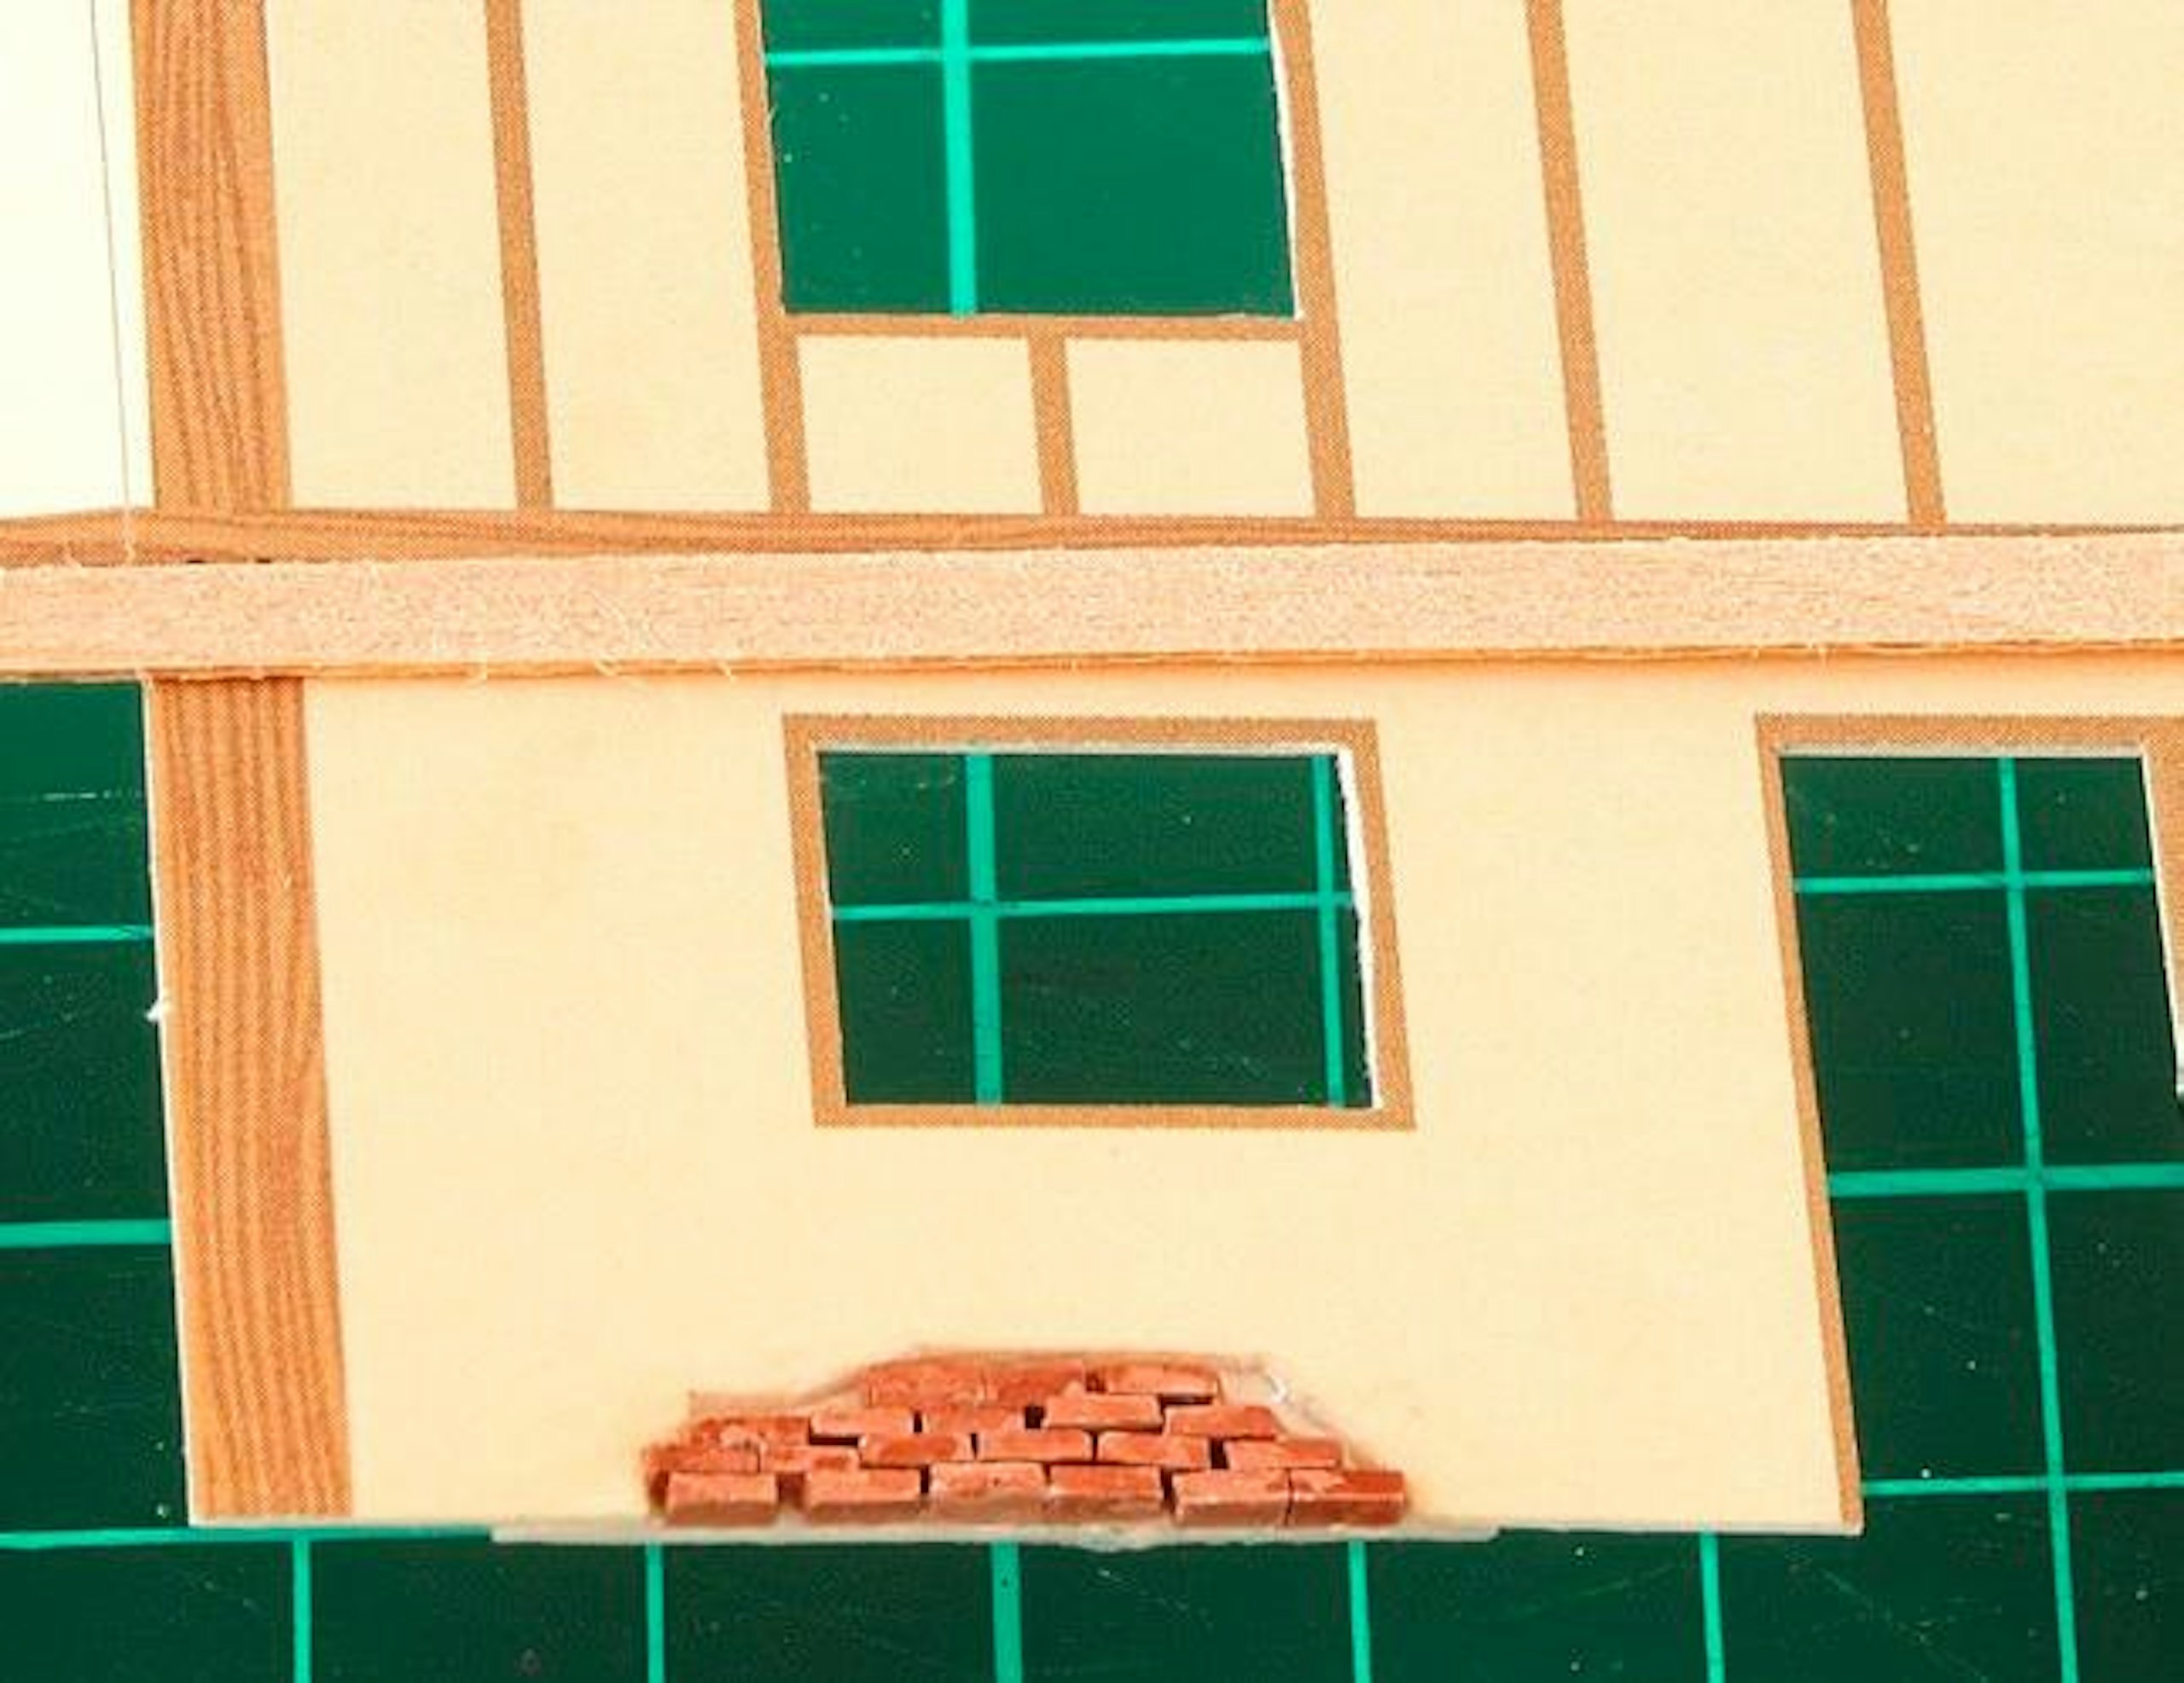
6 Once the adhesive had dried, I dribbled a little thin PVA glue around the gap between the bricks and the main wall and shook on a little fine sand to mimic loose mortar and render.
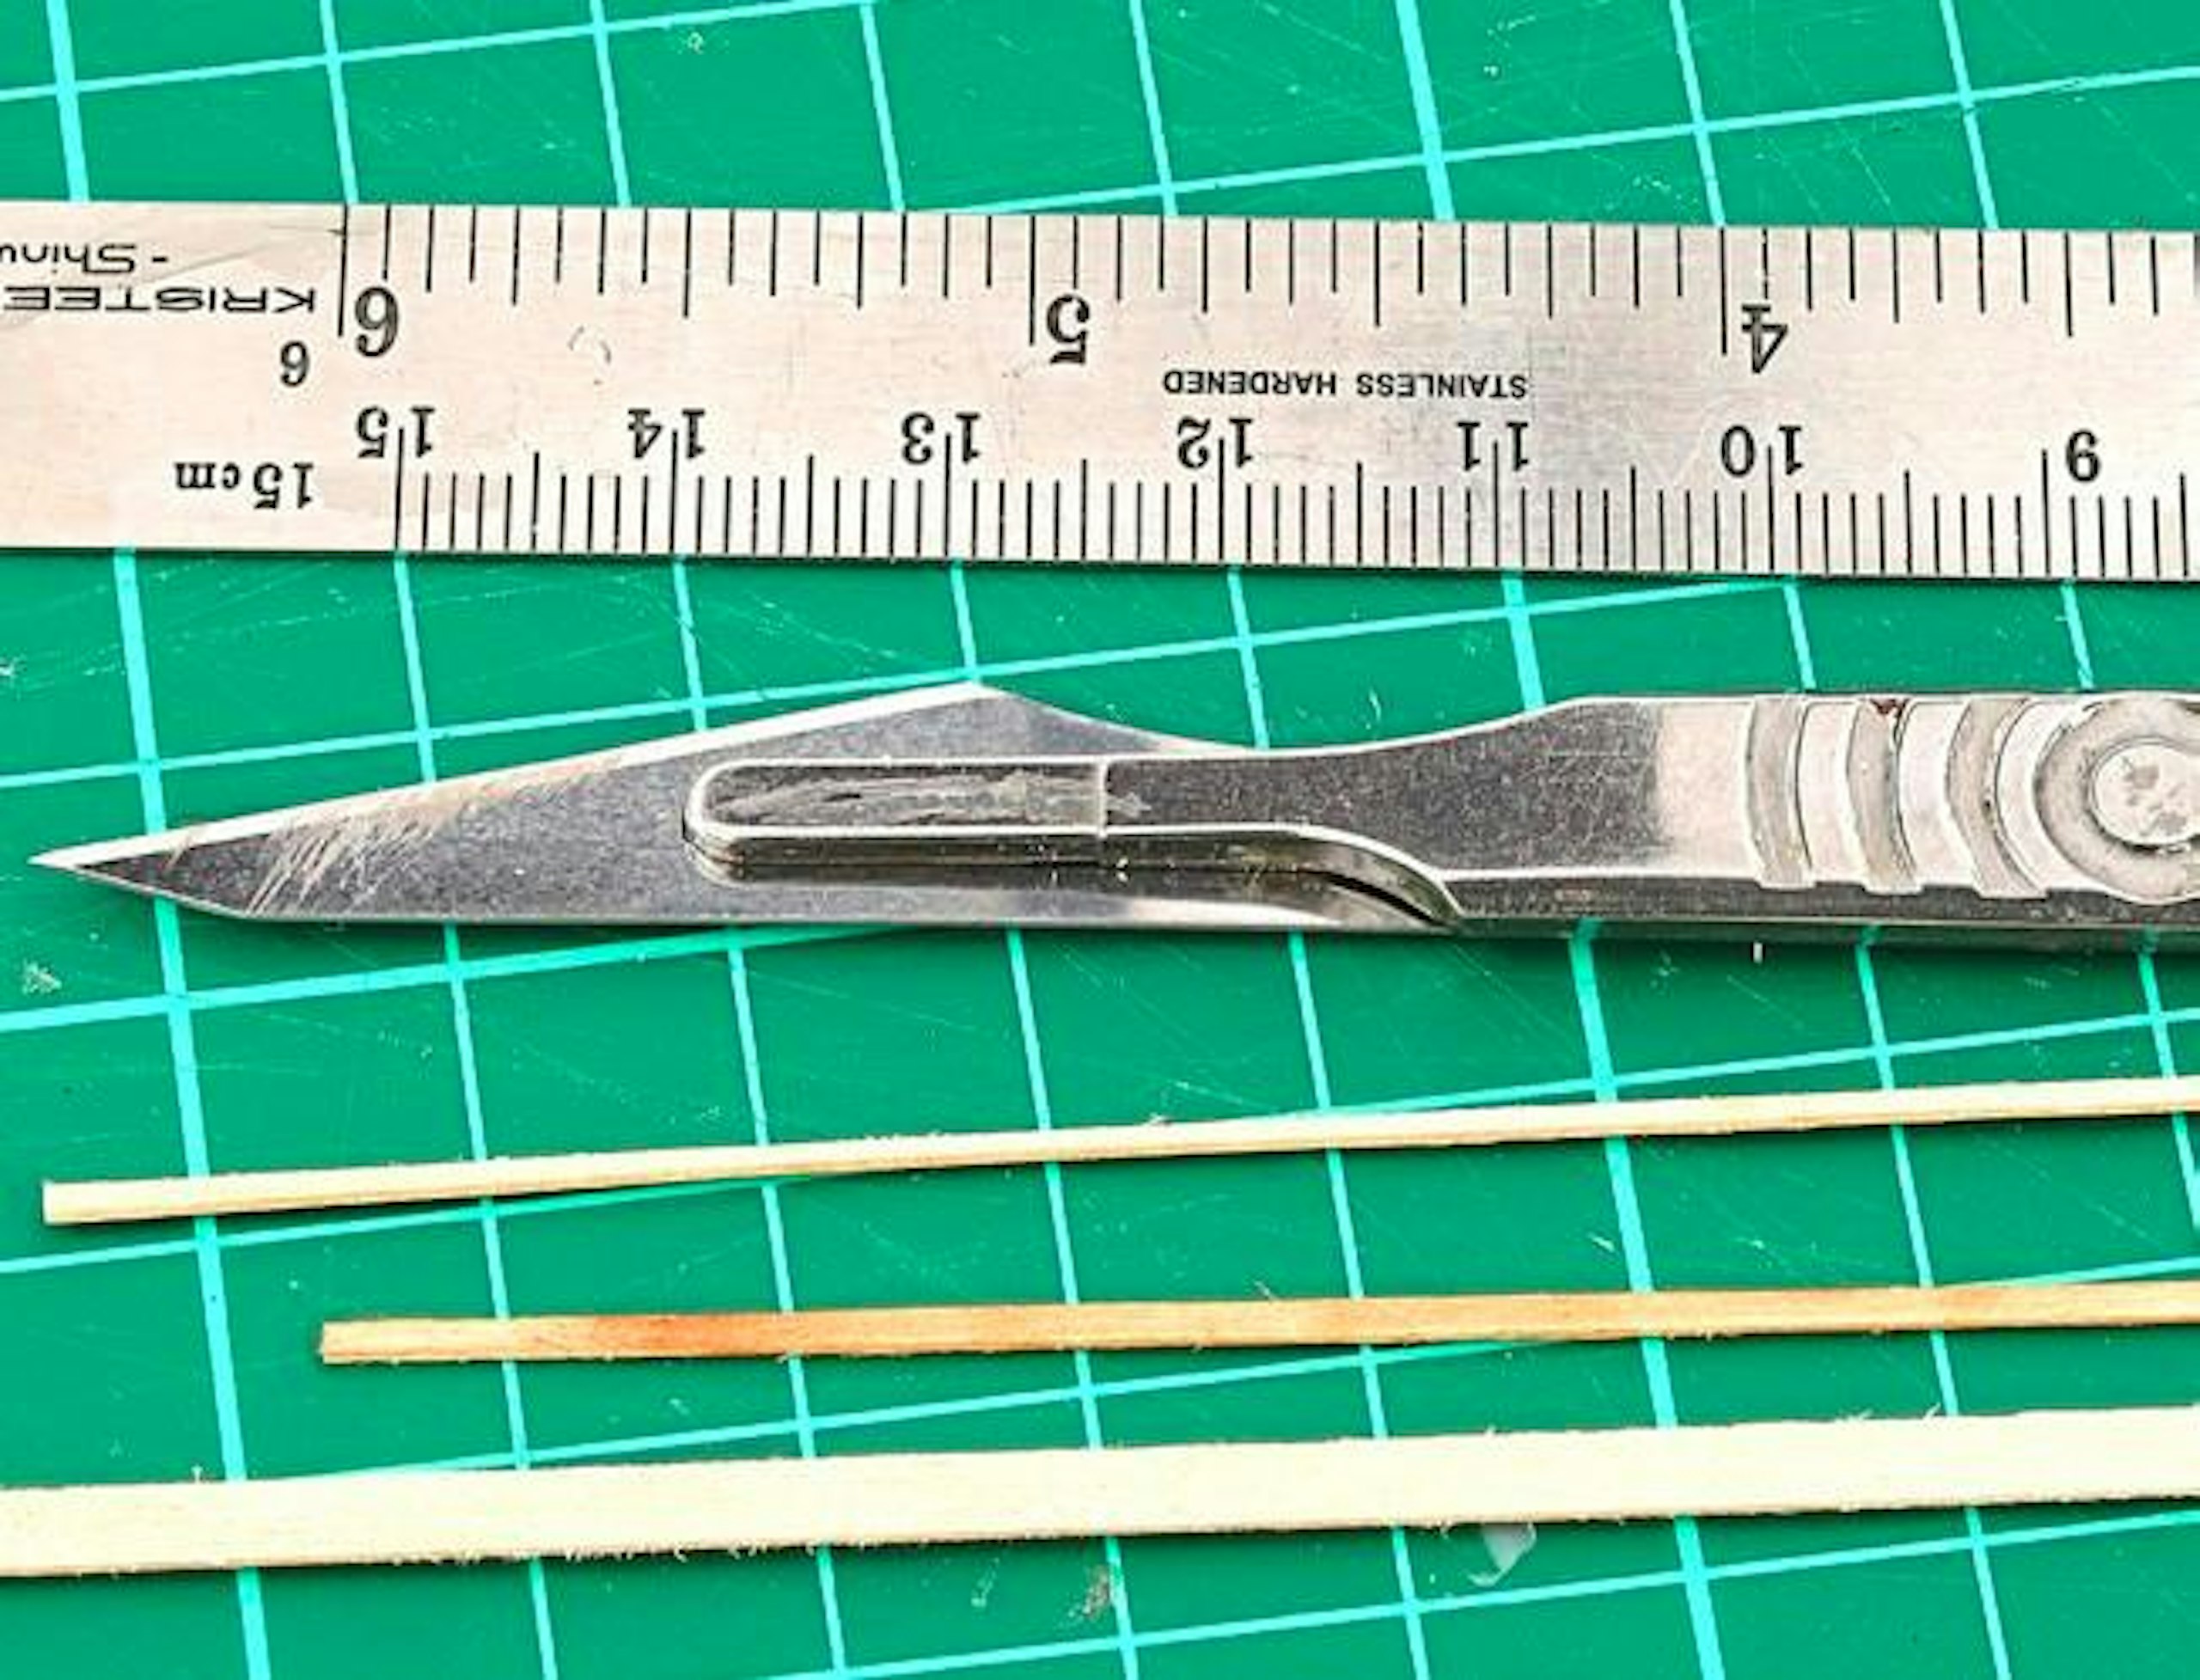
7 To add further surface relief to the exterior walls, I cut some thin strips of basswood to match the sizes of the printed timbers. Use a fresh scalpel blade and cut the wood gradually to achieve neater results.
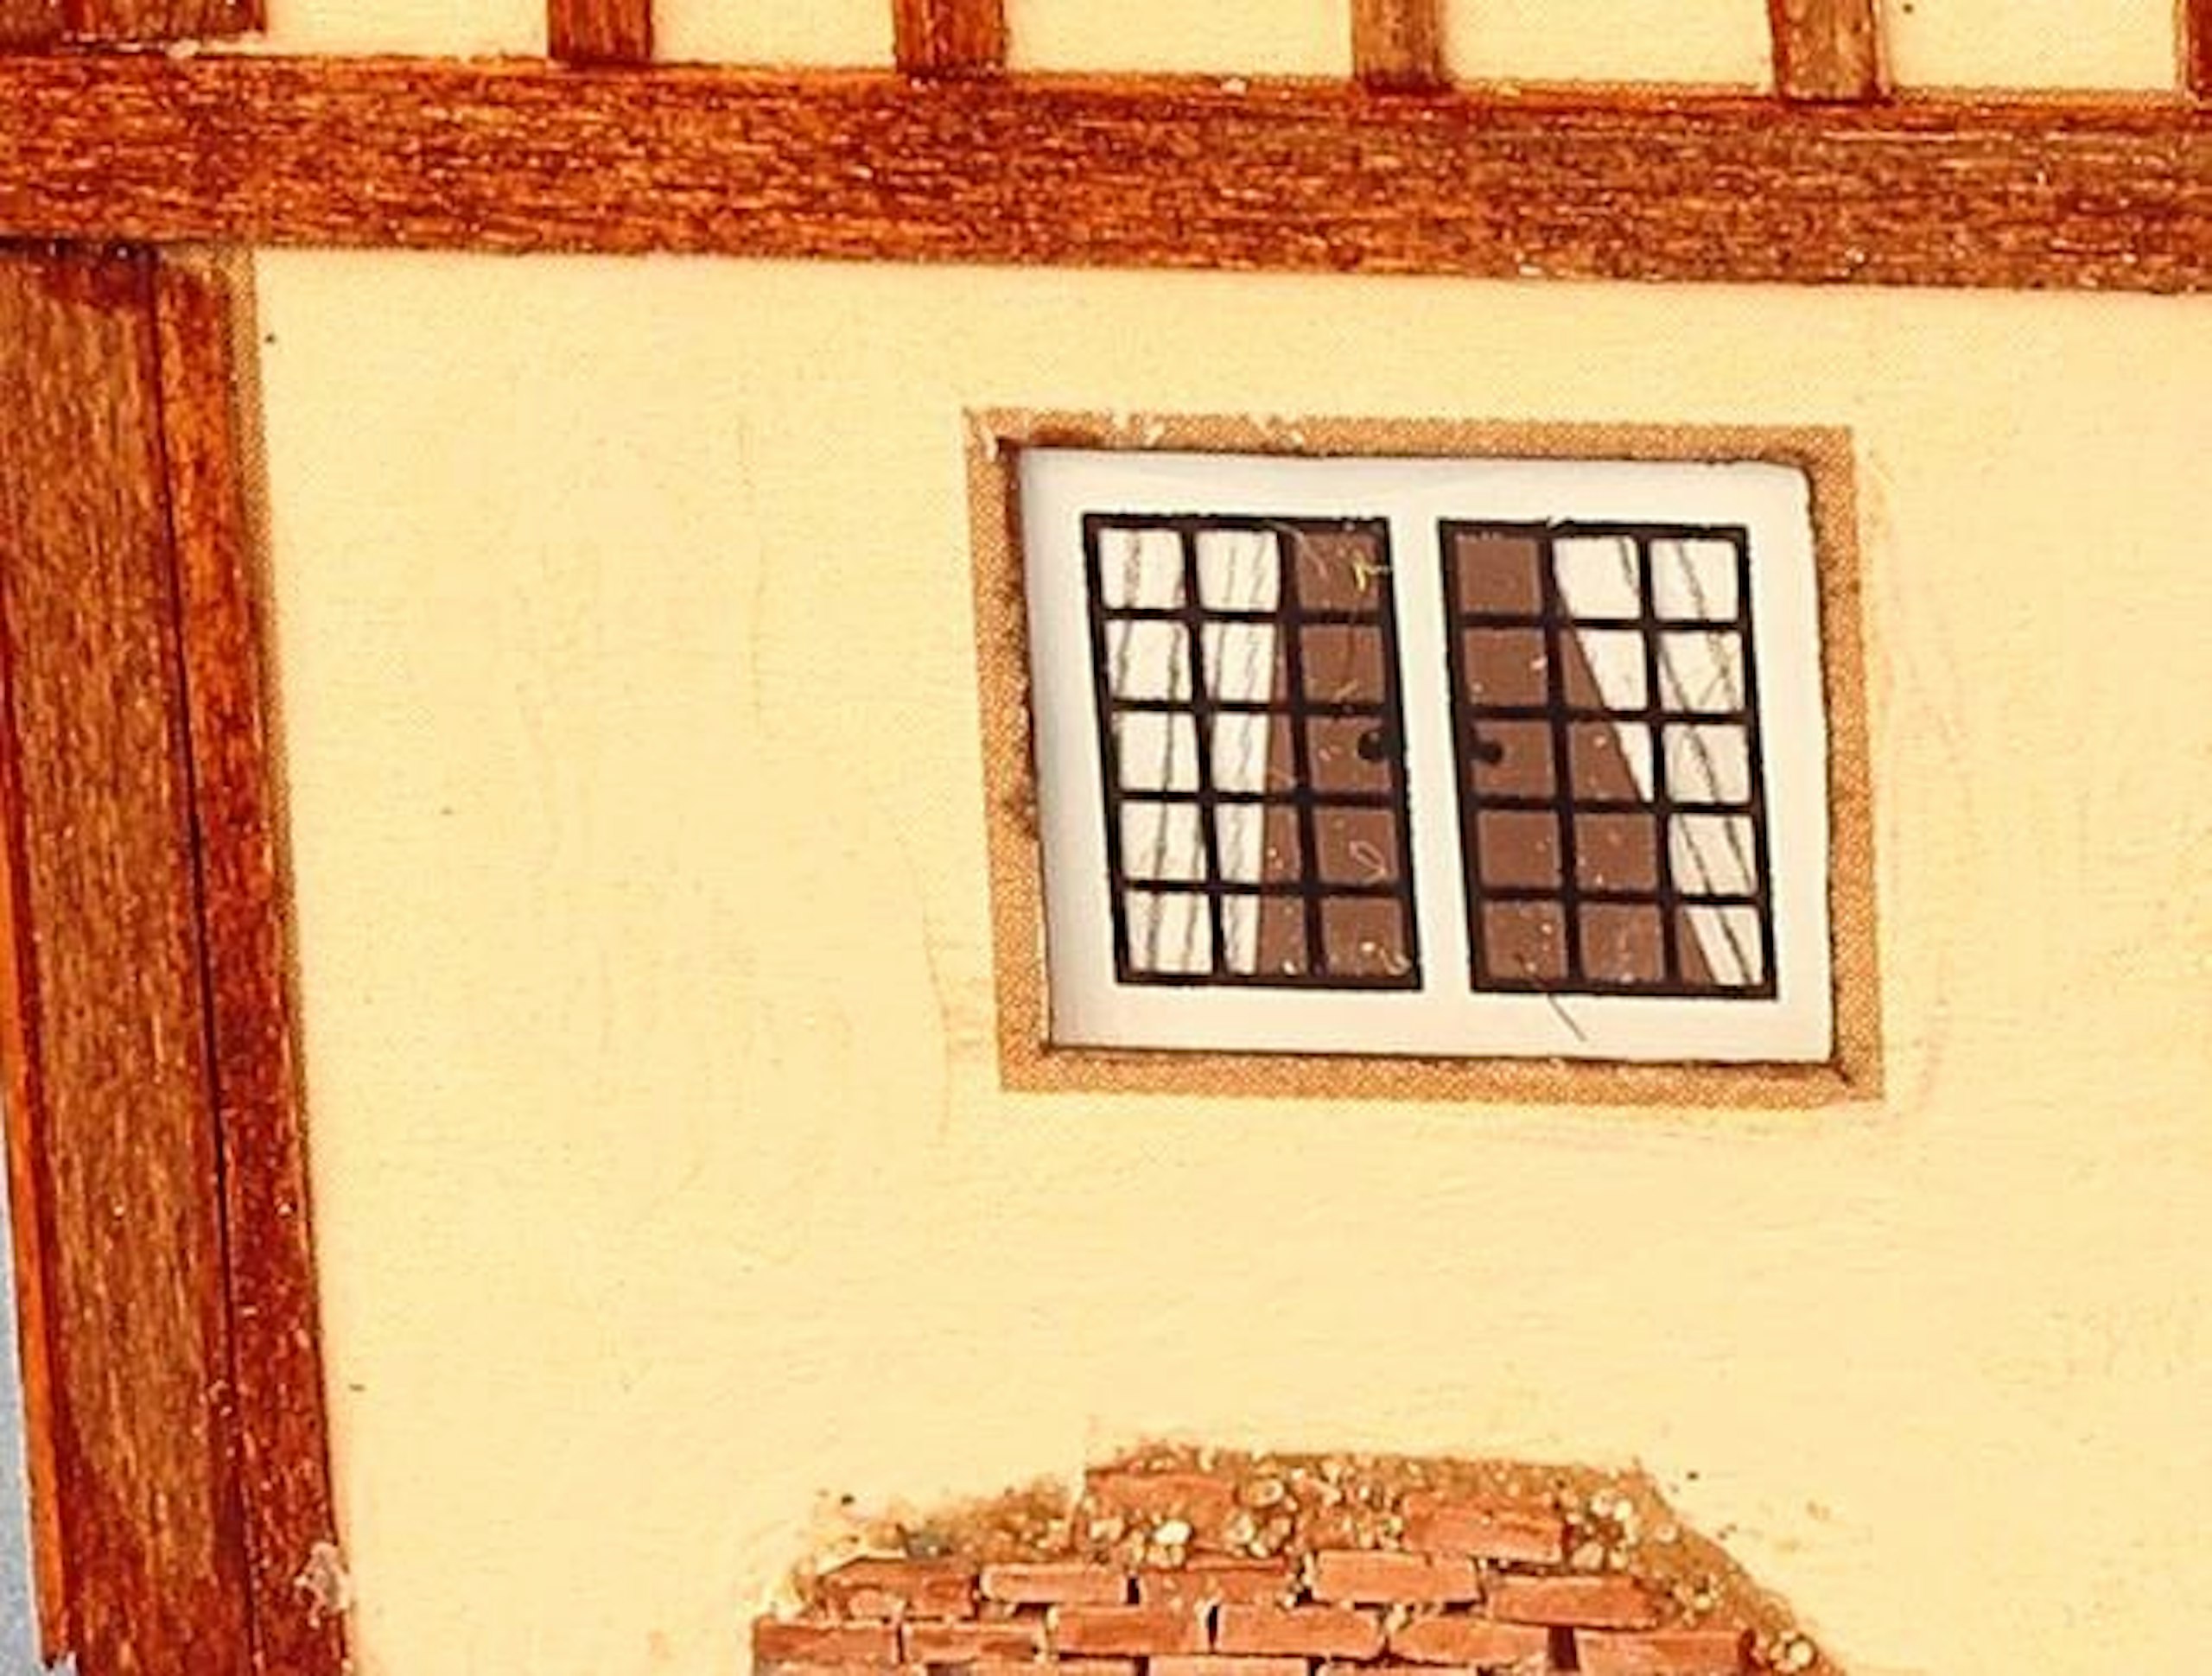
8 Before fixing the basswood in place, I aged its appearance with a brown felt-tip pen (wood stain or weathering washes are also suitable but take longer to dry). The timber sections were glued in place with PVA.
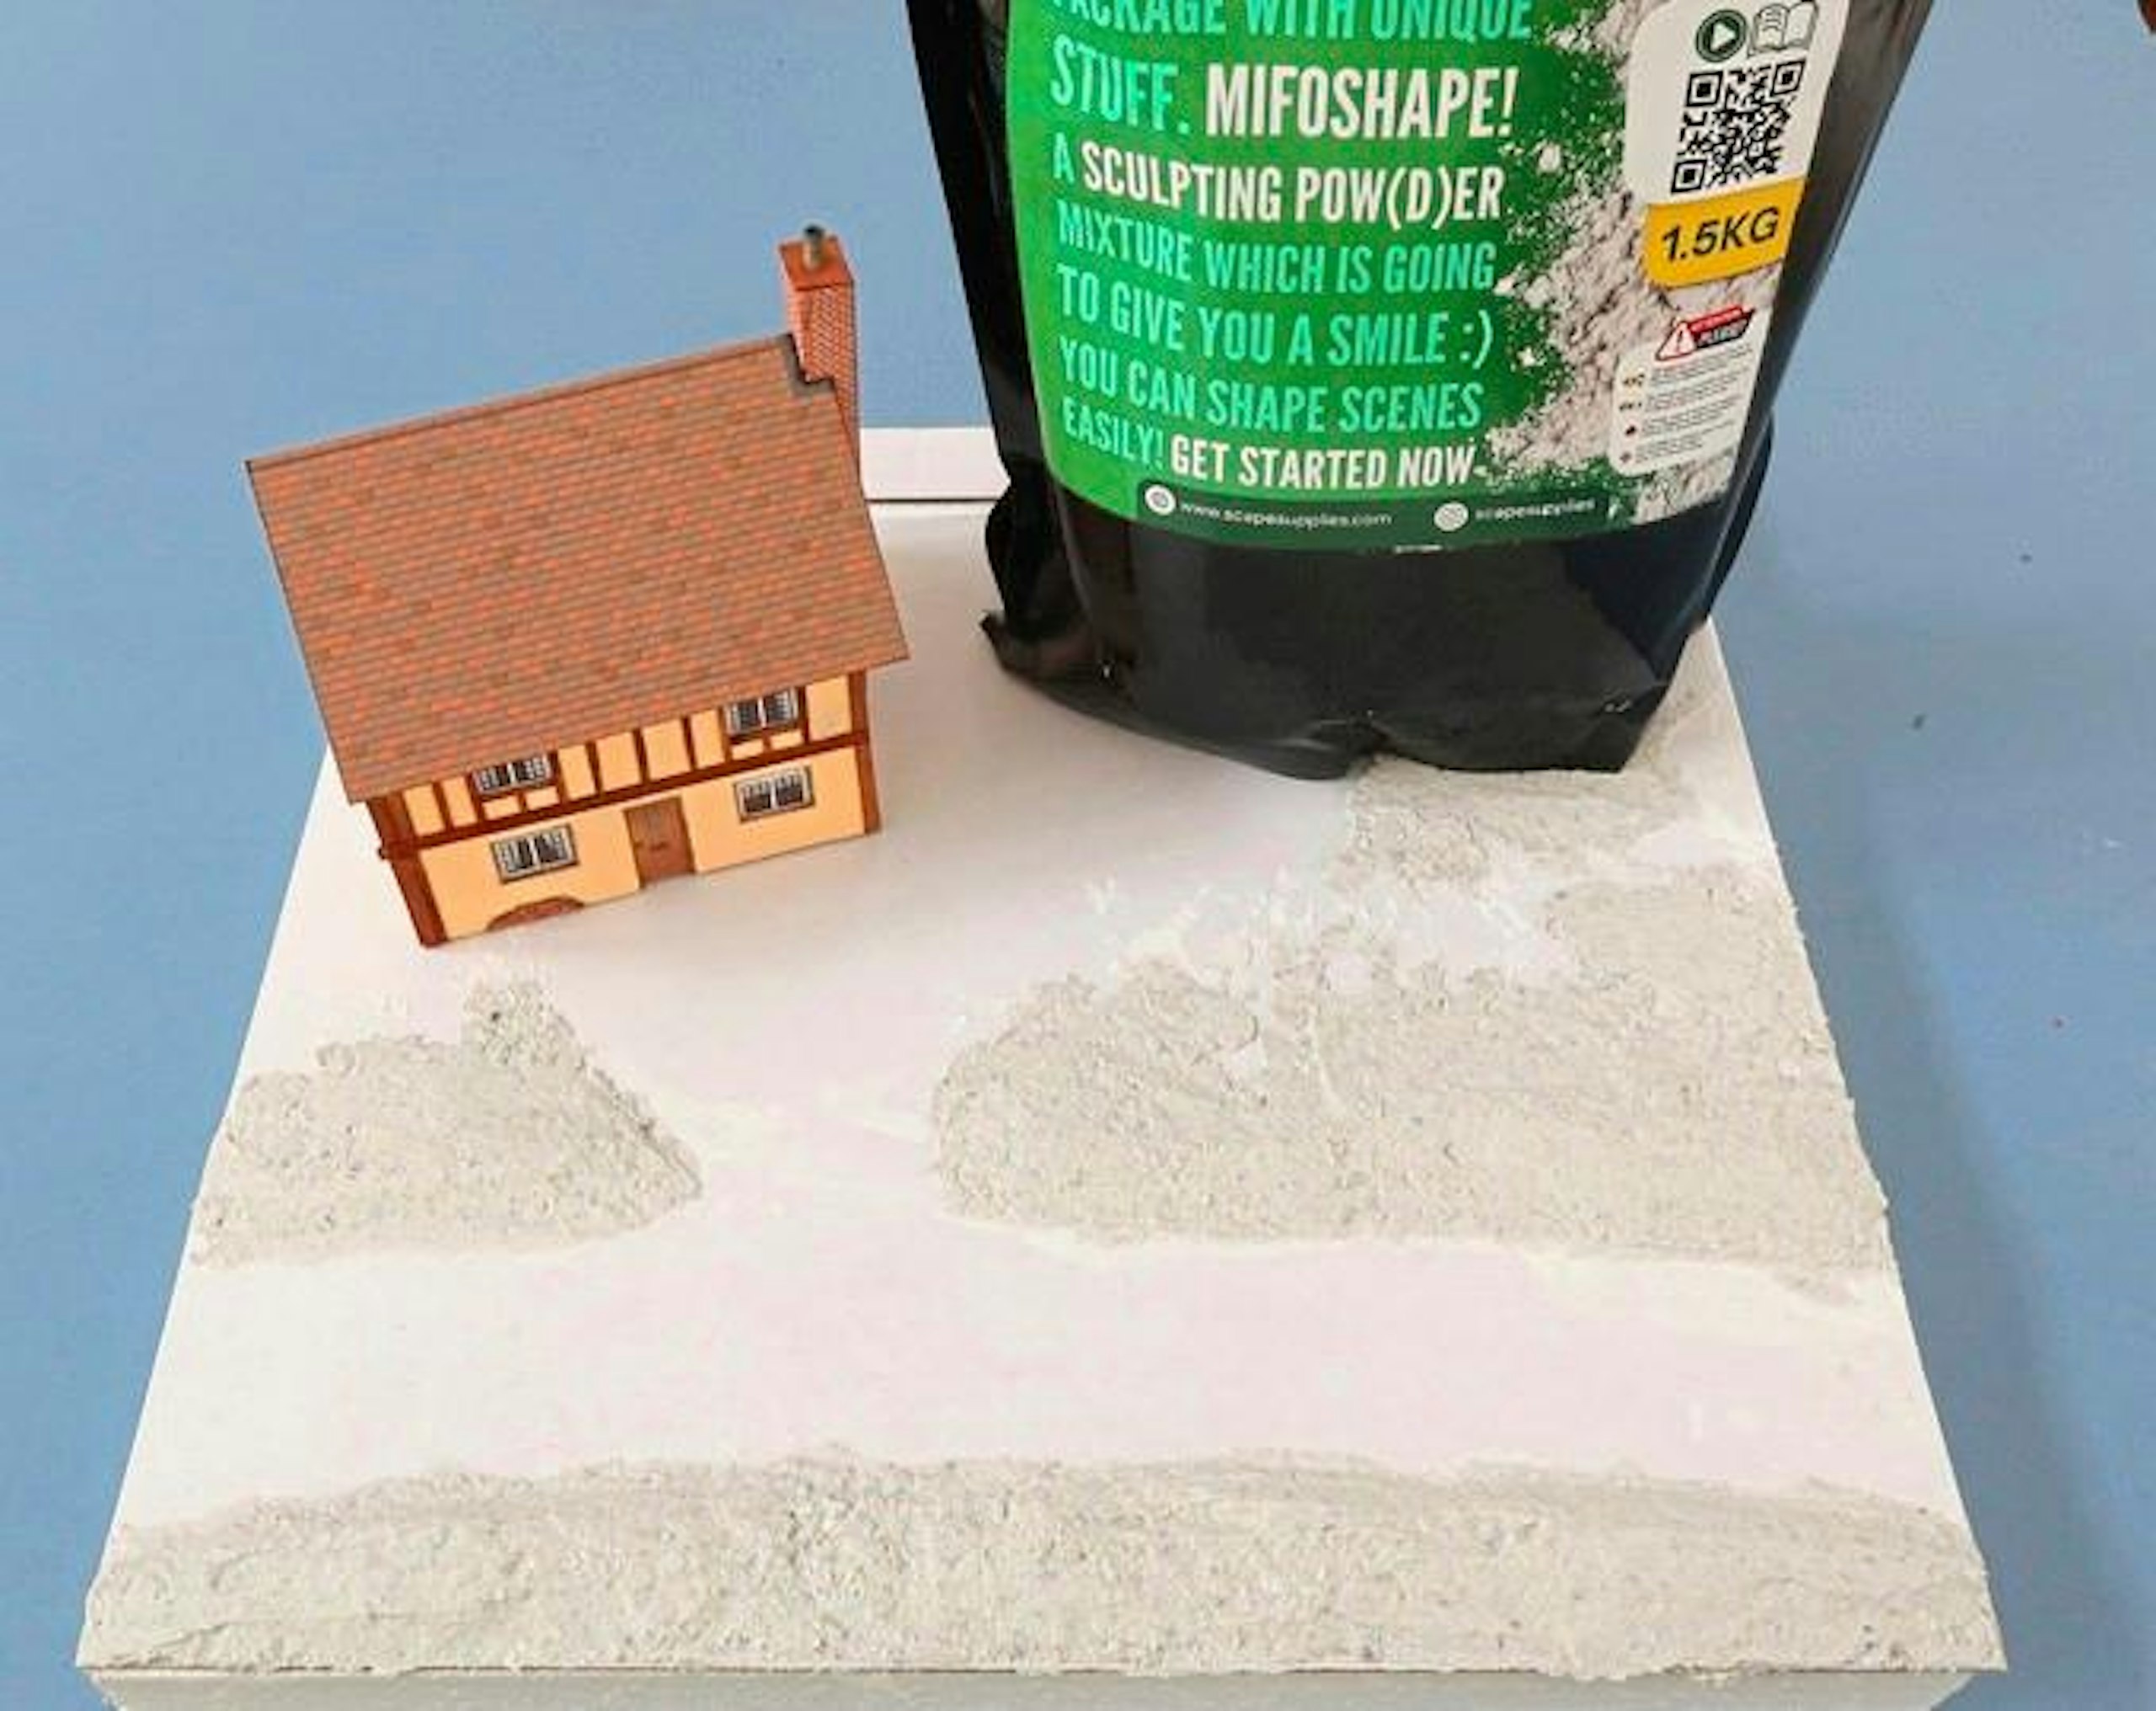
9 A 1ft square piece of foam formed the base for this diorama, with some contouring achieved with Mifoshape, a fibrous sculpting compound which I find easy to work with (www.dcctrainautomation.co.uk).
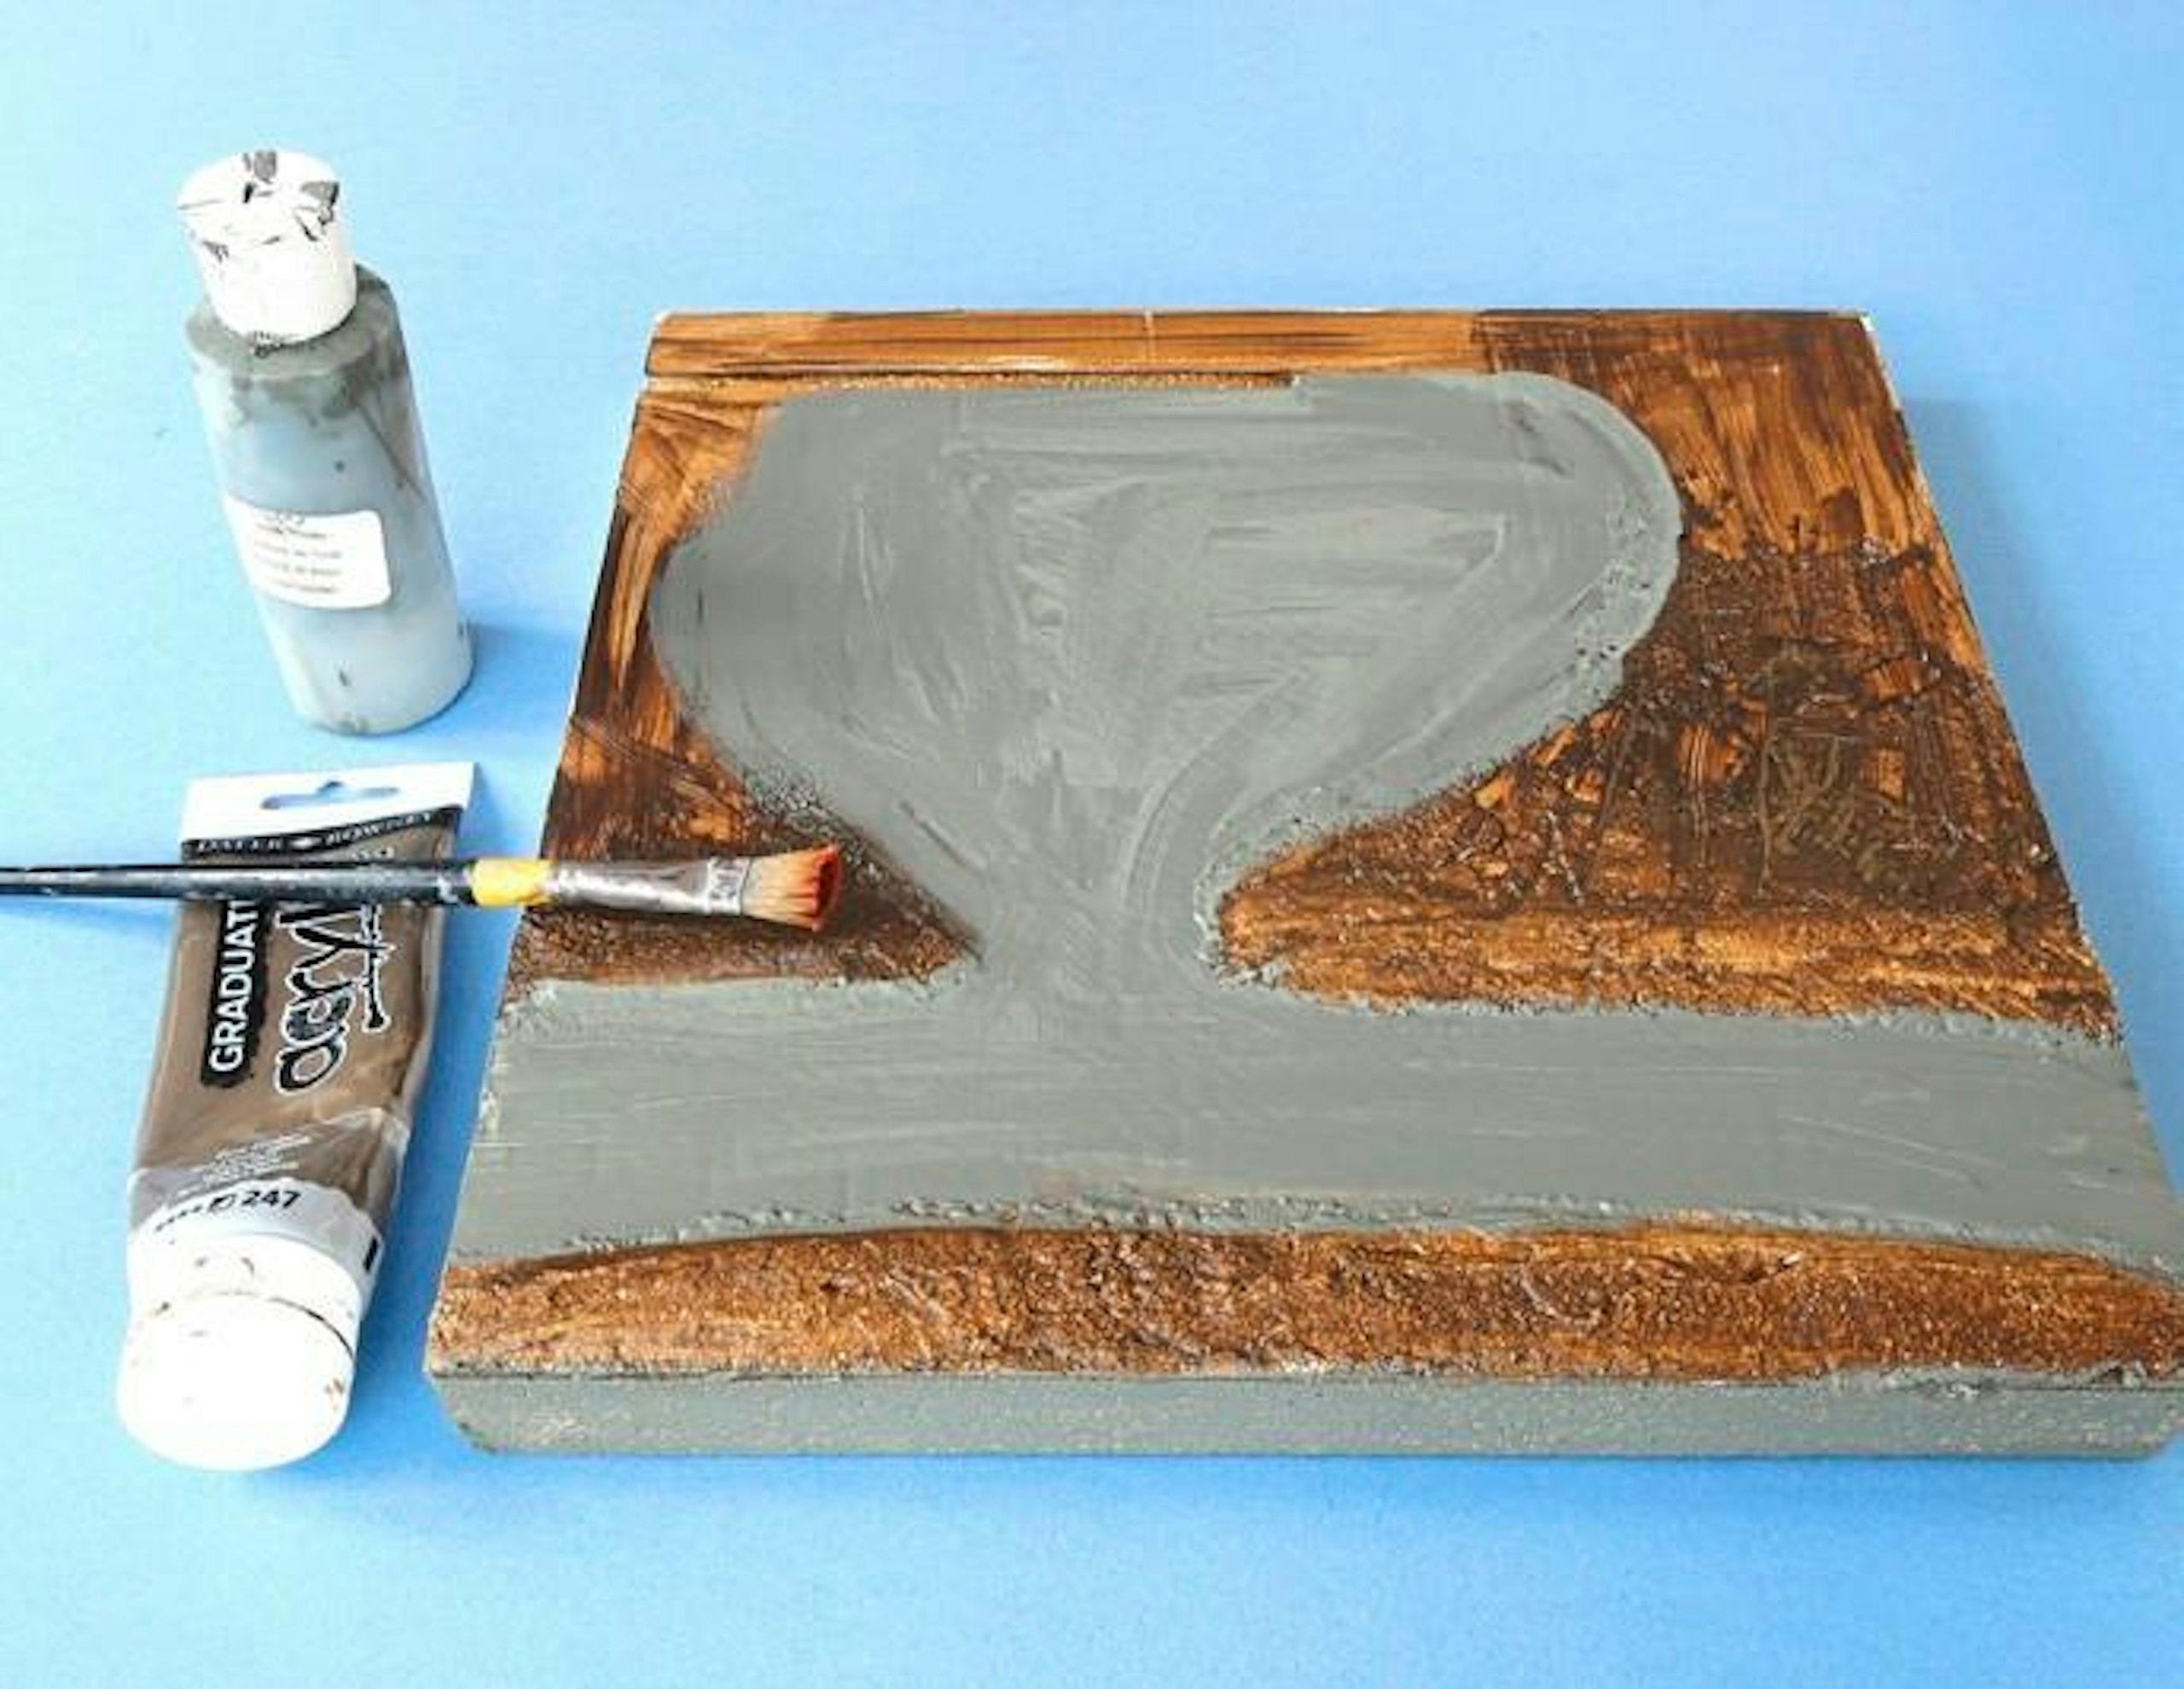
10 When the surface was dry, I painted the lane and driveway areas in grey and the rest in an earth brown shade, using cheap acrylic paints which you can find in bargain and craft stores.
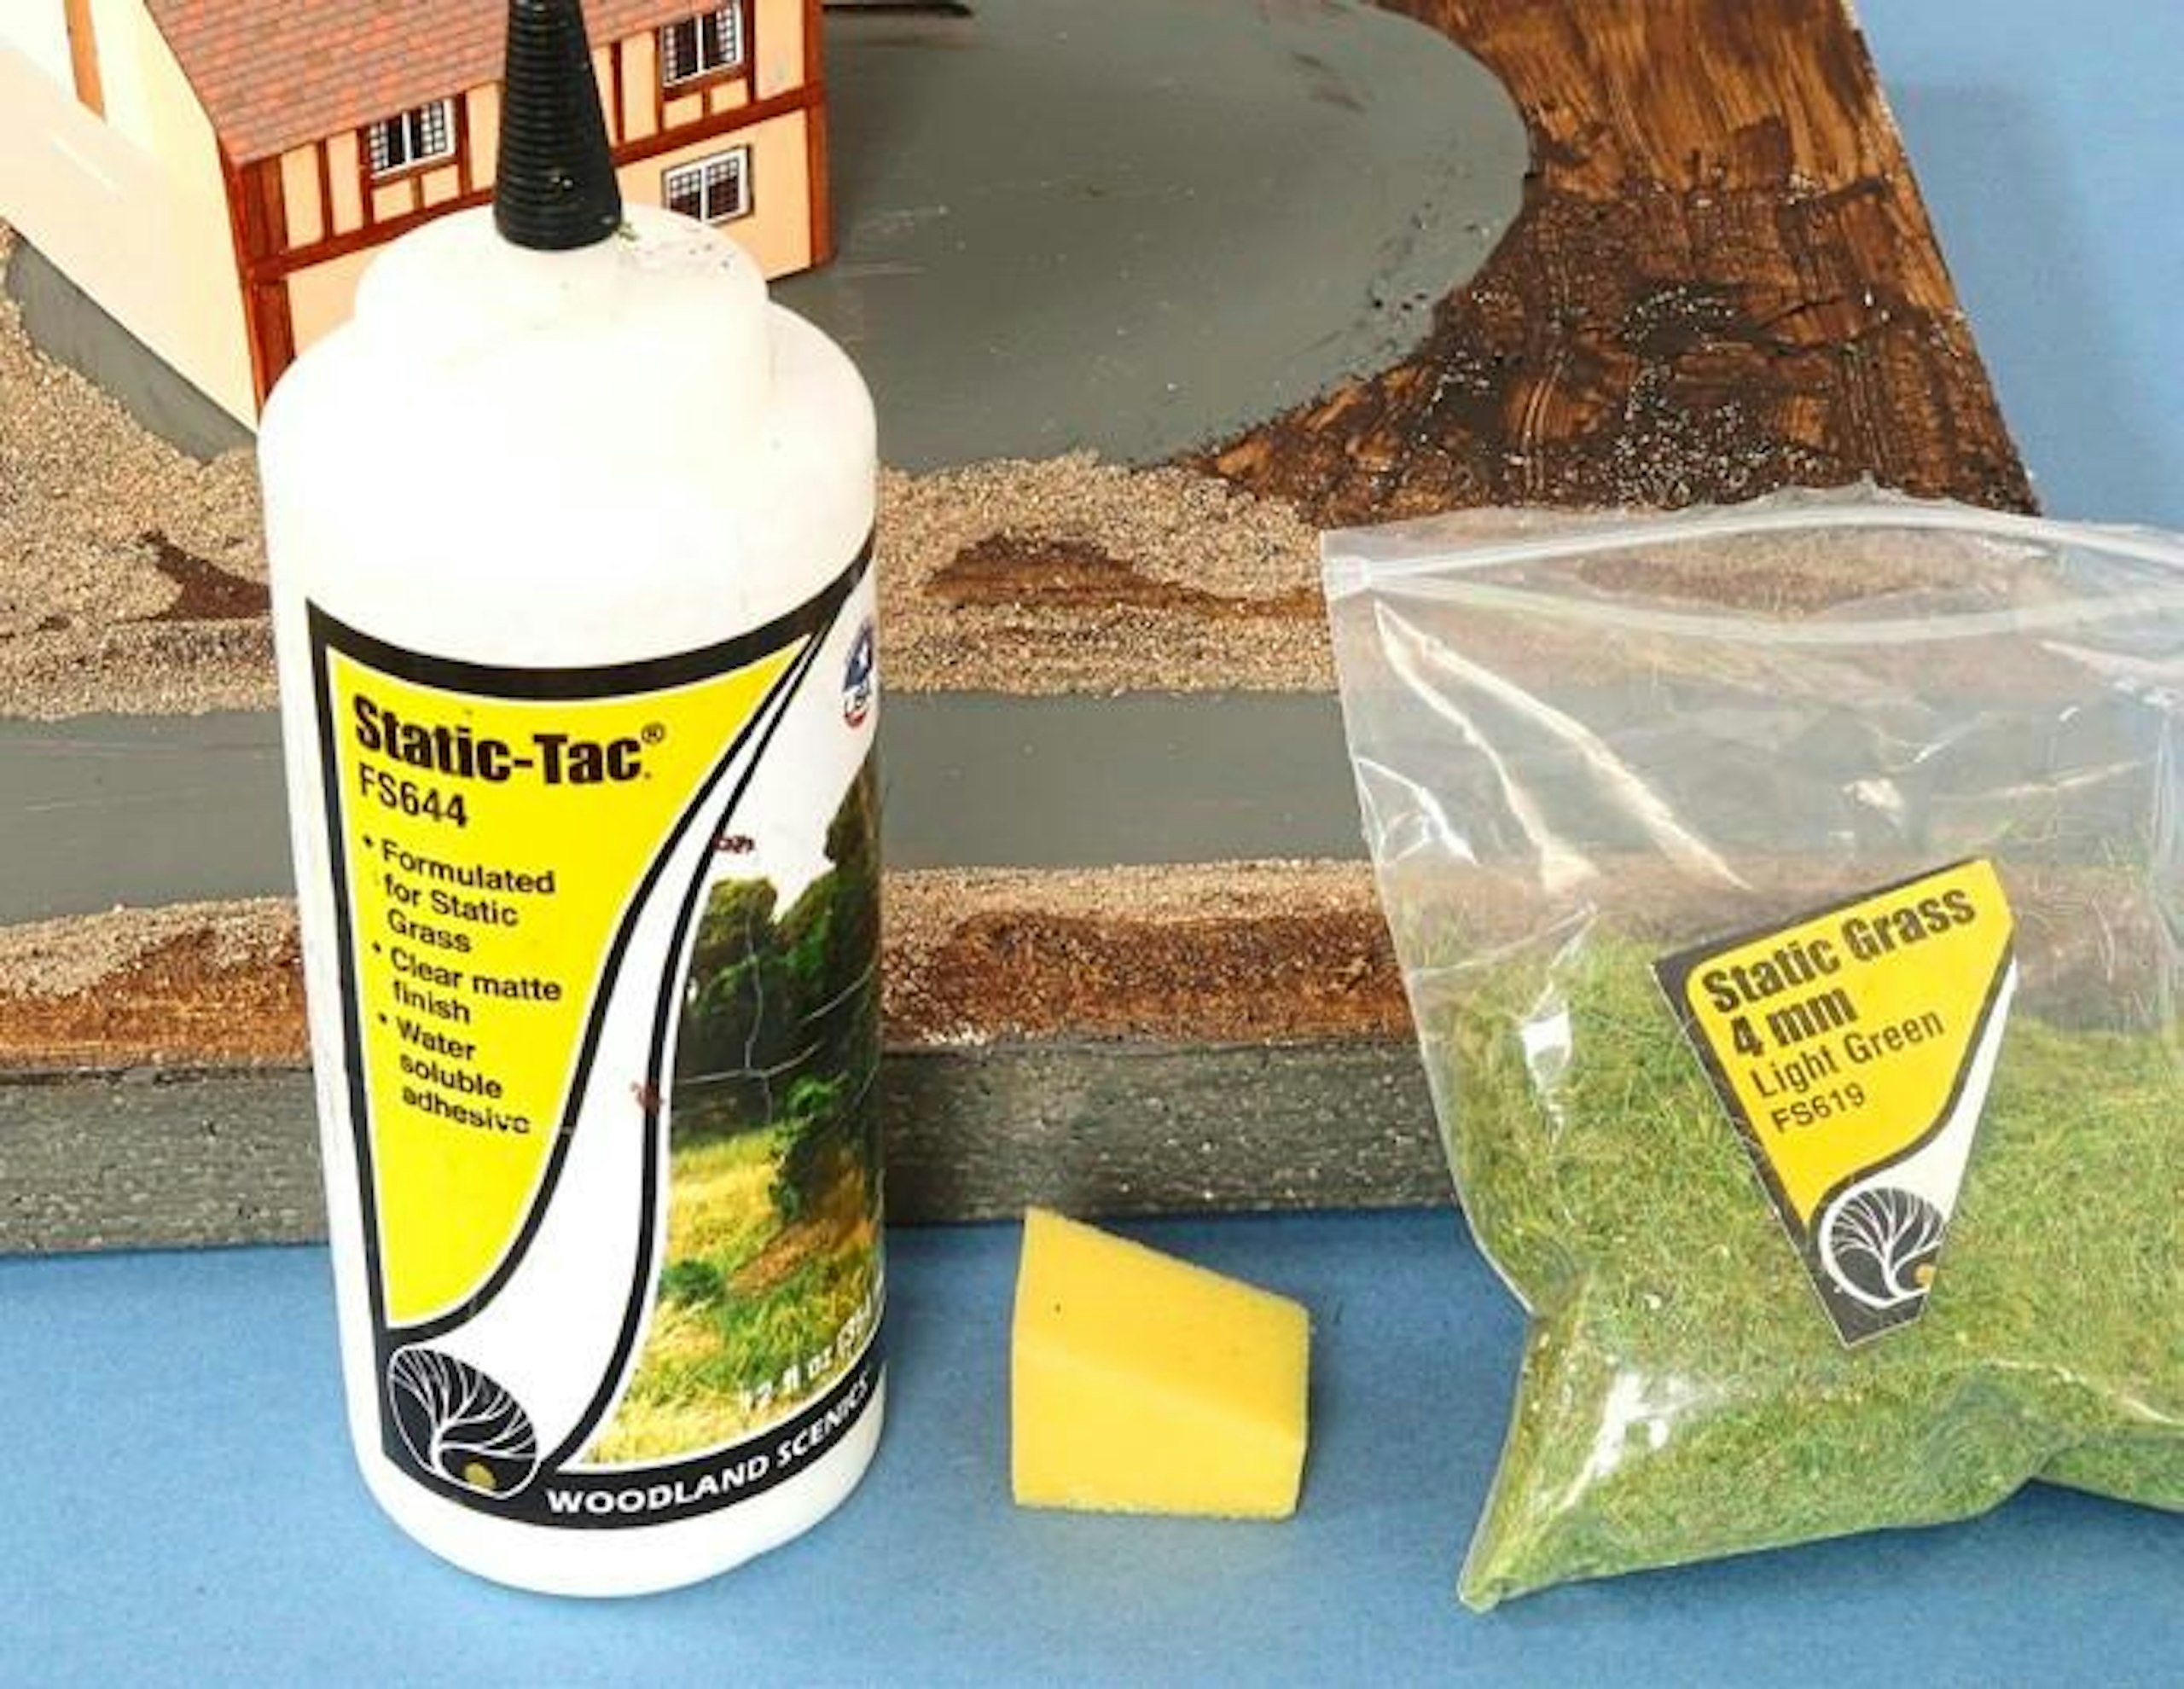
11 After an initial layer of fine sand had been scattered over PVA glue in key areas, next comes some Woodland Scenics 4mm light green static grass fibres for the first layer of greenery. My choice of adhesive was Static-Tac.
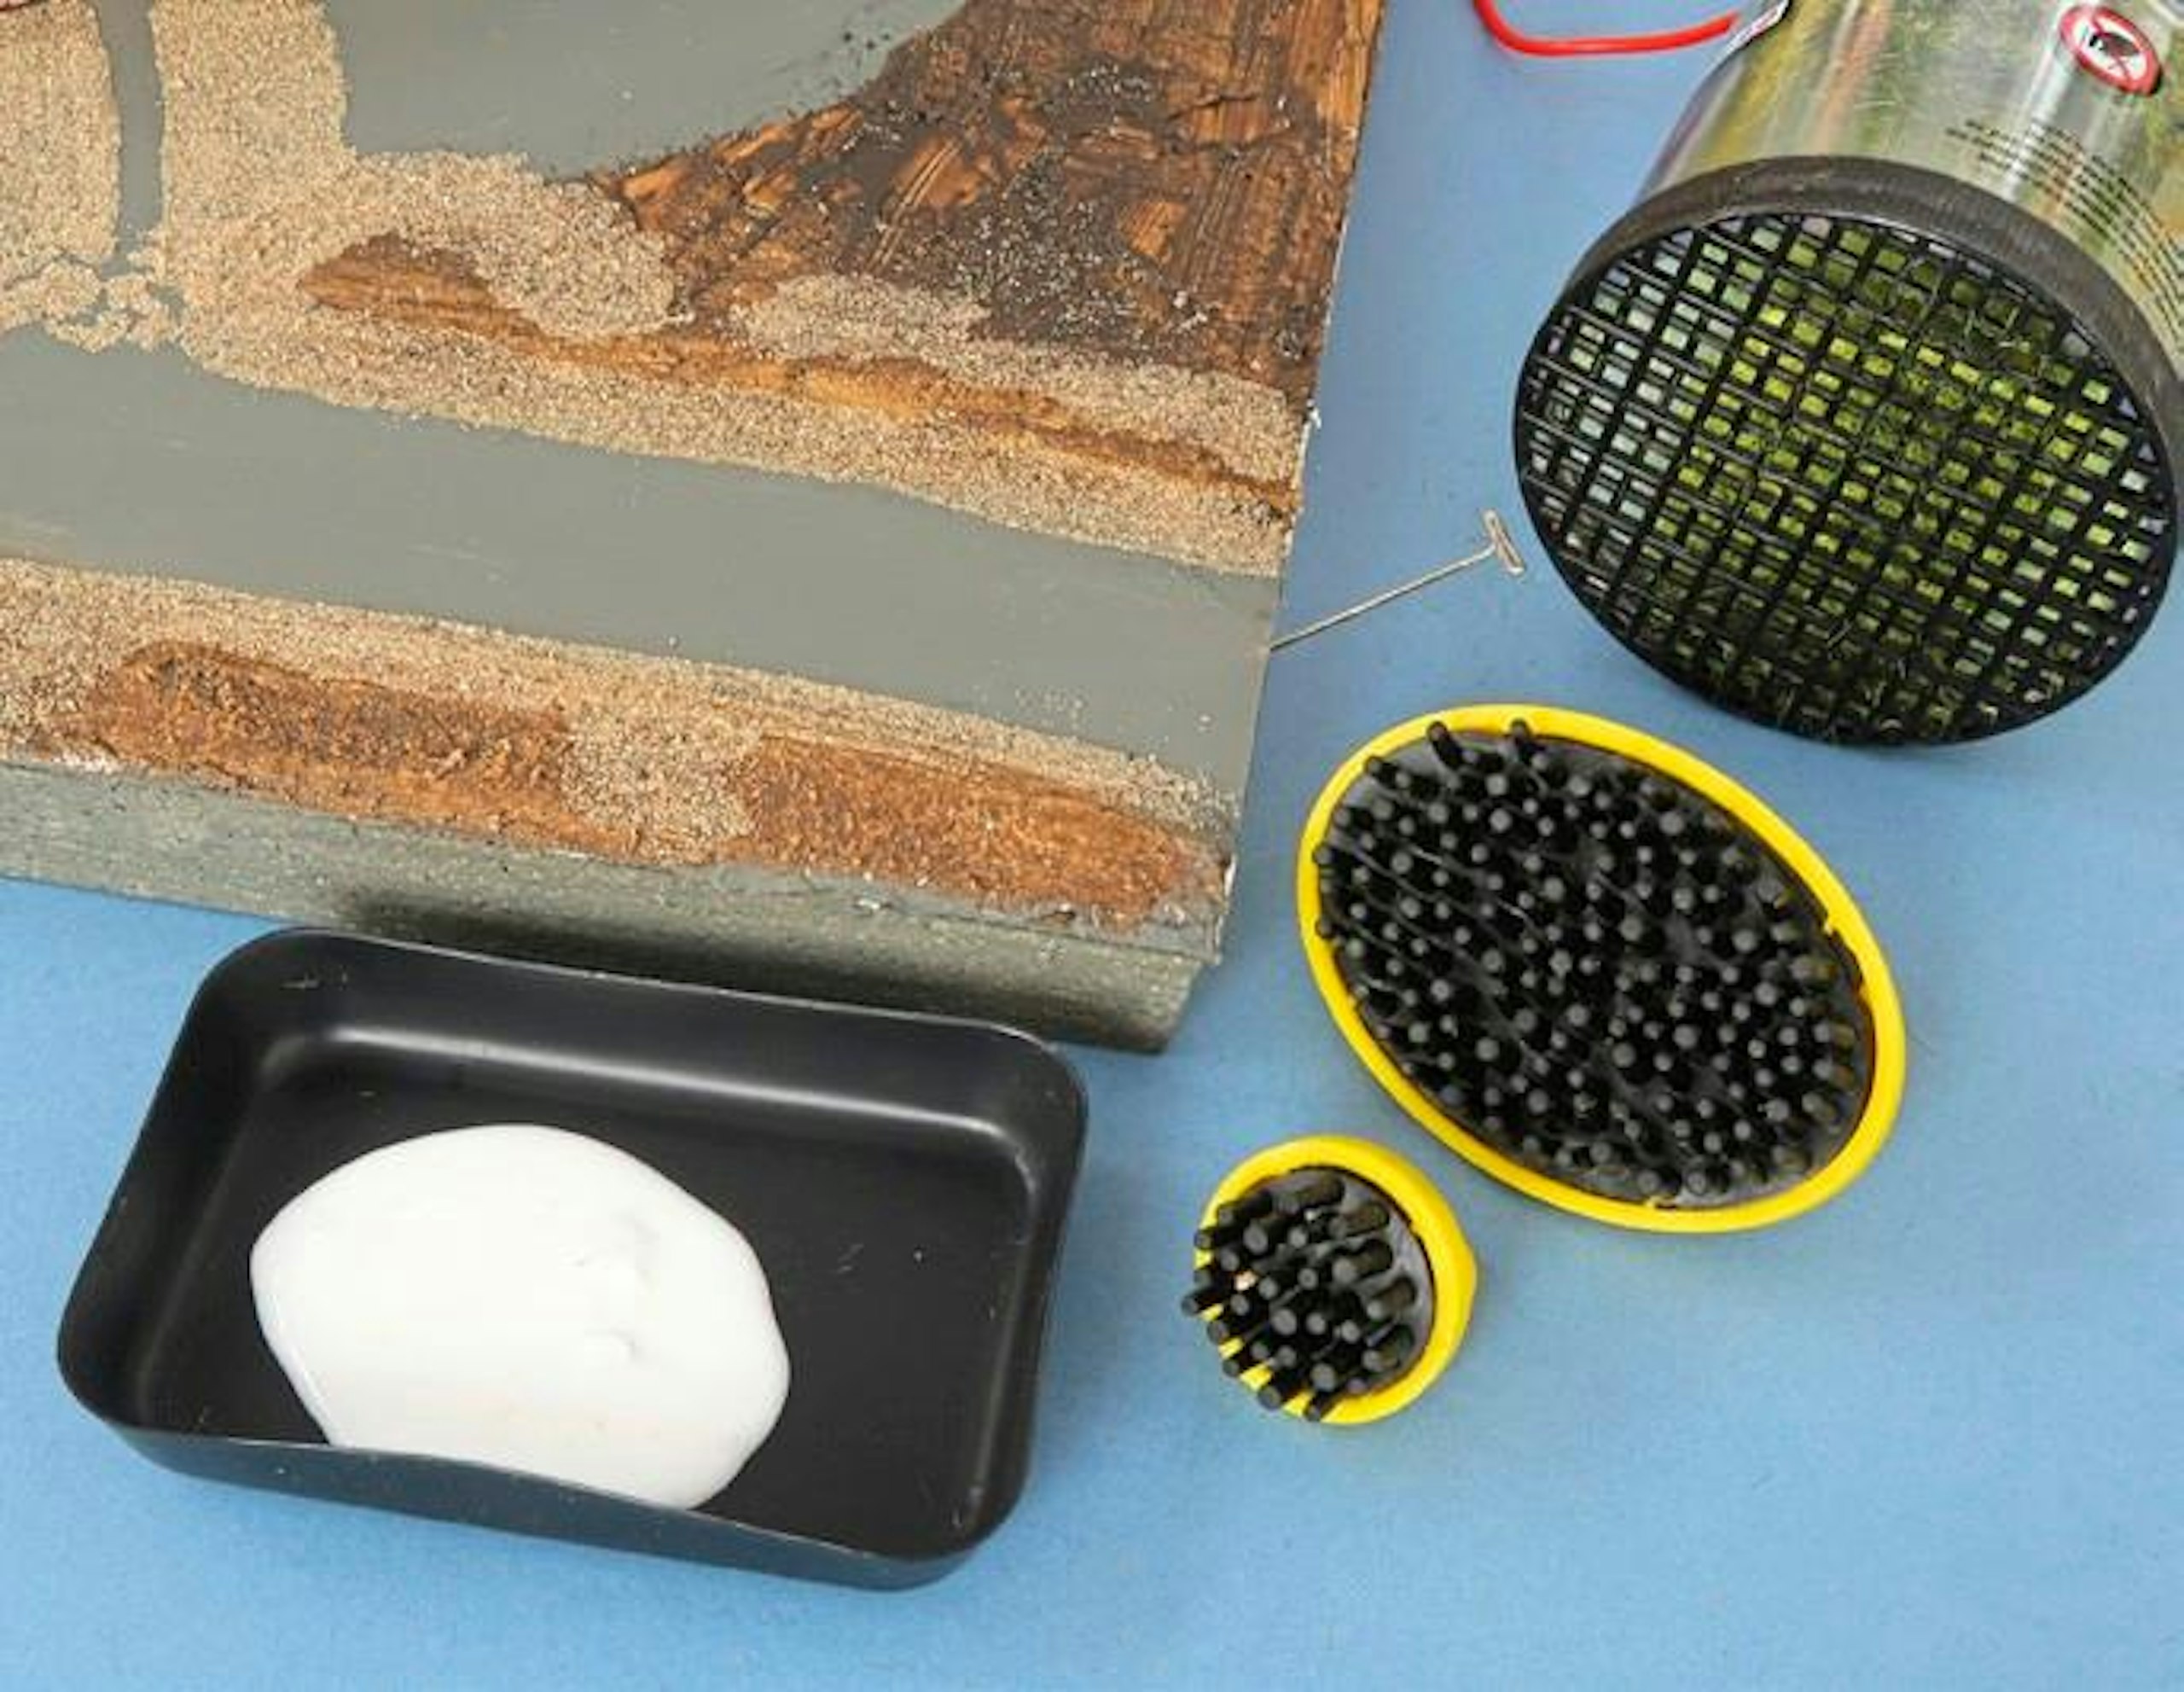
12 The diorama gave me a good chance to try out the latest Noch Gras-Master 4.0 tool, plus the various Grass Stamps and adhesive tray, which was filled with a puddle of Static-Tac glue.

13 Here, the Grass Stamp has been used to dab random deposits of adhesive onto the ground. Similar effects can be achieved with a piece of sponge.
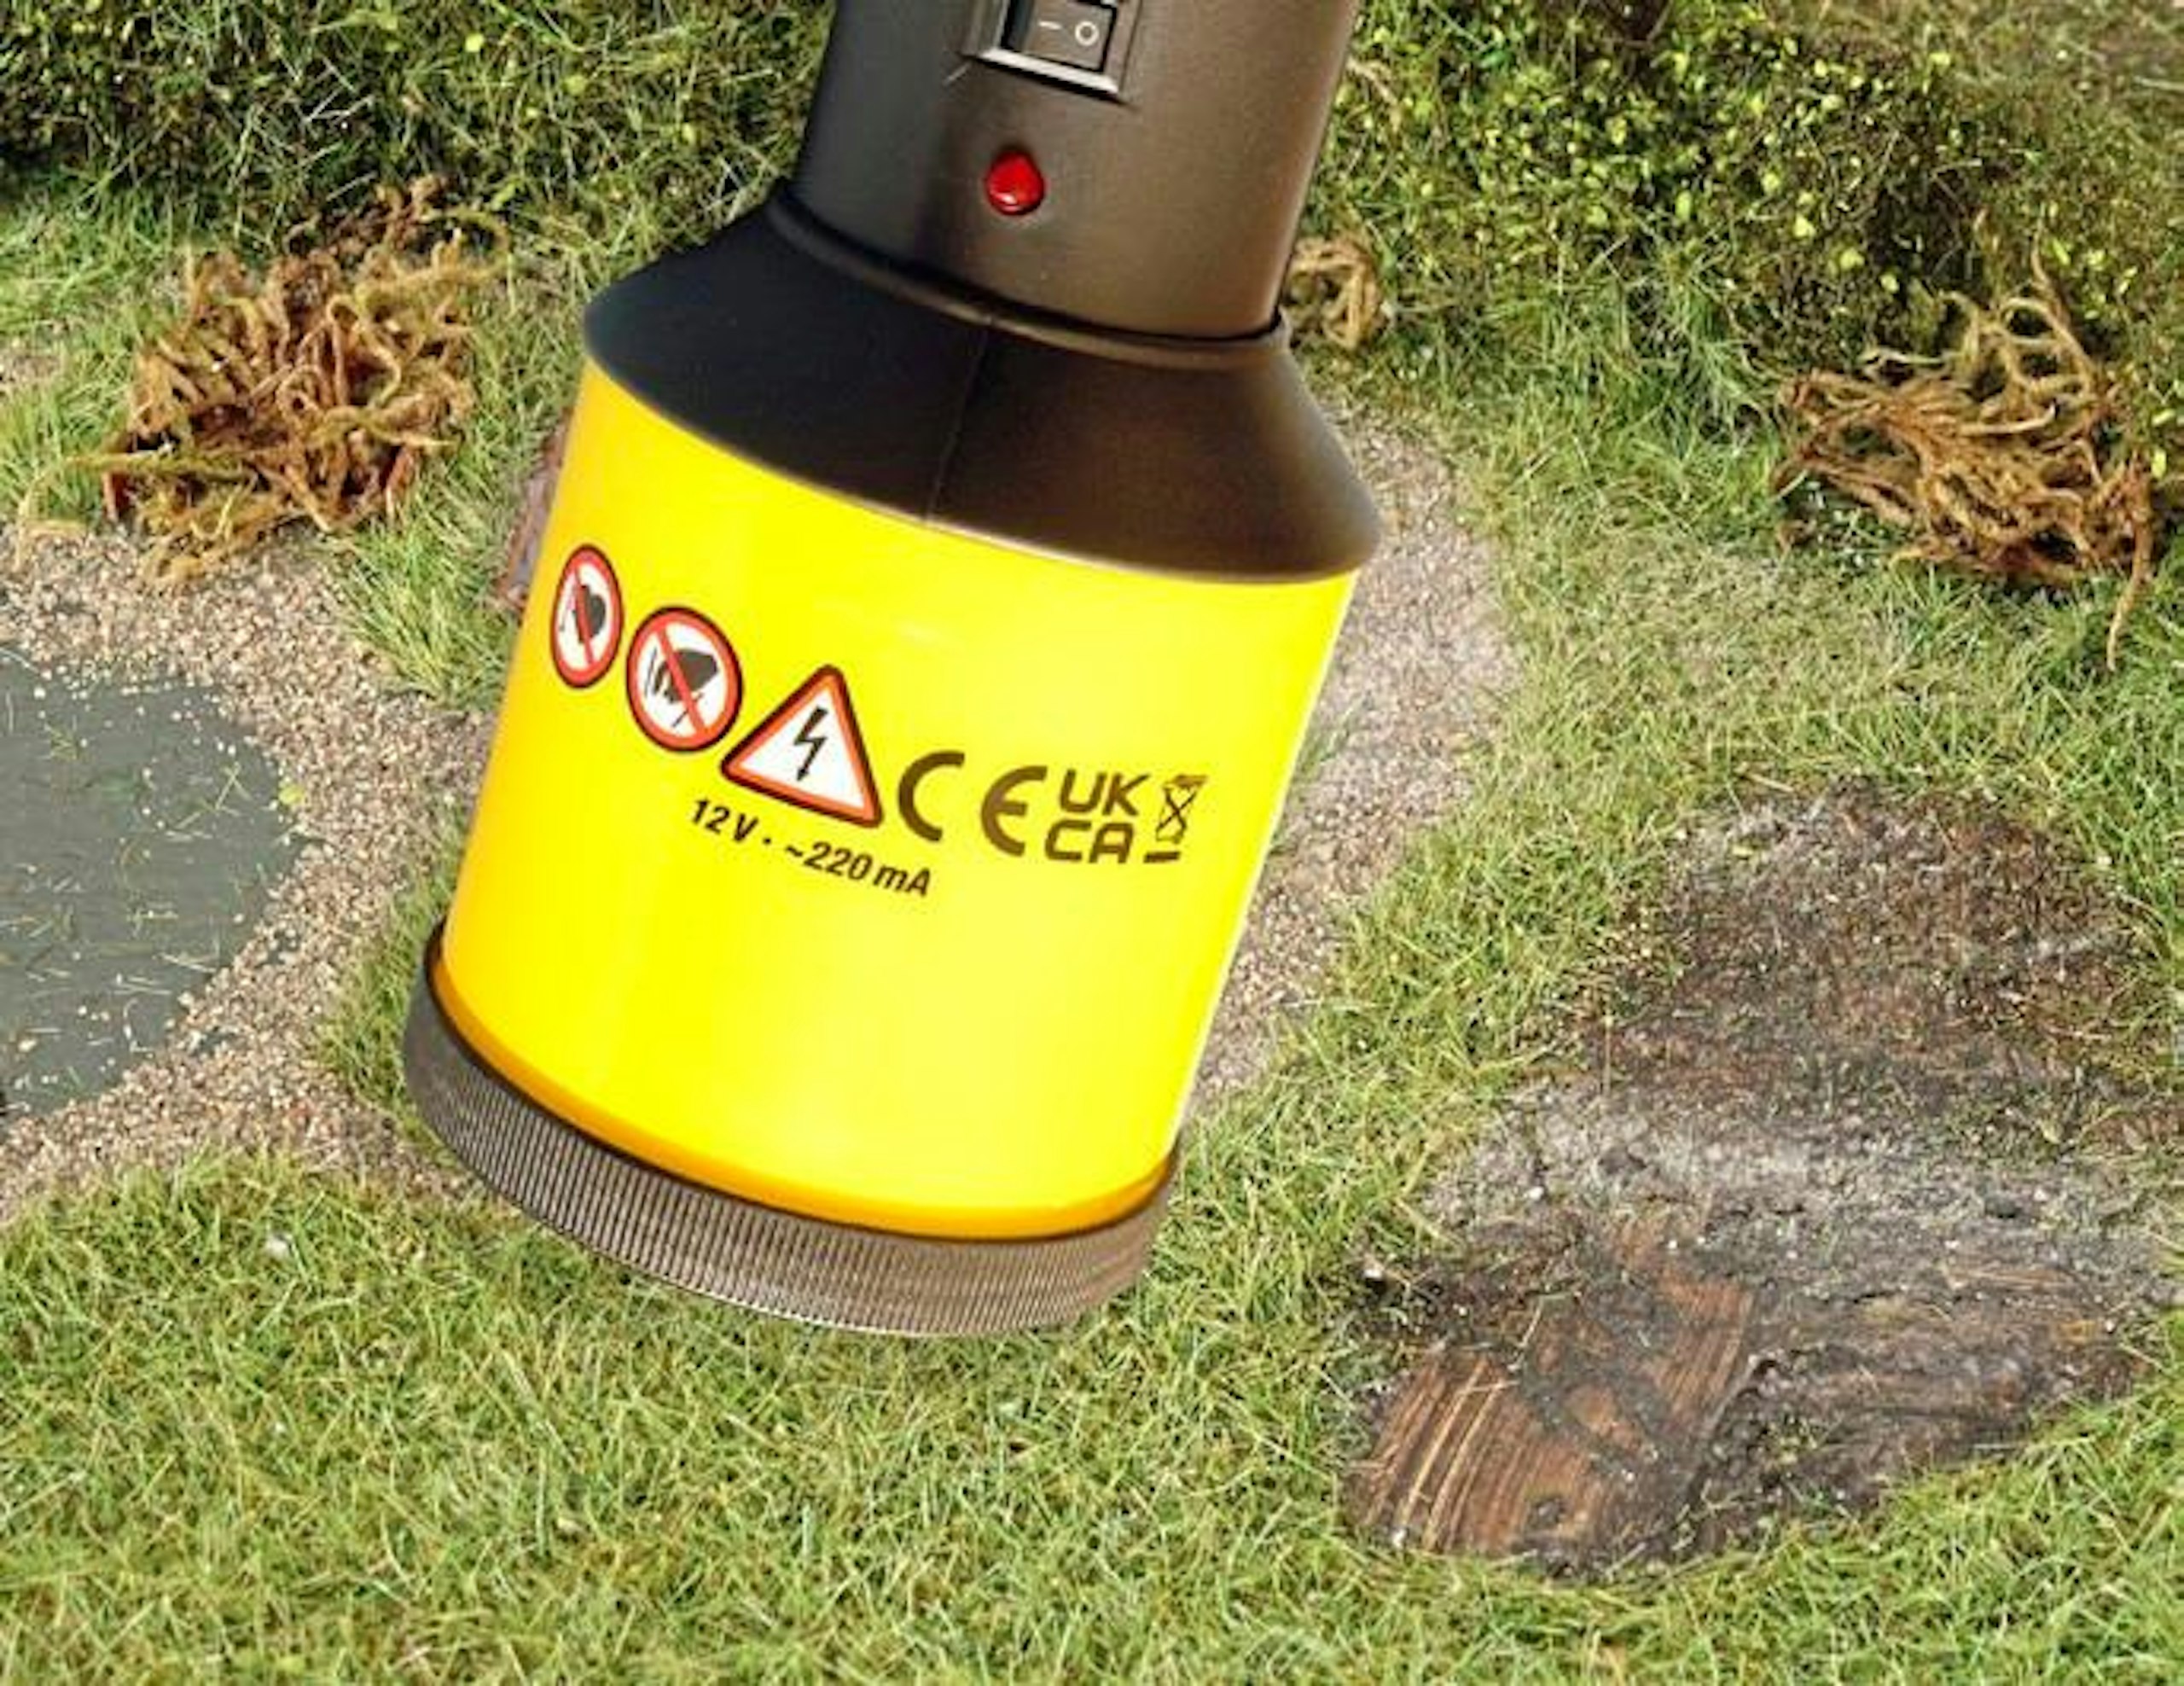
14 Grass fibres were then planted into the wet glue. The random patches of glue left by the Grass Stamps ensure the fibres do not create an overly uniform coverage.

15 Once the first layer of fibres had been planted, I gently brushed some adhesive over the surface of some fibres then planted a second layer of slightly different grass fibres.
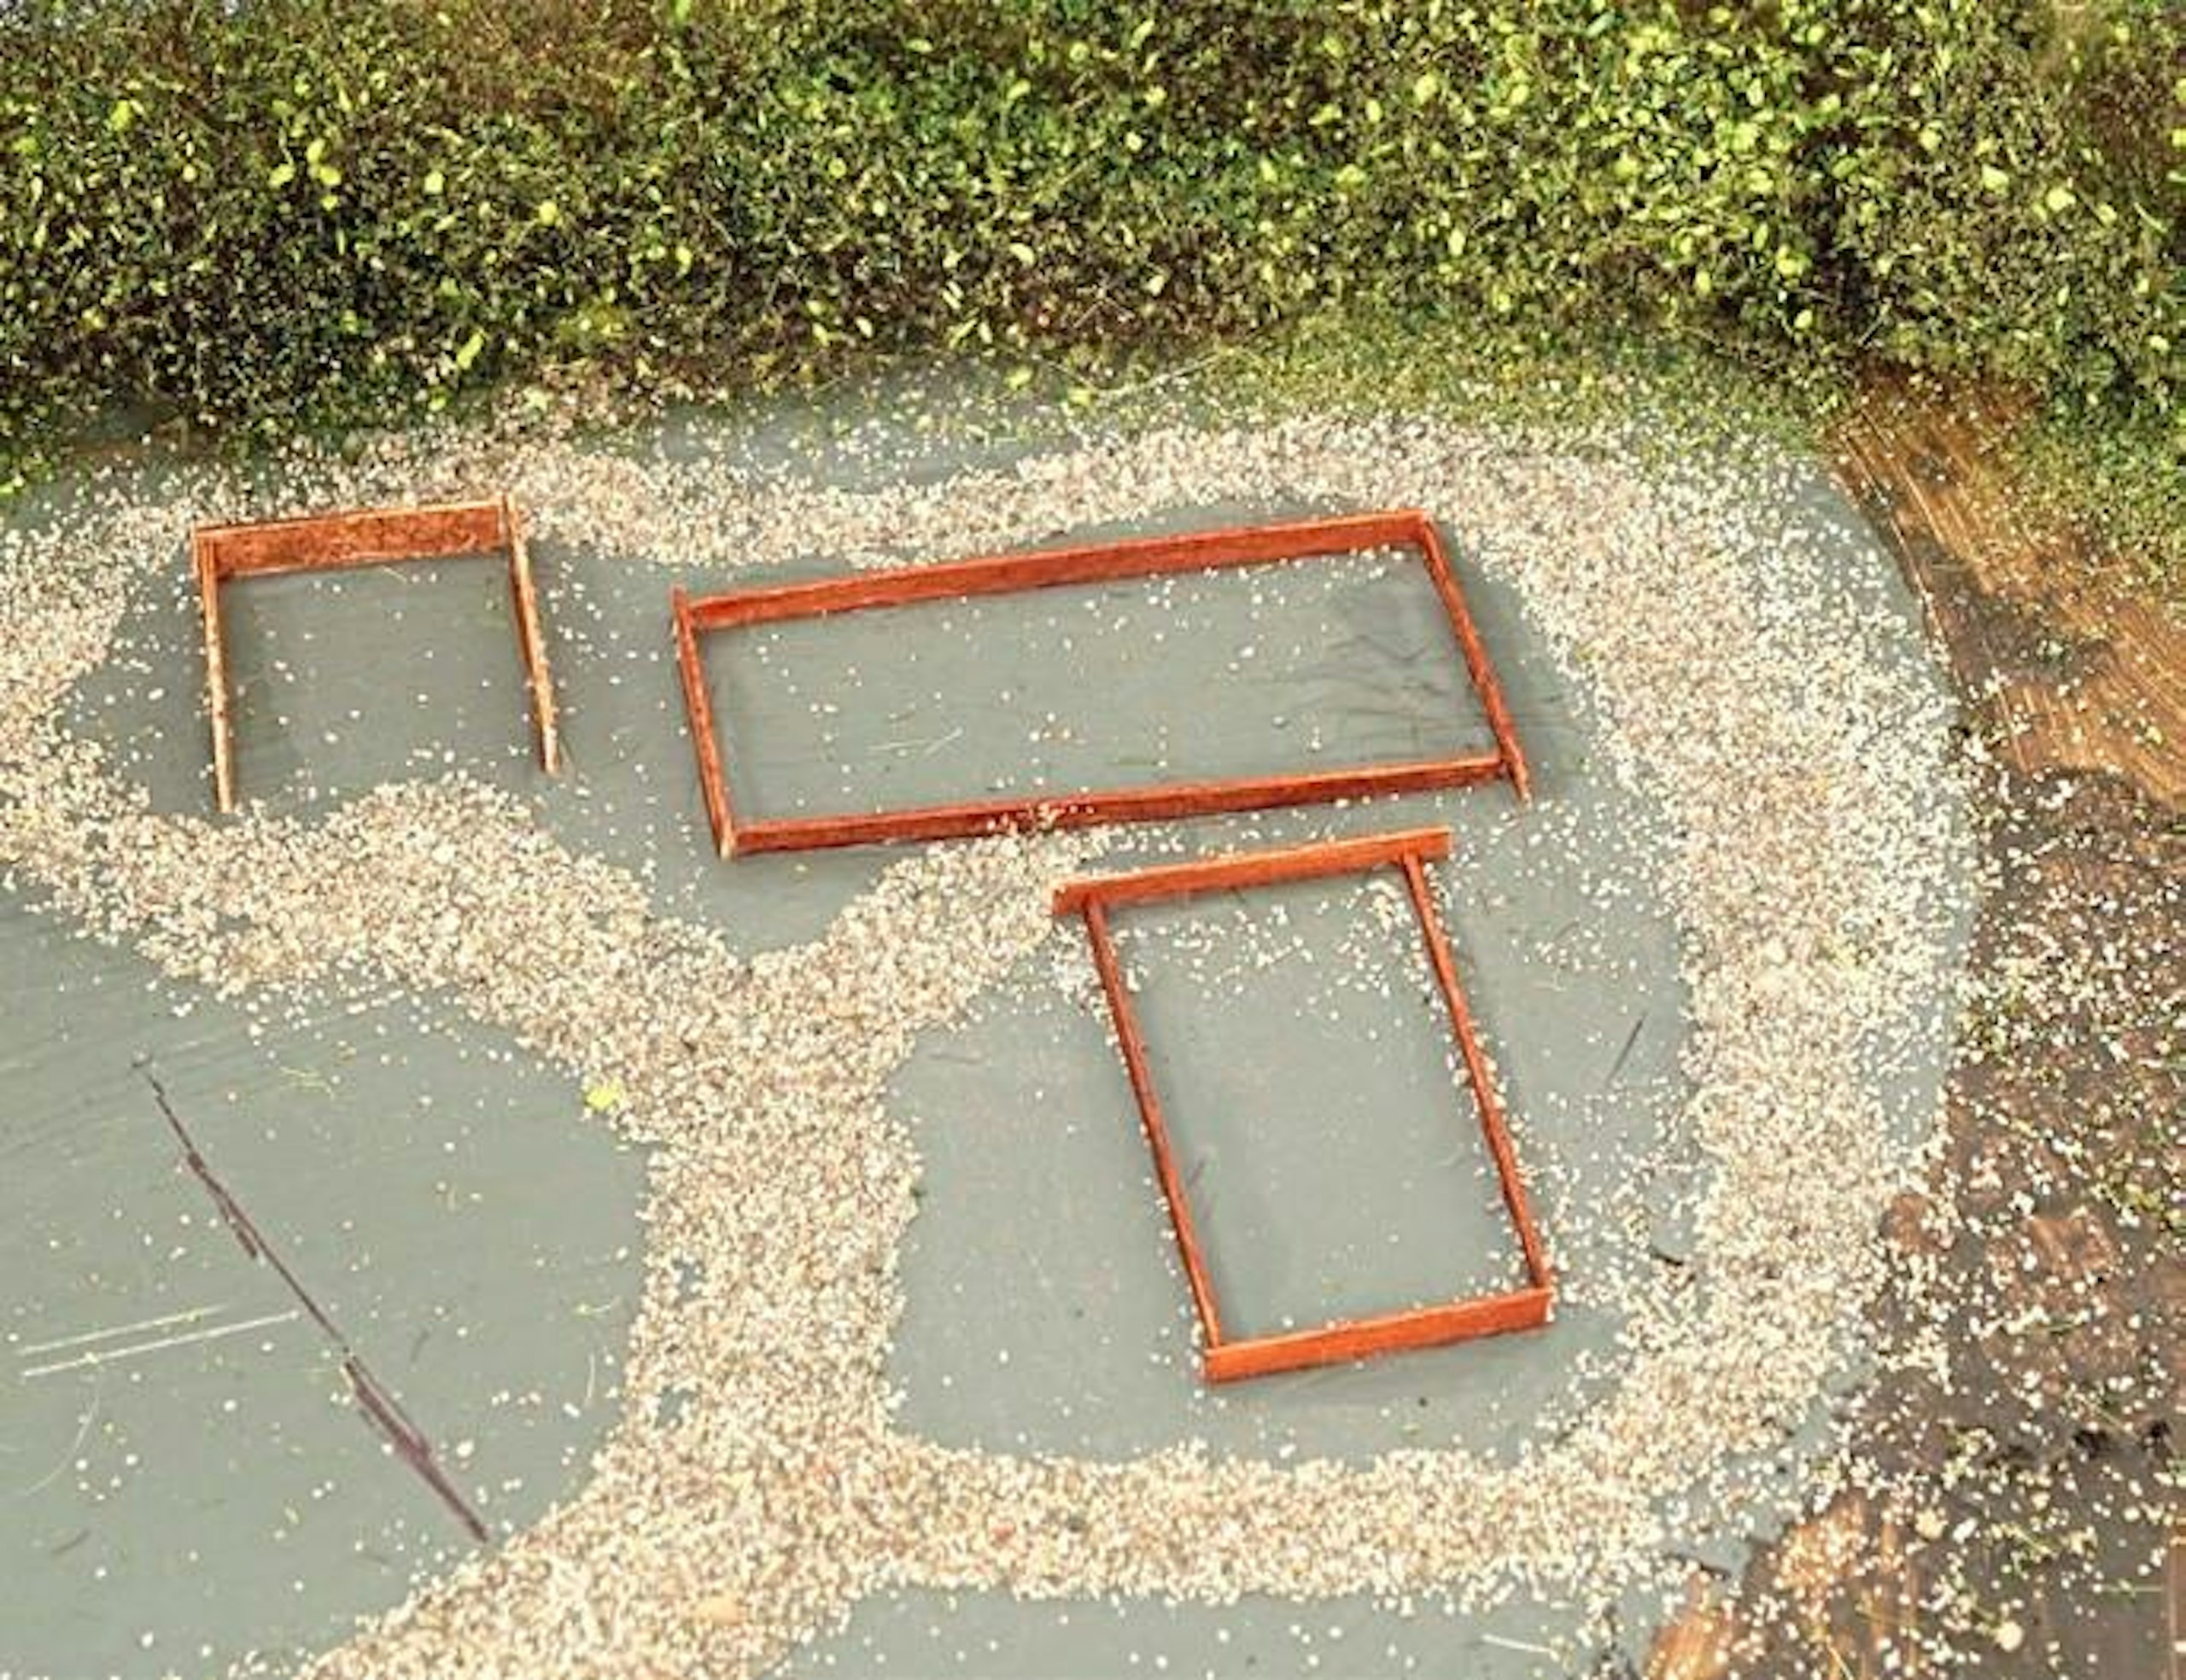
16 Paths around the garden area were created by sprinkling fine sand over a layer of PVA adhesive that had been spread by brush. The raised beds were made from pieces of basswood strip, coloured with a felt-tip pen.

17 Short fibres of static grass were then planted between the paths. Piles of Busch Natural Moss were dotted around the garden to represent areas of compost, and the raised beds were filled with Treemendus real fine earth.

18 I found this unusual material in the Scale Models Centre store in Norfolk. When teased out, it breaks into strands with a leaf-like effect, making it ideal for foliage and more.
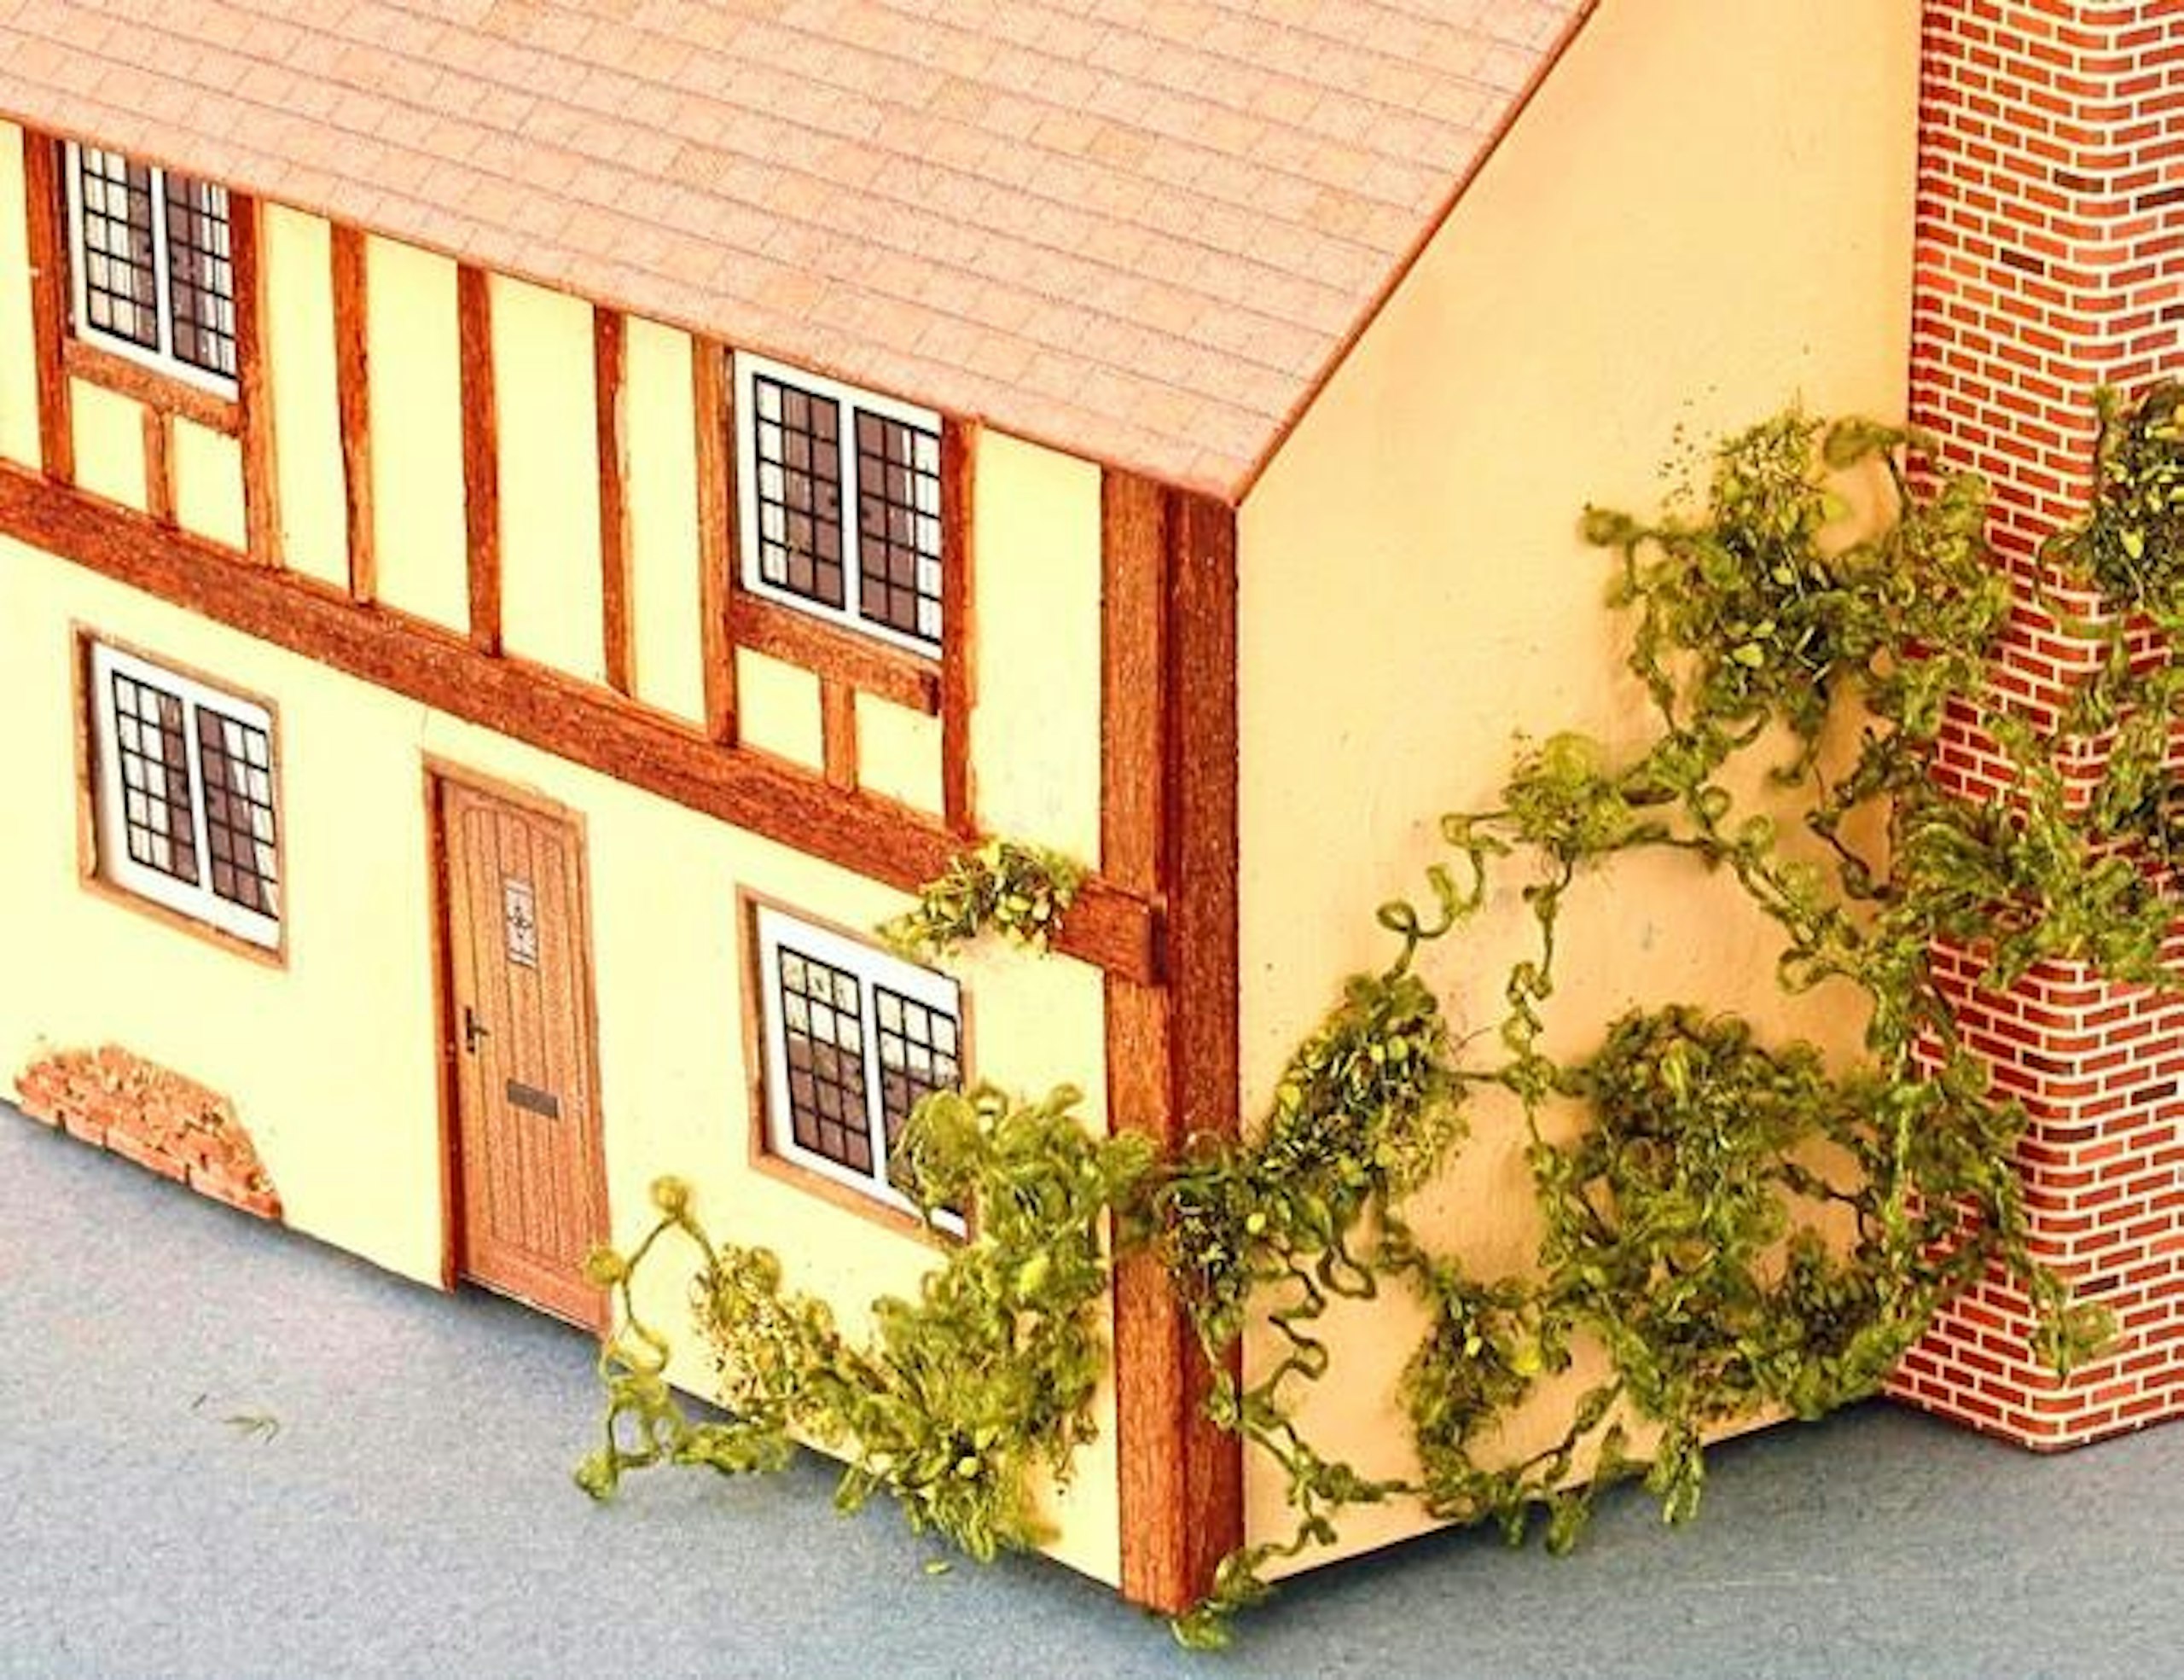
19 The teased-out climbing material has been loosely glued to the walls of the cottage. Dots of red or yellow fine scatter material can create the illusion of a climbing rose.
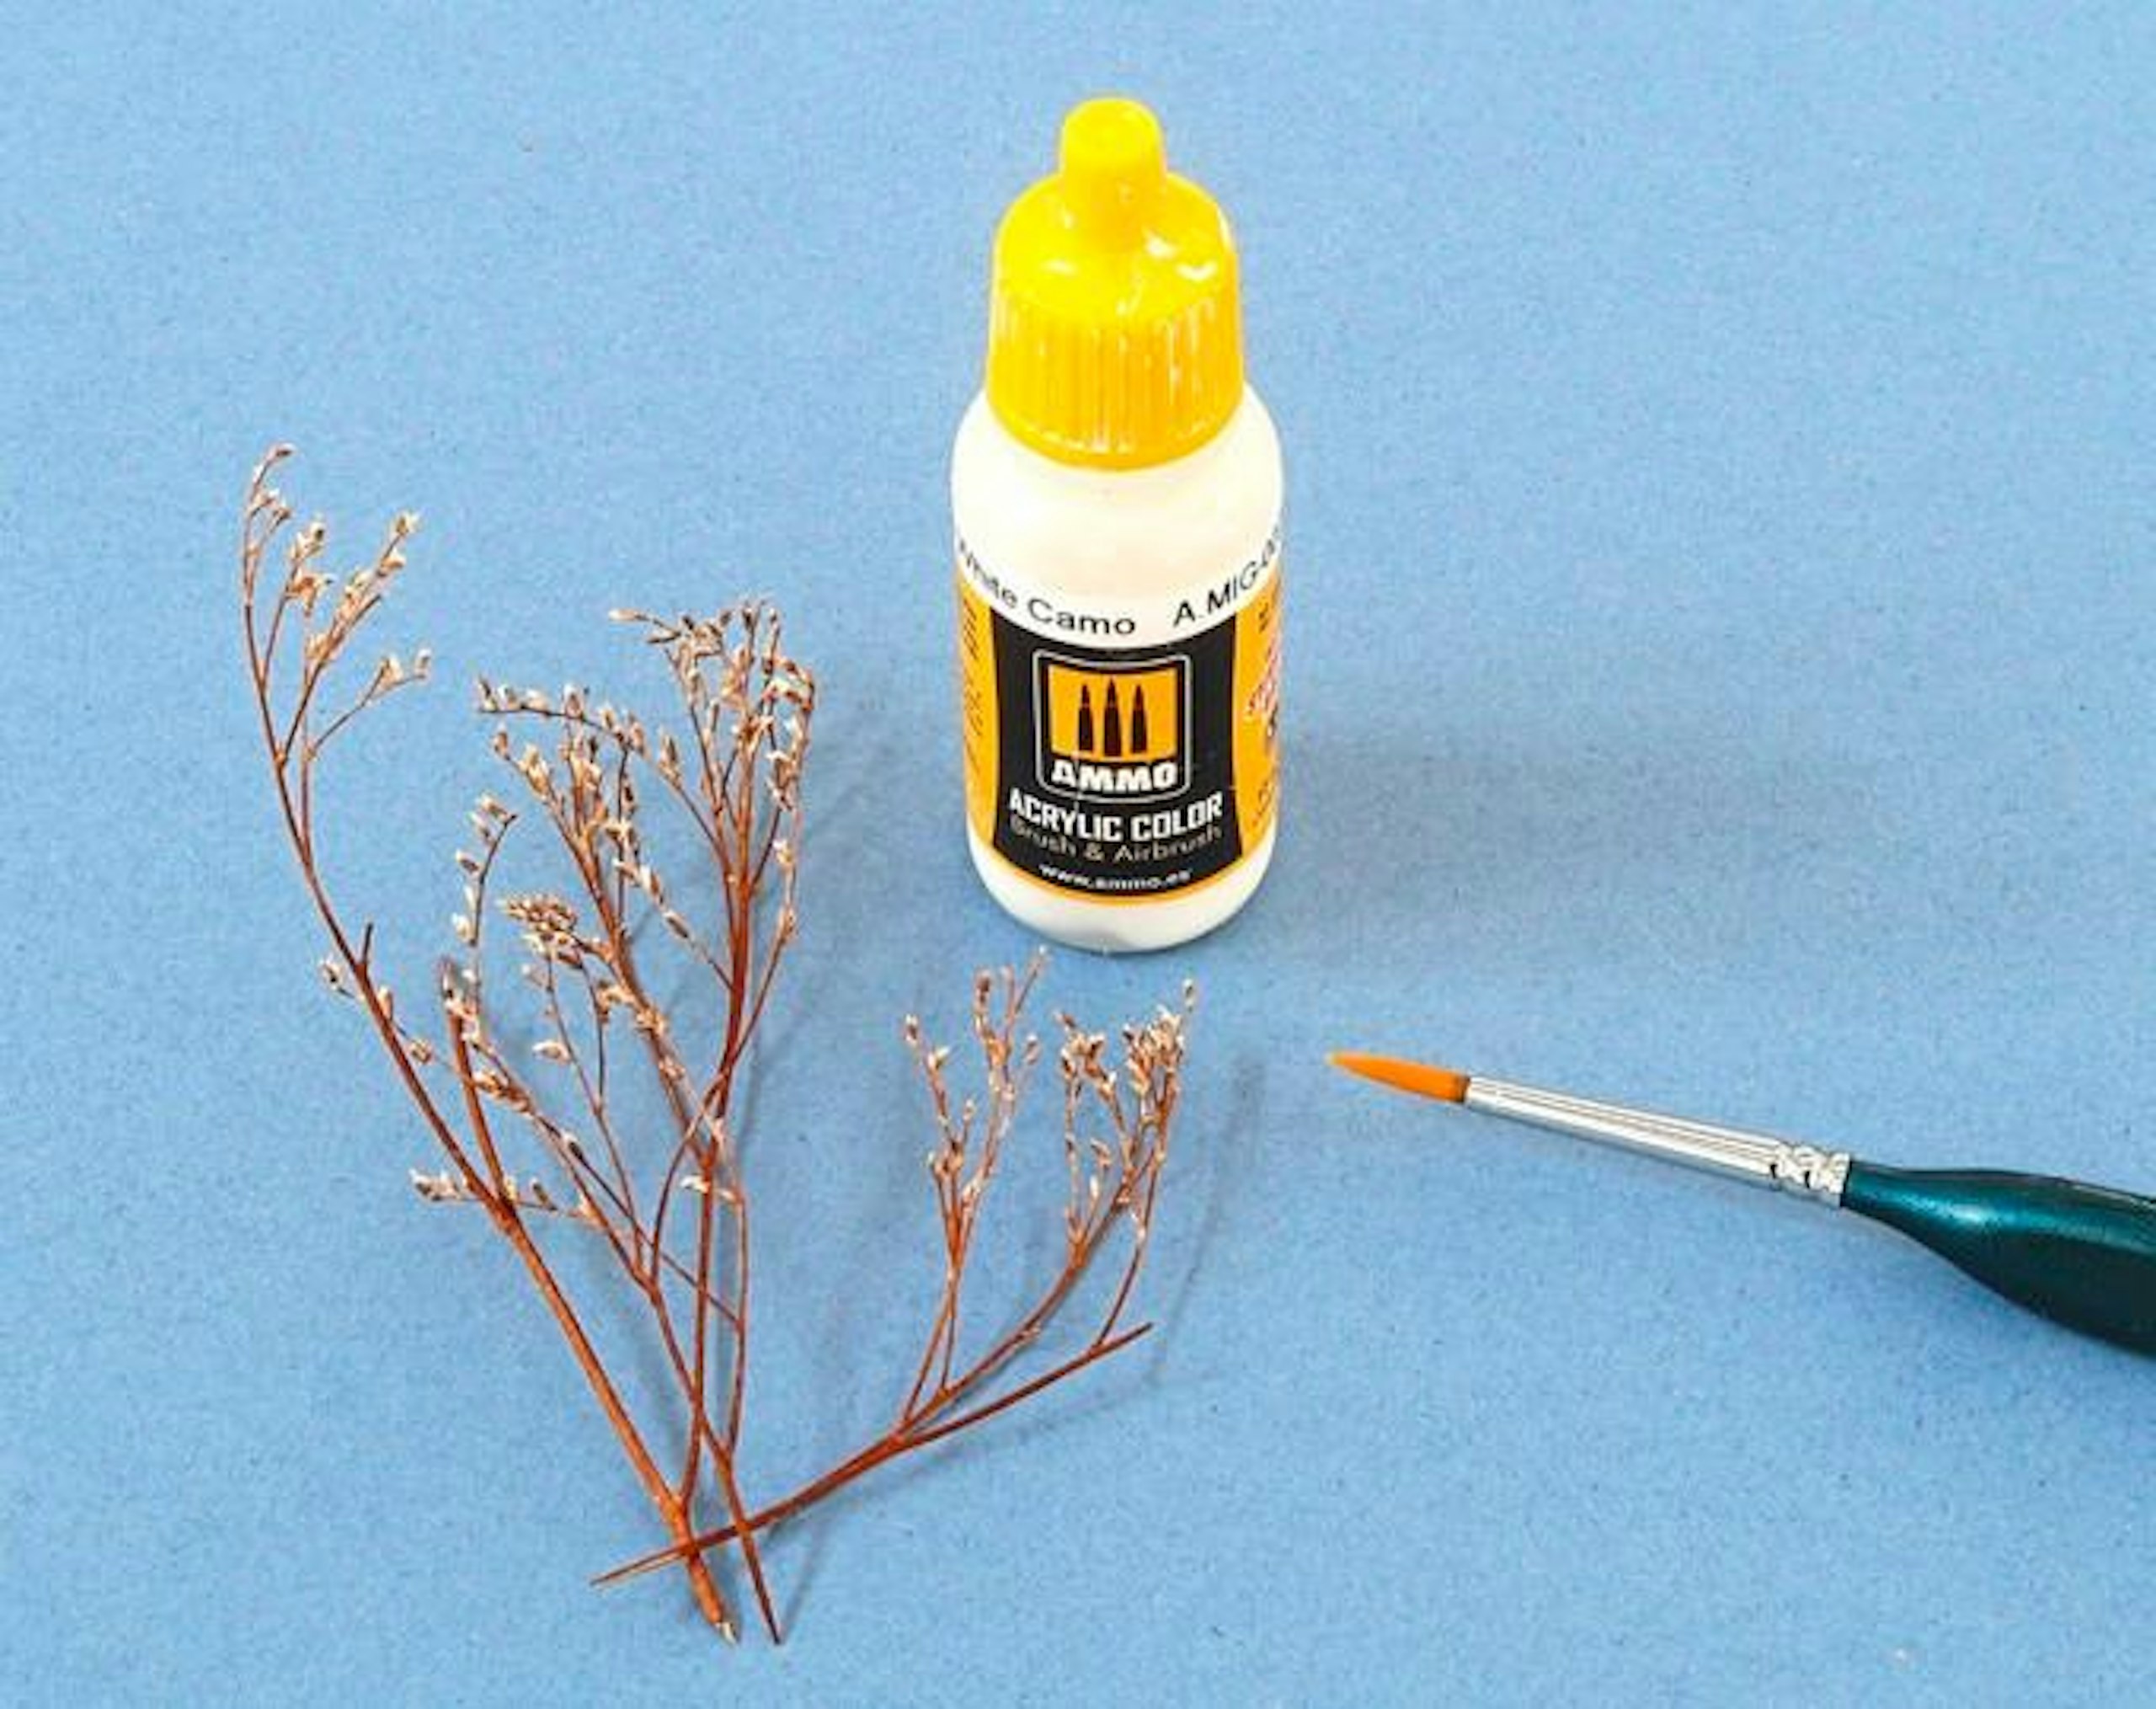
20 These natural twigs, also from Scale Models Centre, are suitable for making small trees, shrubs and foliage. I painted the tips of the flower bud with acrylic to represent blossom.

21 Here, I’ve treated multiple shrubs made from the same natural material, with the tips picked out in different colours. I also brushed on some PVA and dipped the tips in scatter material.

22 Here are some of the fine, brightly coloured scatter materials I employed to mimic flowers. Have a browse in your local model shop to see what’s available.
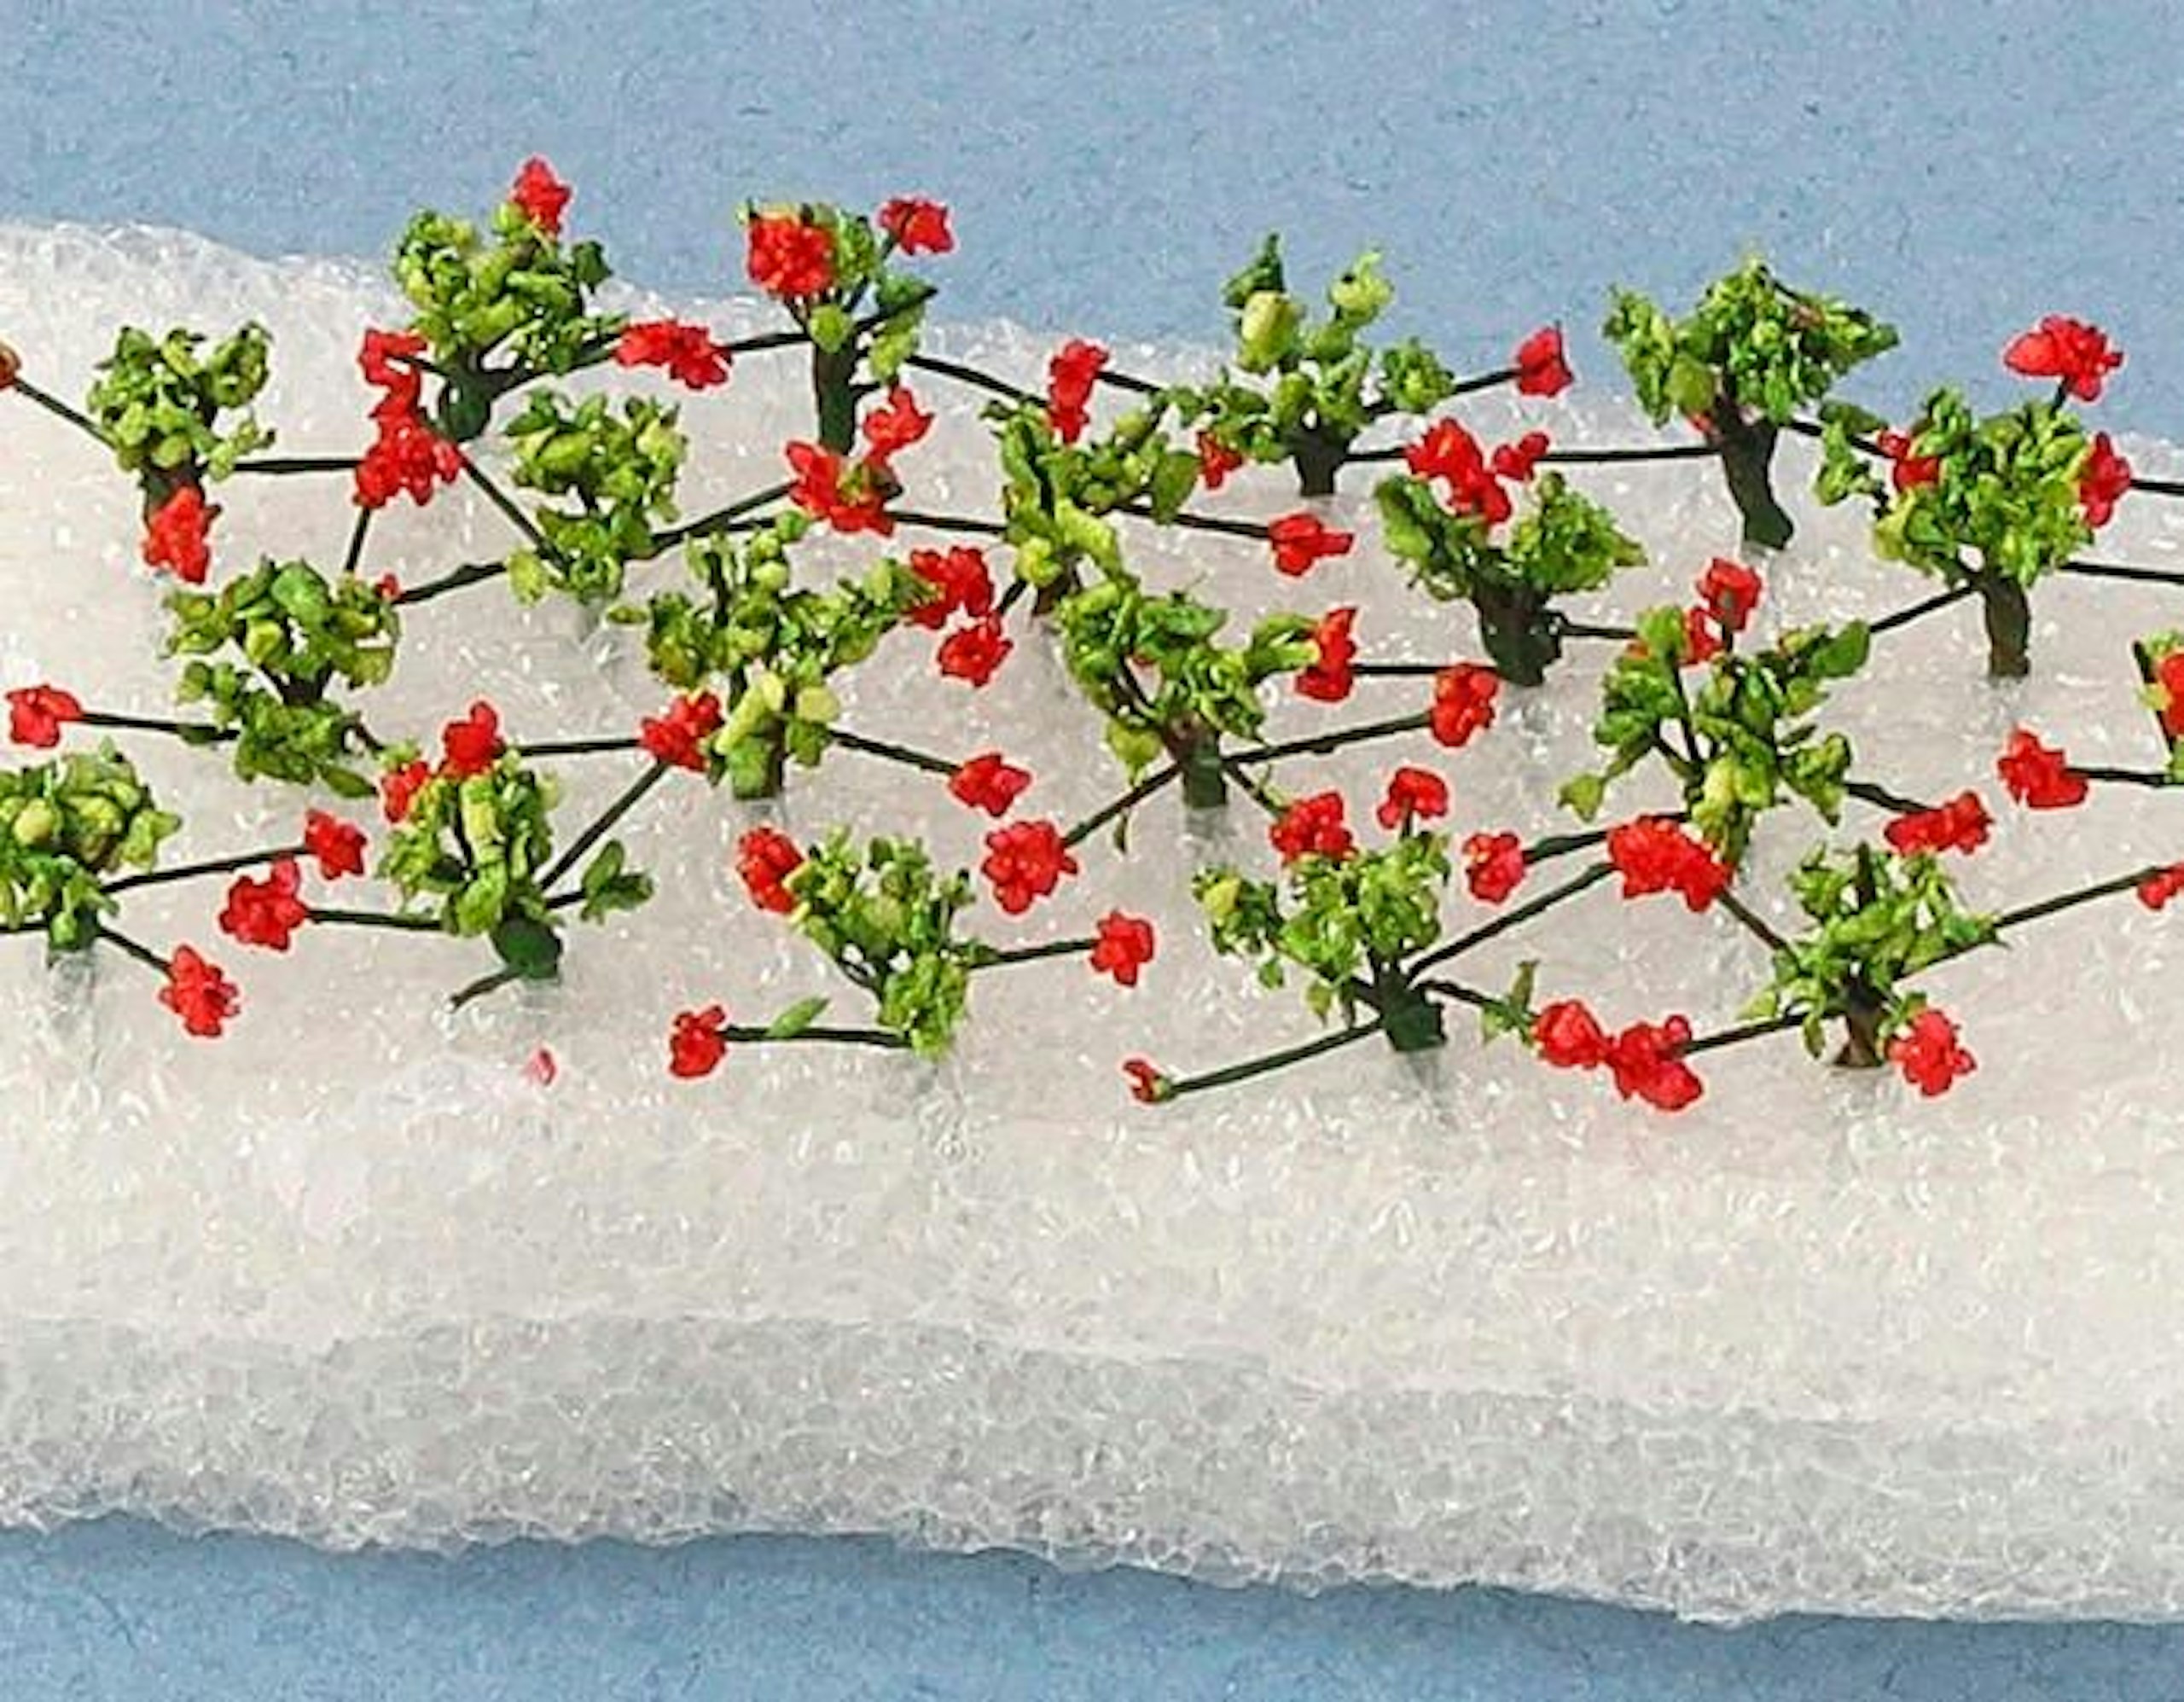
23 These strawberry plants, from the Tasma range, are marketed for ‘N’ gauge, but they work well in ‘OO’. Again, these are sold by Scale Models Centre of Roughton, Norfolk.
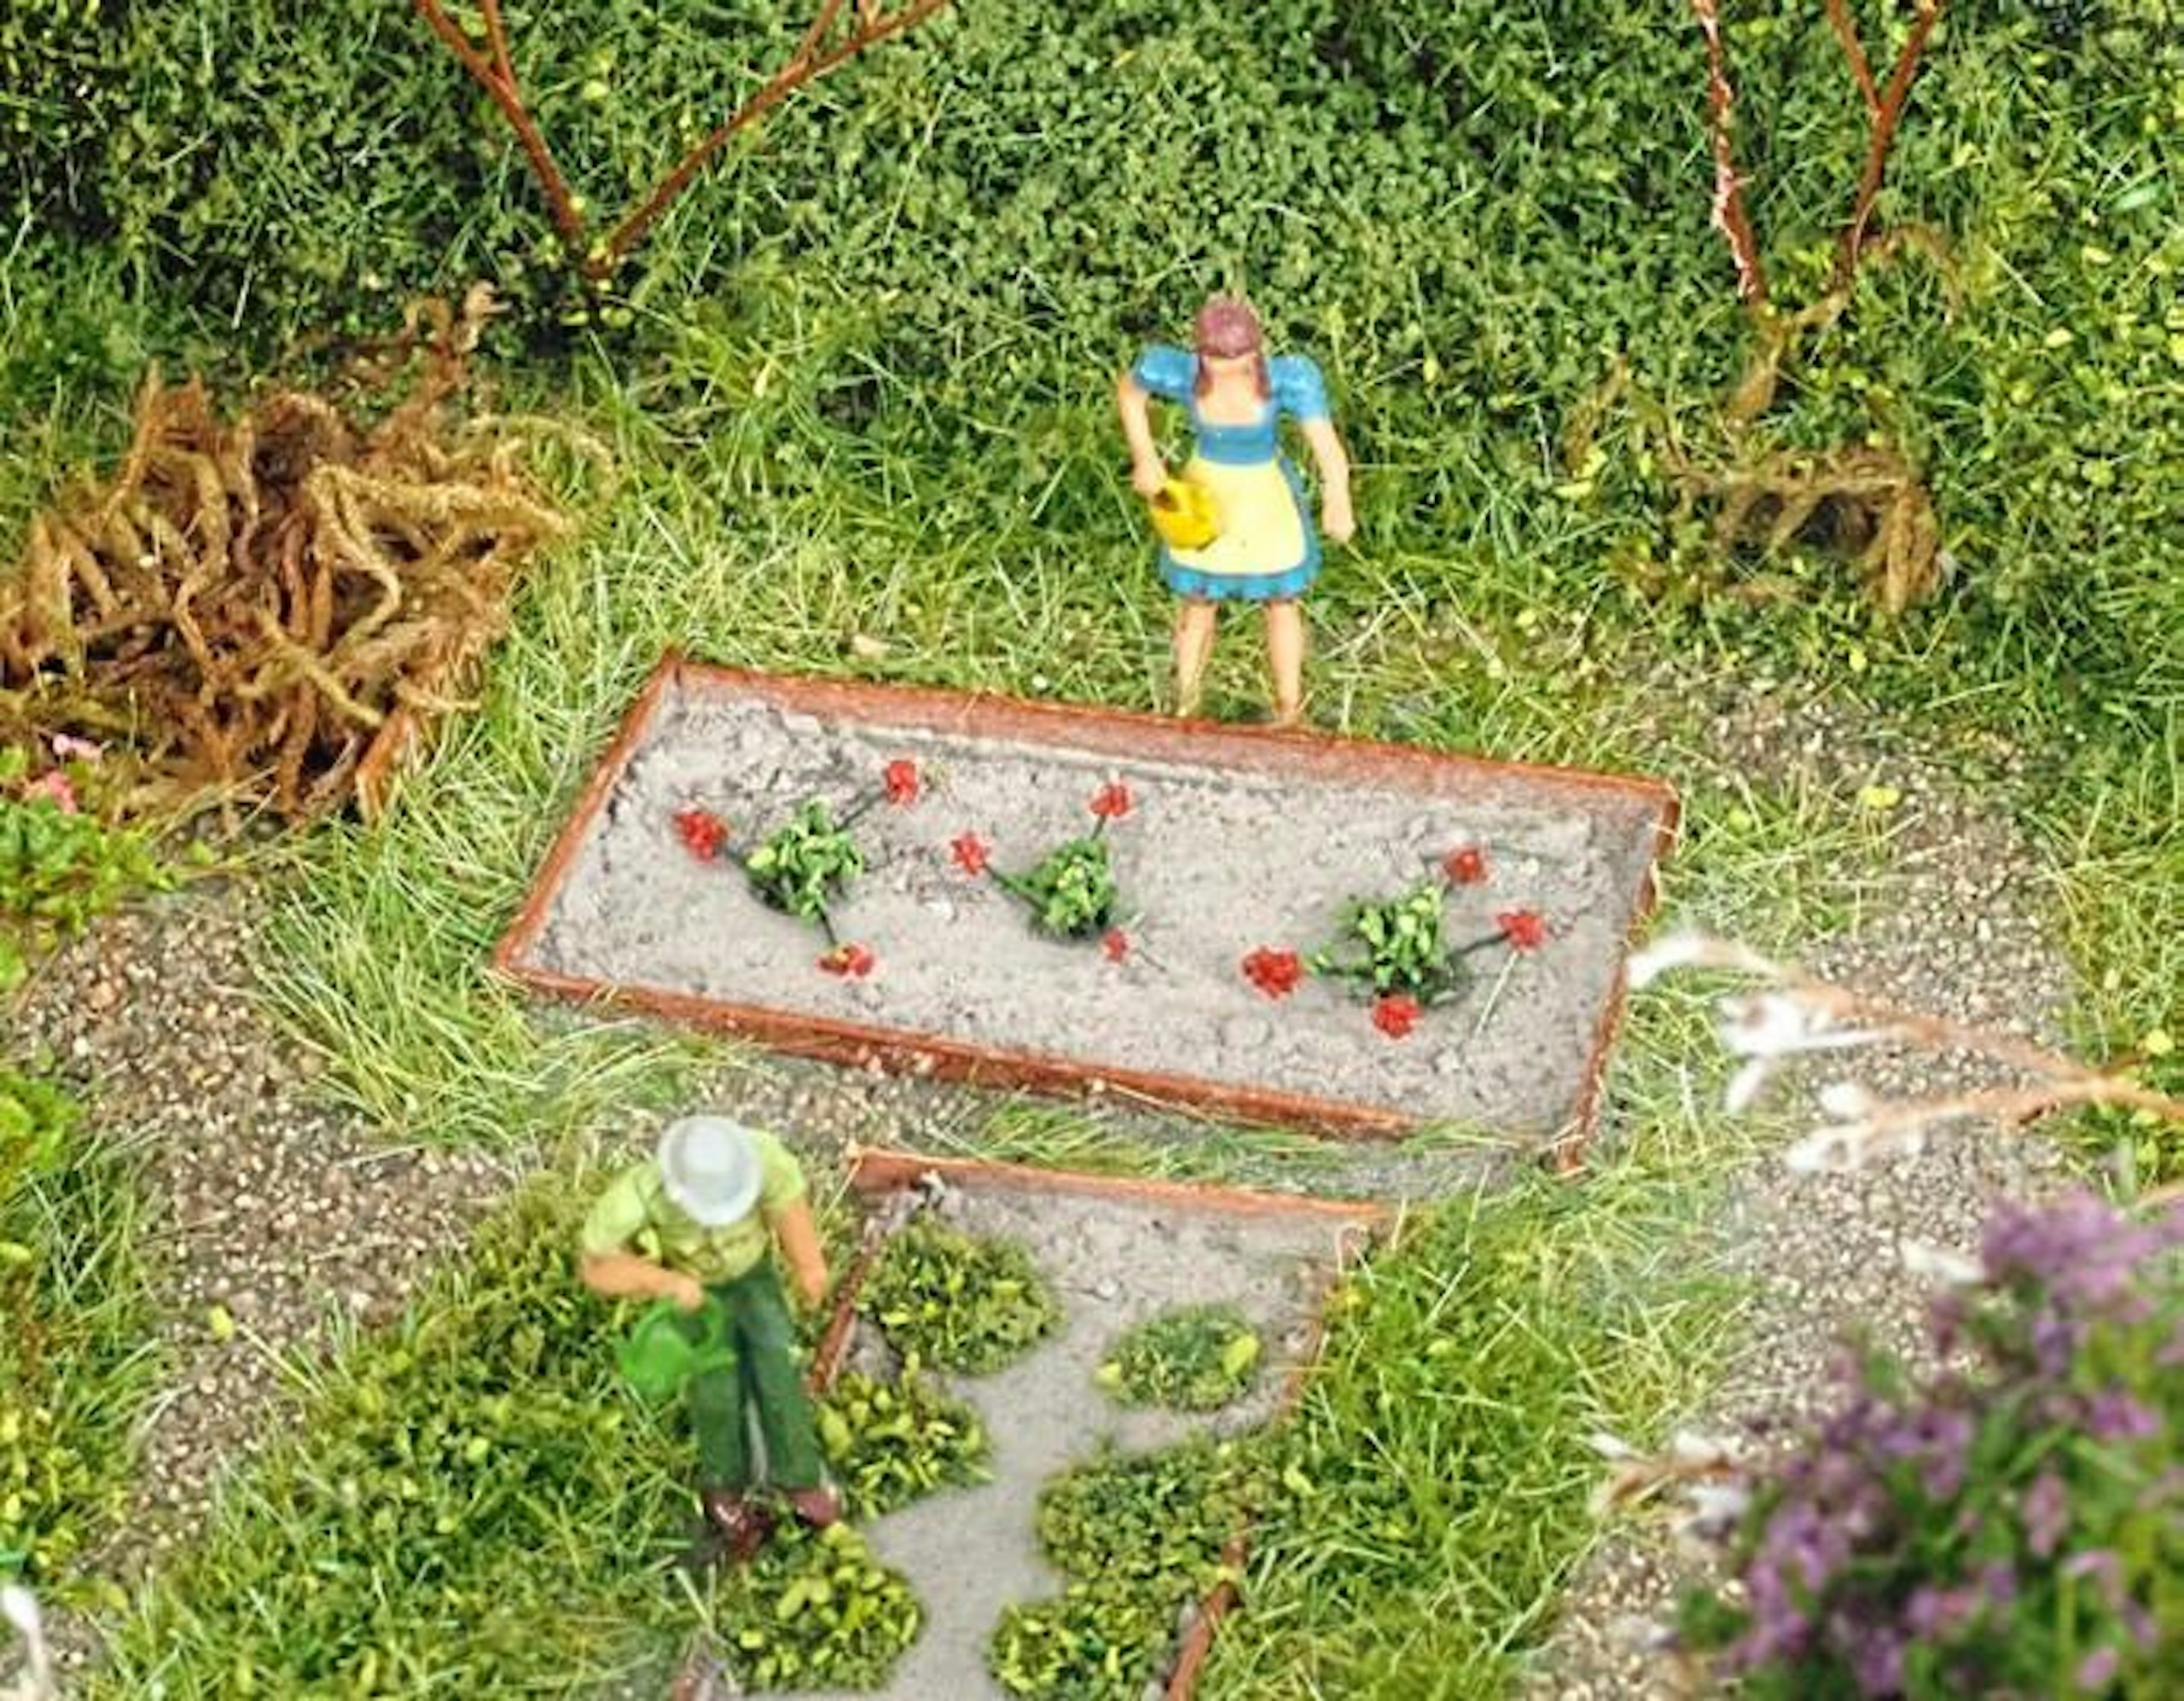
24 The finished garden, with its flowering plants and shrubs, conjures up a balmy summer scene. The gardener figures are from the Noch range.
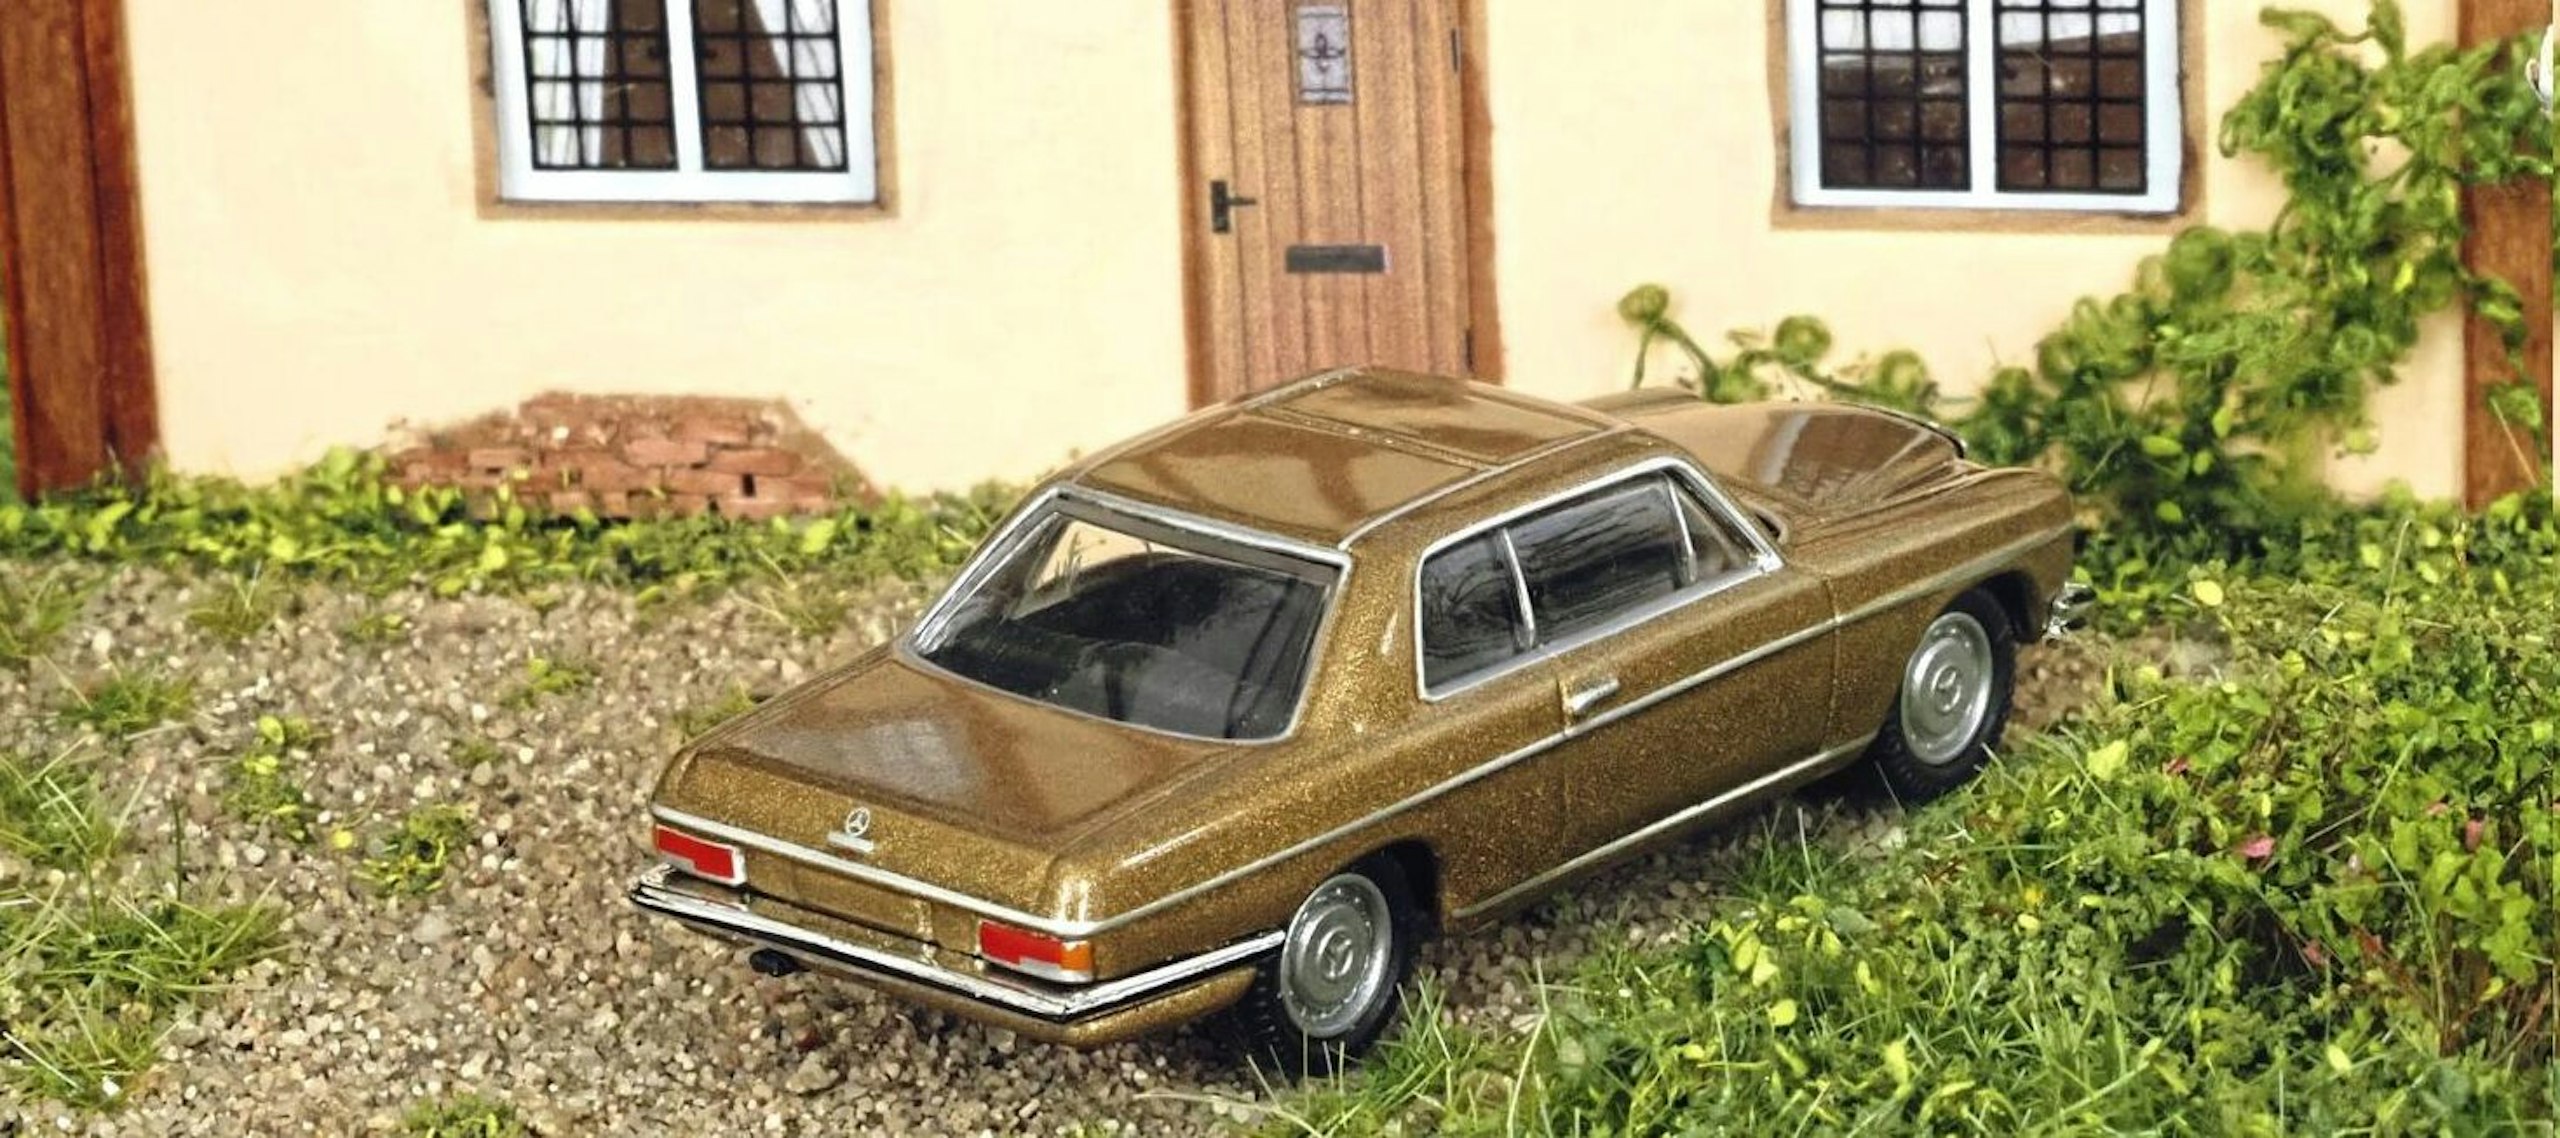
The stylish 1970s Mercedes-Benz W114/W115 Coupe in the drive adds a classic touch. The weed-strewn driveway was created by adding a few spots of white glue, then squirting short static grass fibres into the adhesive from a puffer bottle.
Subscribe to a Model Rail Print+ Subscription today and you'll get instant digital access, PLUS FREE UK delivery so you will never miss an issue.