Workbench
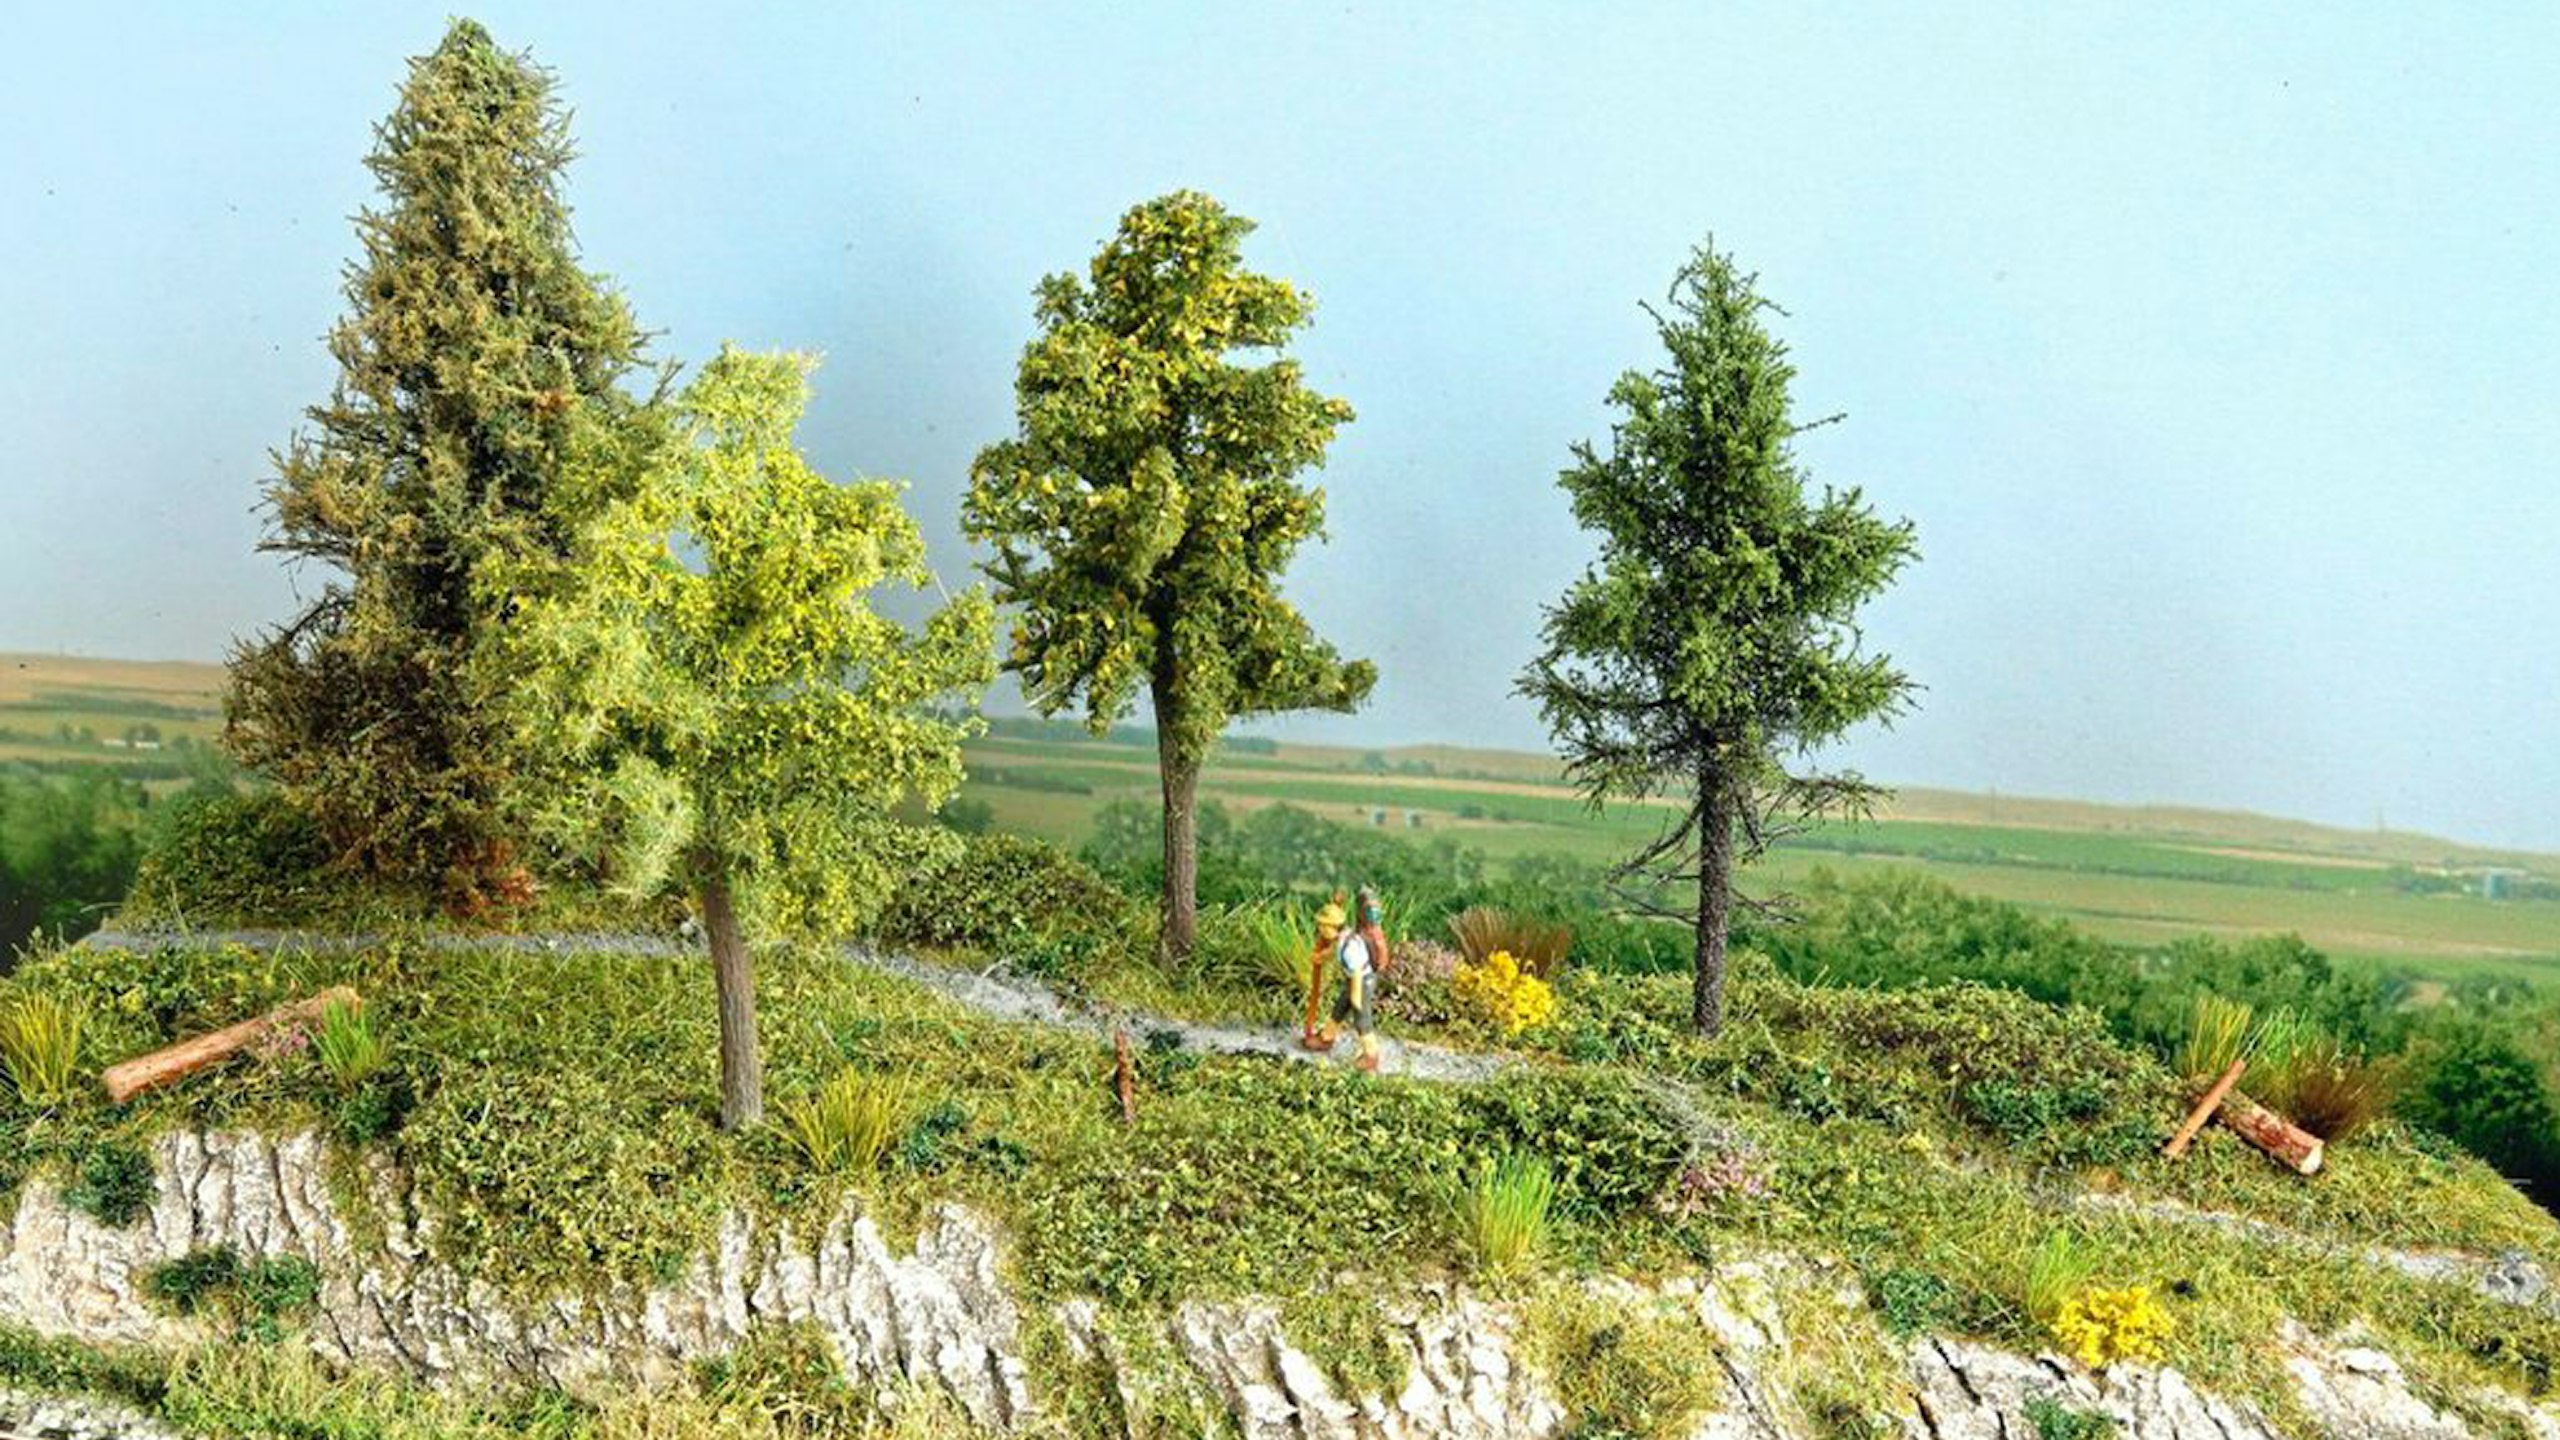
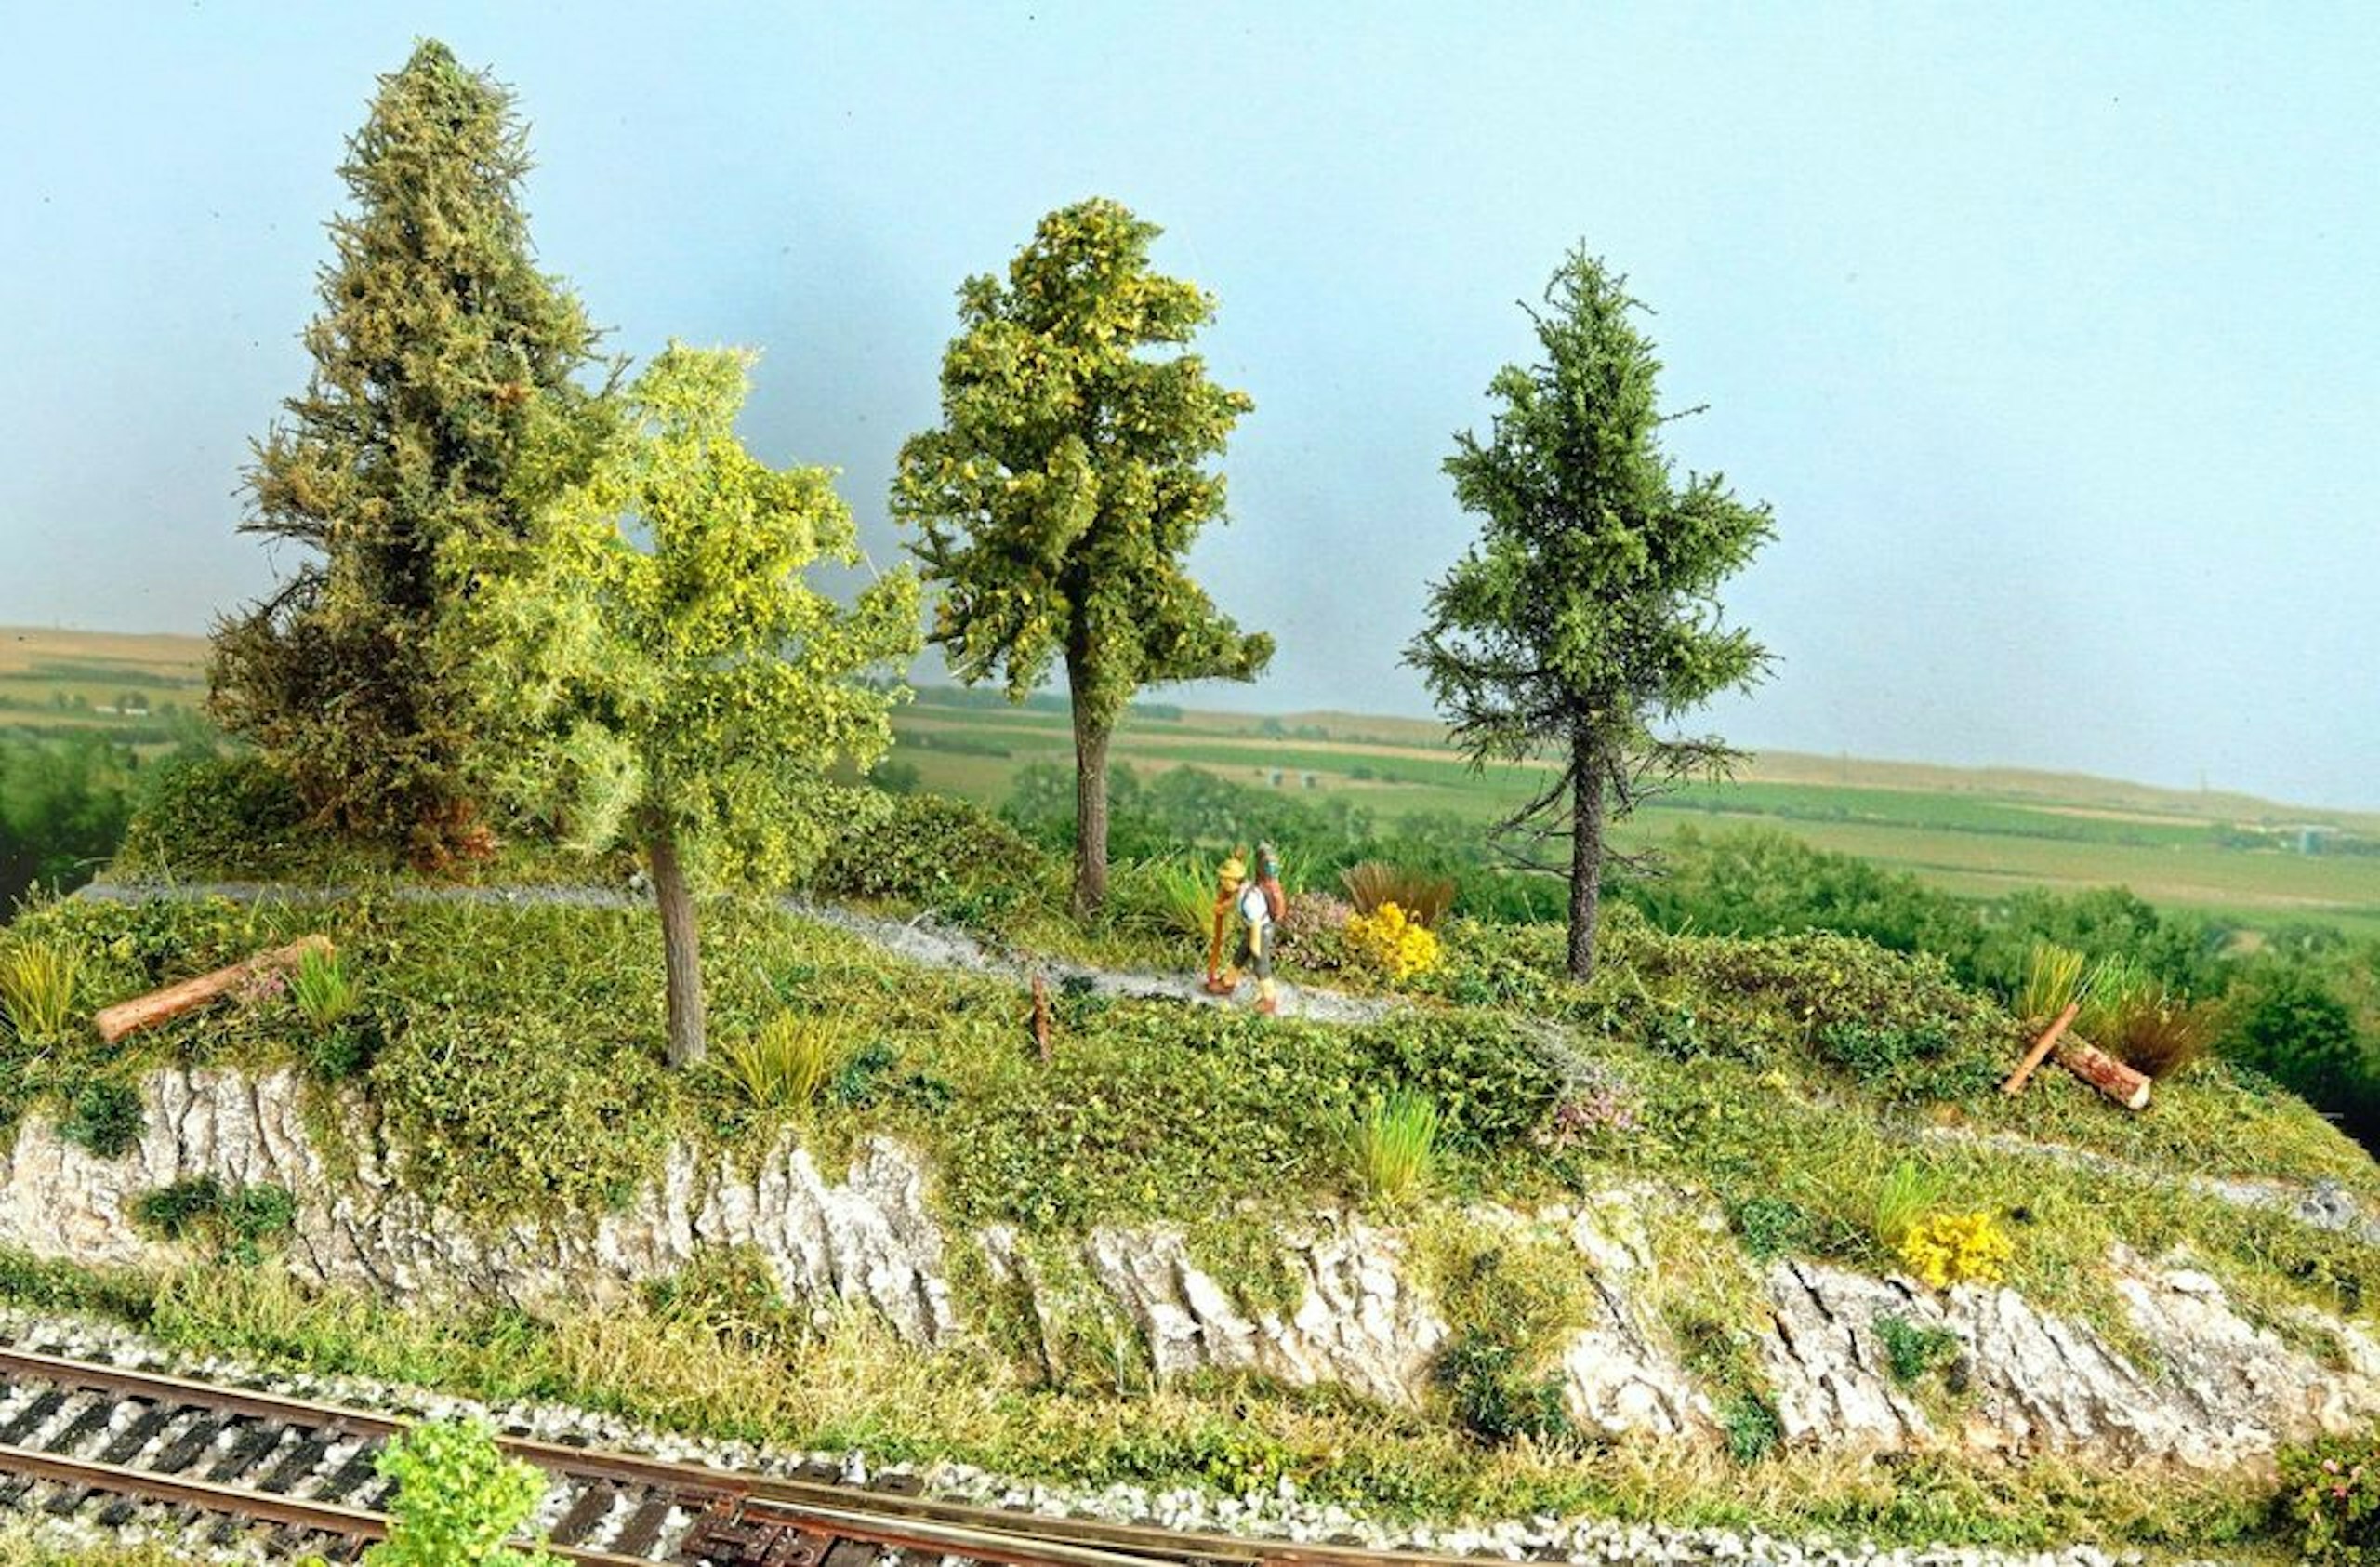
Peter Marriott releases his arty side as he uses sculpting materials to create a rockface on a railside embankment.
PHOTOGRAPHY: PETER MARRIOTT AND GEORGE DENT

On my new ‘micro project’ warehouse layout, I have been experimenting with new materials and methods. Experimentation keeps the hobby alive and is a lot of fun.
Mifoshape is a new sculpting powder from Belgium for rock faces and landscapes that has been formulated to be easy to work with. It was developed out of a dissatisfaction with established plaster-type materials, with the aim of making a product that can be worked with for up to half an hour before it begins to set. During the curing period, it is still possible to add detail.
The powder enables the fine detailing of rockfaces. It dries according to the amount of water used in the mix and the thickness of the layer, with initial curing taking place within the first two hours, and subsequent evaporation of any remaining water taking a few days. You can speed this up by using a fan to ventilate the area.
To give even finer details in rockfaces, it’s recommended to add a little wood glue to the water/powder mix. Various mixing ratios are a personal choice, but the most common is three parts powder to one part water. The less water used, the quicker the drying time, but I suggest experimenting with the ratios to discover what works best for you.
The powder has a minimum shelf life of six months once a new bag is opened, but it’s important to reseal it using the strip provided to prevent any moisture from entering the bag. Pieces of black foam (that came in a parcel) were used as the basis for the landscape, which was covered in a layer of plaster cloth to give the Mifoshape a surface to adhere to. This was left overnight until it was fully dried.
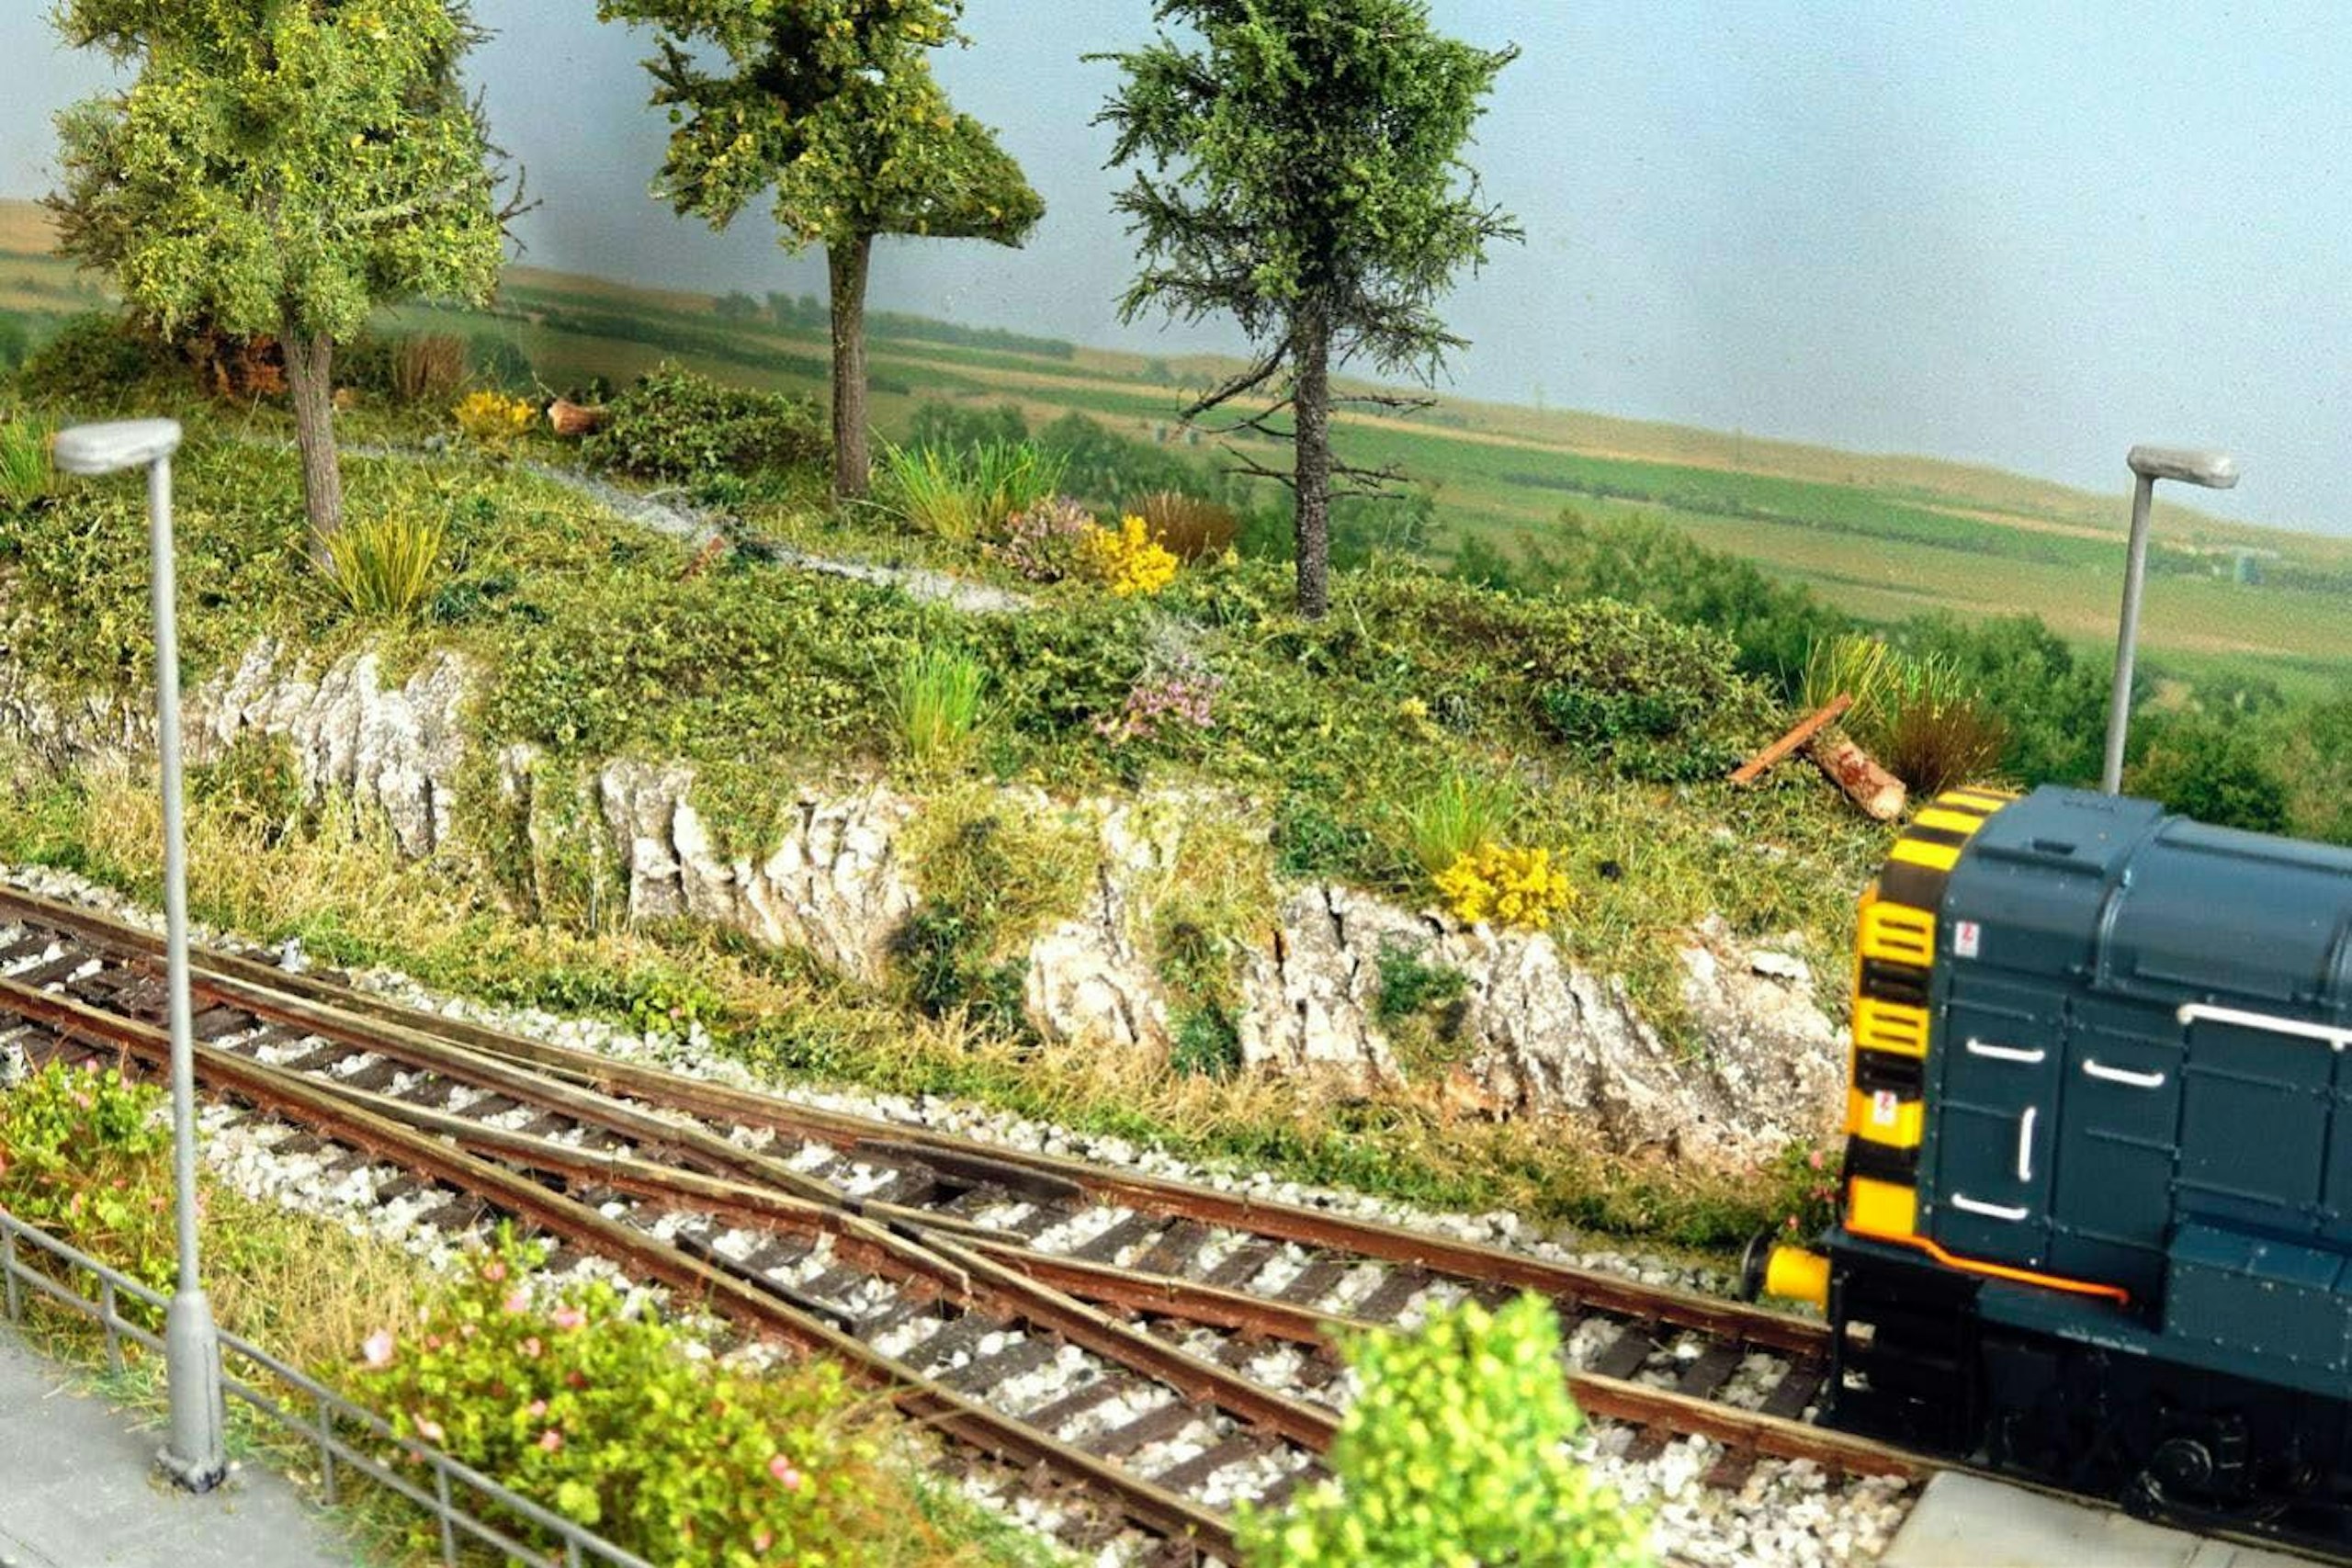
Experimenting with materials and modelling methods is a lot of fun – and, in this instance, new sculpting powder Mifoshape has proven to be a success.
FINISHING TOUCHES
The next day, I marked the areas on the dried plaster cloth where I wished to make the rocks, before mixing some of the Mifoshape powder in a plastic tub with water and PVA adhesive. I mixed it thoroughly with a wooden stick and, once I was happy it was mixed fully, started to apply it to the embankment, covering it initially to a depth of 2-3mm. I left that for a few minutes while I added the mixed Mifoshape to the taller rock face to the same depth. Once it was covered, I left it to dry while I returned my attention to the embankment.
Using a small trowel, I shaped the damp Mifoshape into rocky formations within the first 30 minutes of application, and revisited it after a full 45 minutes to make a series of finer cuts and shapes. Then I left both structures to dry overnight.
The next day, I used a selection of acrylic paints to spot-paint the surfaces, later adding a black wash over the two entire rock faces. After the paint had dried, I sprinkled sand over thinly spread glue to provide a nice texture for the static grasses and scatter materials that would be added once the glue had dried. Later, several mixed trees were also added, and I was really pleased with the finished result.
What you will need
SHOPPING LIST
◆ Mifoshape sculpting powder
Availability: DCC Train Automation, www.dccautomation.com and Scape Supplies, www.scapesupplies.com
◆ PVA adhesive • selection of acrylic paints • static grass fibres of different colours and lengths
Availability: Model shops
◆ Fine sand • selection of trees
Availability: Model shops
◆ Twigs from the garden to represent felled trees
TOOLS
◆ Mixing bowl
◆ Two plastic pots for water and PVA adhesive
◆ Small trowel
◆ A mix of wide and narrow paintbrushes
◆ Electrostatic grass planting tool
◆ Small sponge
◆ An artist’s palette knife
STEP BY STEP
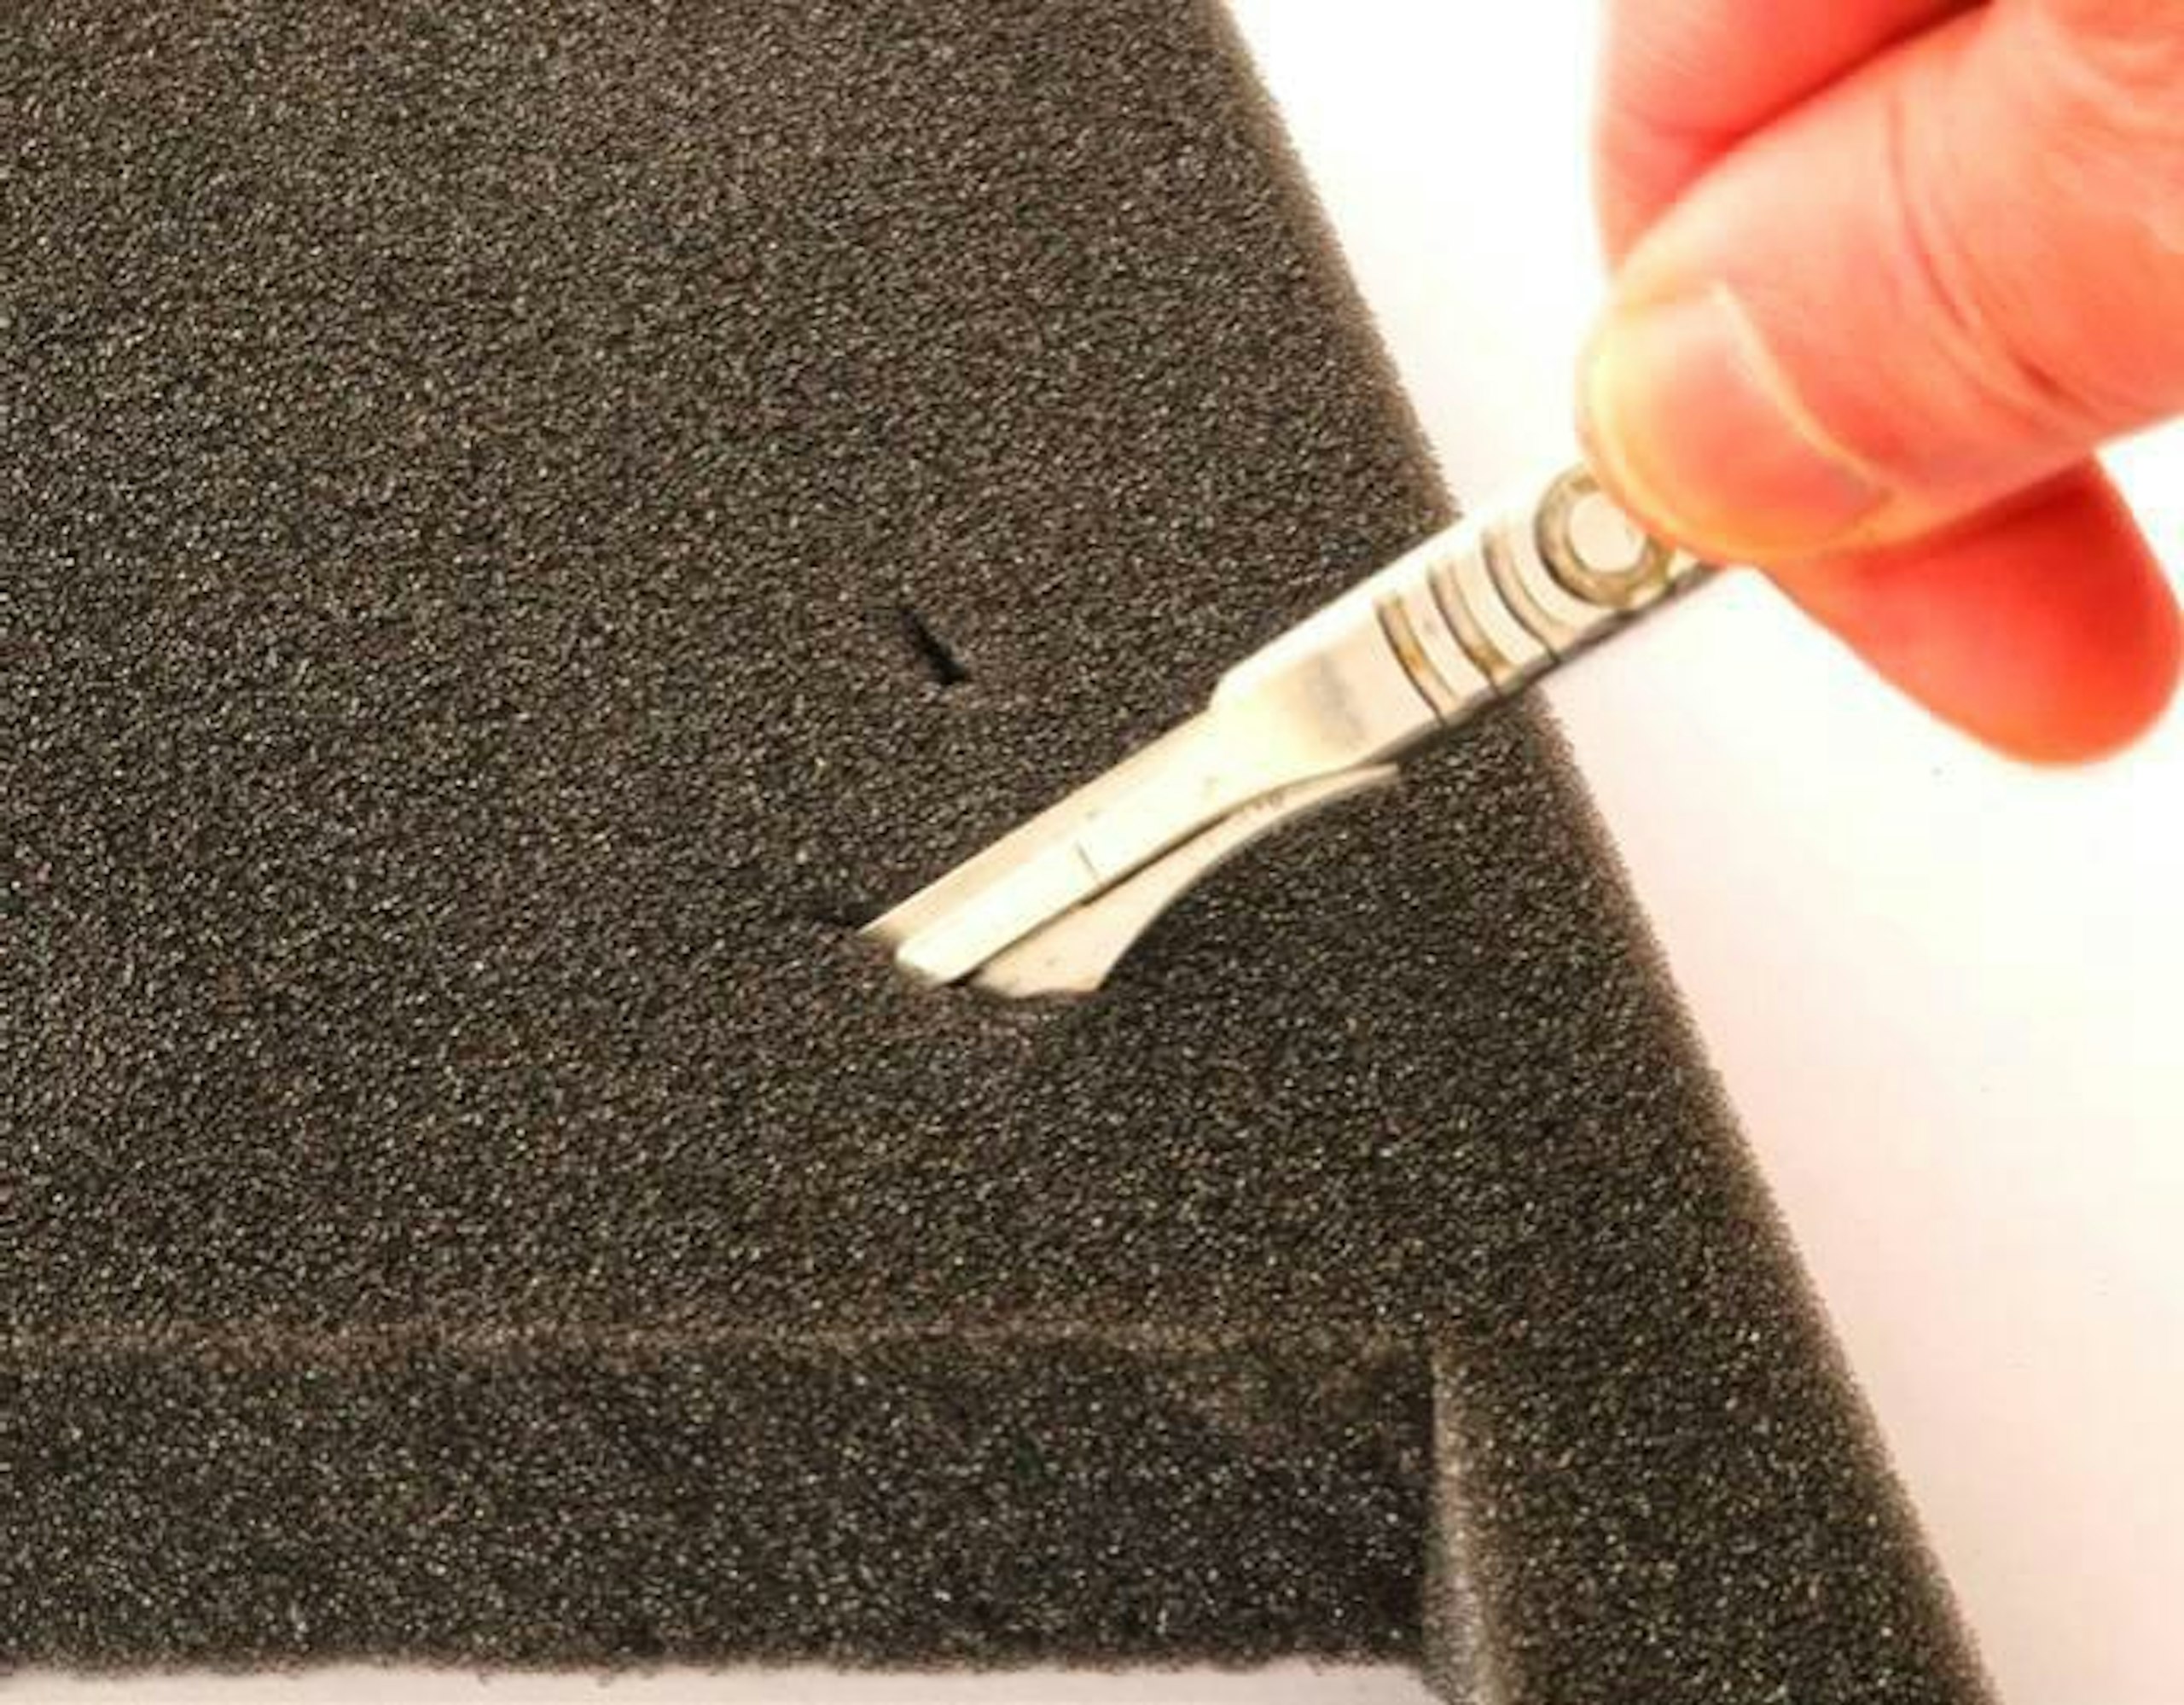
1 I repurposed the black foam that came as packaging in a model as the basis for the embankment. It cut well with a sharp craft knife – and it was free.
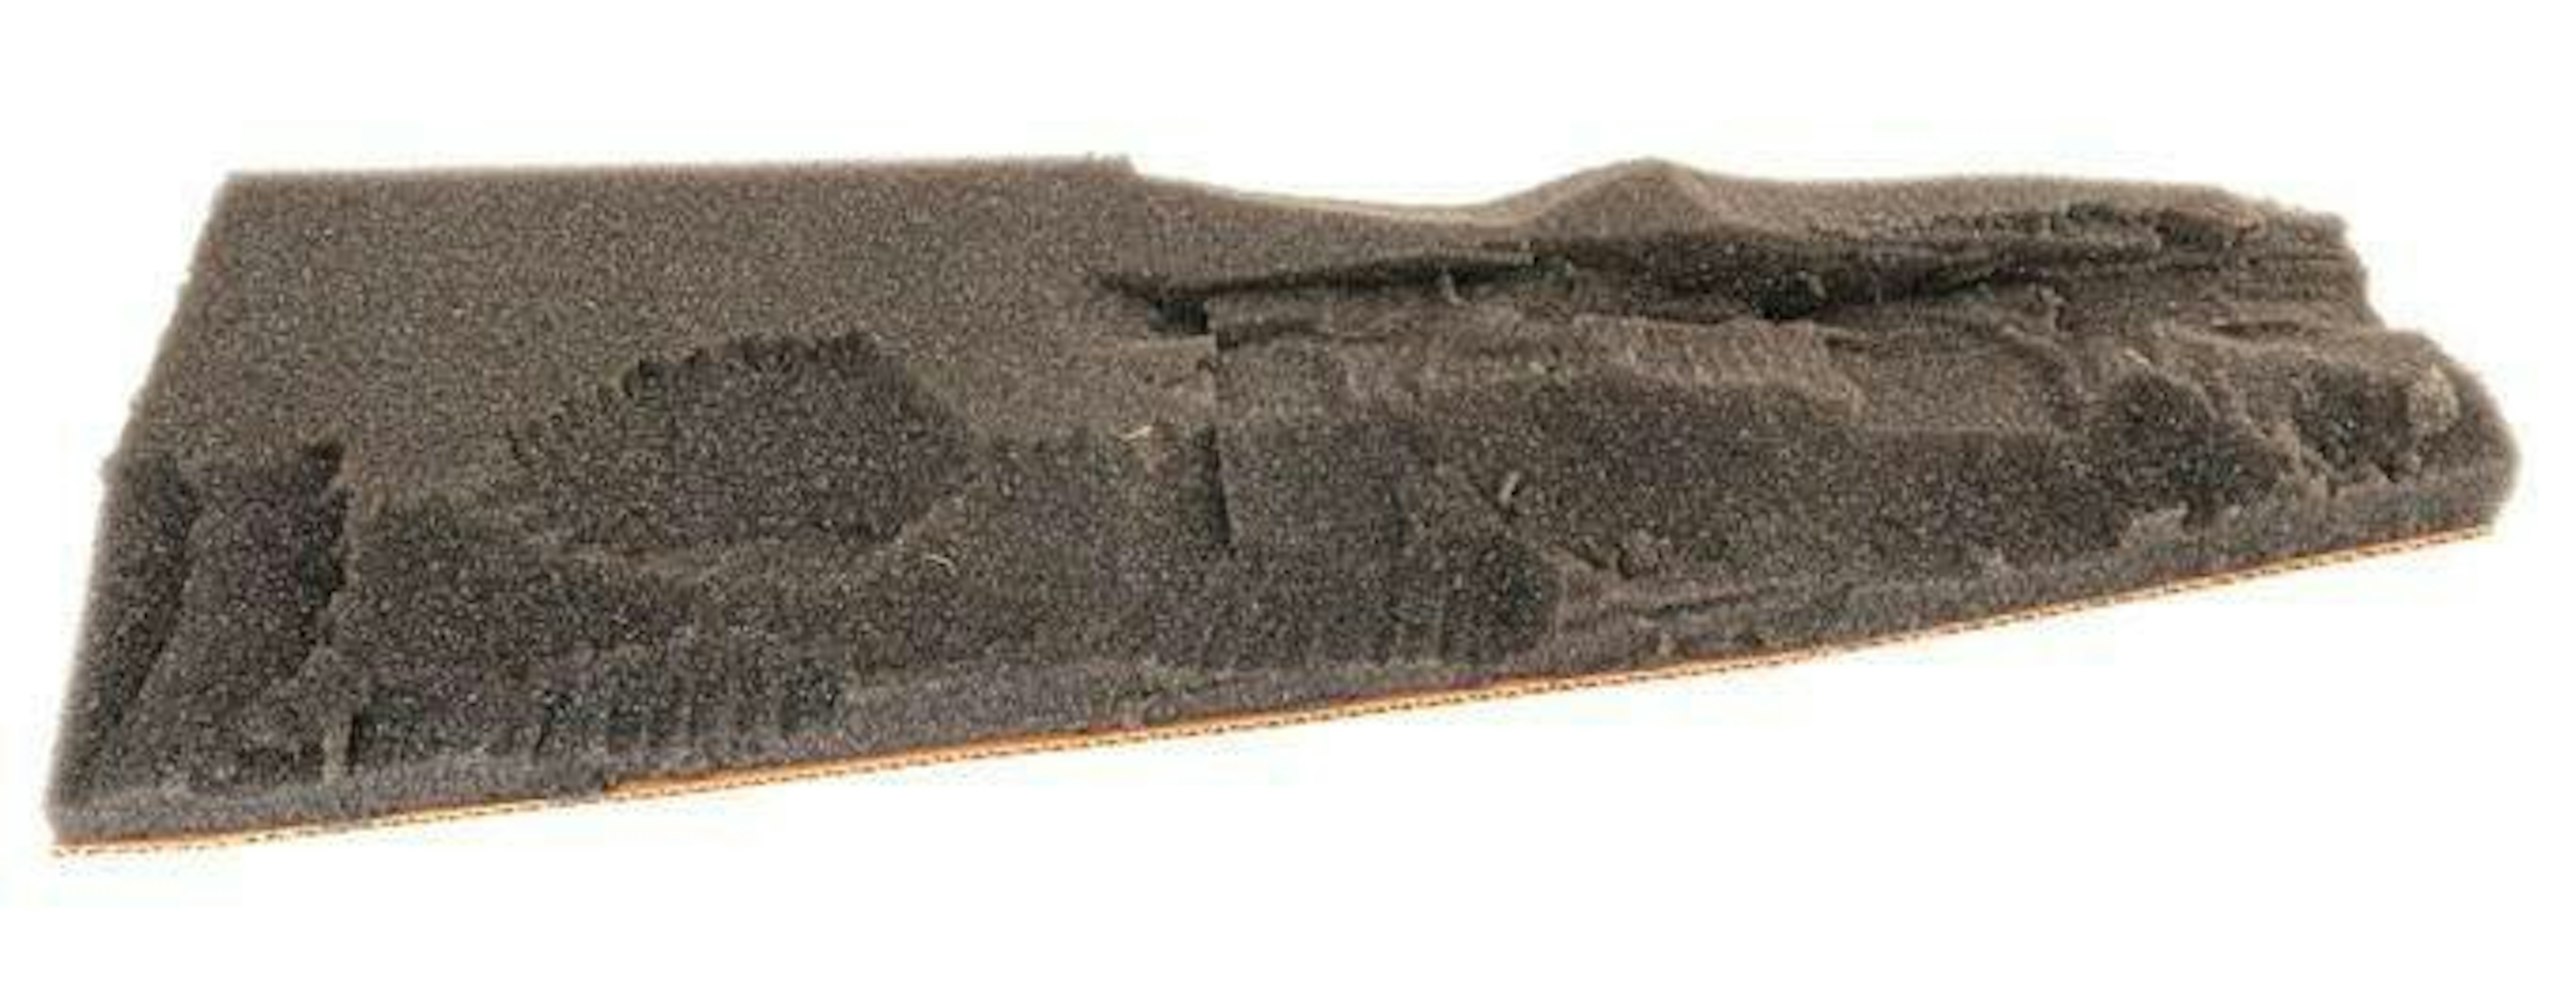
2 I made a freestanding embankment, 33 x 12cm, to incorporate into the larger project with a baseboard of corrugated cardboard, with the embankment made from the foam. I fixed the foam to the baseboard with PVA glue.
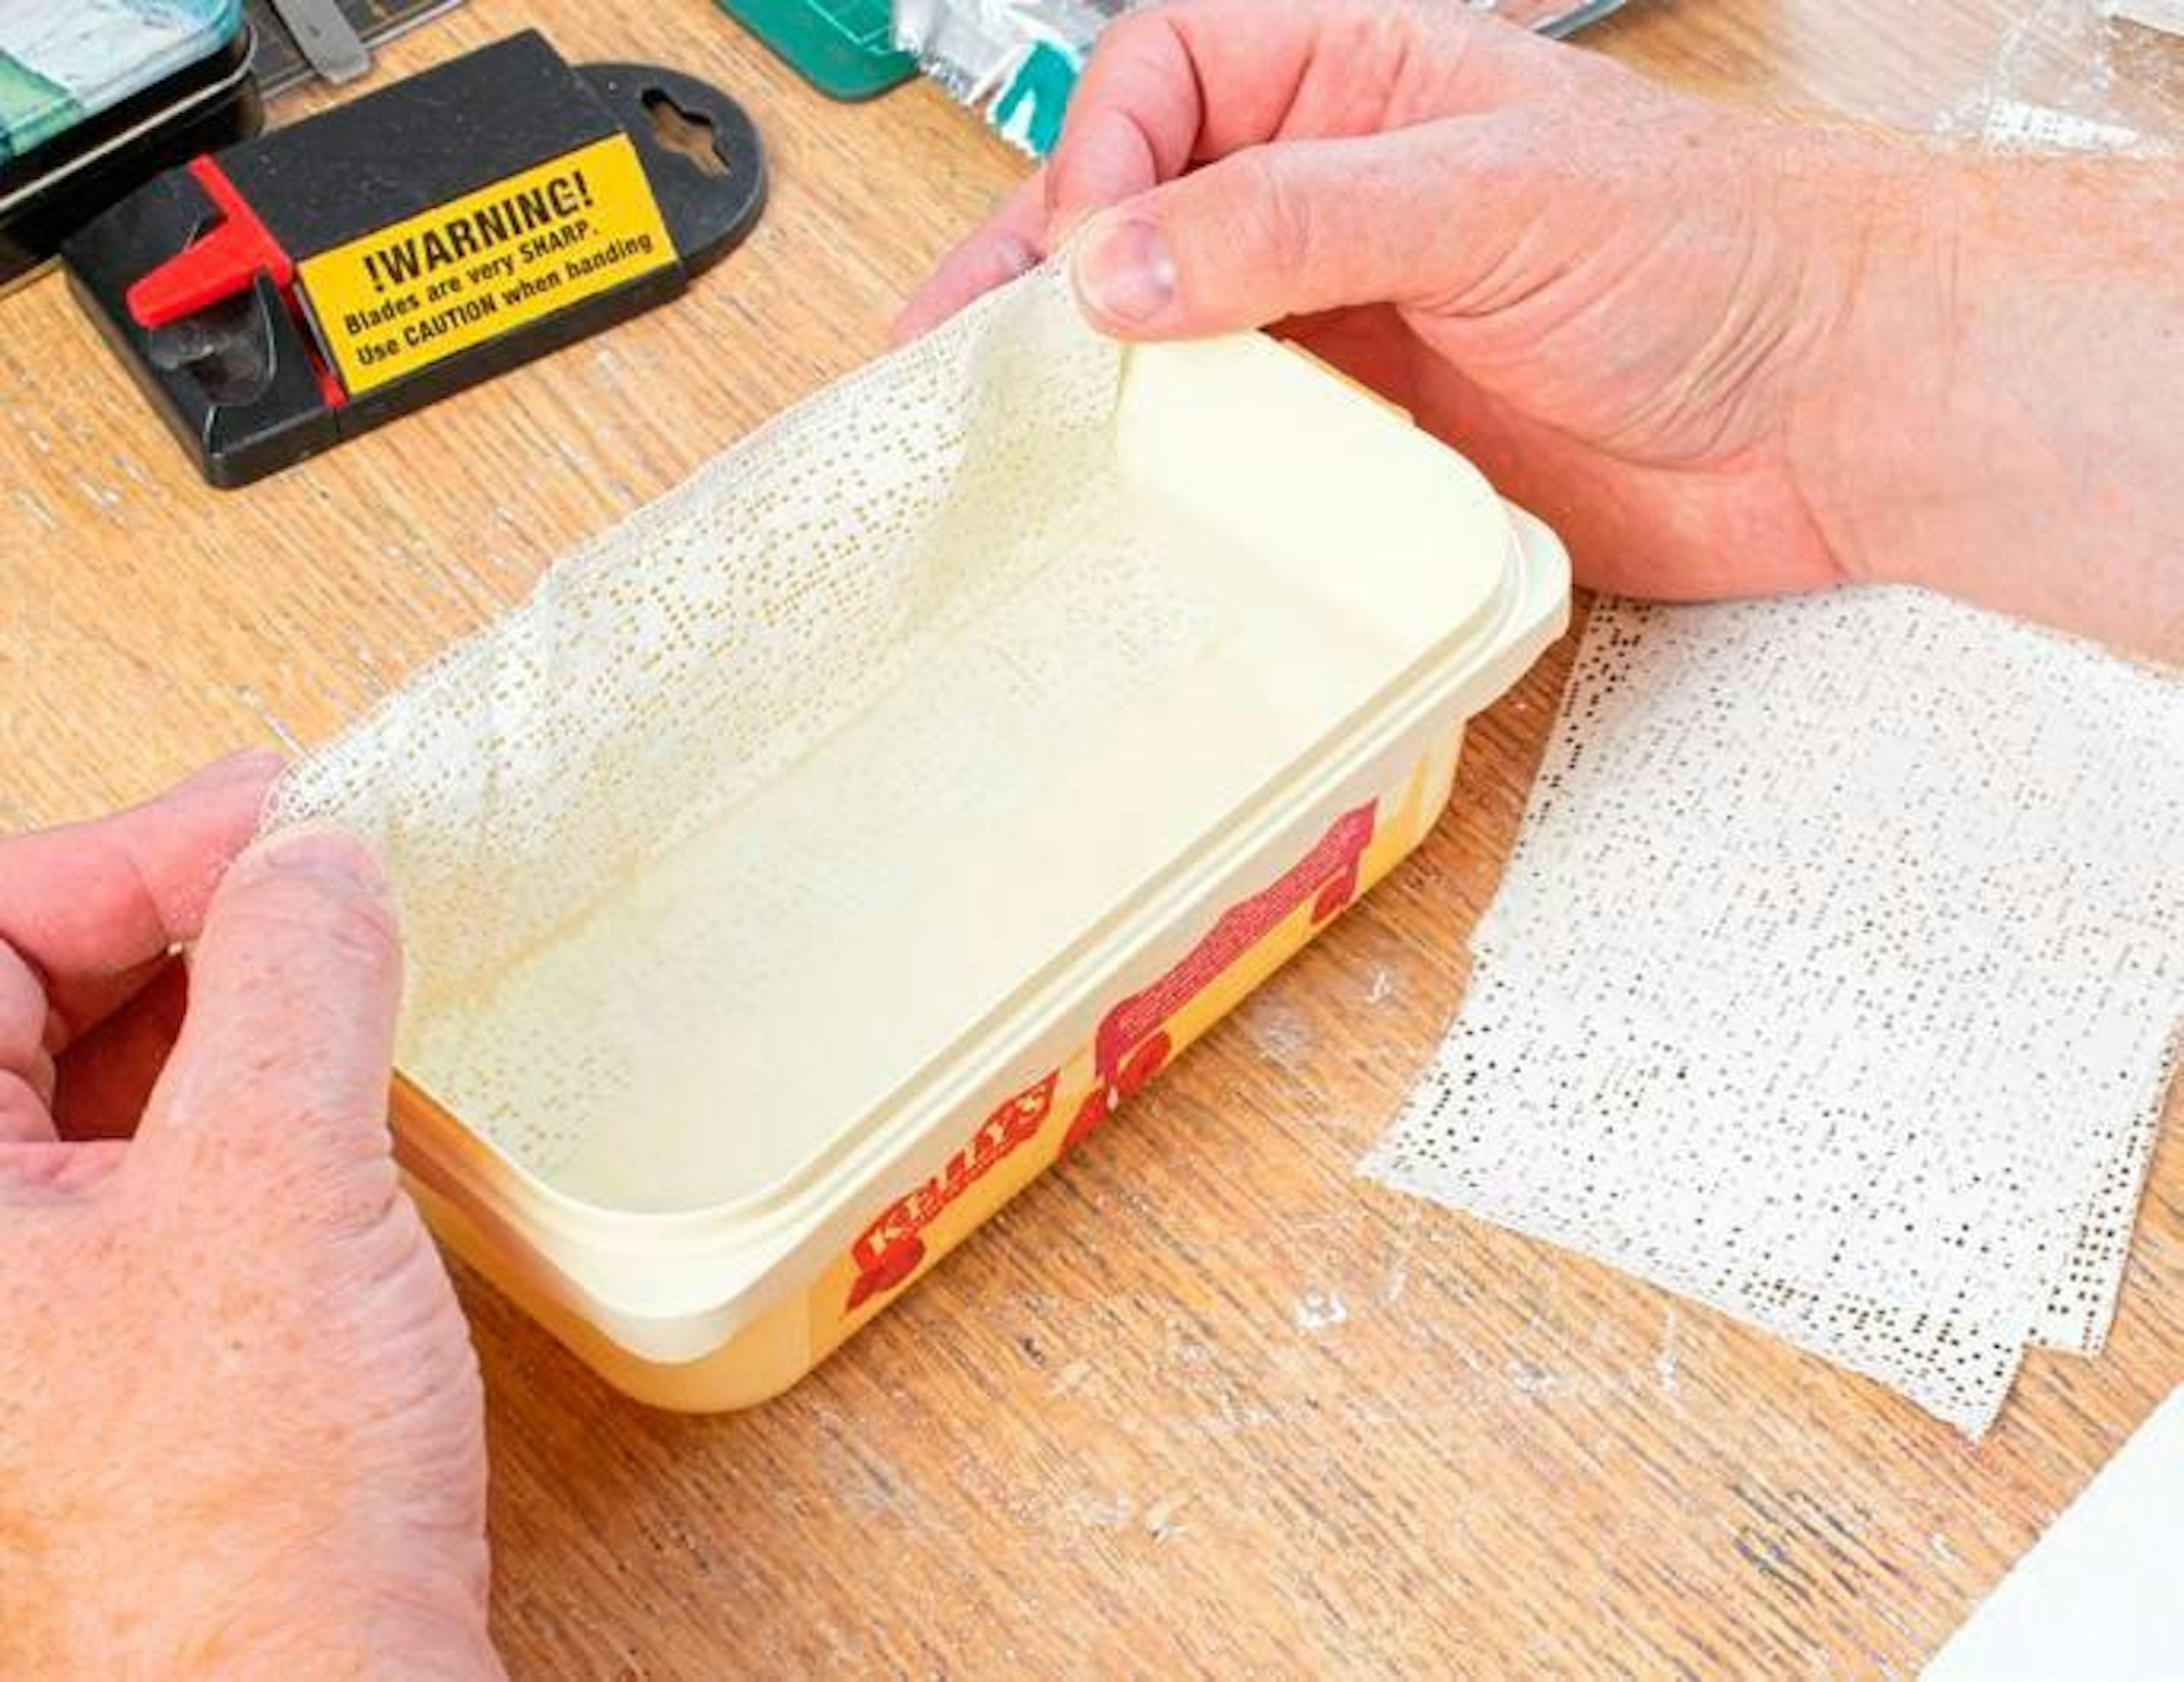
3 Once the glue had dried, plaster bandage was used to help seal the surface of the soft foam and fine-tune the contours. Cut into manageable strips (about 6in square) and briefly dip into a bowl of clean water...
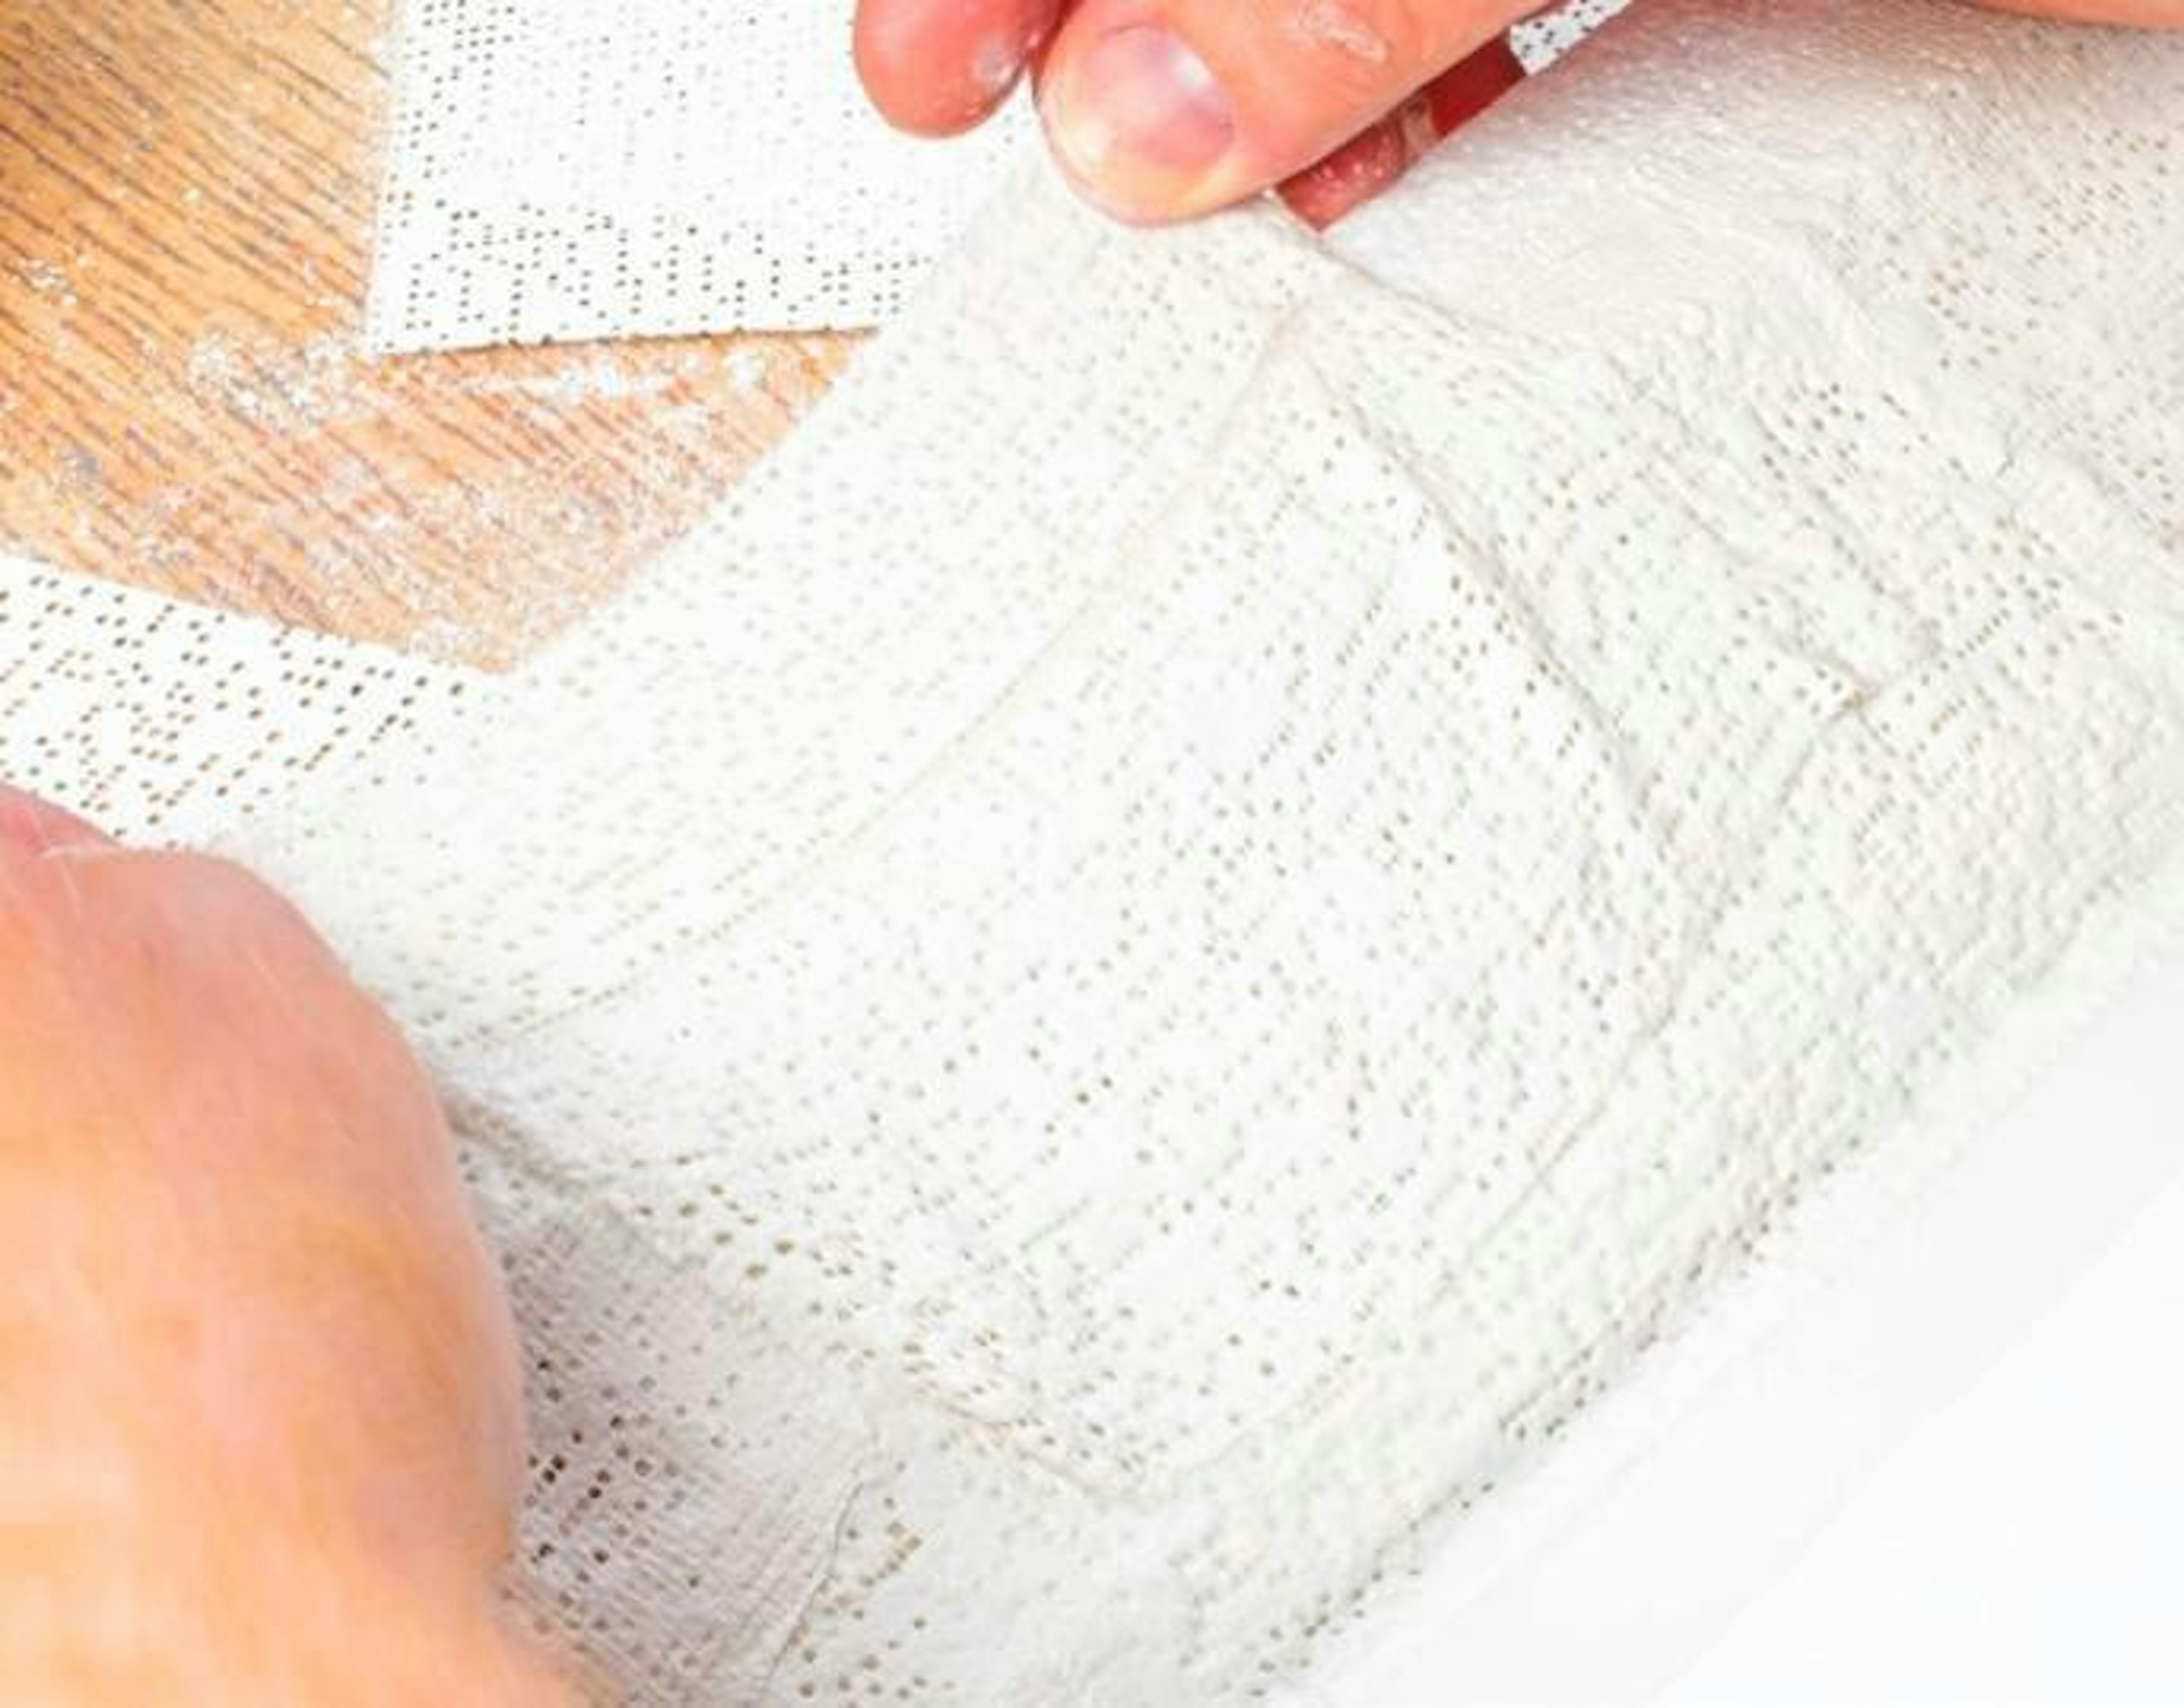
4 ...then lay the wet plaster sheet over the foam contours, pressing it firmly into place. Overlap successive sheets and fold the bandage over any baseboard edges.
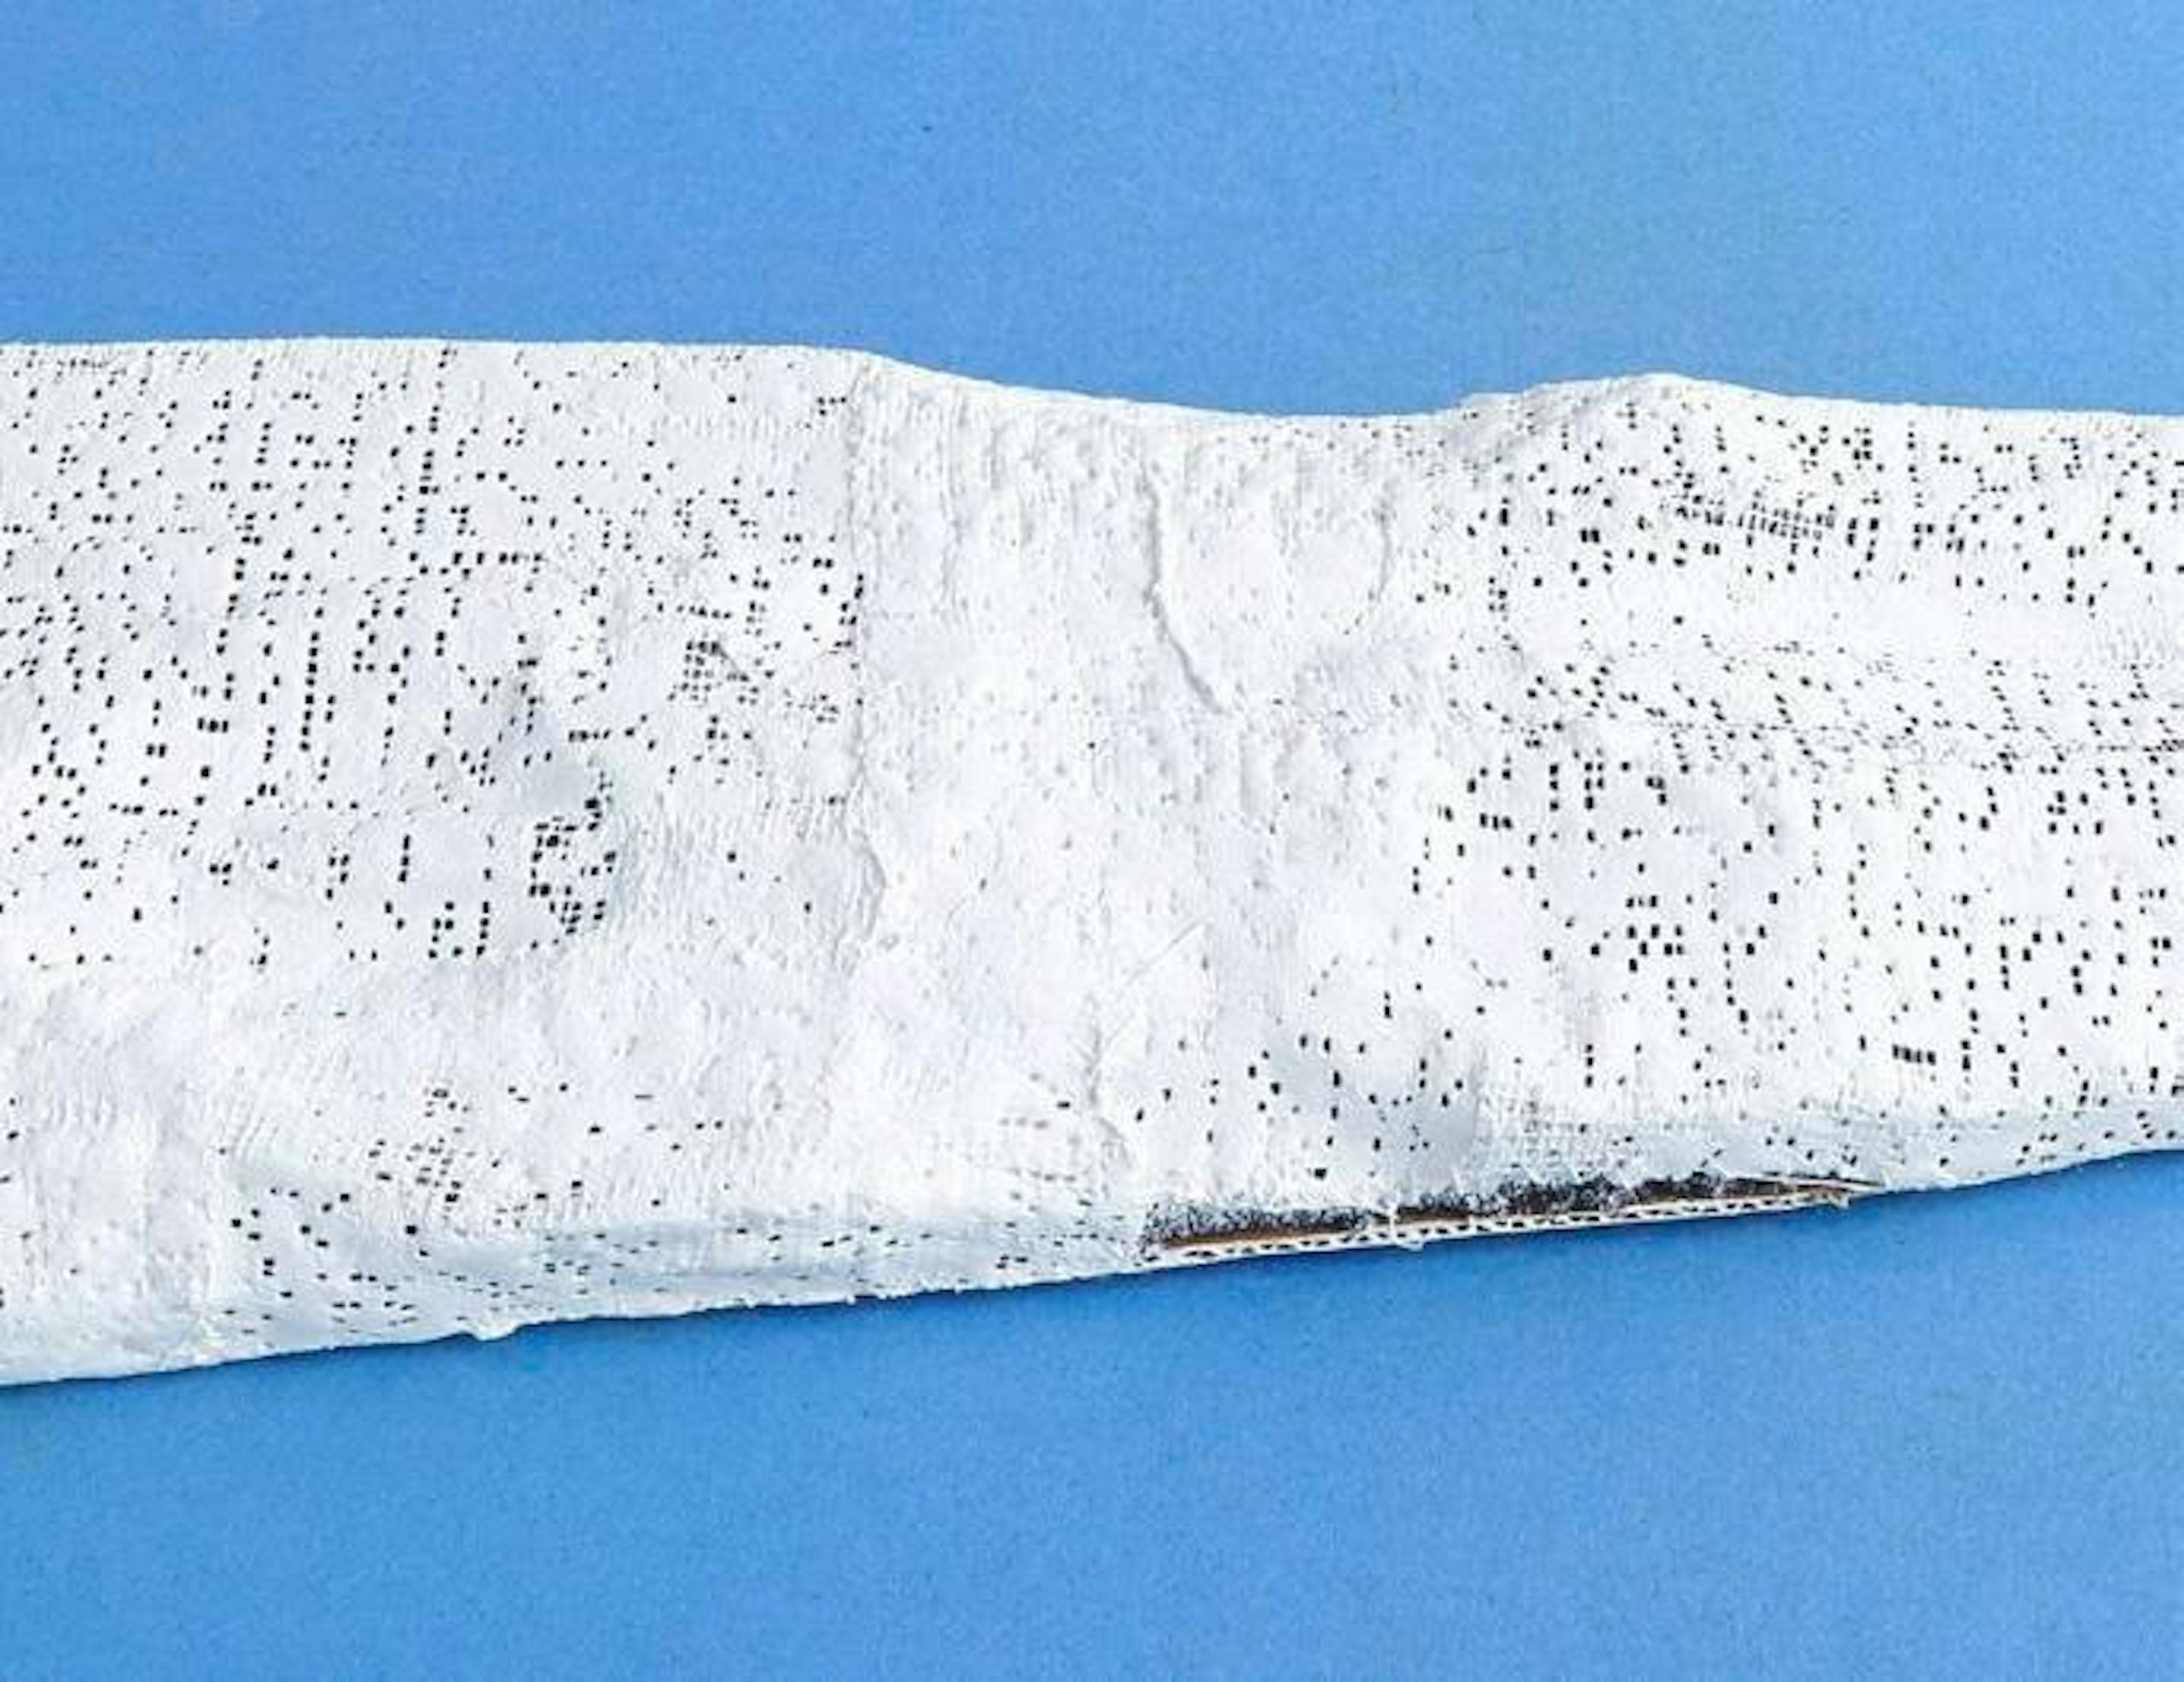
5 The bandage will adhere to most surfaces, and one layer is usually enough to add rigidity. Here, the foam has been fully covered and left to dry – this may take a few days.
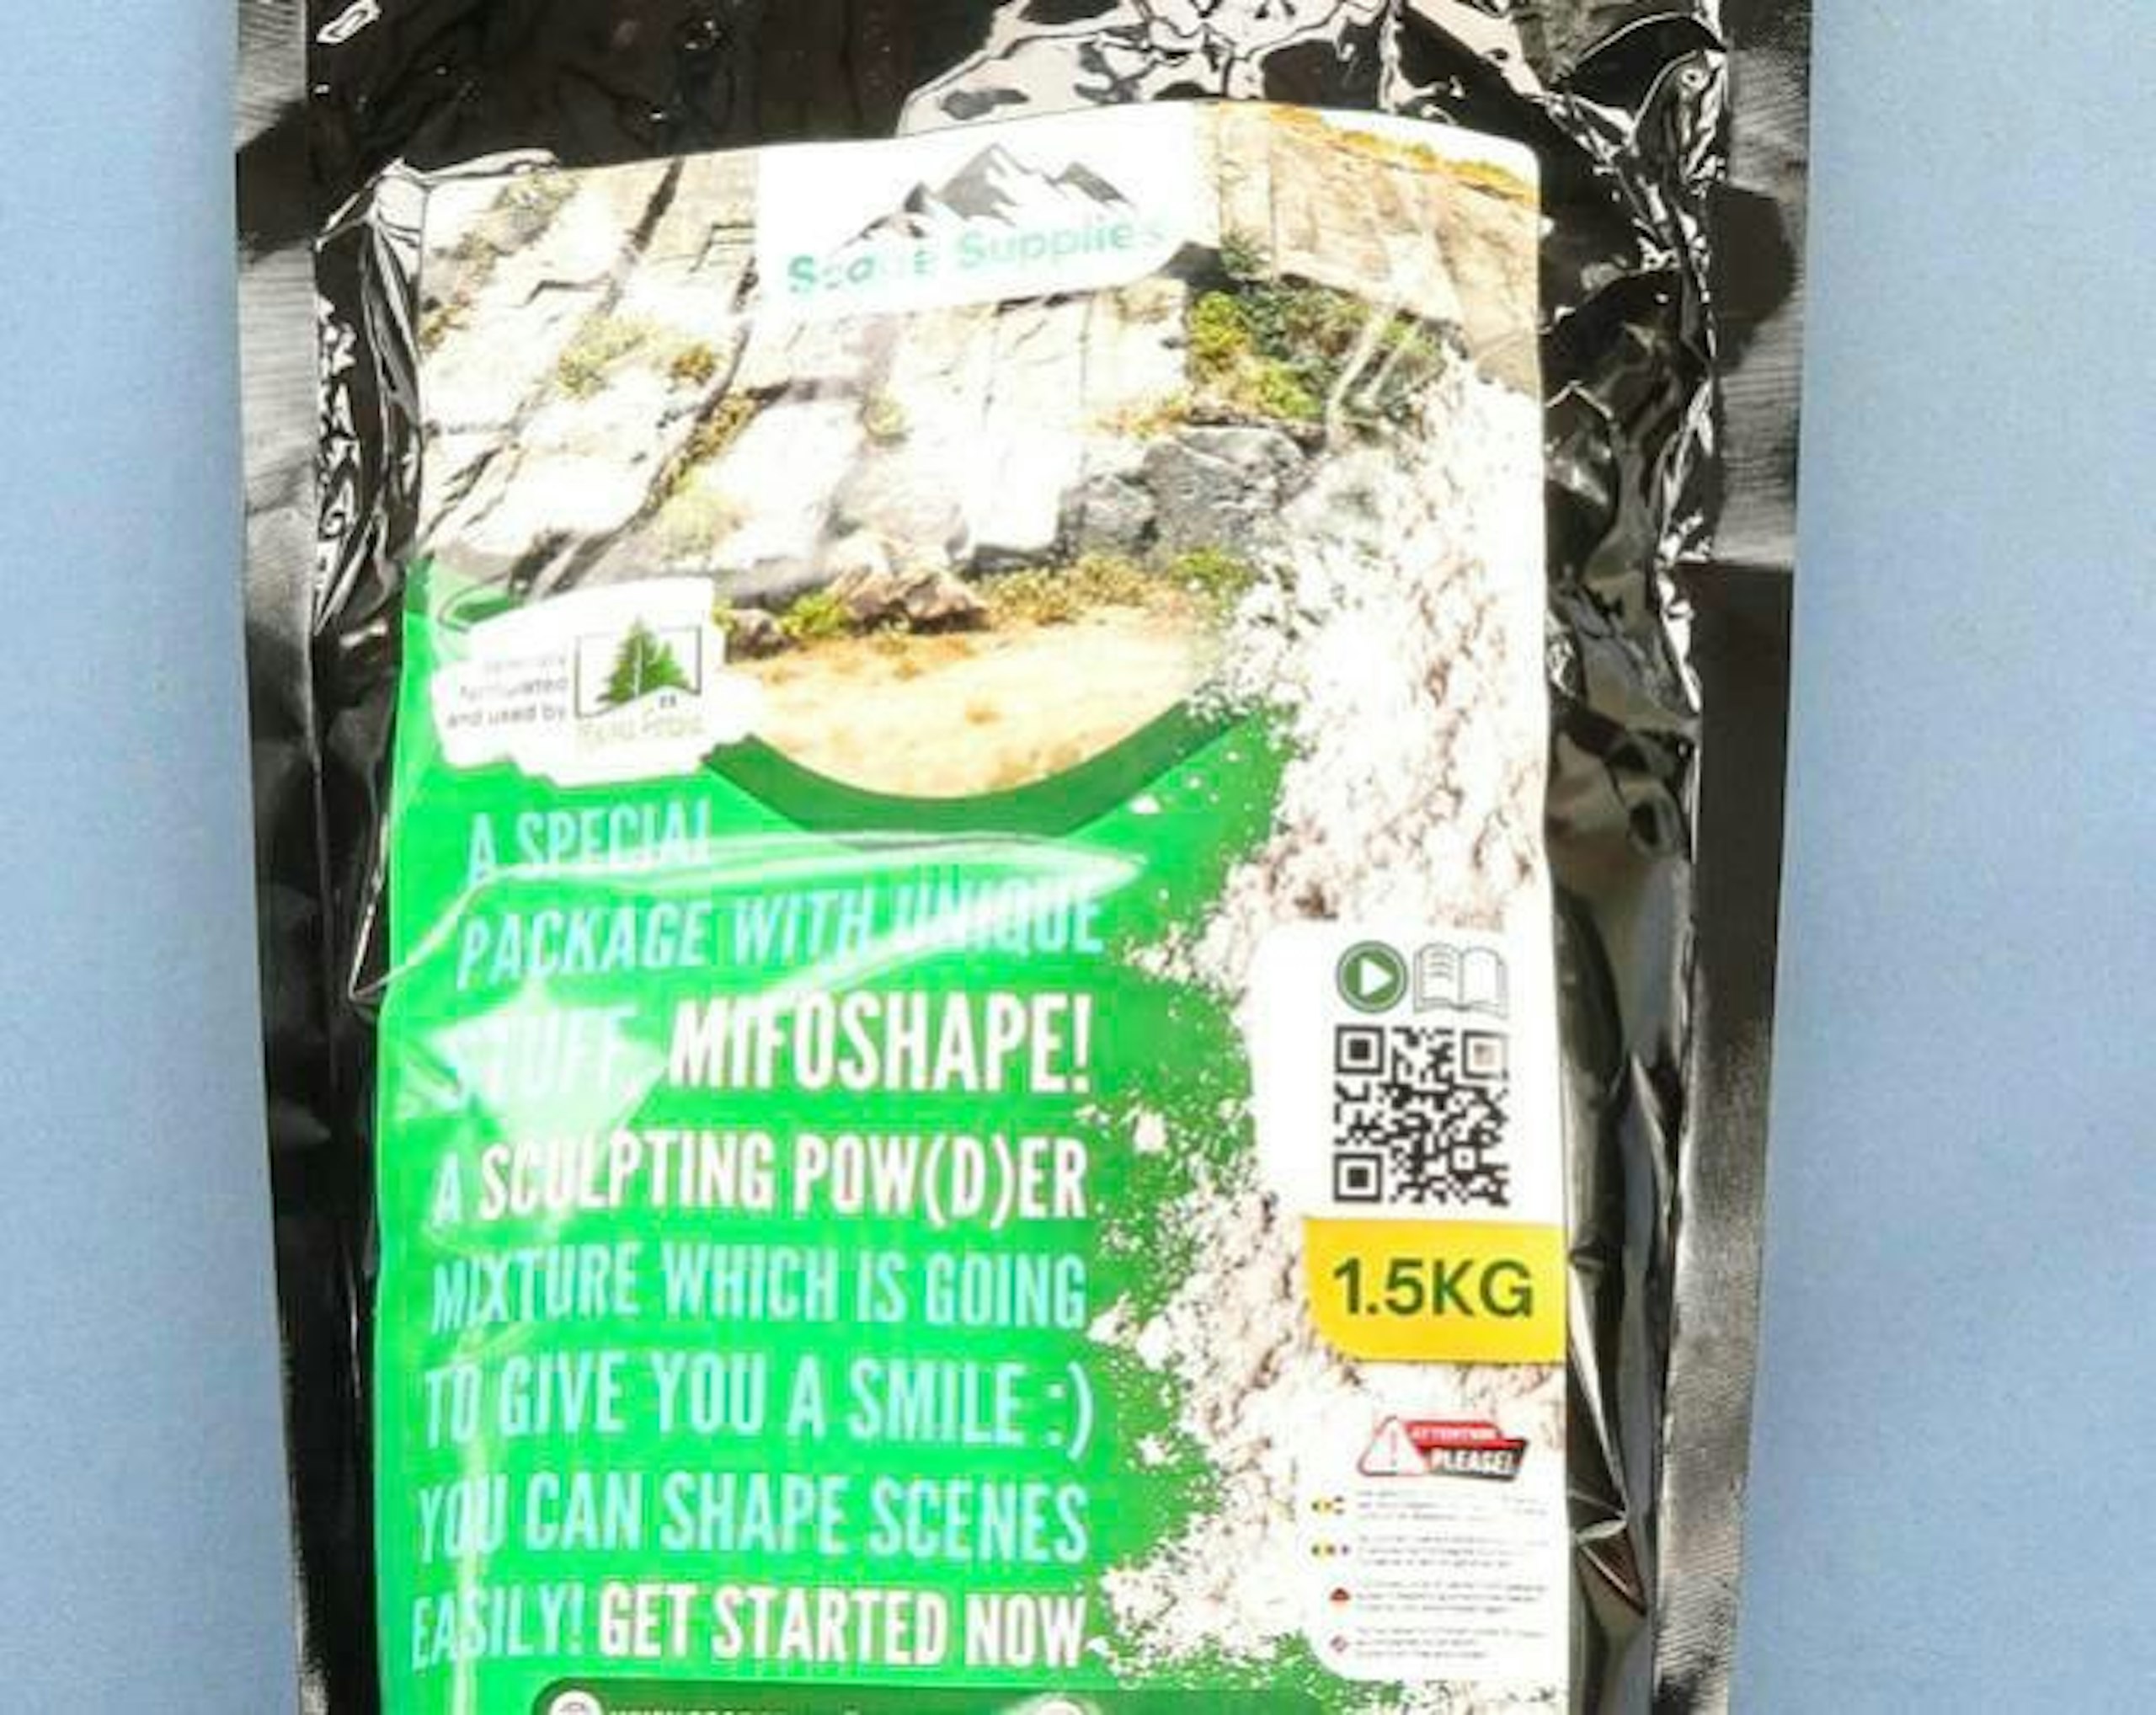
6 Mifoshape is a new sculpting powder for rock faces and landscapes, formulated for easy application. Ensure the packaging strip is fully sealed after use to prolong shelf life.
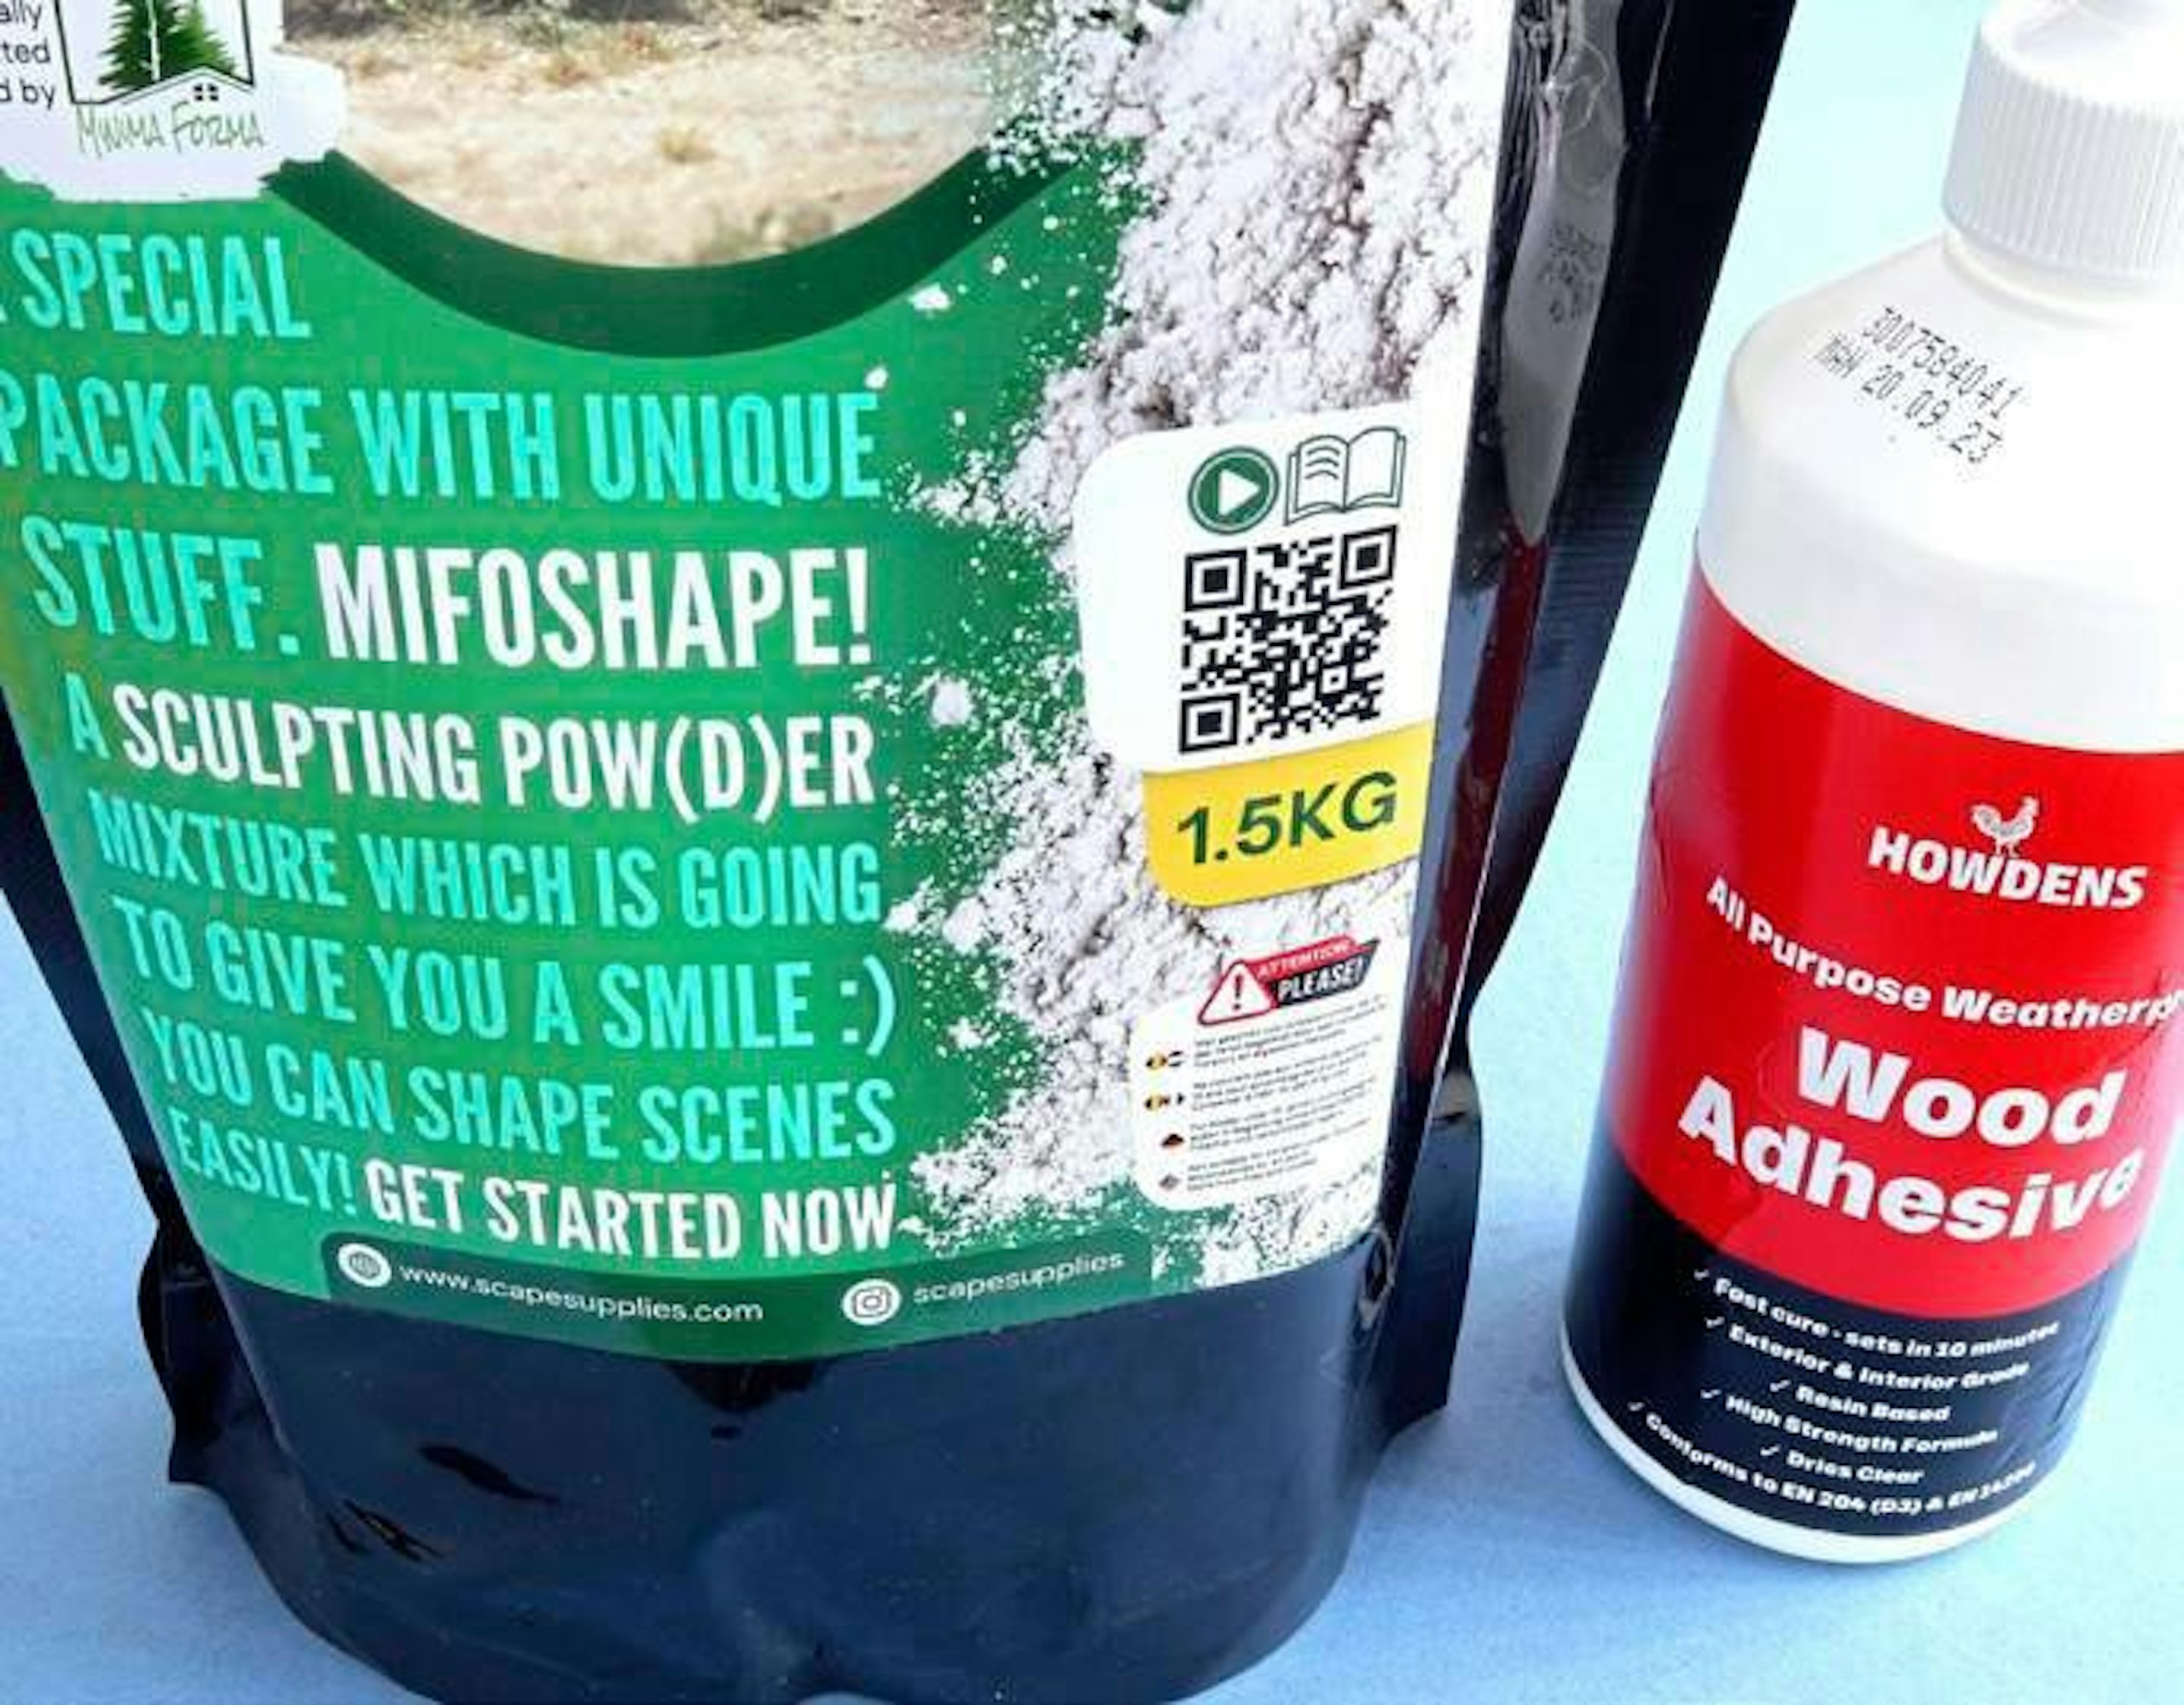
7 To improve the fix of the mixed Mifoshape to the landscape, it’s possible to add in 10% by volume of woodworking glue, along with the water.
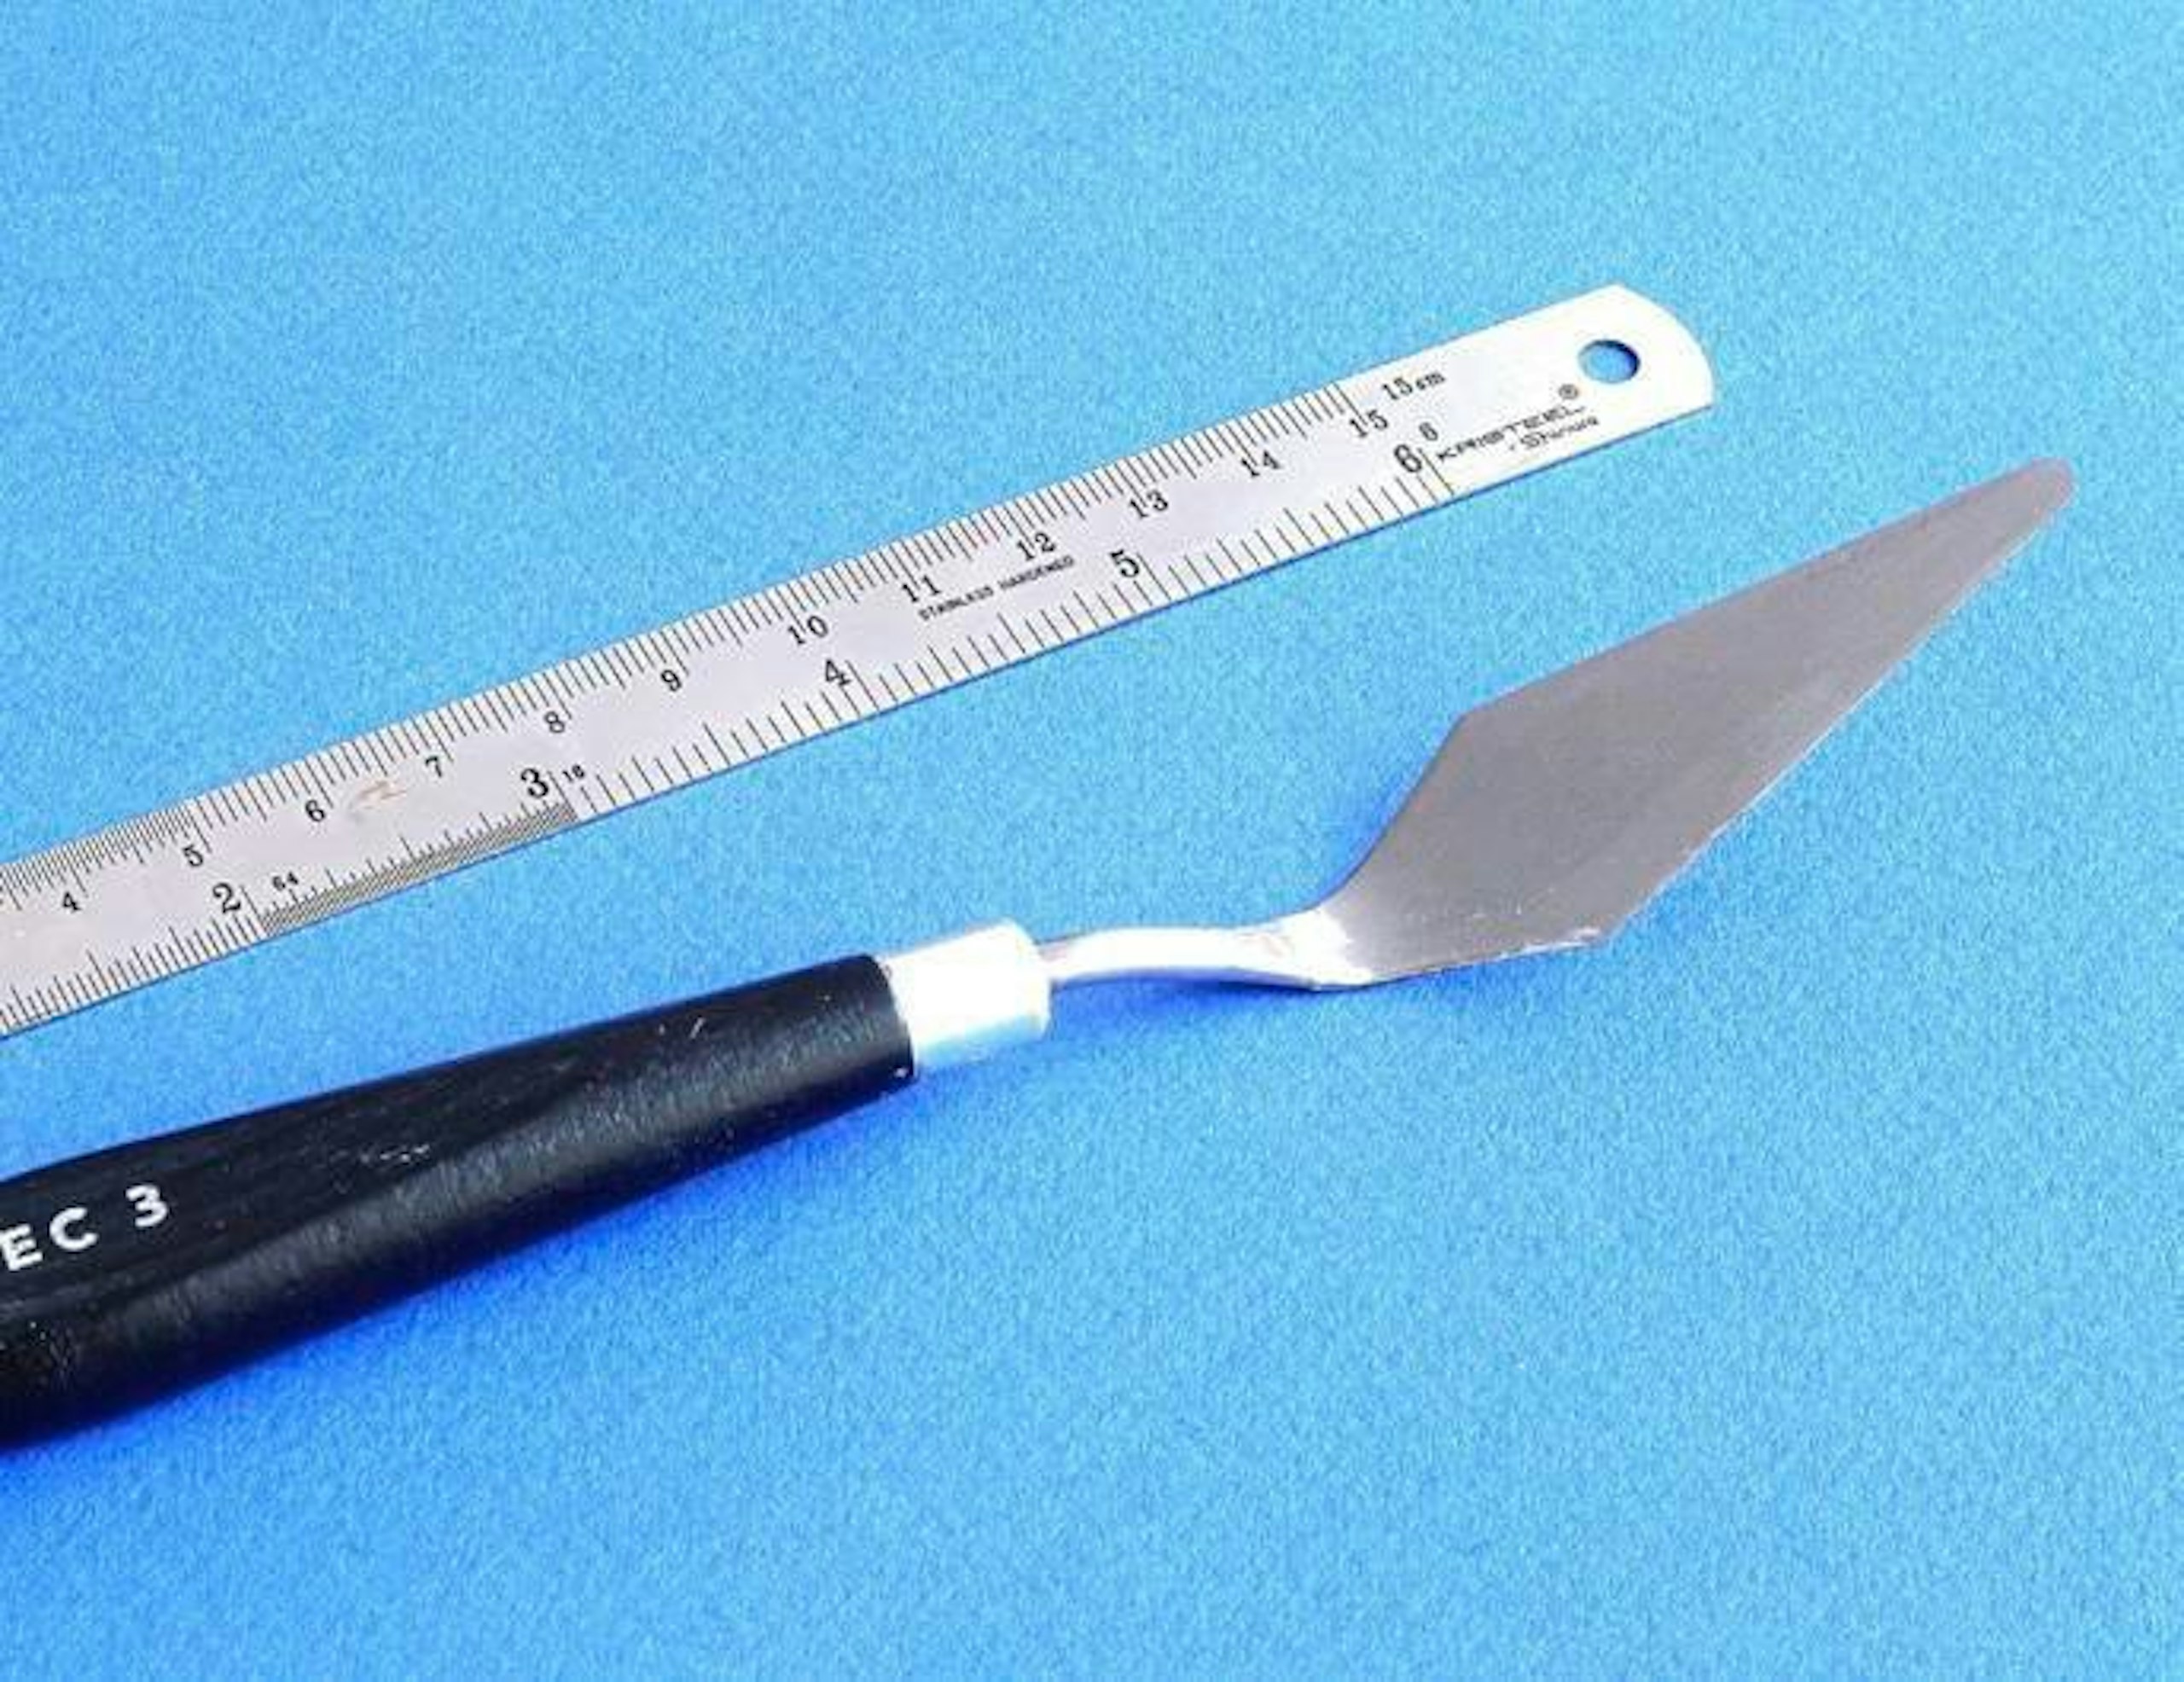
8 I used a 20cm trowel to mix and apply the Mifoshape to the landscape. It allowed me to load up sufficient material, and was good for adding textural features into the rockface.
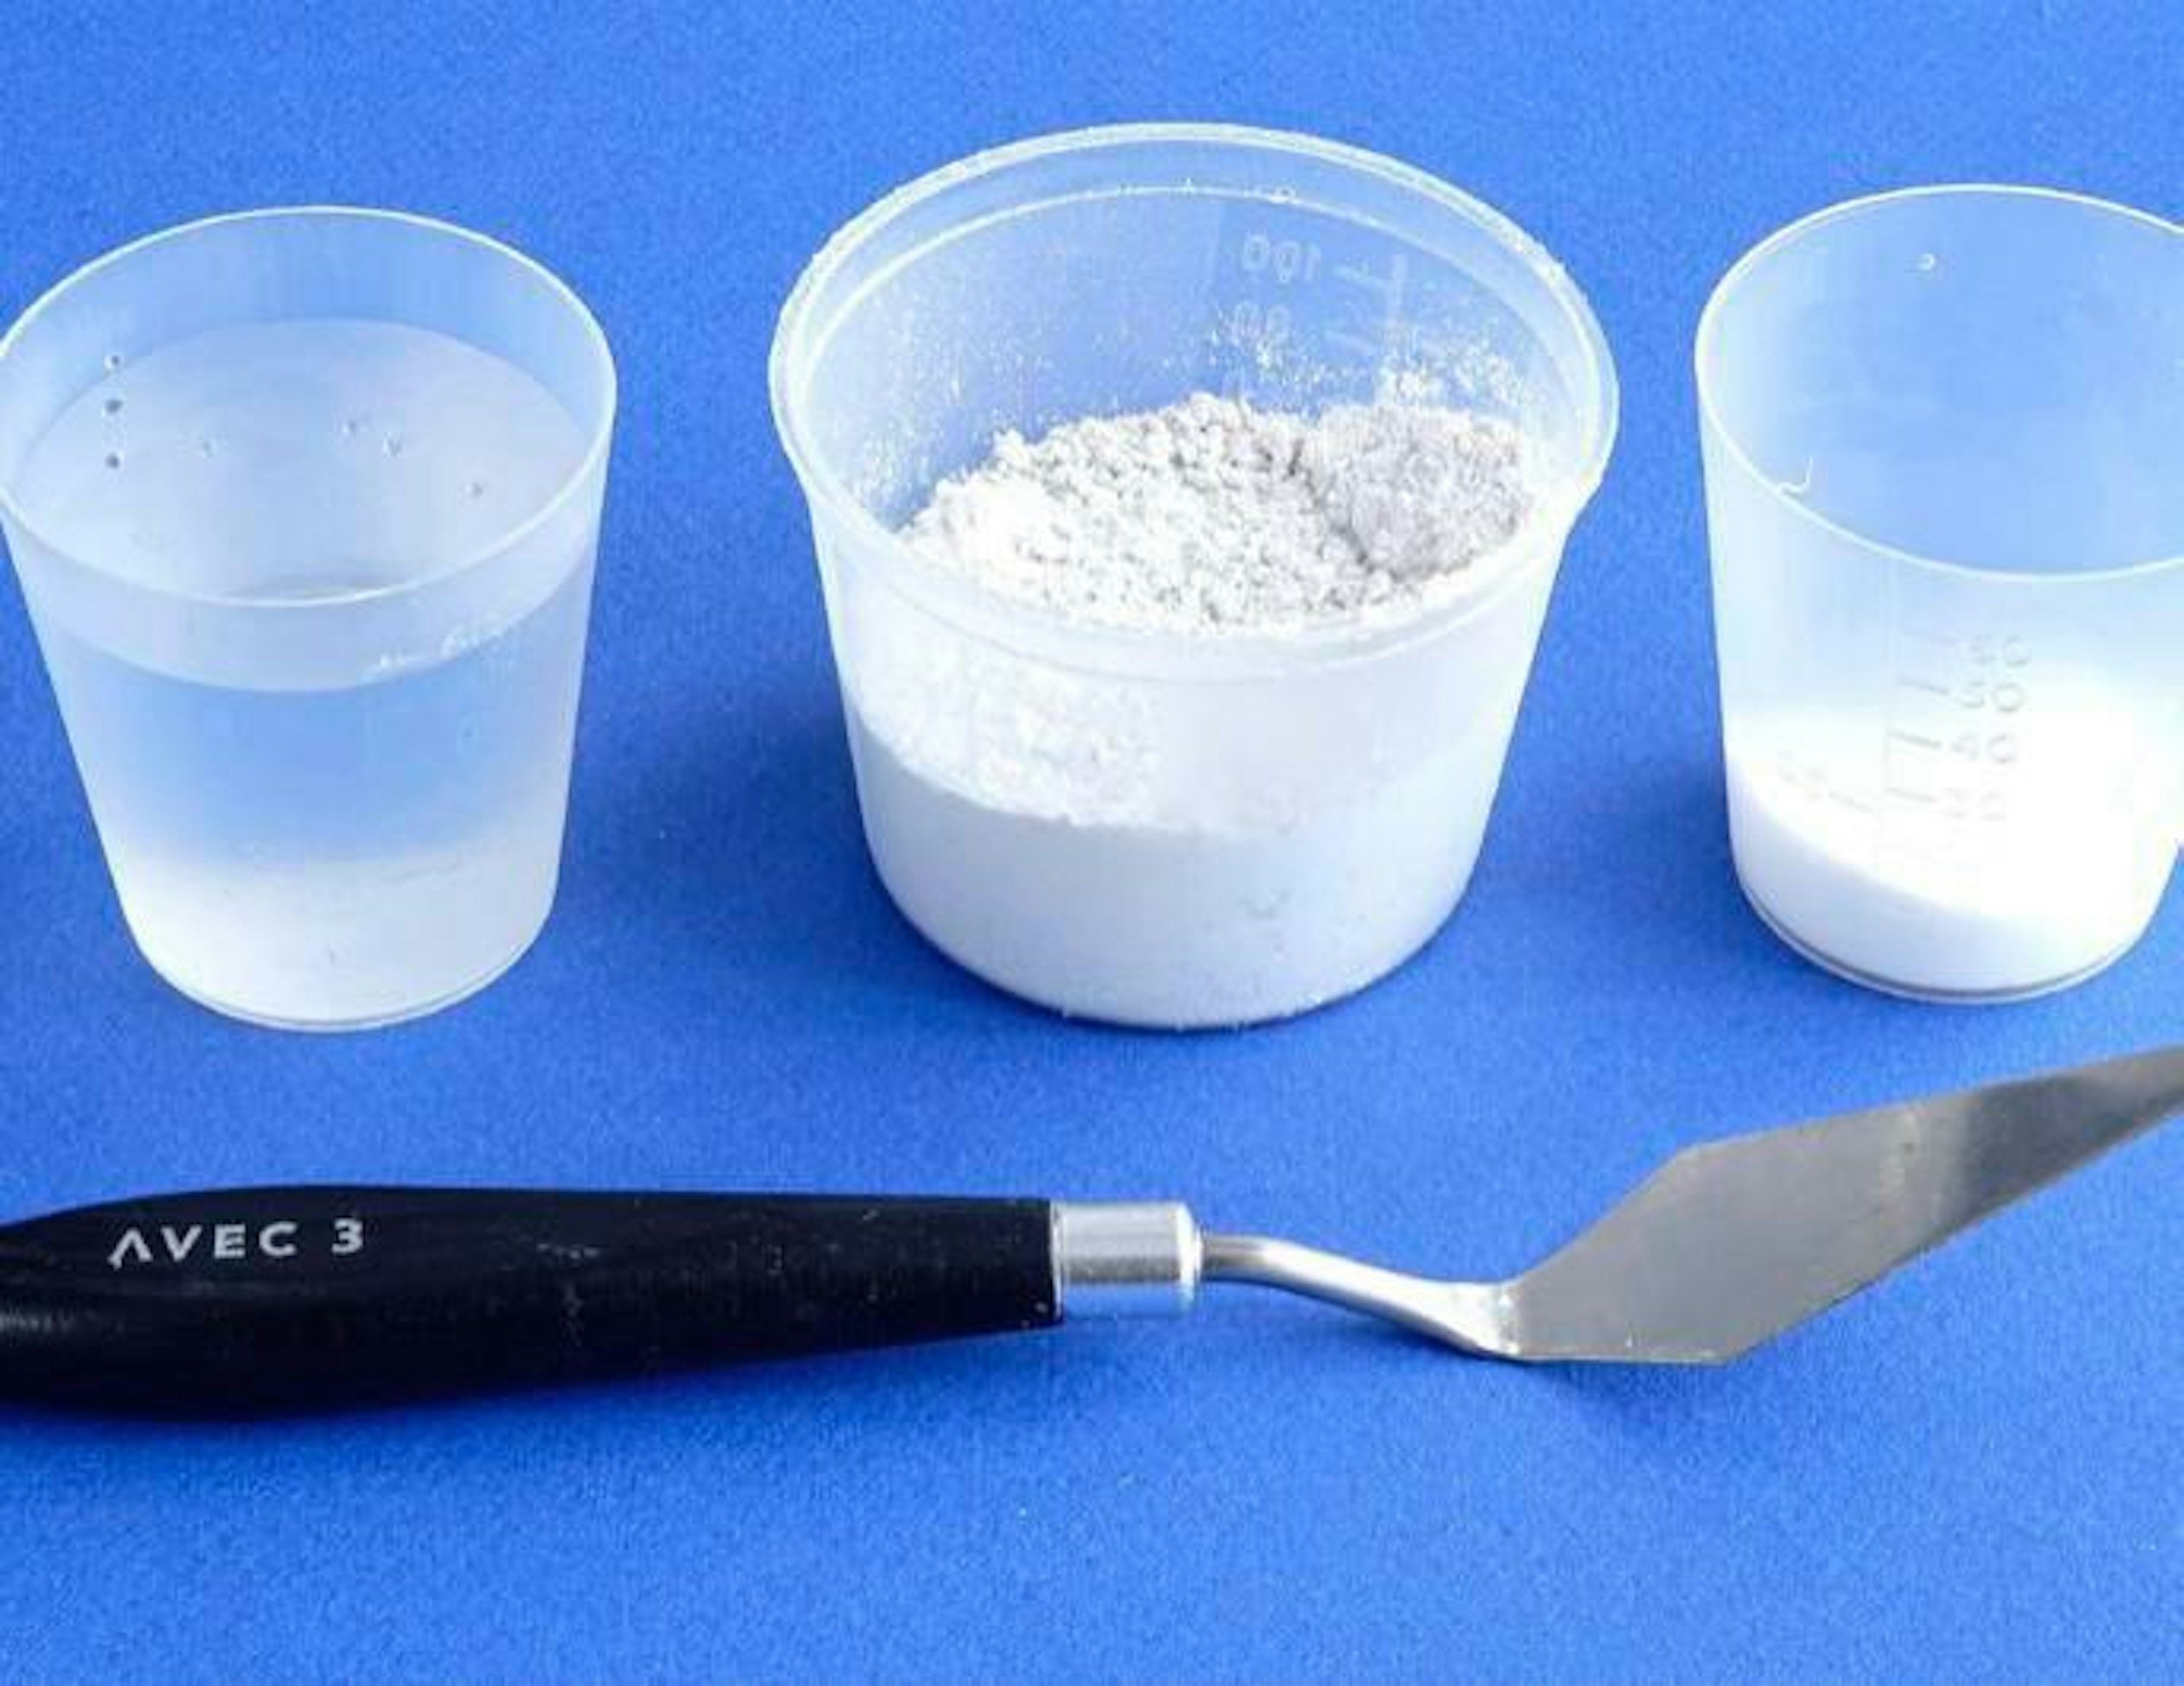
9 To the left is the water, in the middle is the Mifoshape, and to the right is the woodworking glue. All three can now be mixed.
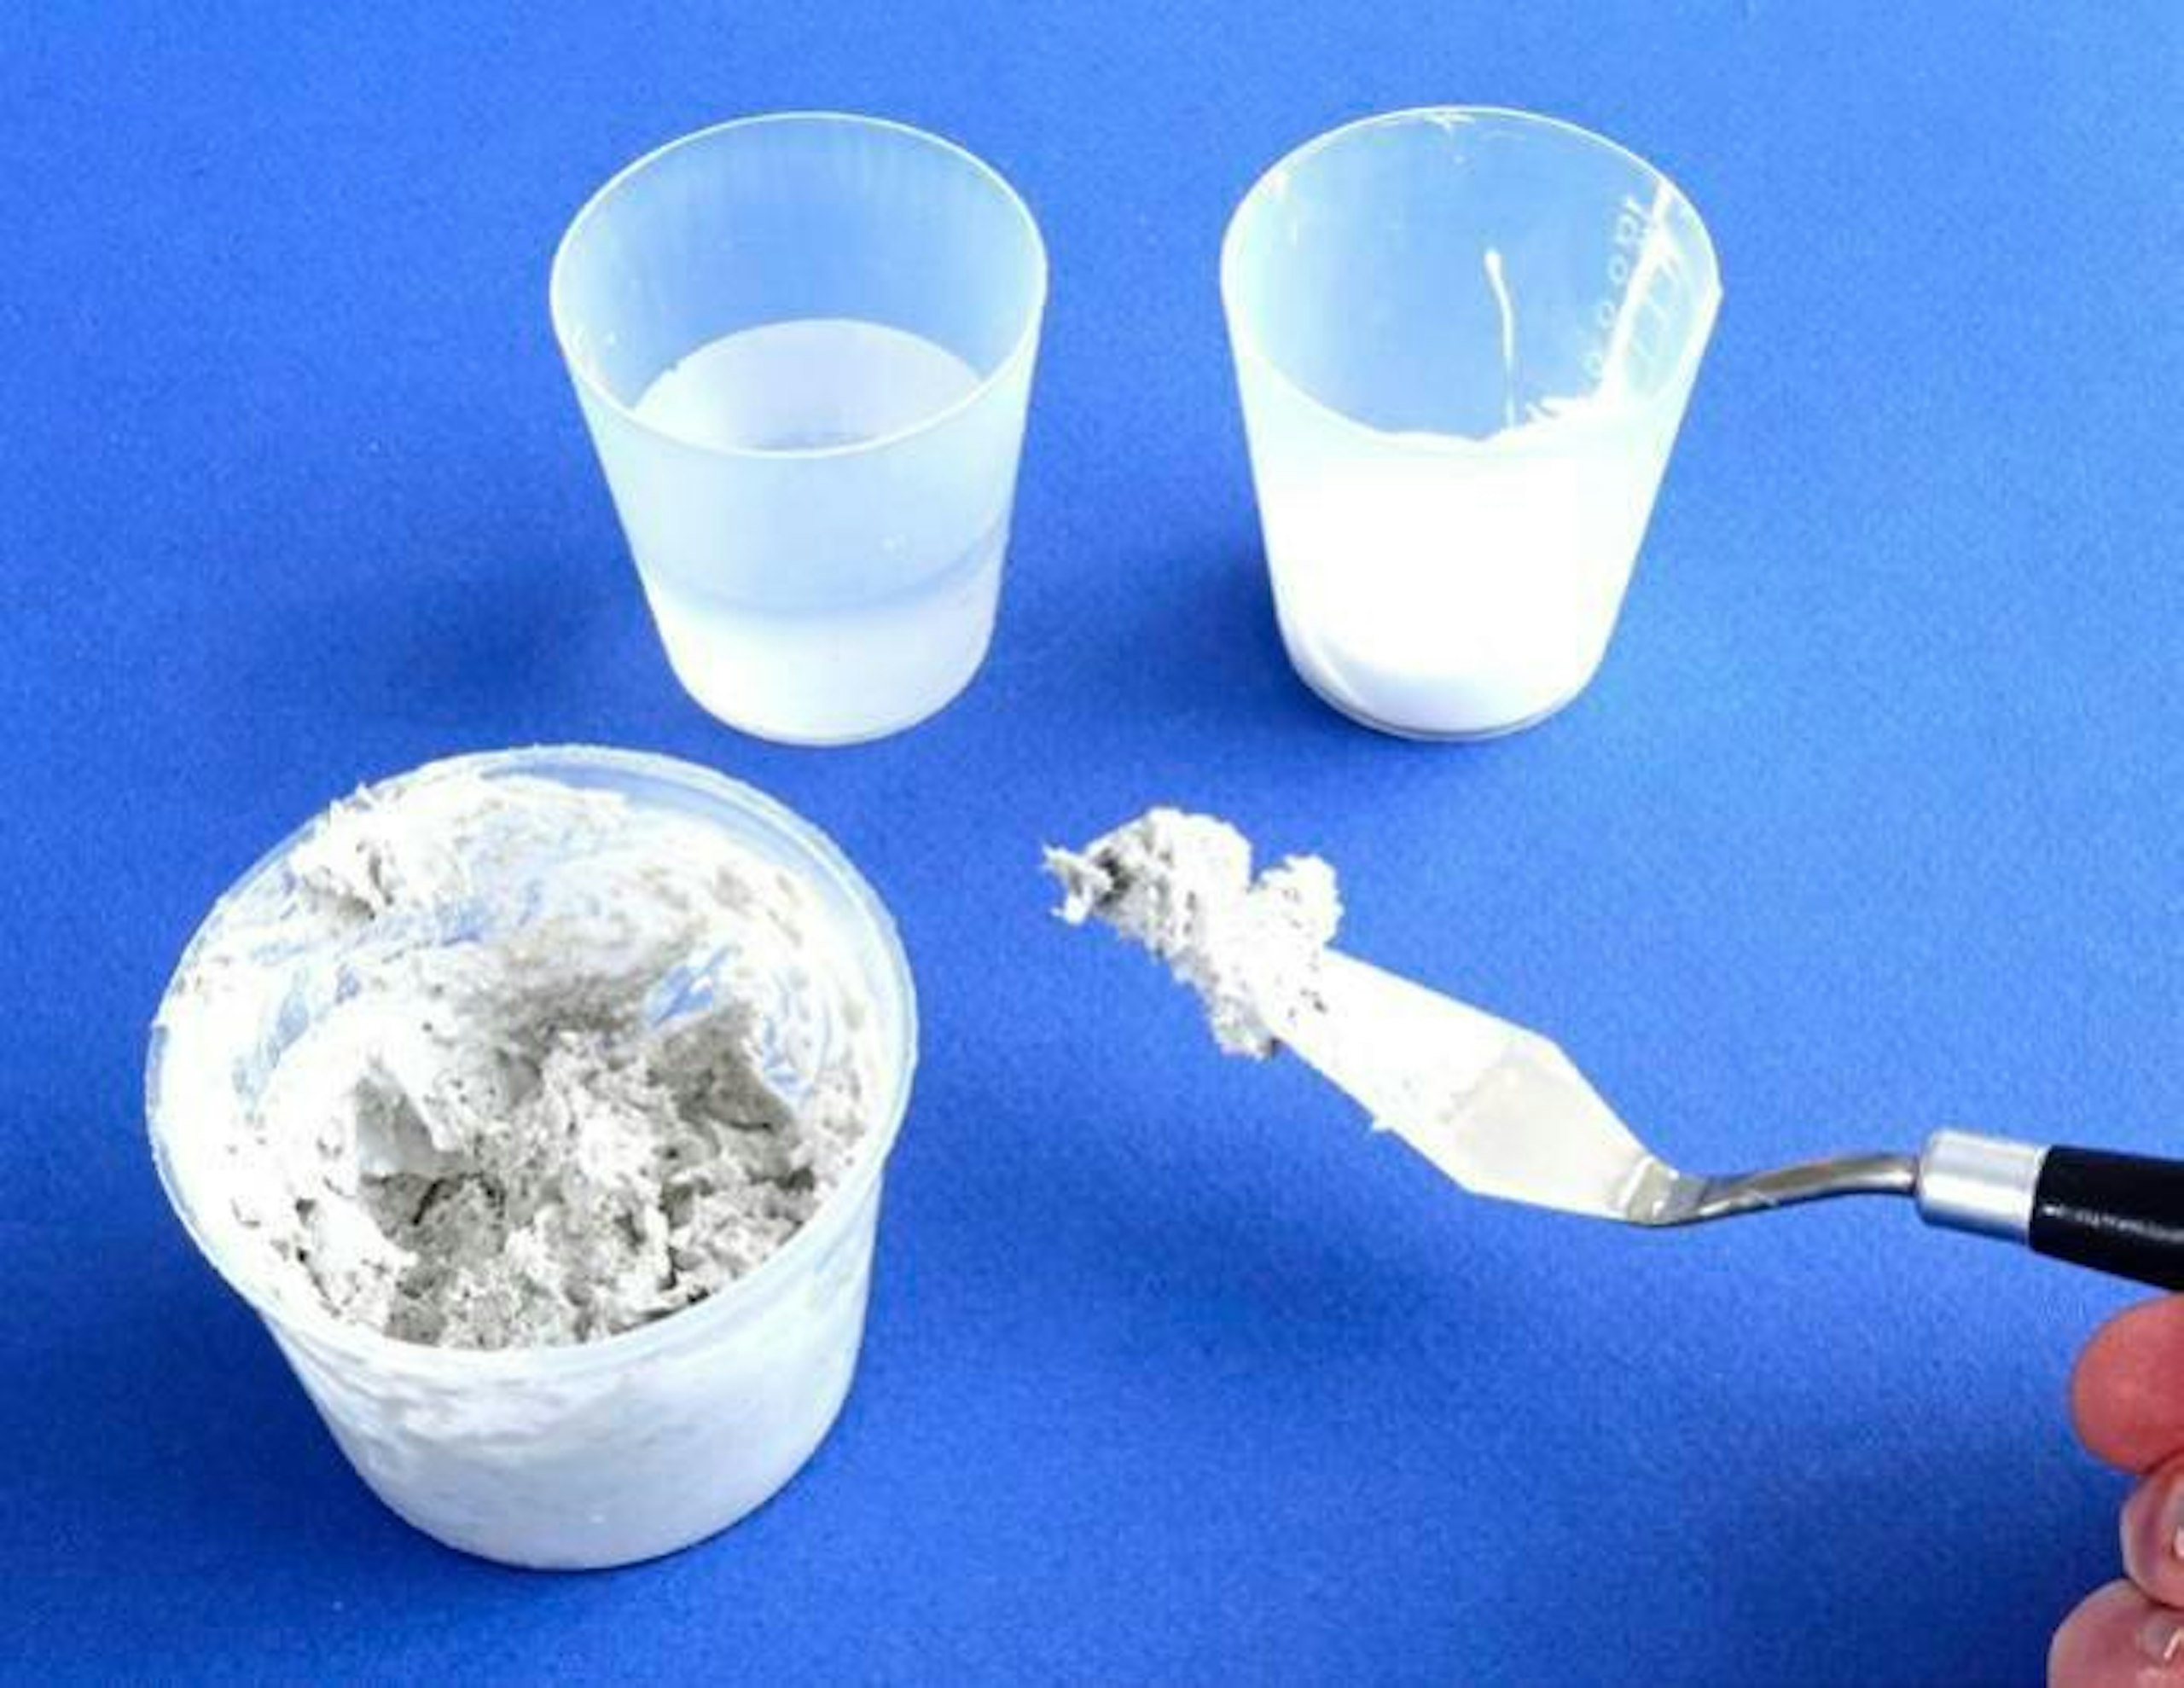
10 Following the instructions, I began blending the three elements together. As I’ll be working on a relatively small area, I used a modest sized mixing bowl to avoid waste.
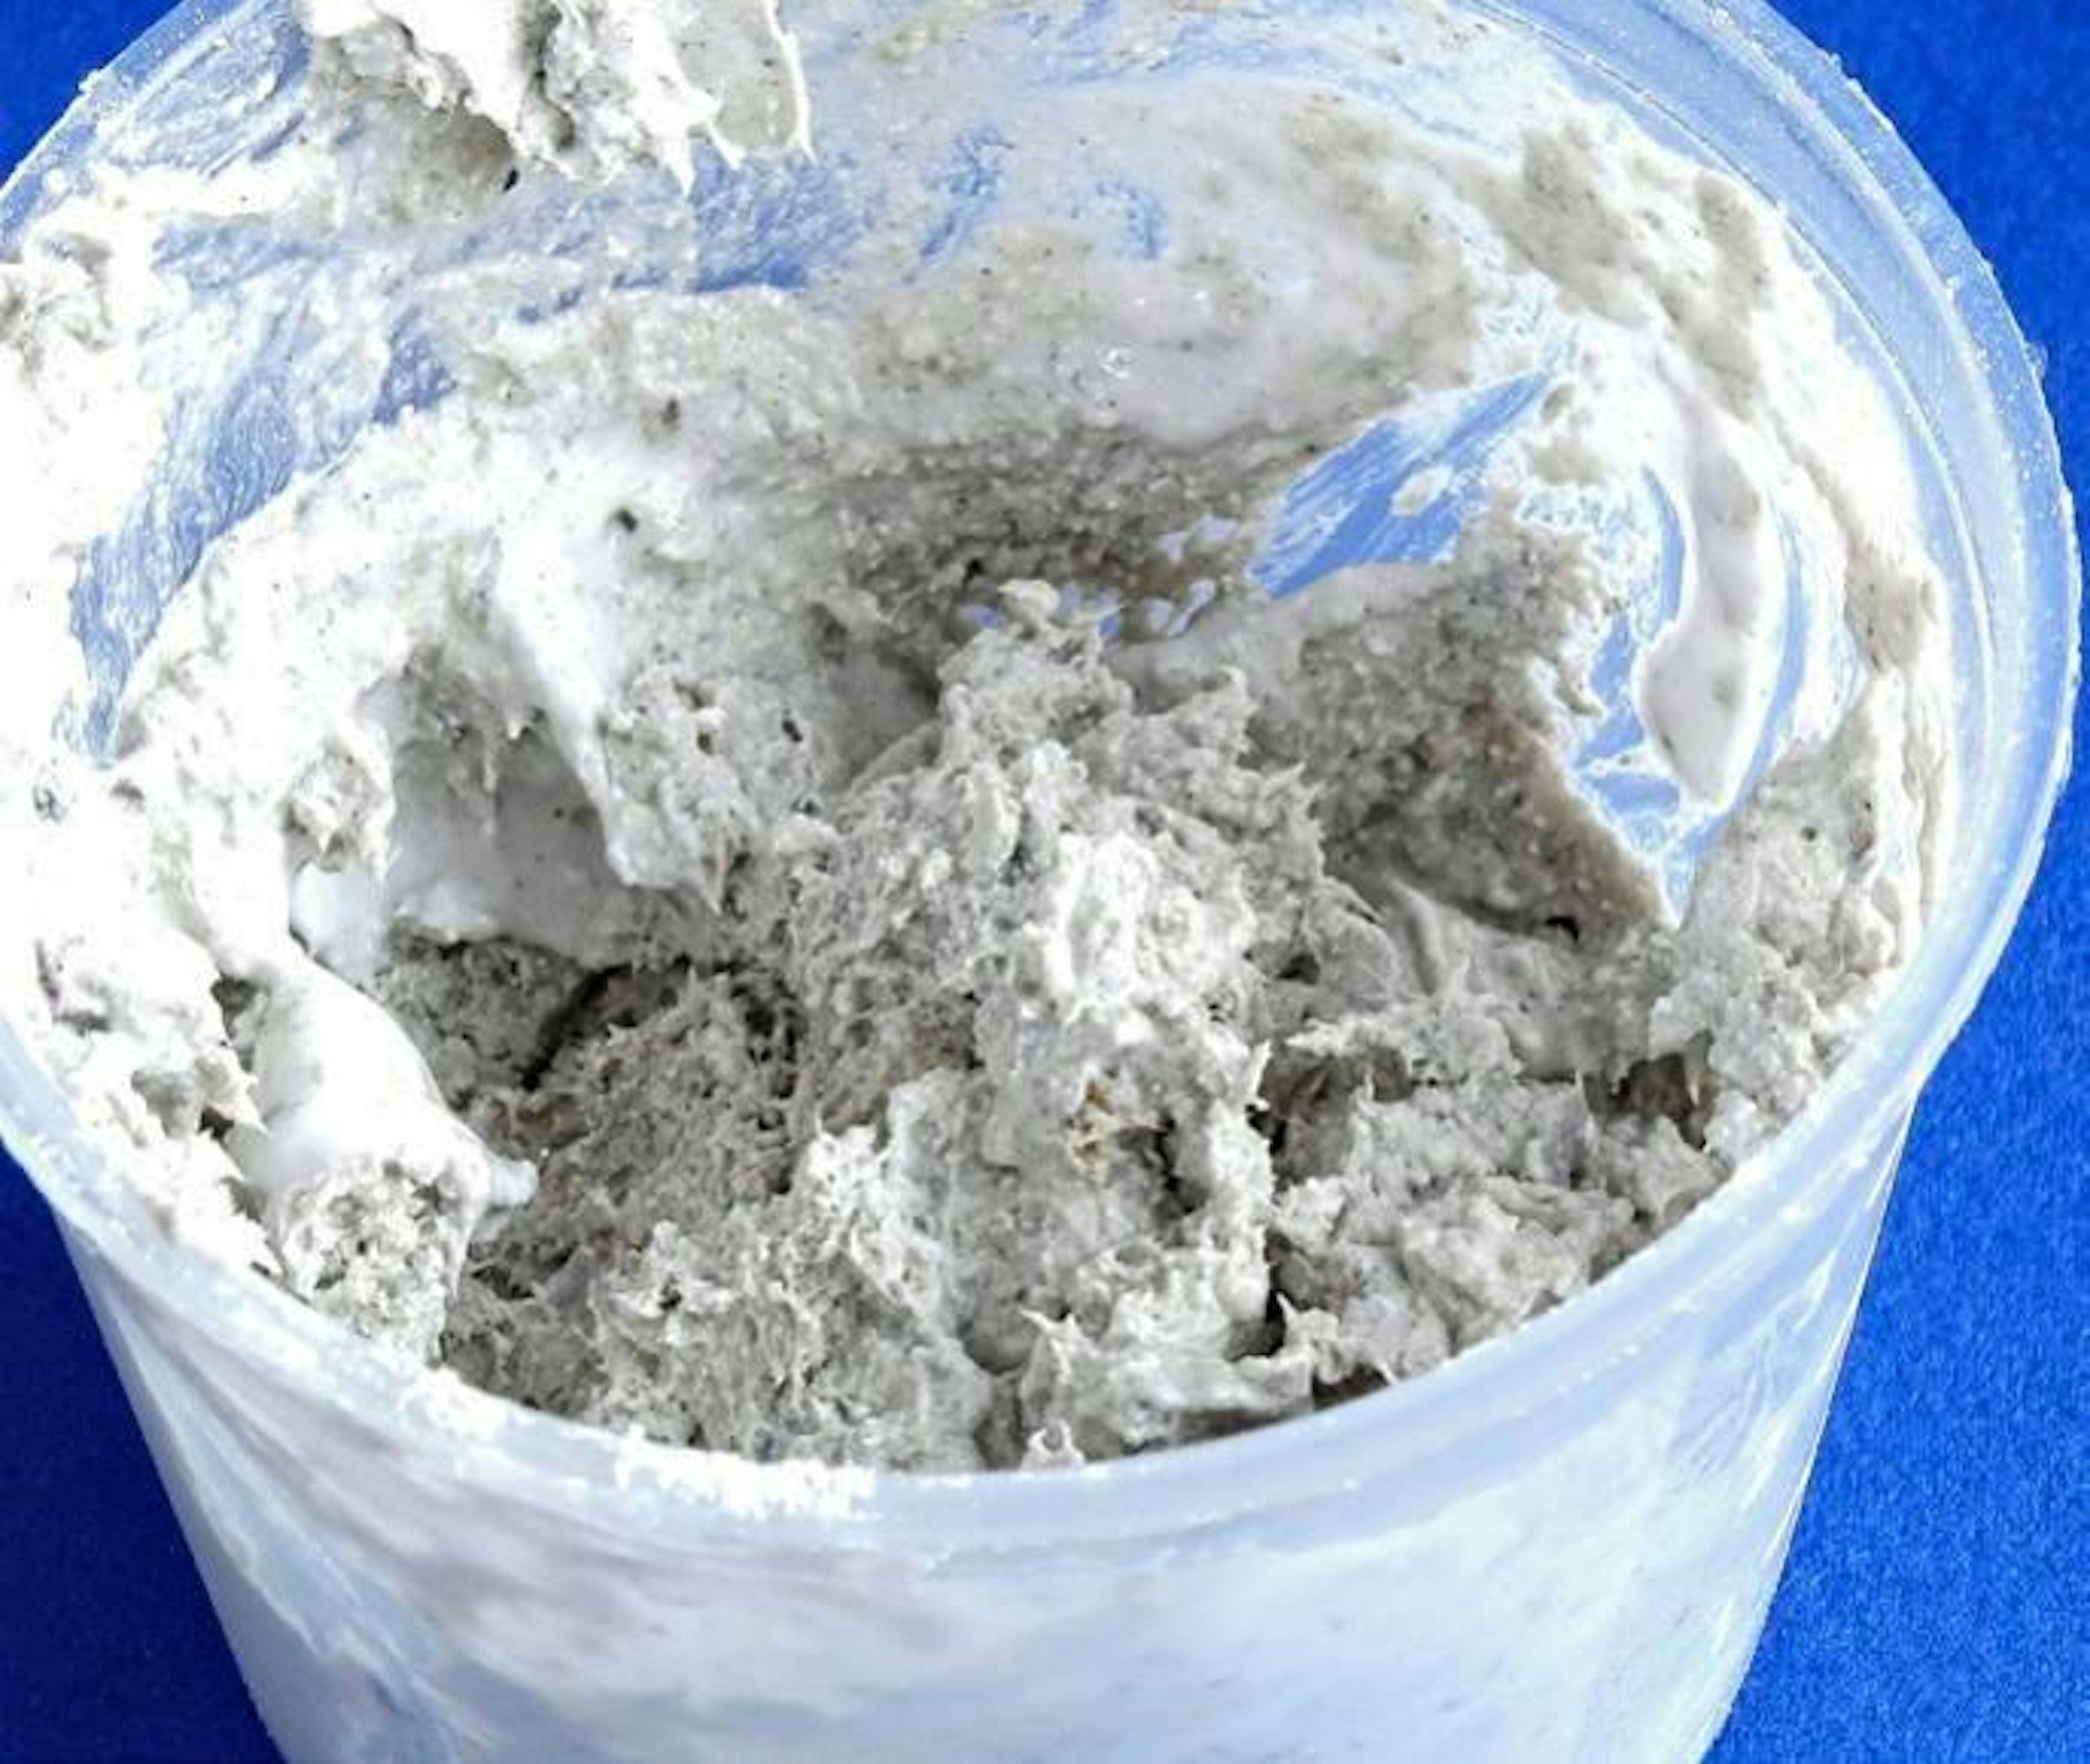
11 After mixing some of the water and PVA glue with the Mifoshape, the substance becomes ‘claggy’ and will remain on the trowel. We are now ready to add it to the dried plaster cloth.
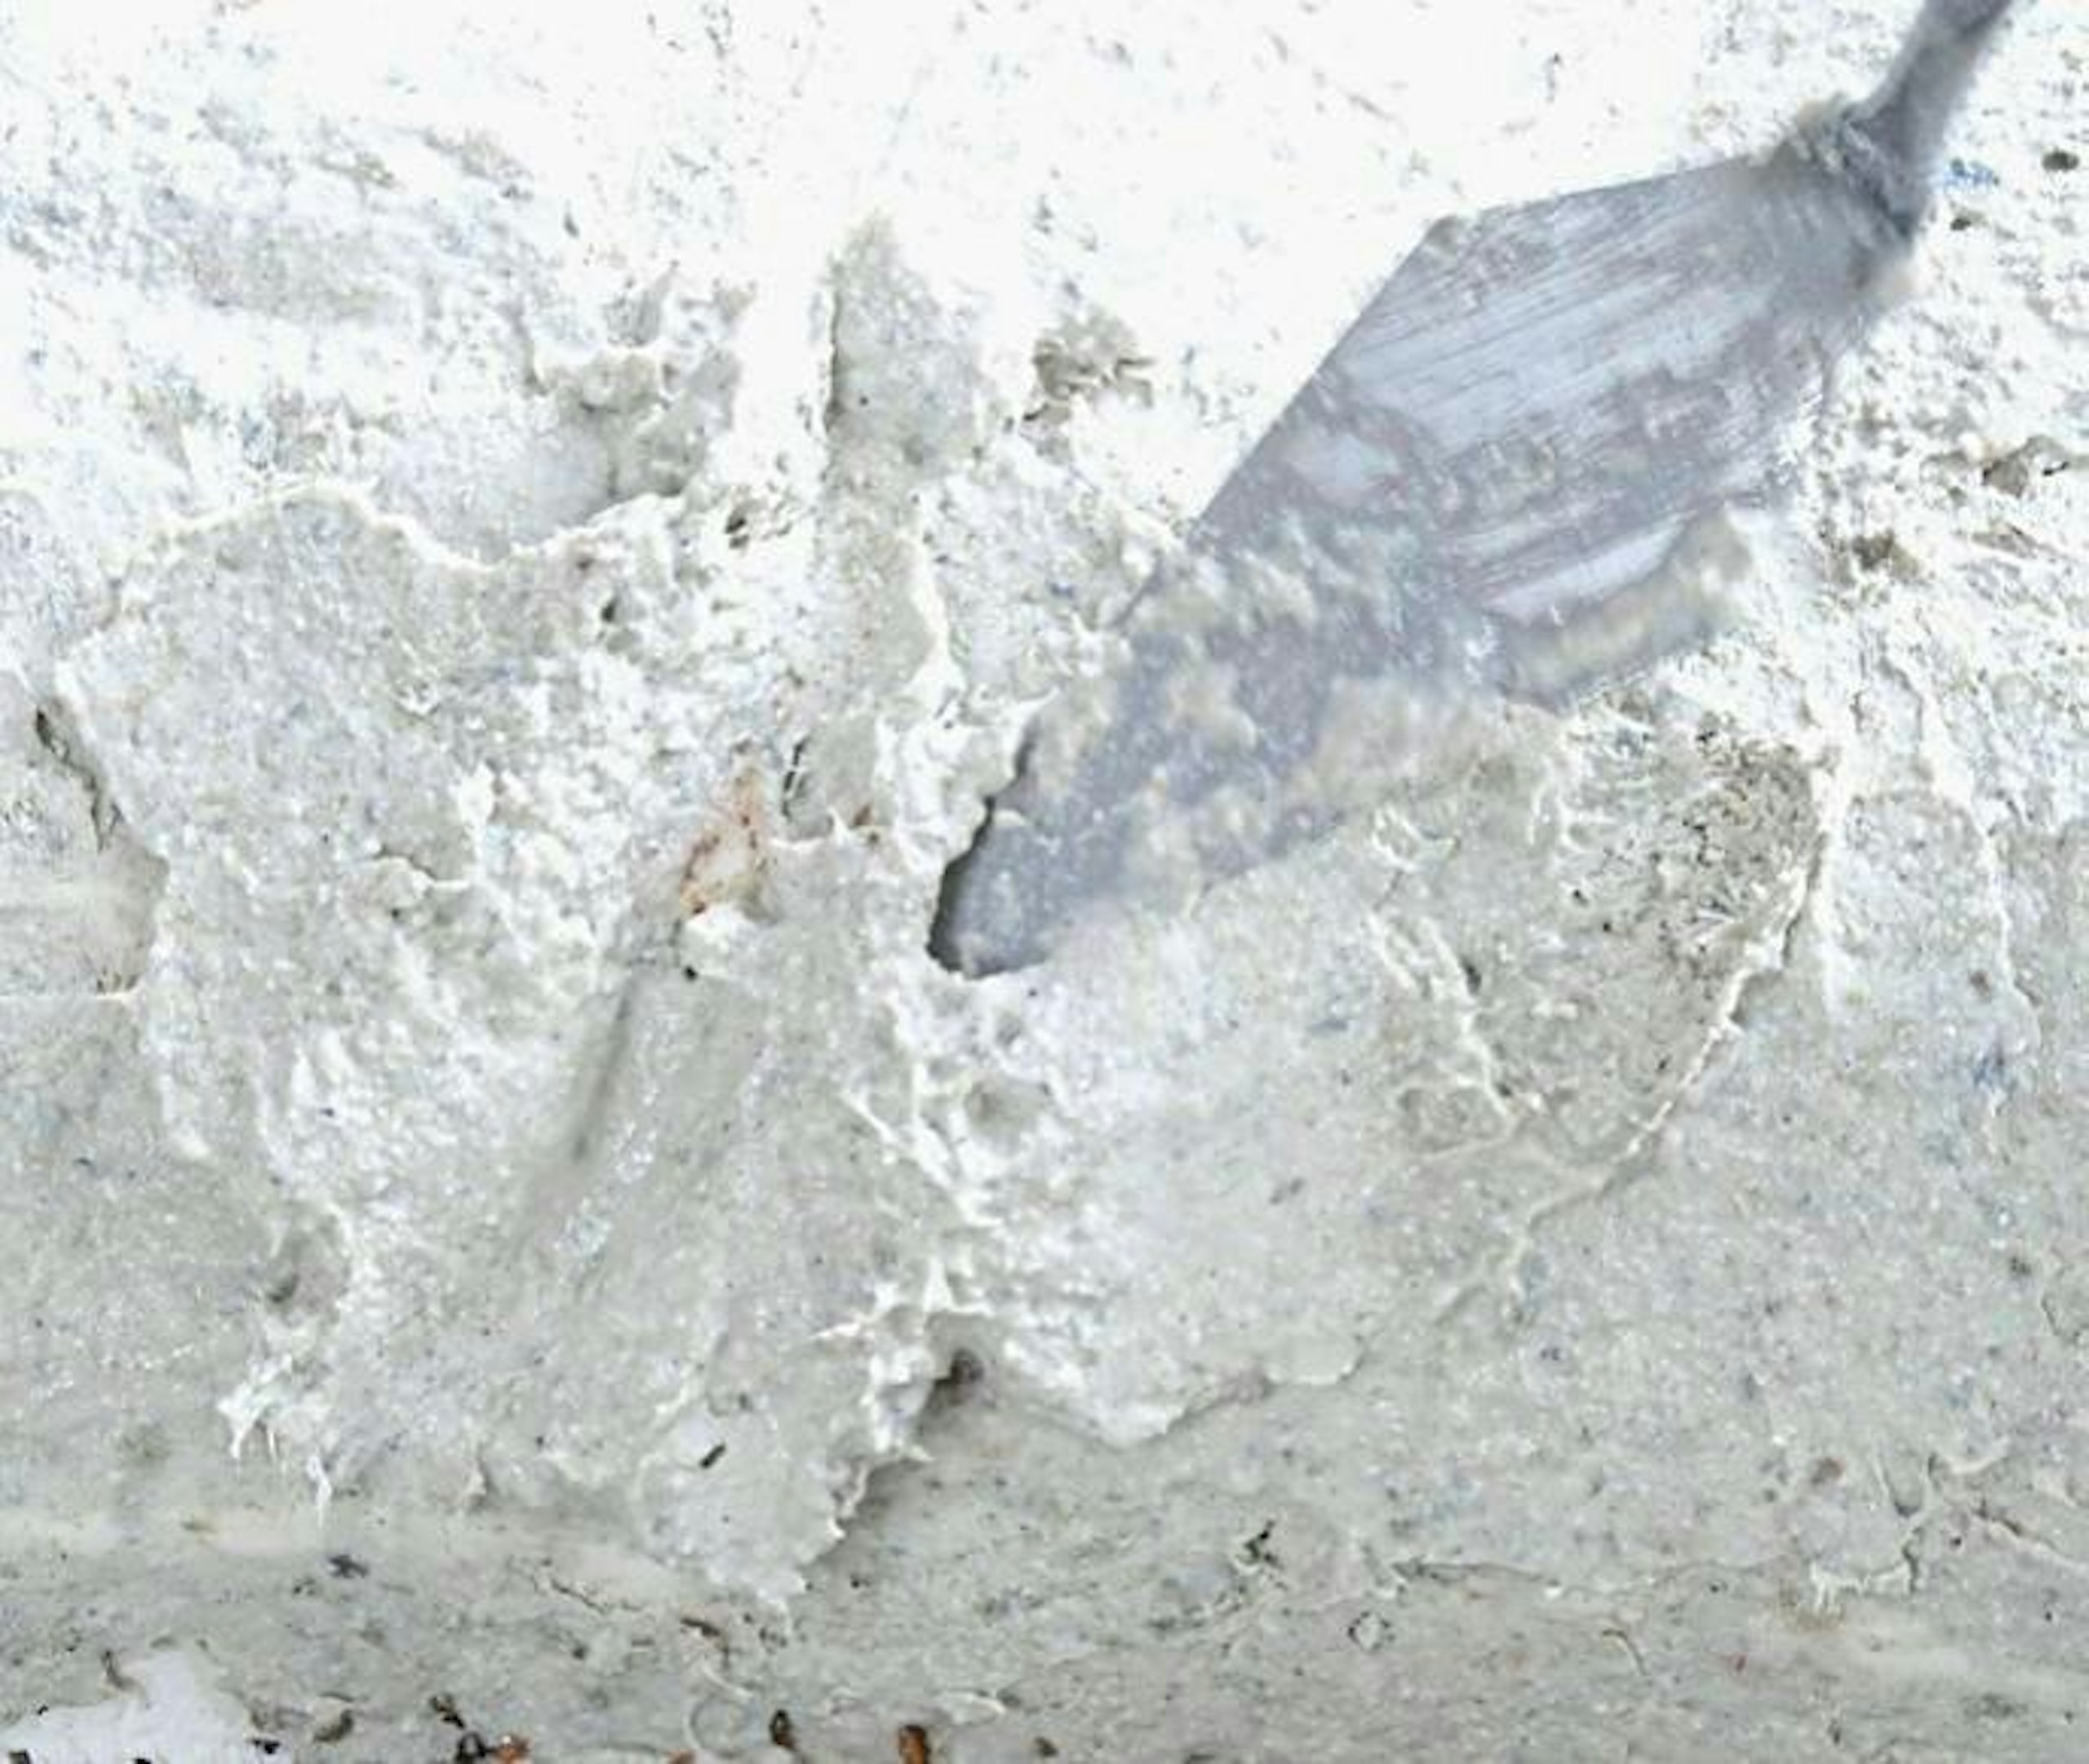
12 With the trowel partially loaded, apply the mixture directly onto the plaster cloth. Over most of the rockface, I applied enough to cover to a depth of between 1-2mm.
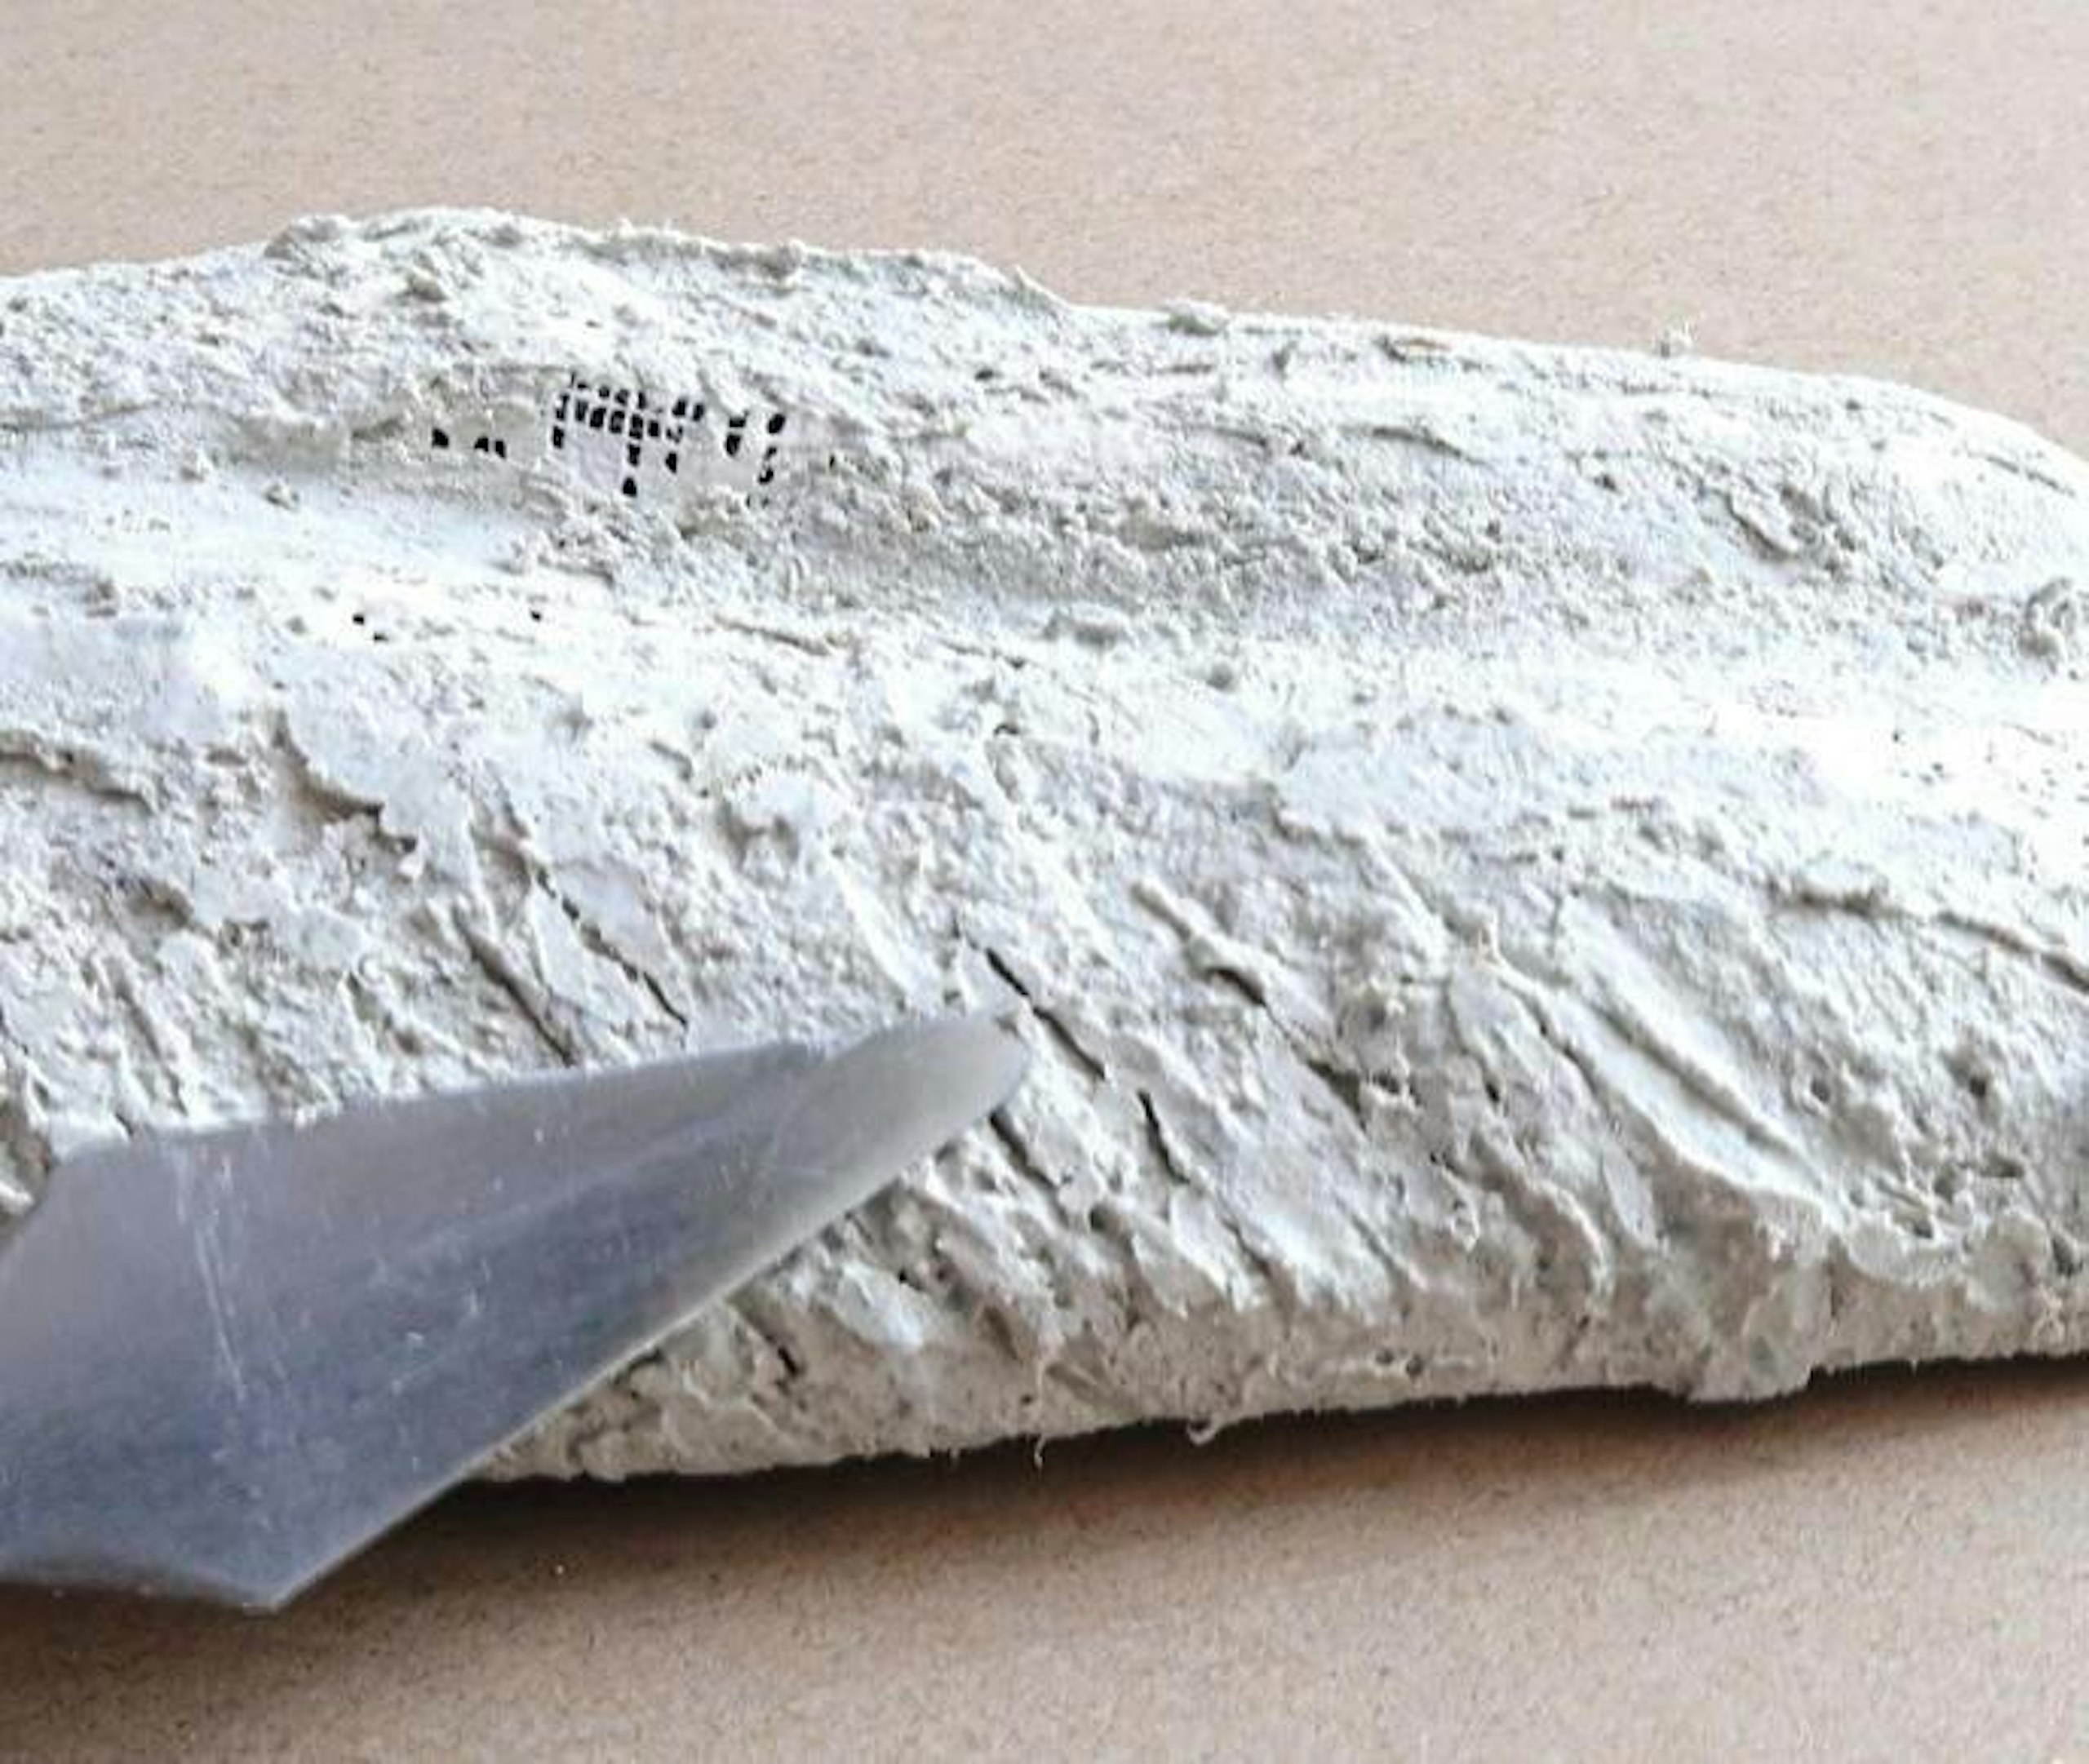
13 About 20 minutes after I had applied the first layer of the Mifoshape, I used the blade of the trowel to shape the rockface texture. It remains workable for at least 30 minutes.
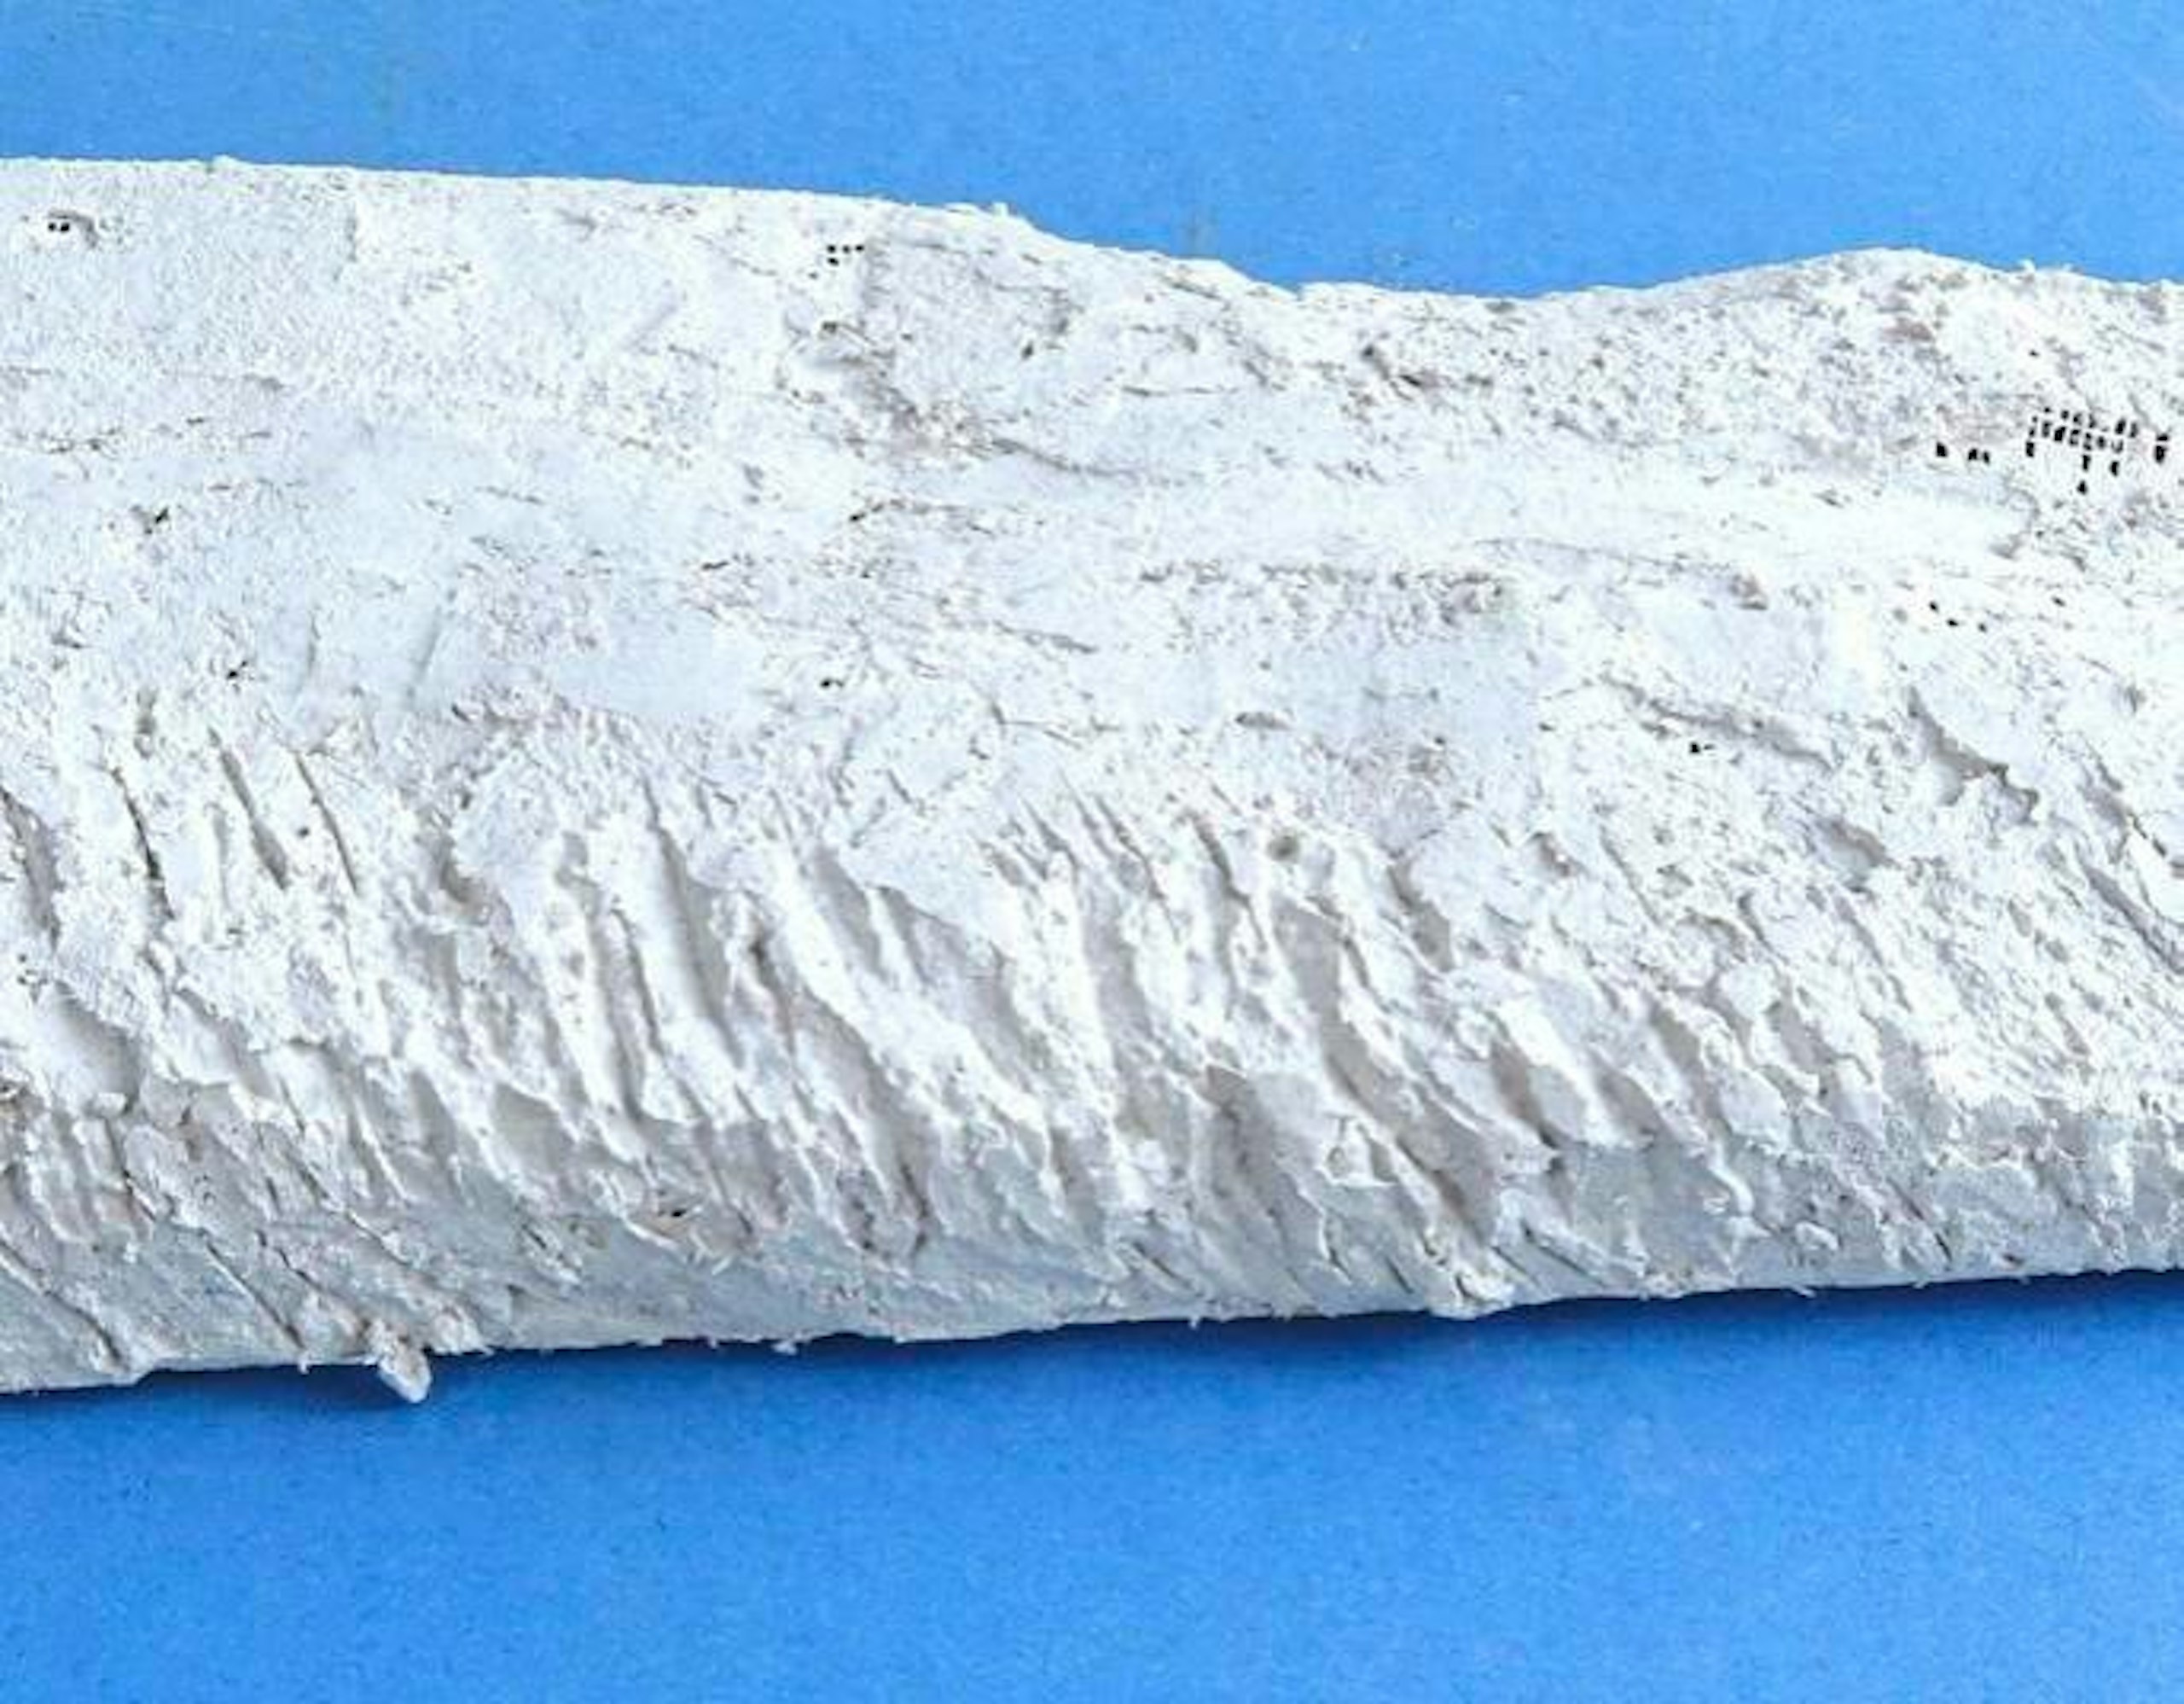
14 After about 30 minutes, this is what the rockface looked like as it was left to dry overnight.
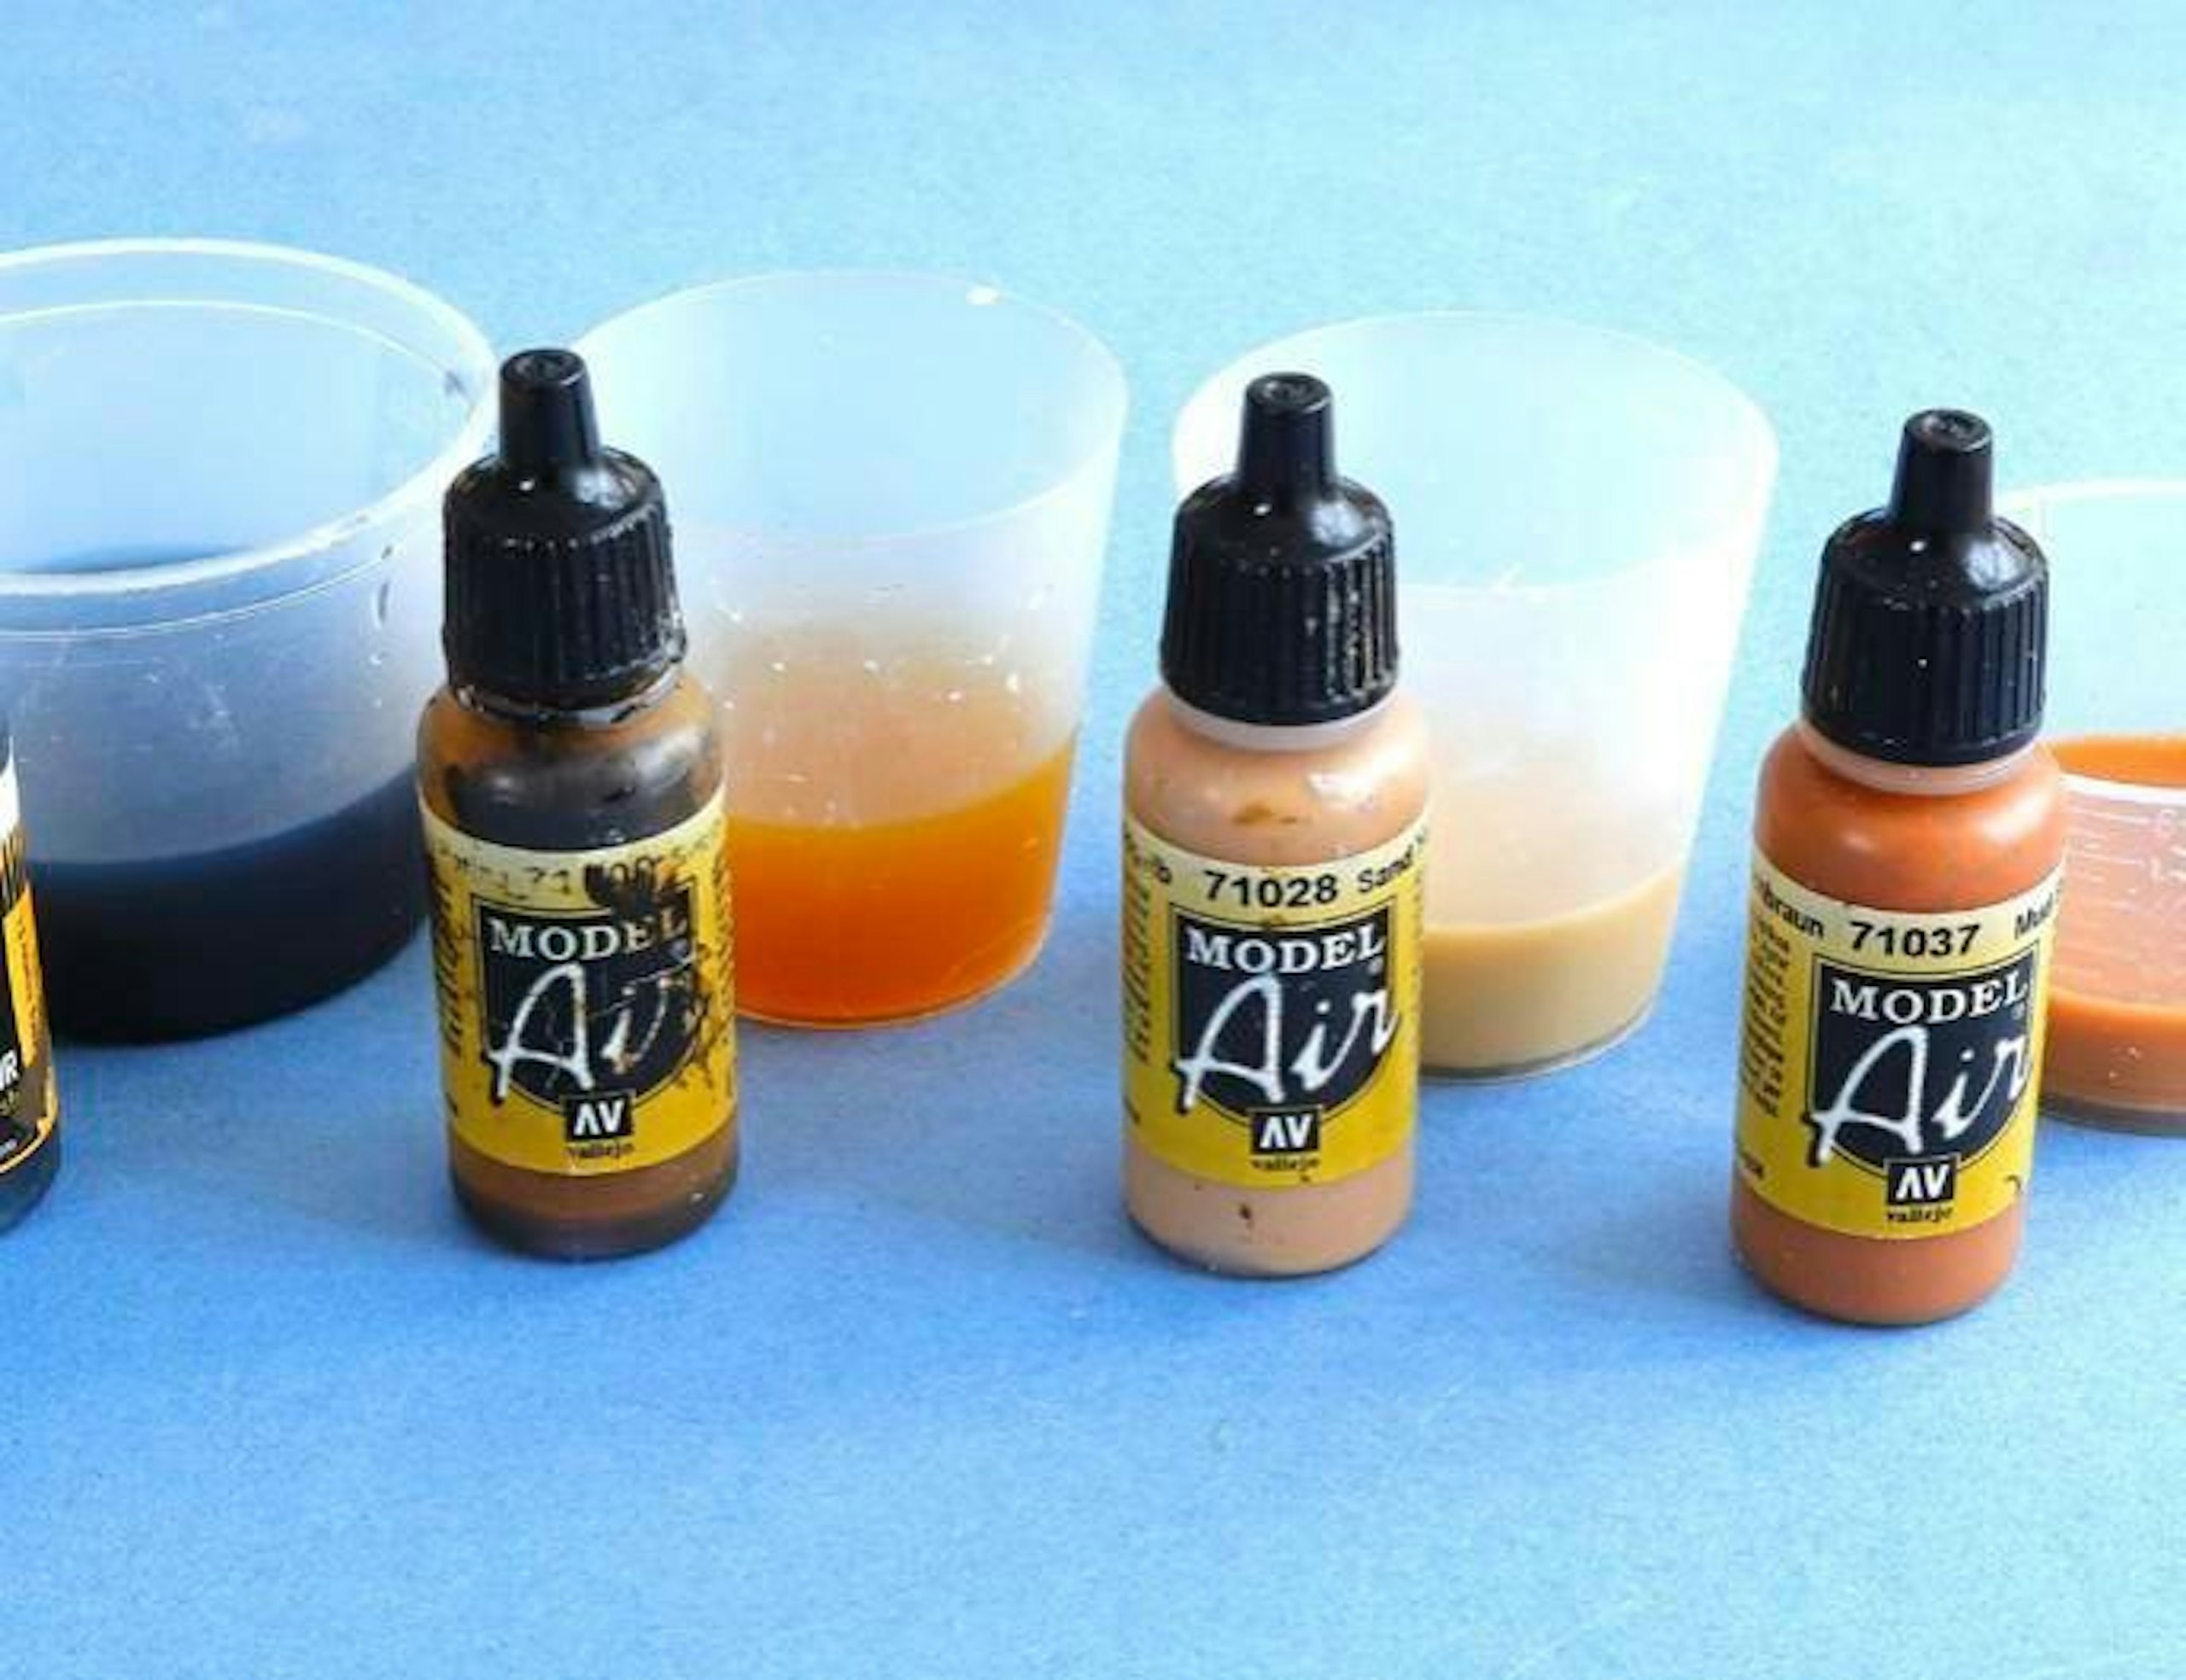
15 I chose several AV acrylic paints to colour it. I made a wash from each of the paints, mixing approximately 90% water and 10% paint.
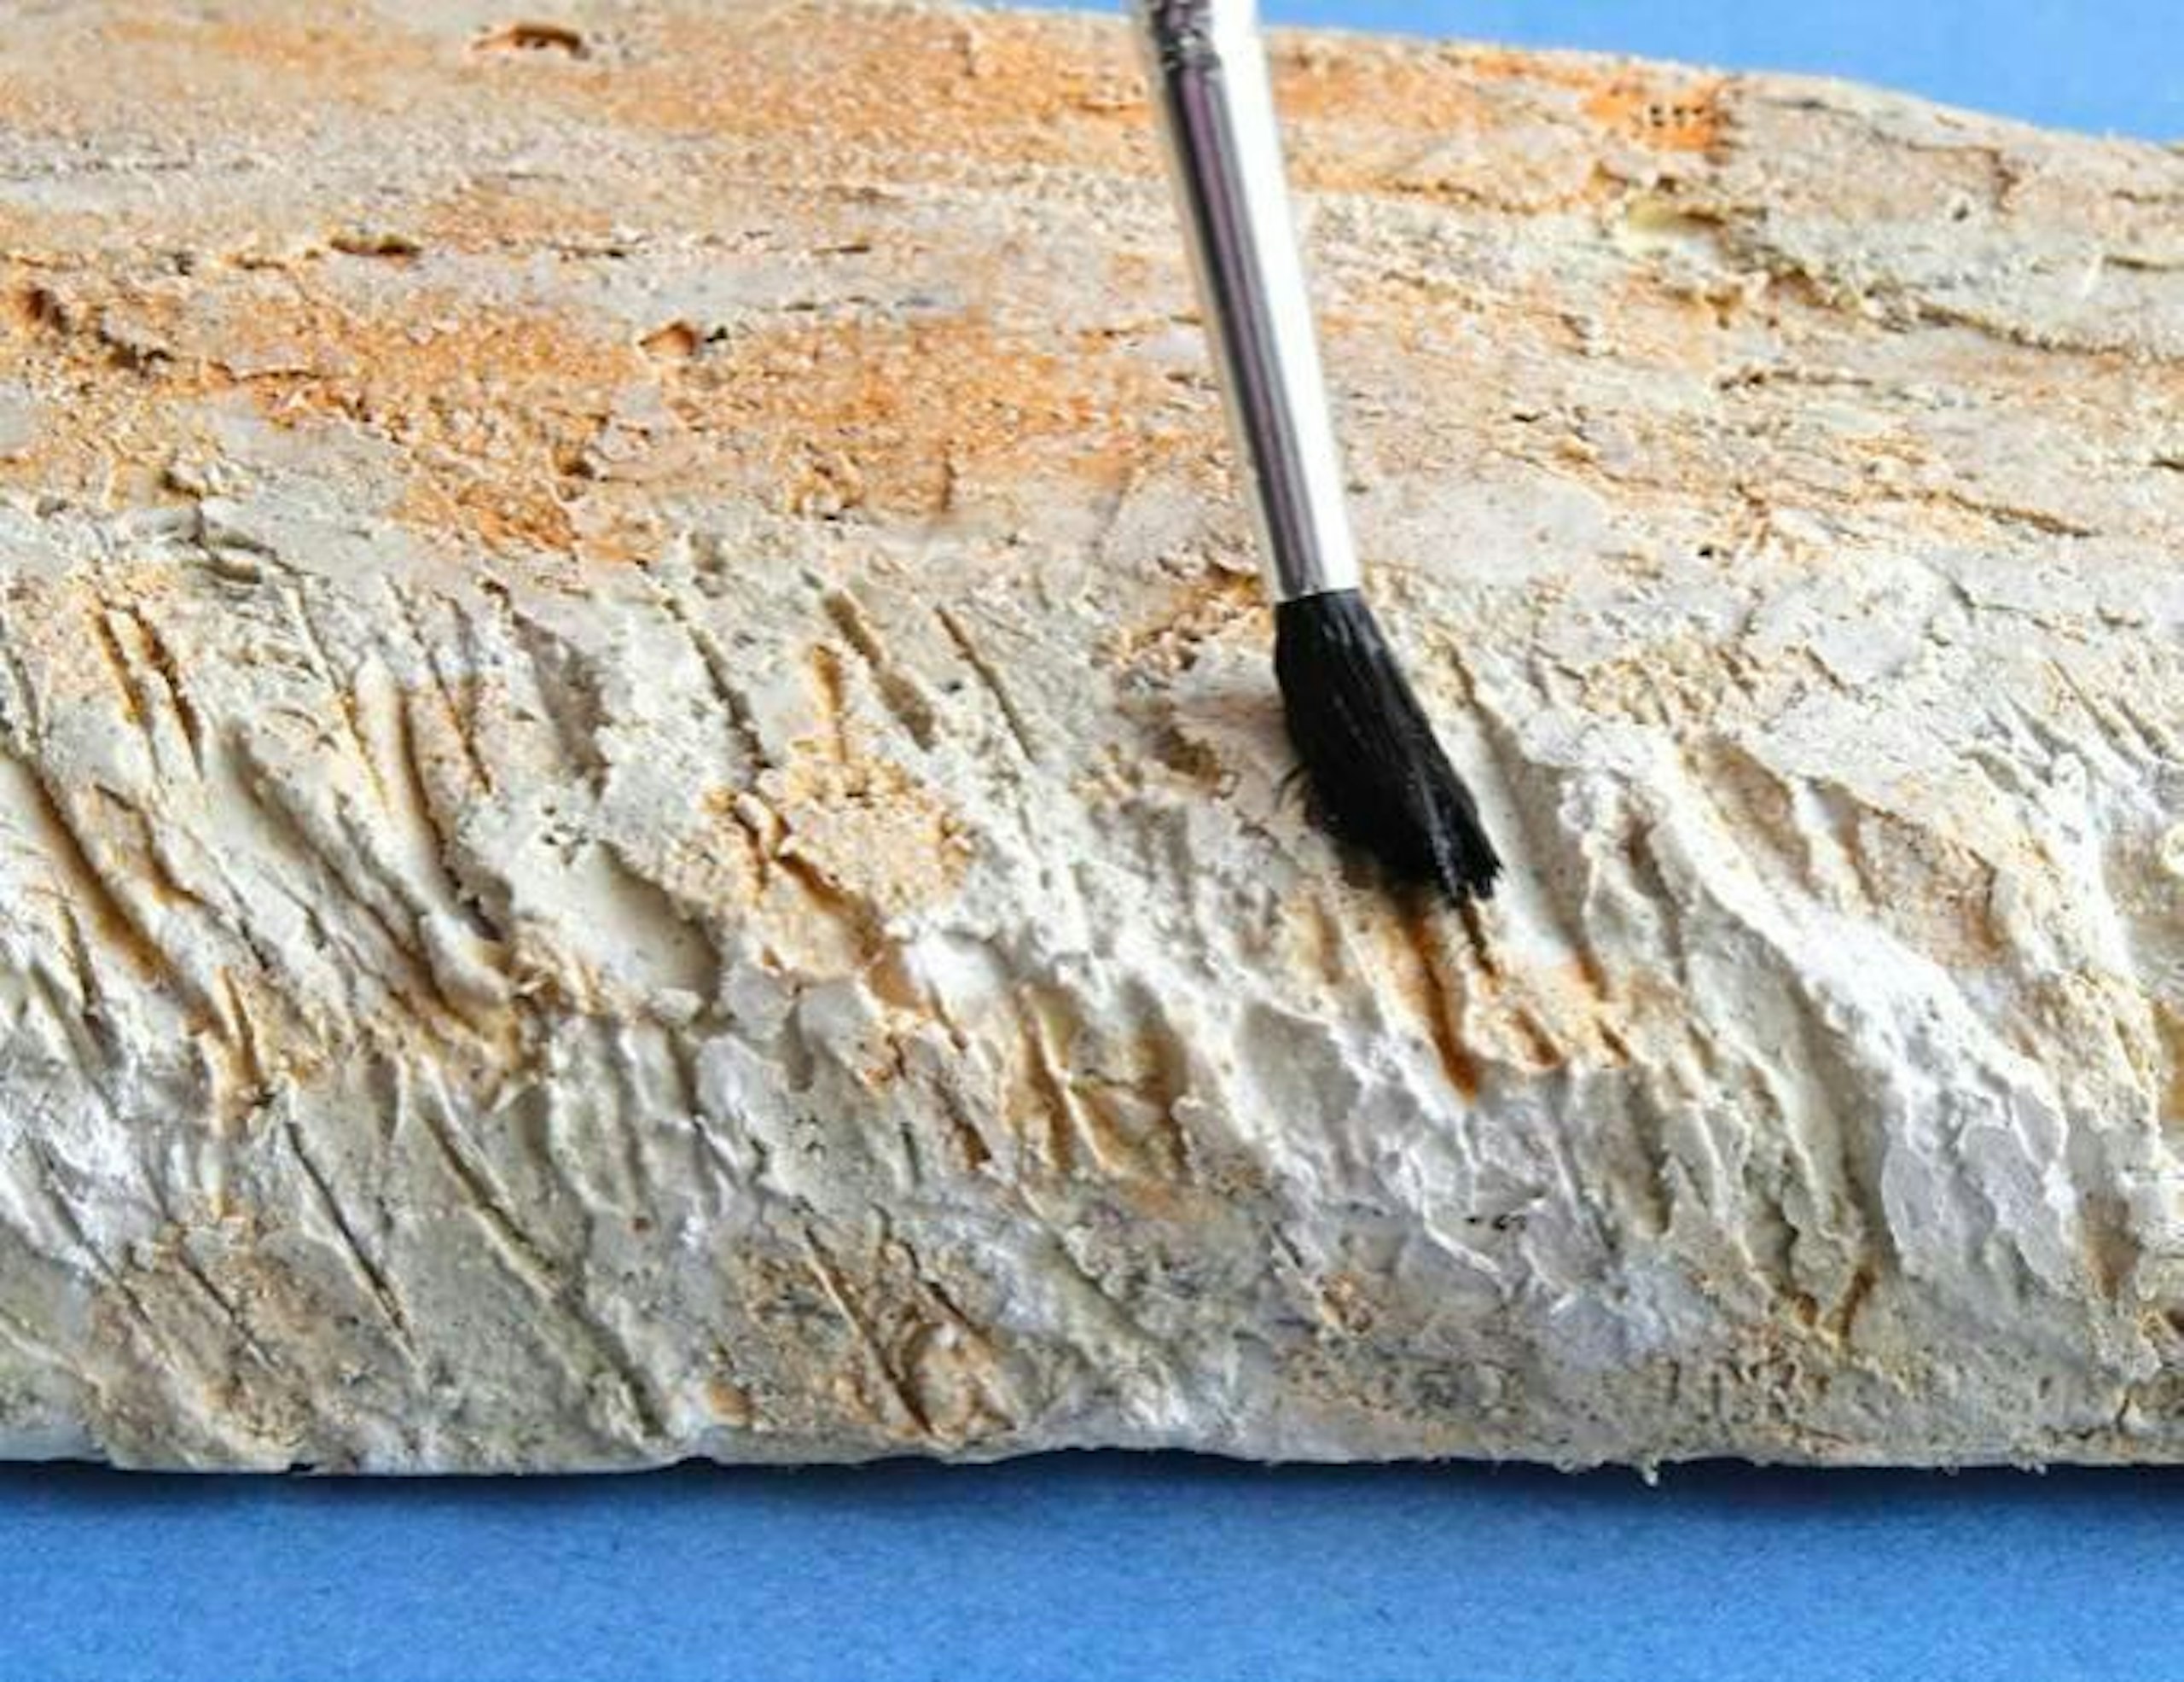
16 Next, using the ‘leopard spot’ technique, I applied the wash with a brush, one colour at a time.
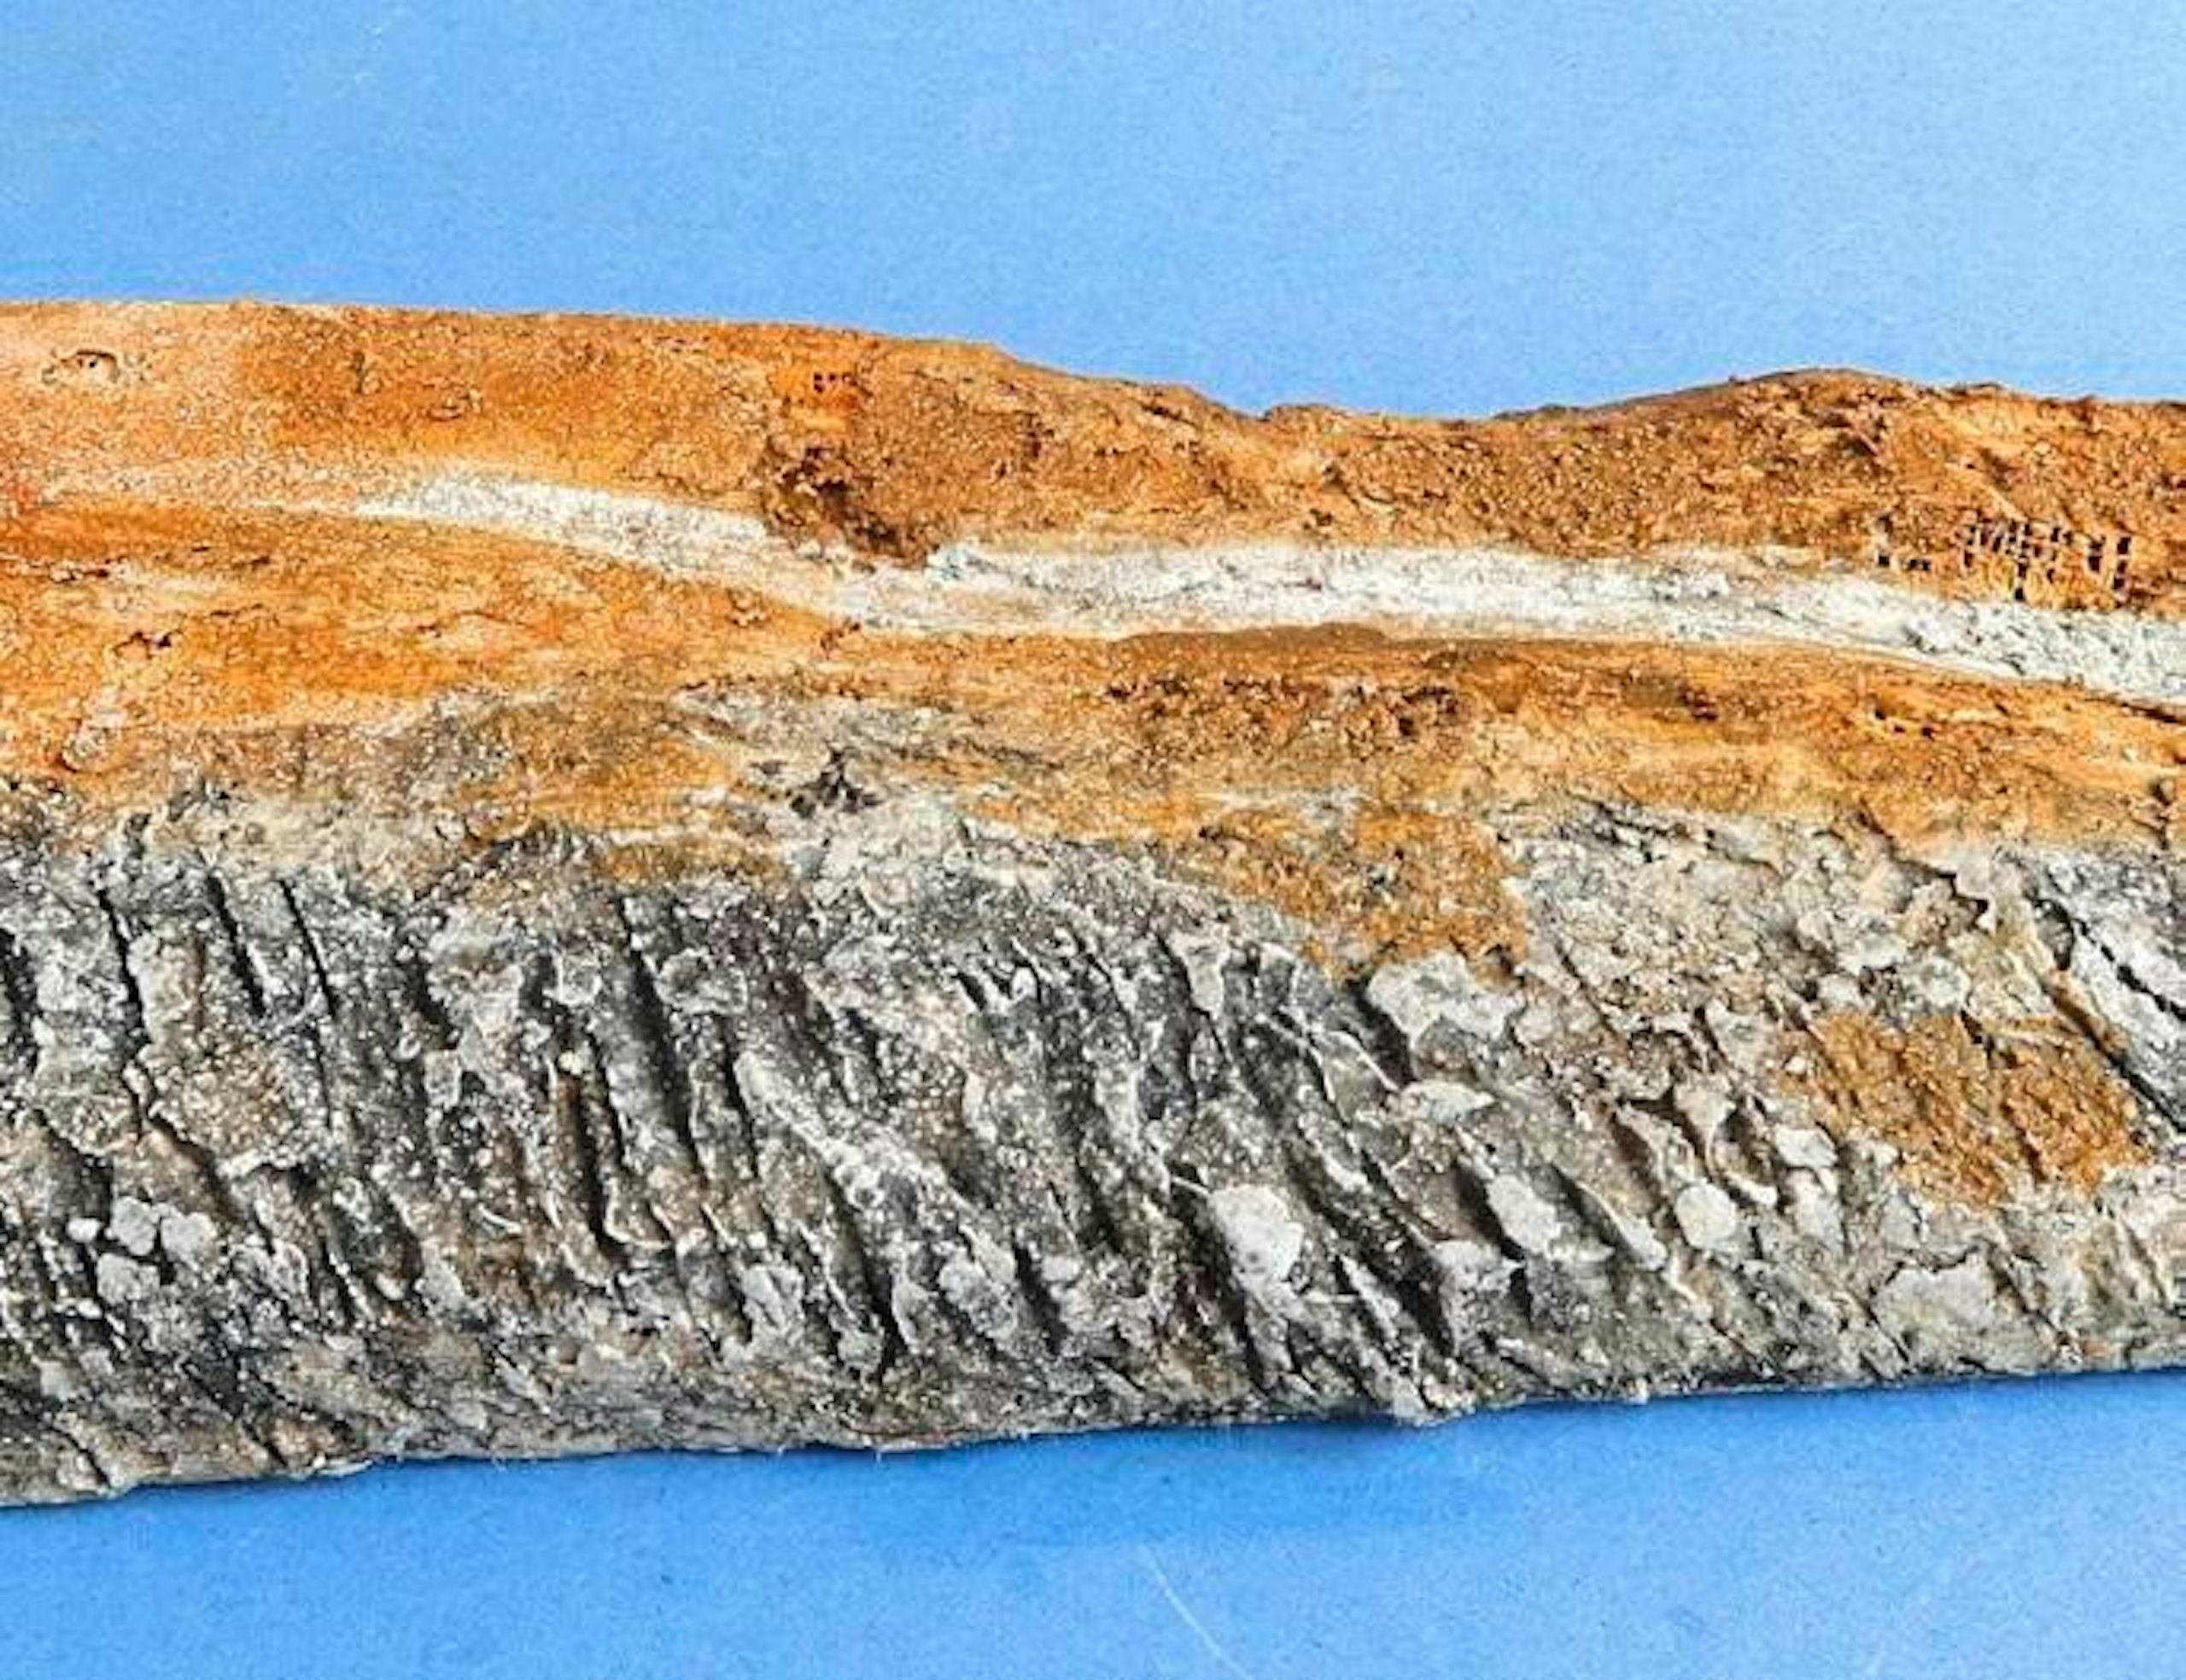
17 After the ‘dotted’ brown colours had started to dry I applied a thin black wash over the rockface.
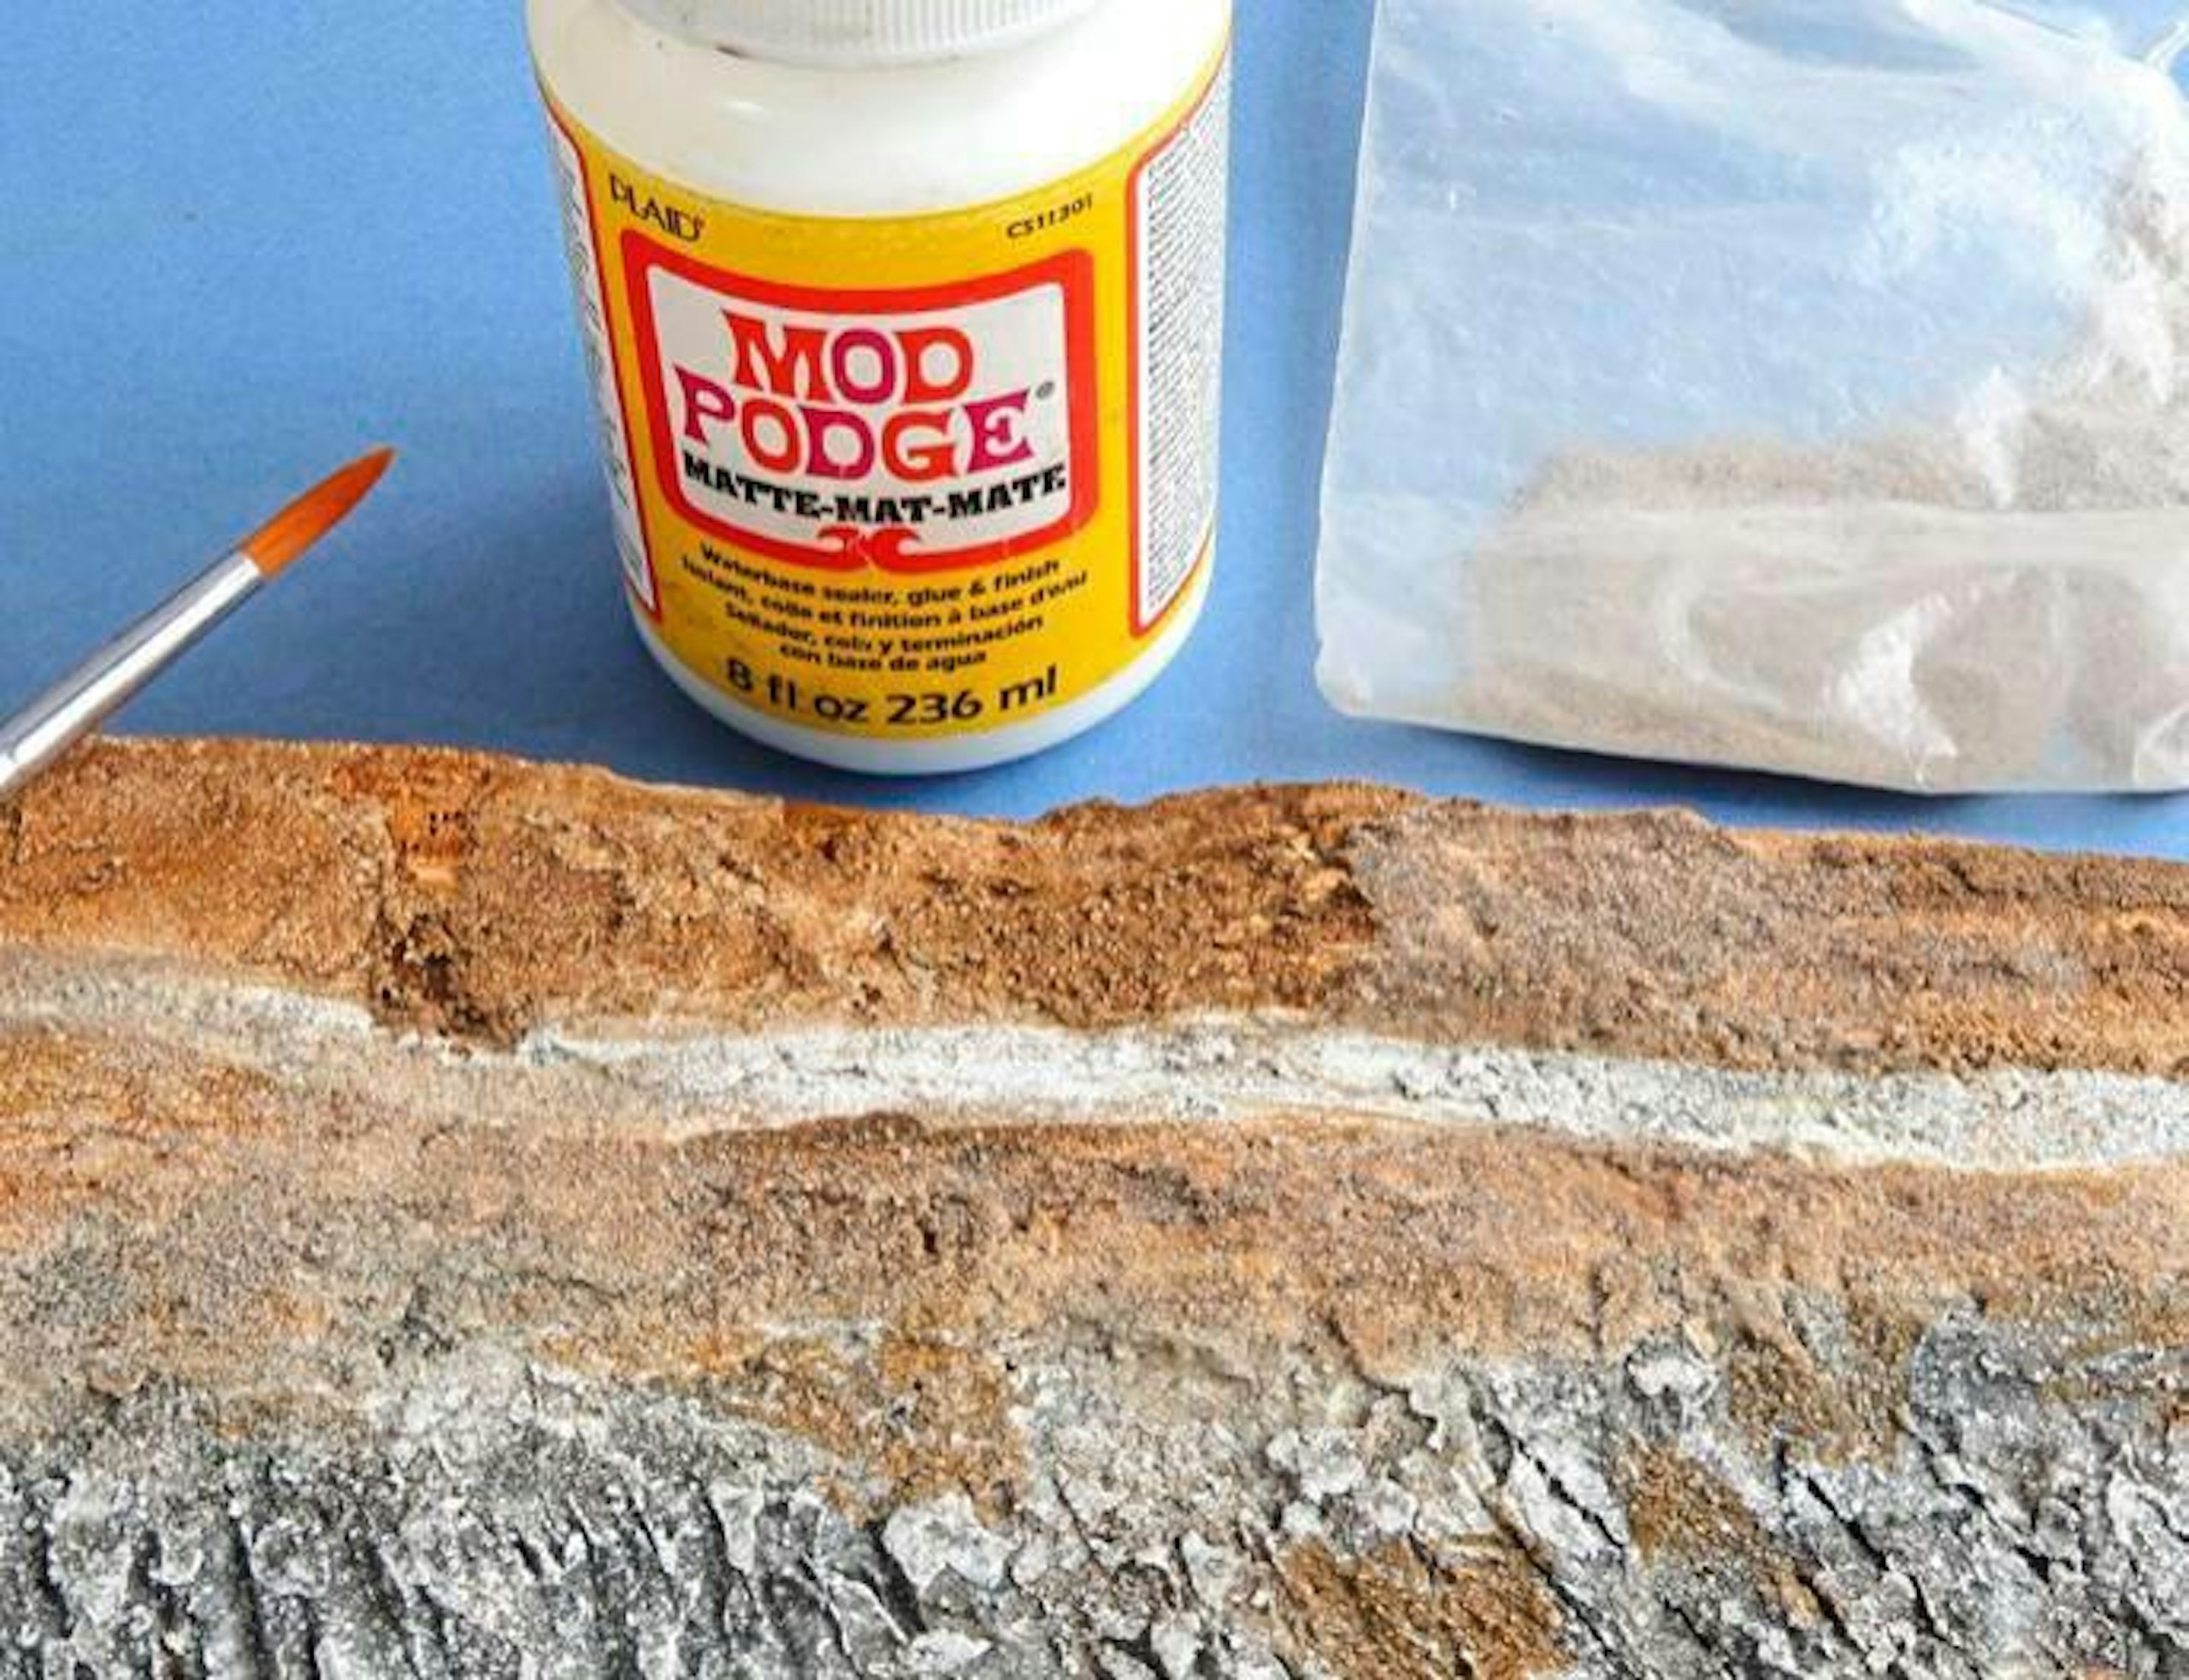
18 On some parts of the rockface itself, and on its top, I glued a little fine sand to add a different texture to the scene.
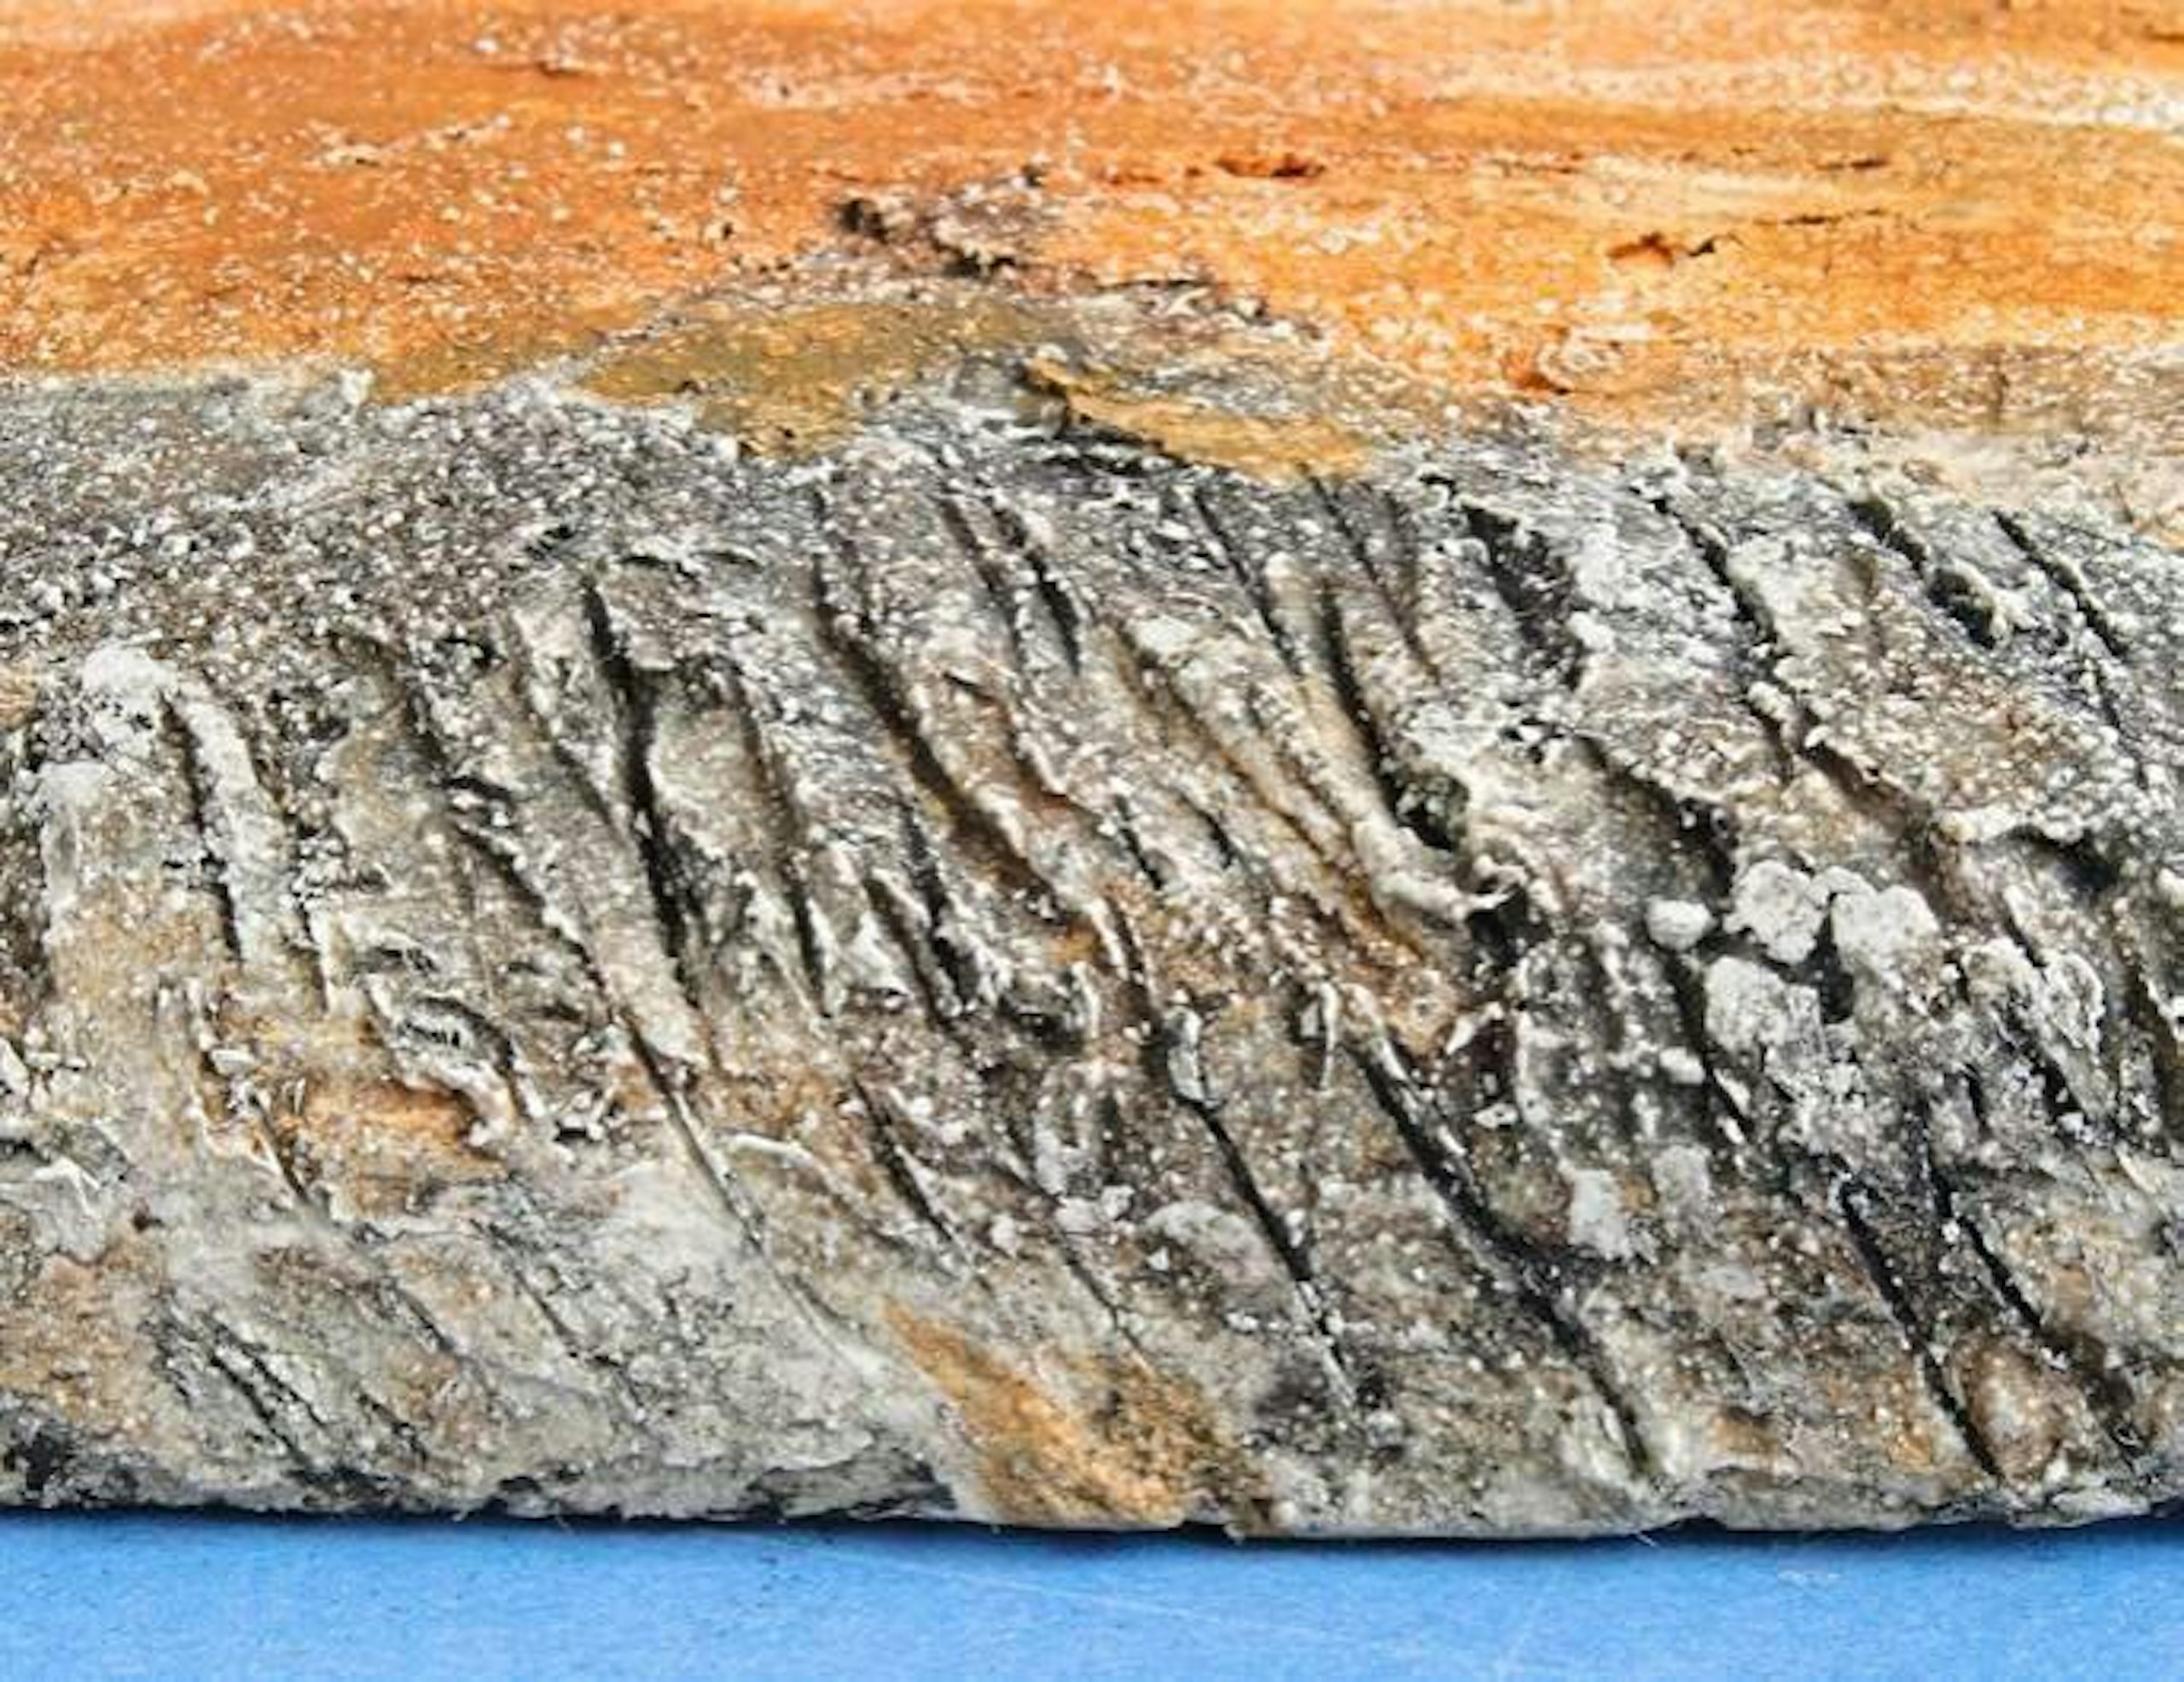
19 As you can see from this photograph, the sand settles into the nooks and crannies of the rockface, giving an authentic craggy look.
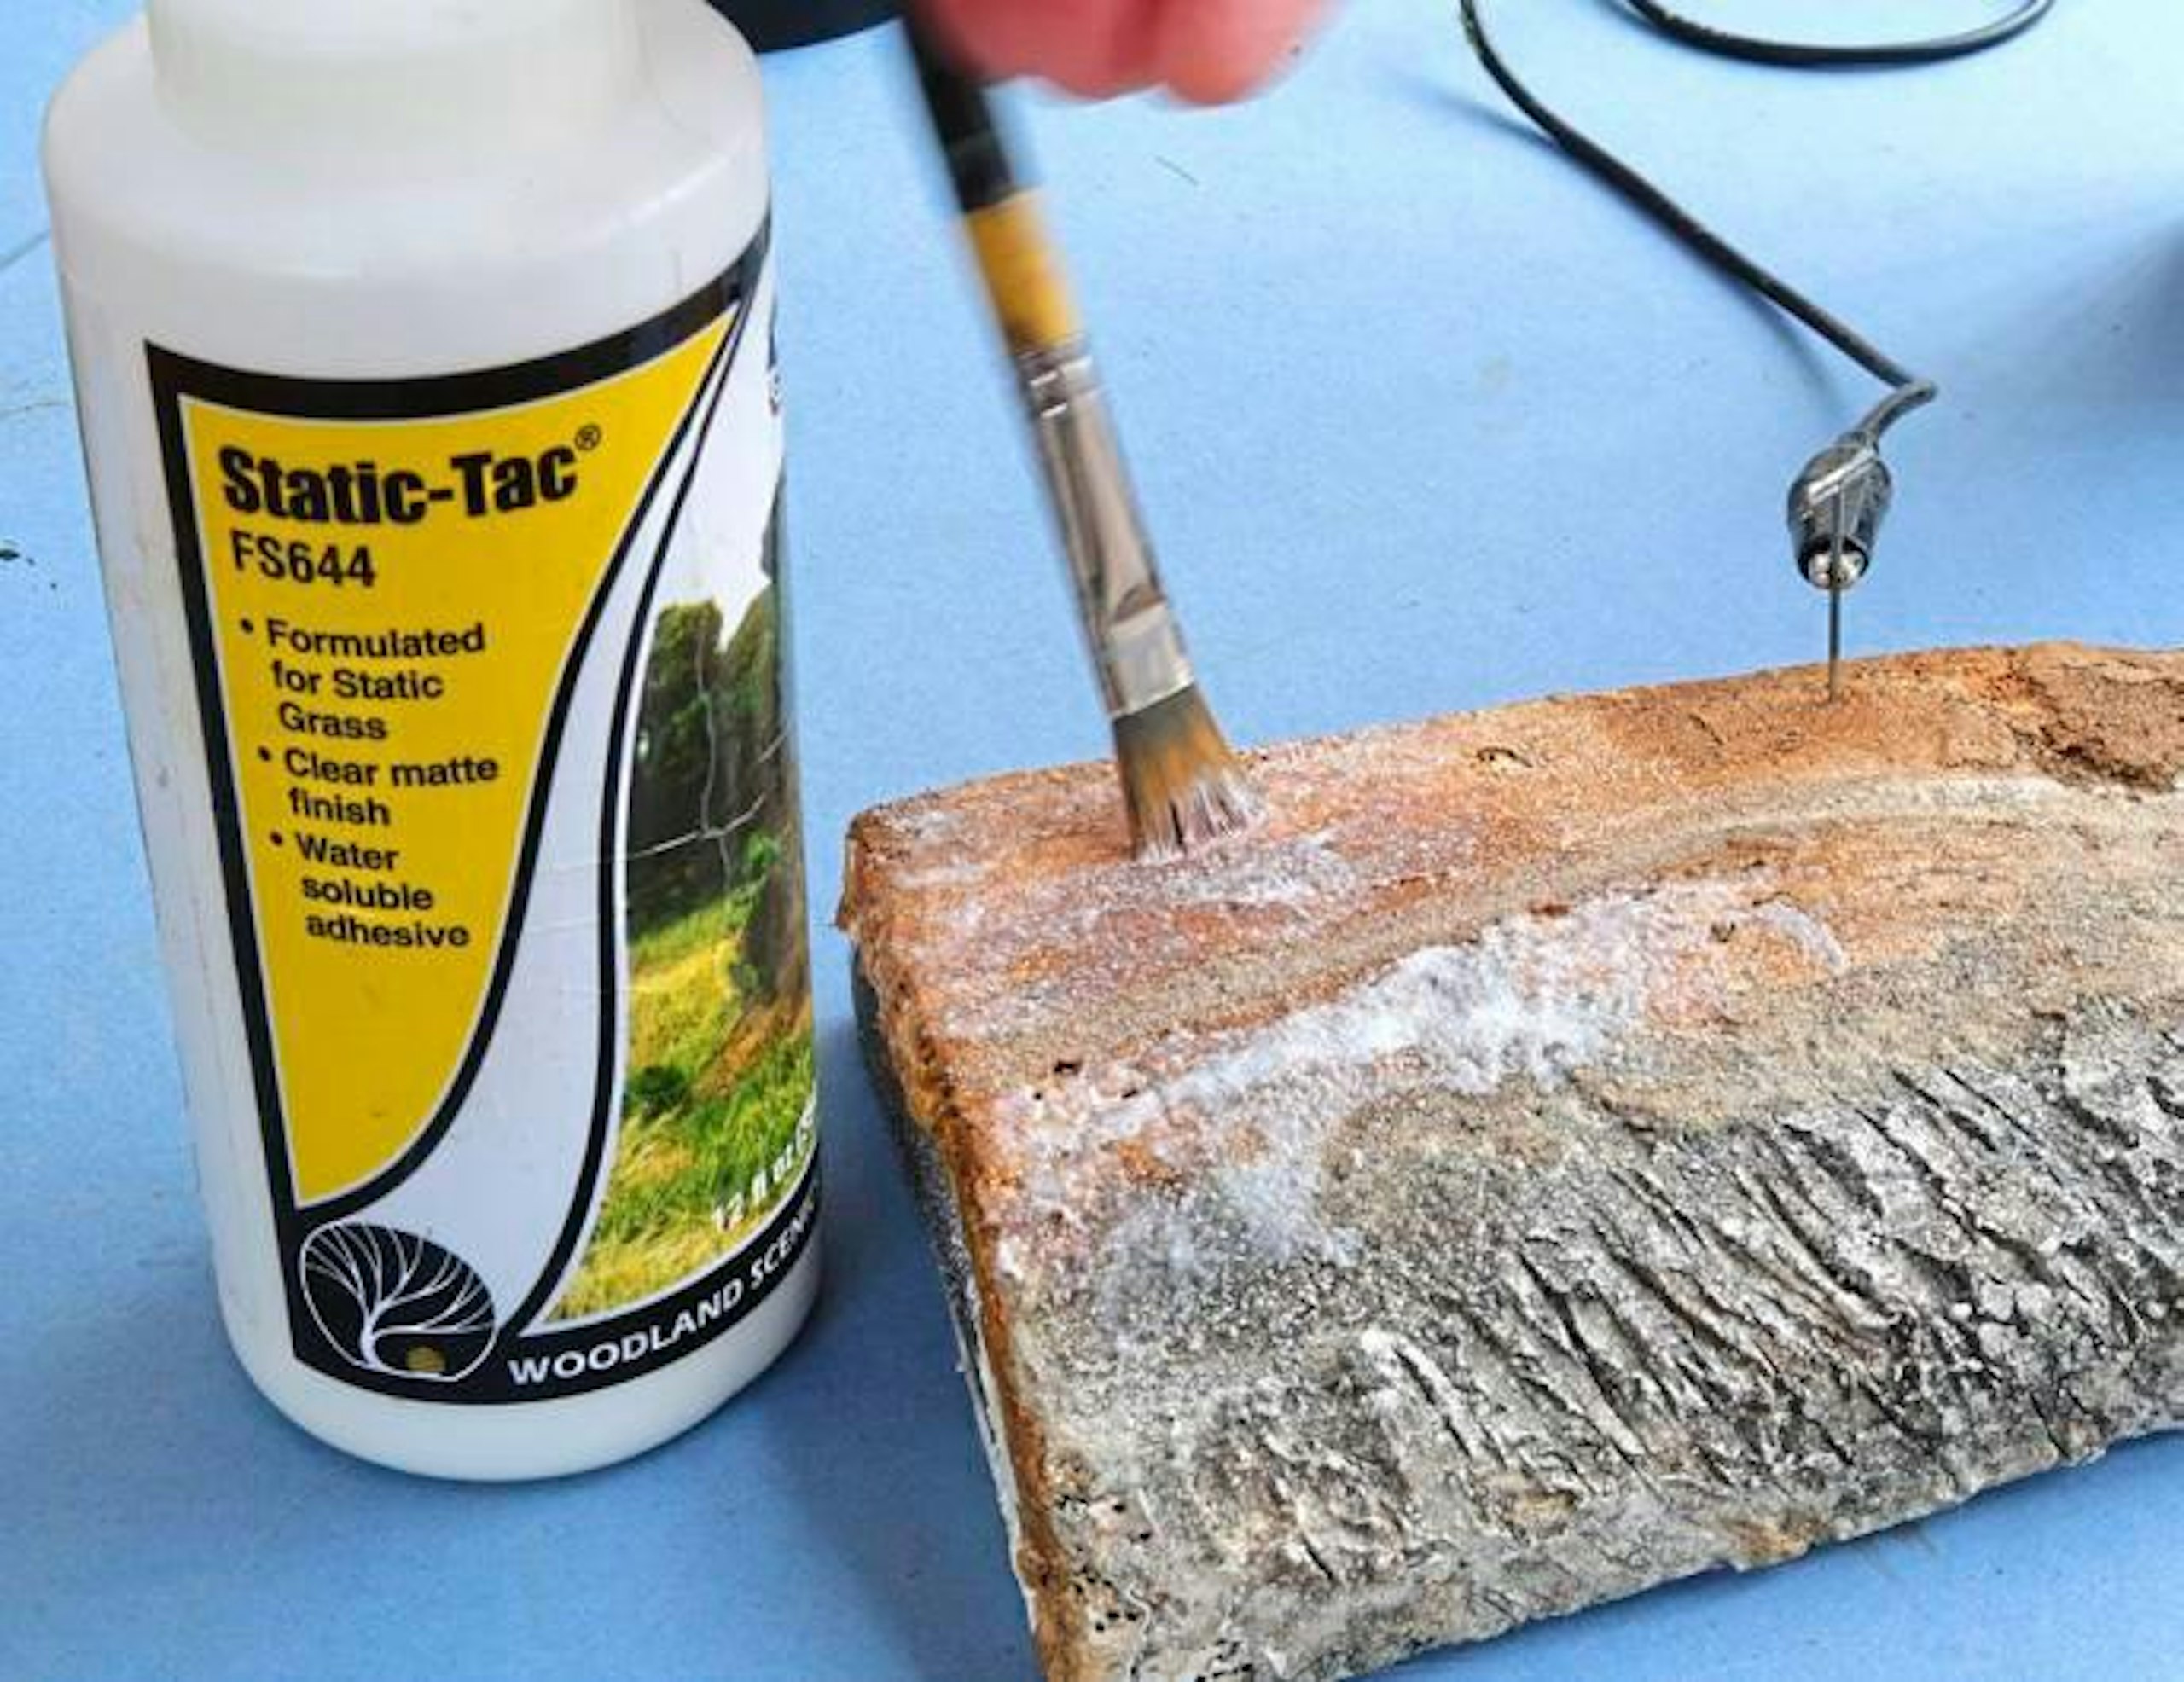
20 Here, the pin from the electrostatic grass planting tool is seen with a small piece of sponge adding a little more Static-Tac glue to the landscape.
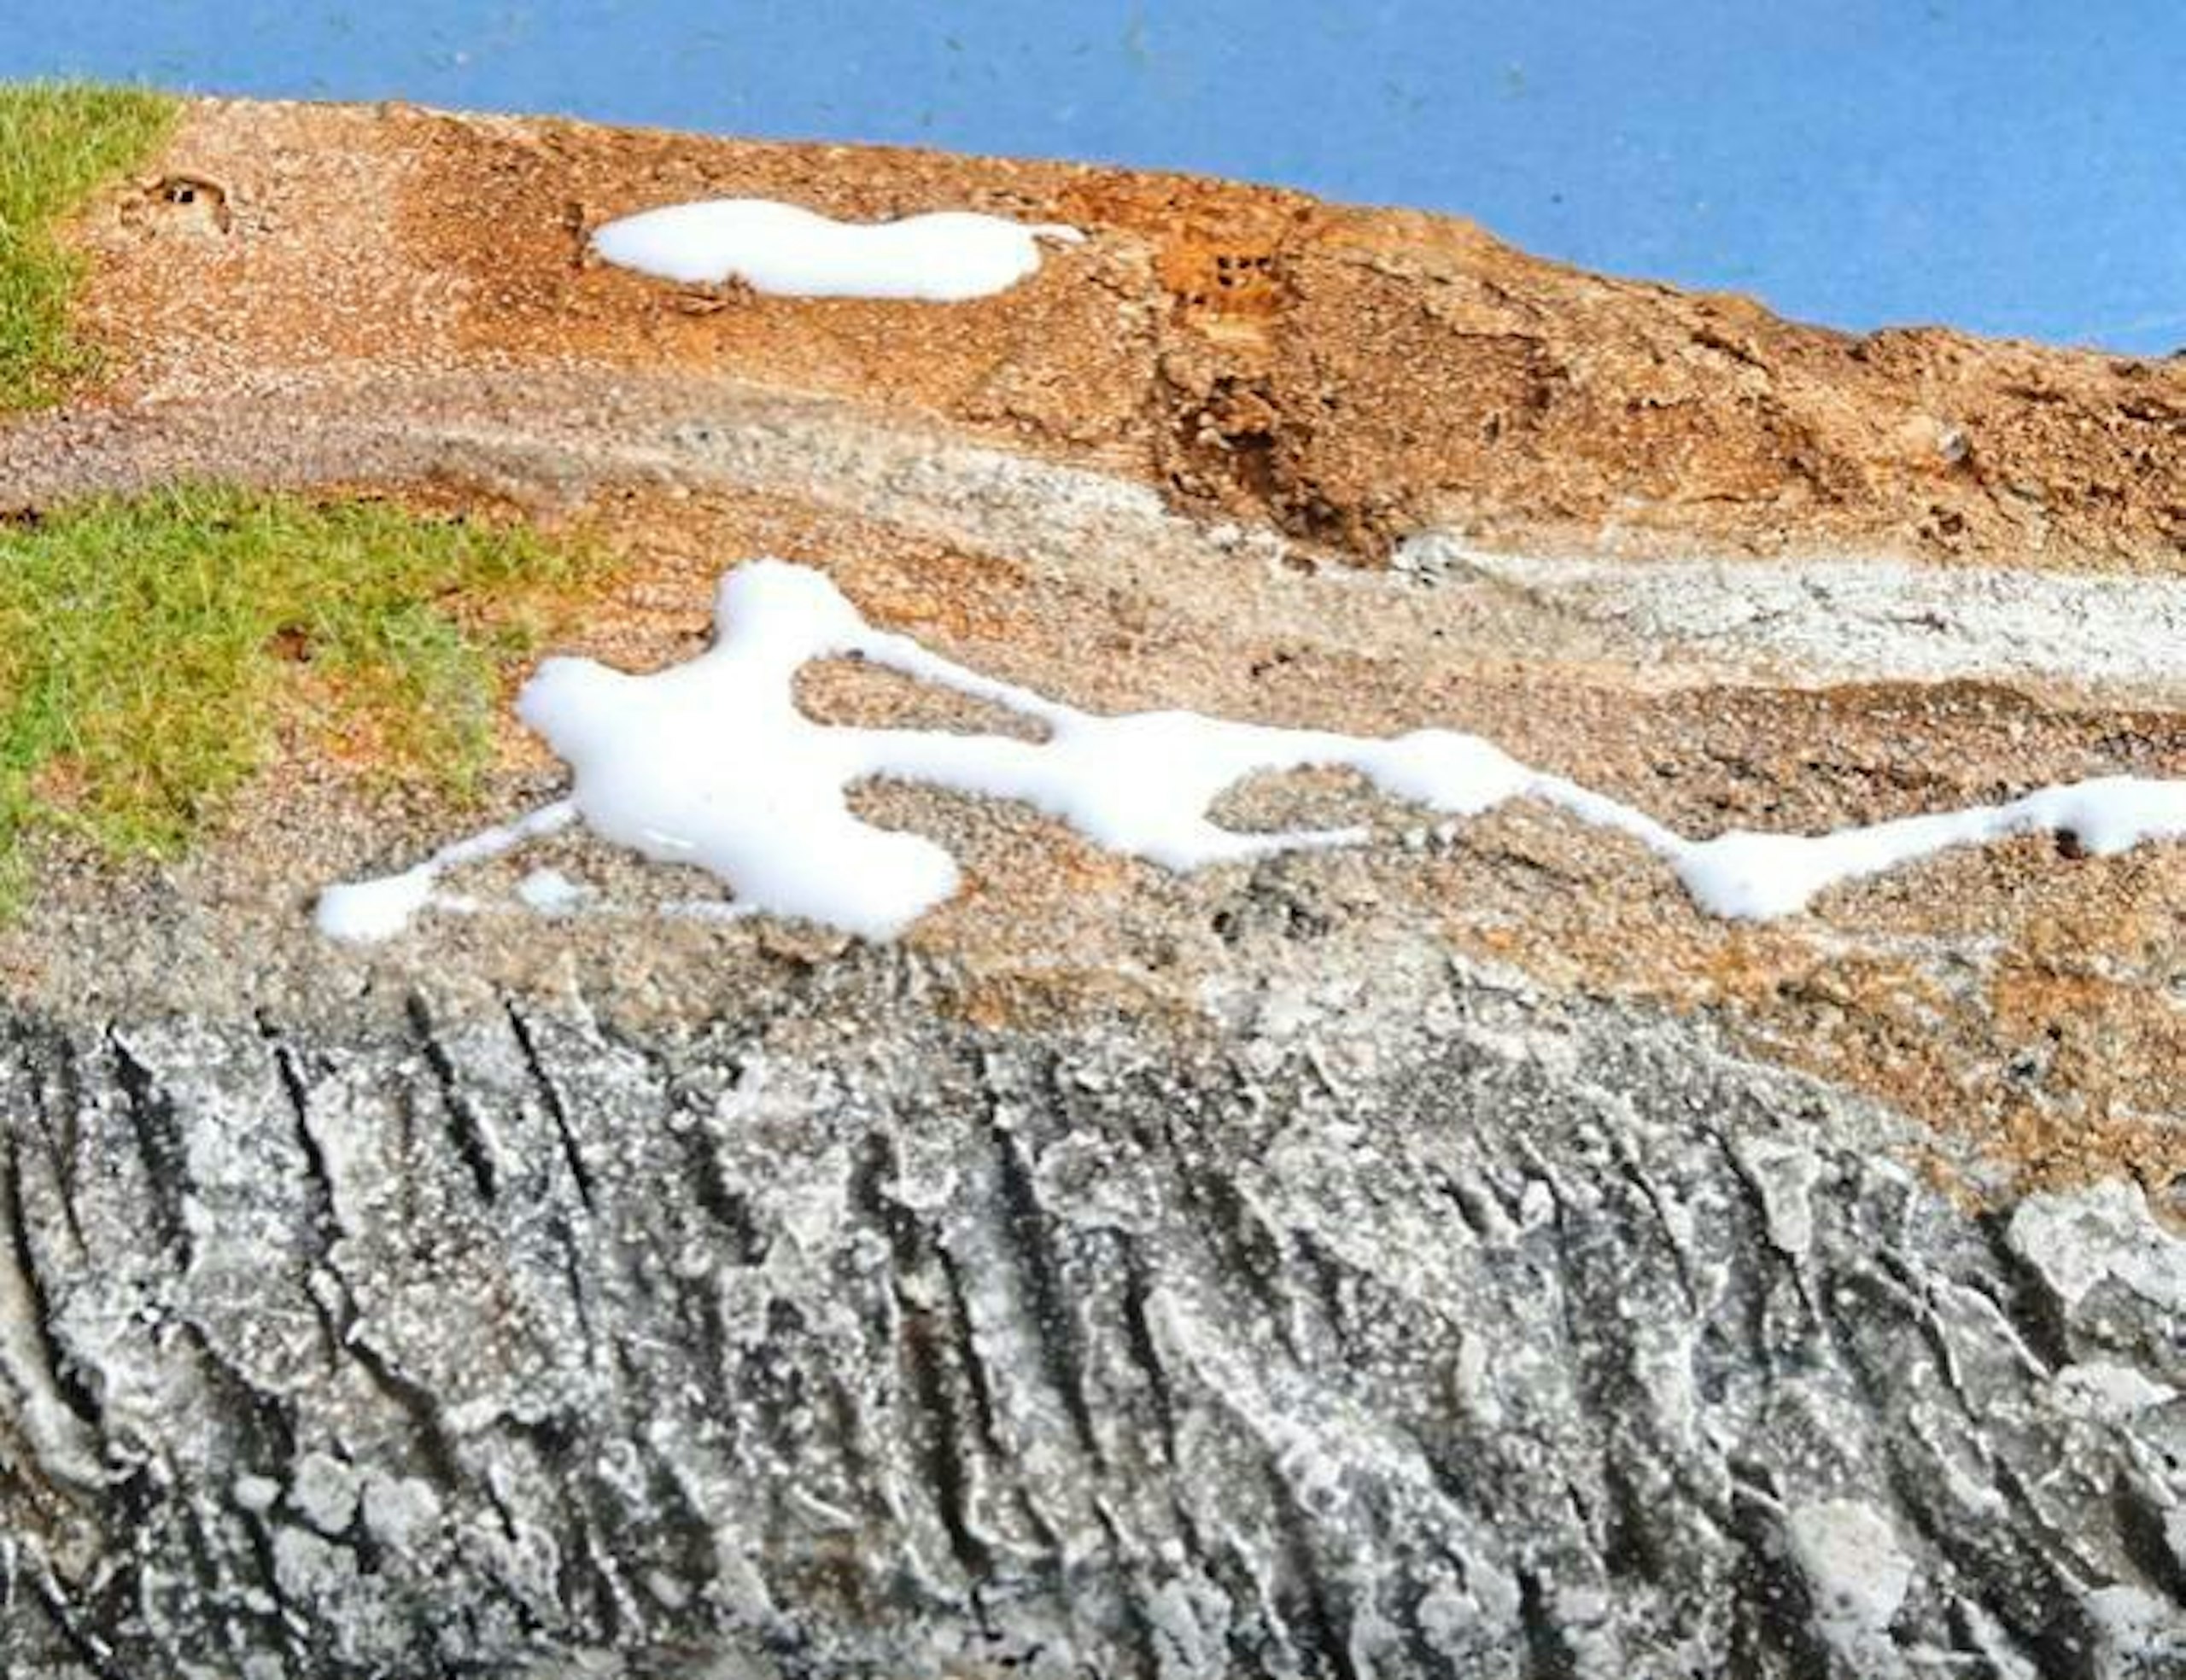
21 A little Static-Tac glue was applied along the top of the rockface…
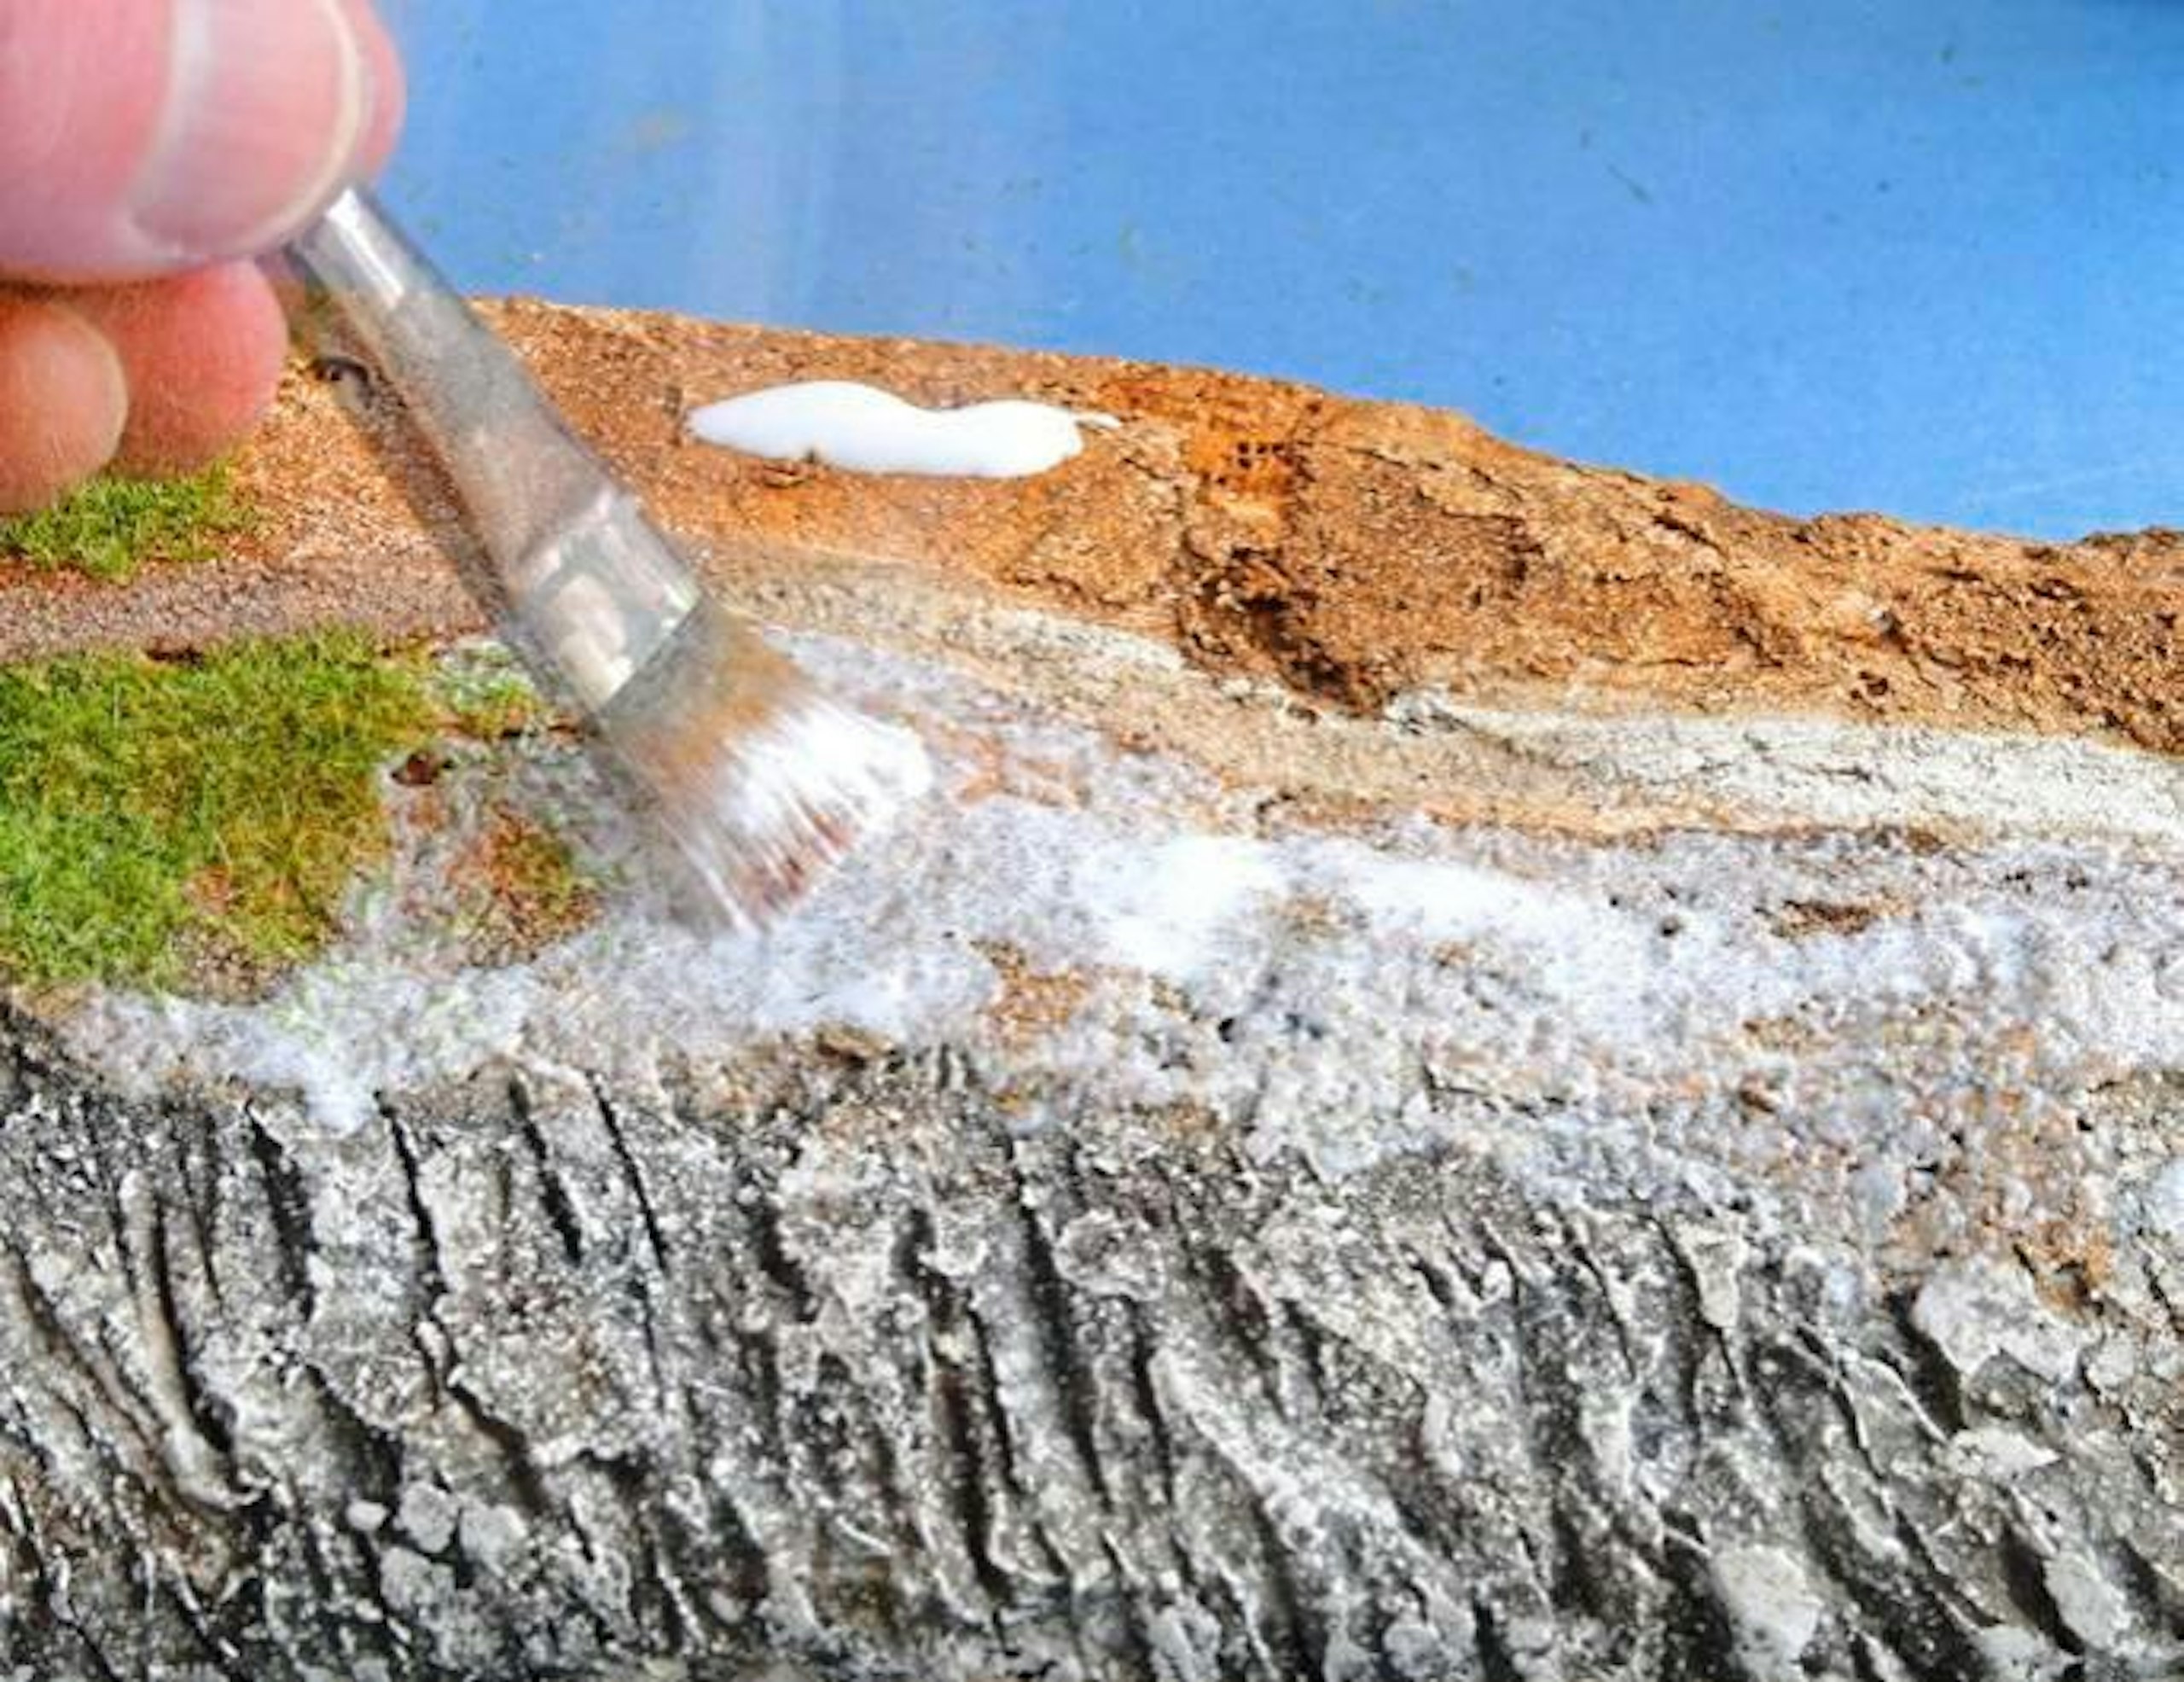
22 …which was then spread more evenly using a brush.
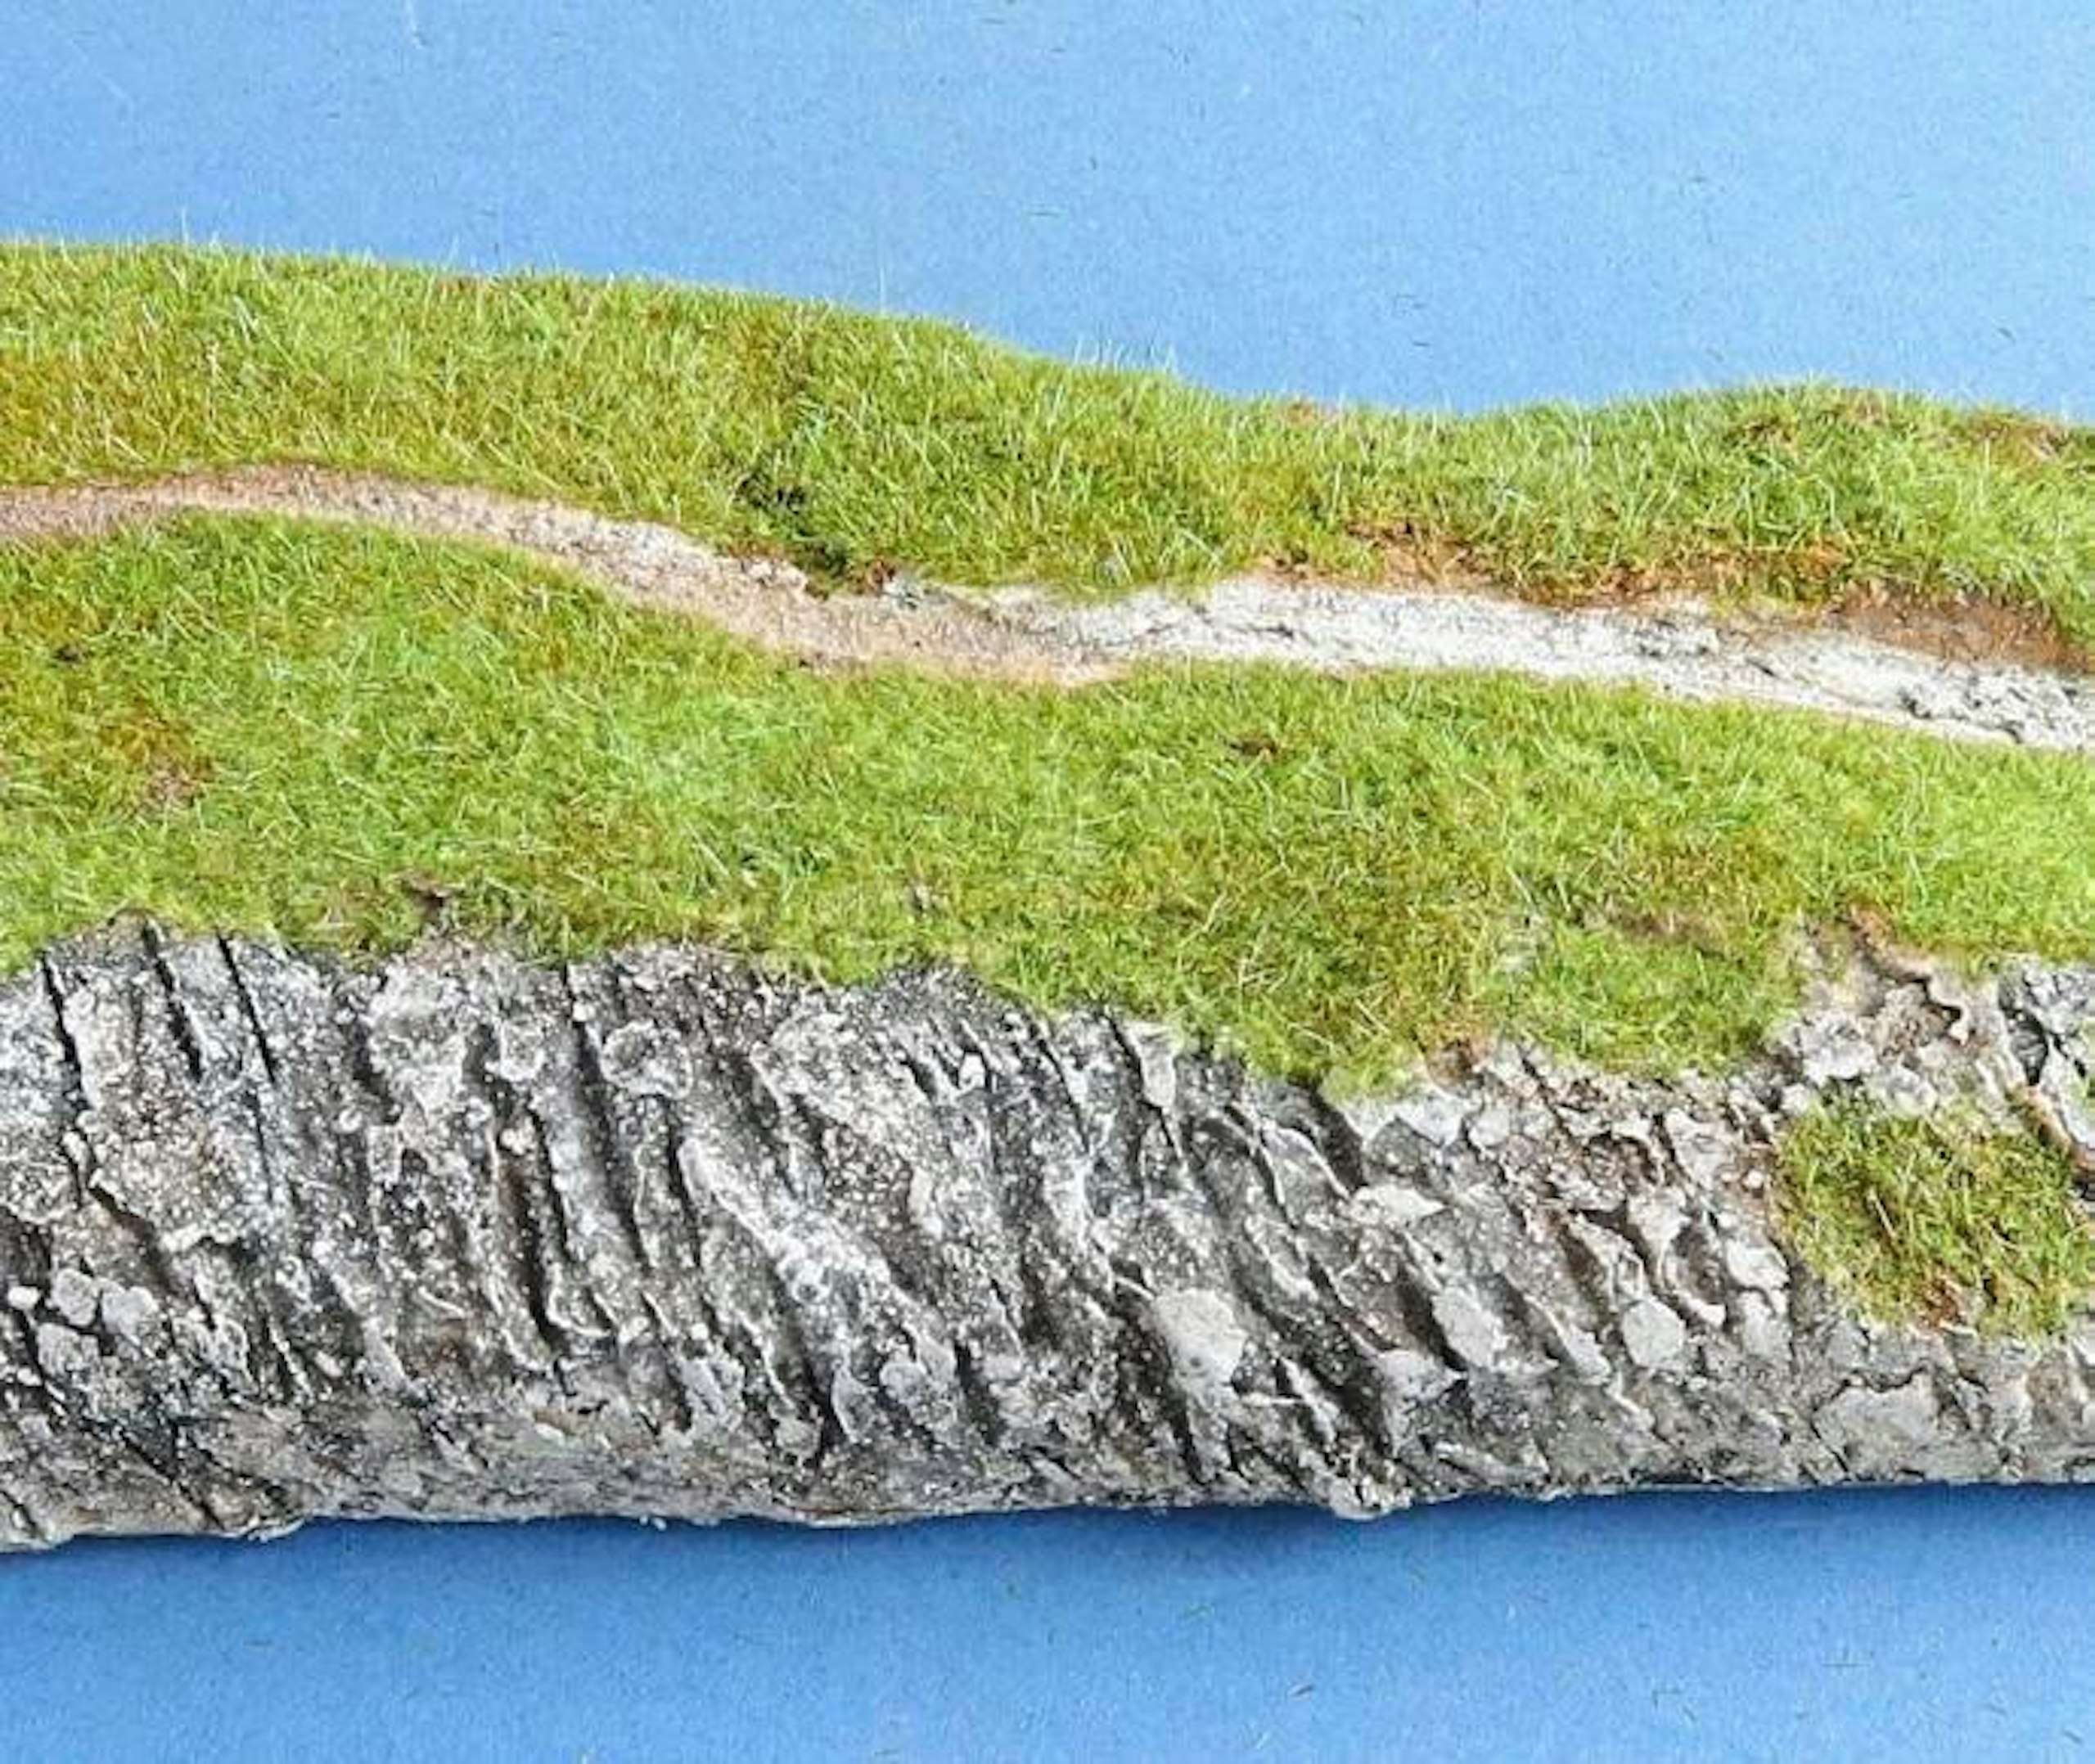
23 Next, I added short static grass fibres to parts of the diorama. These were left to dry overnight.
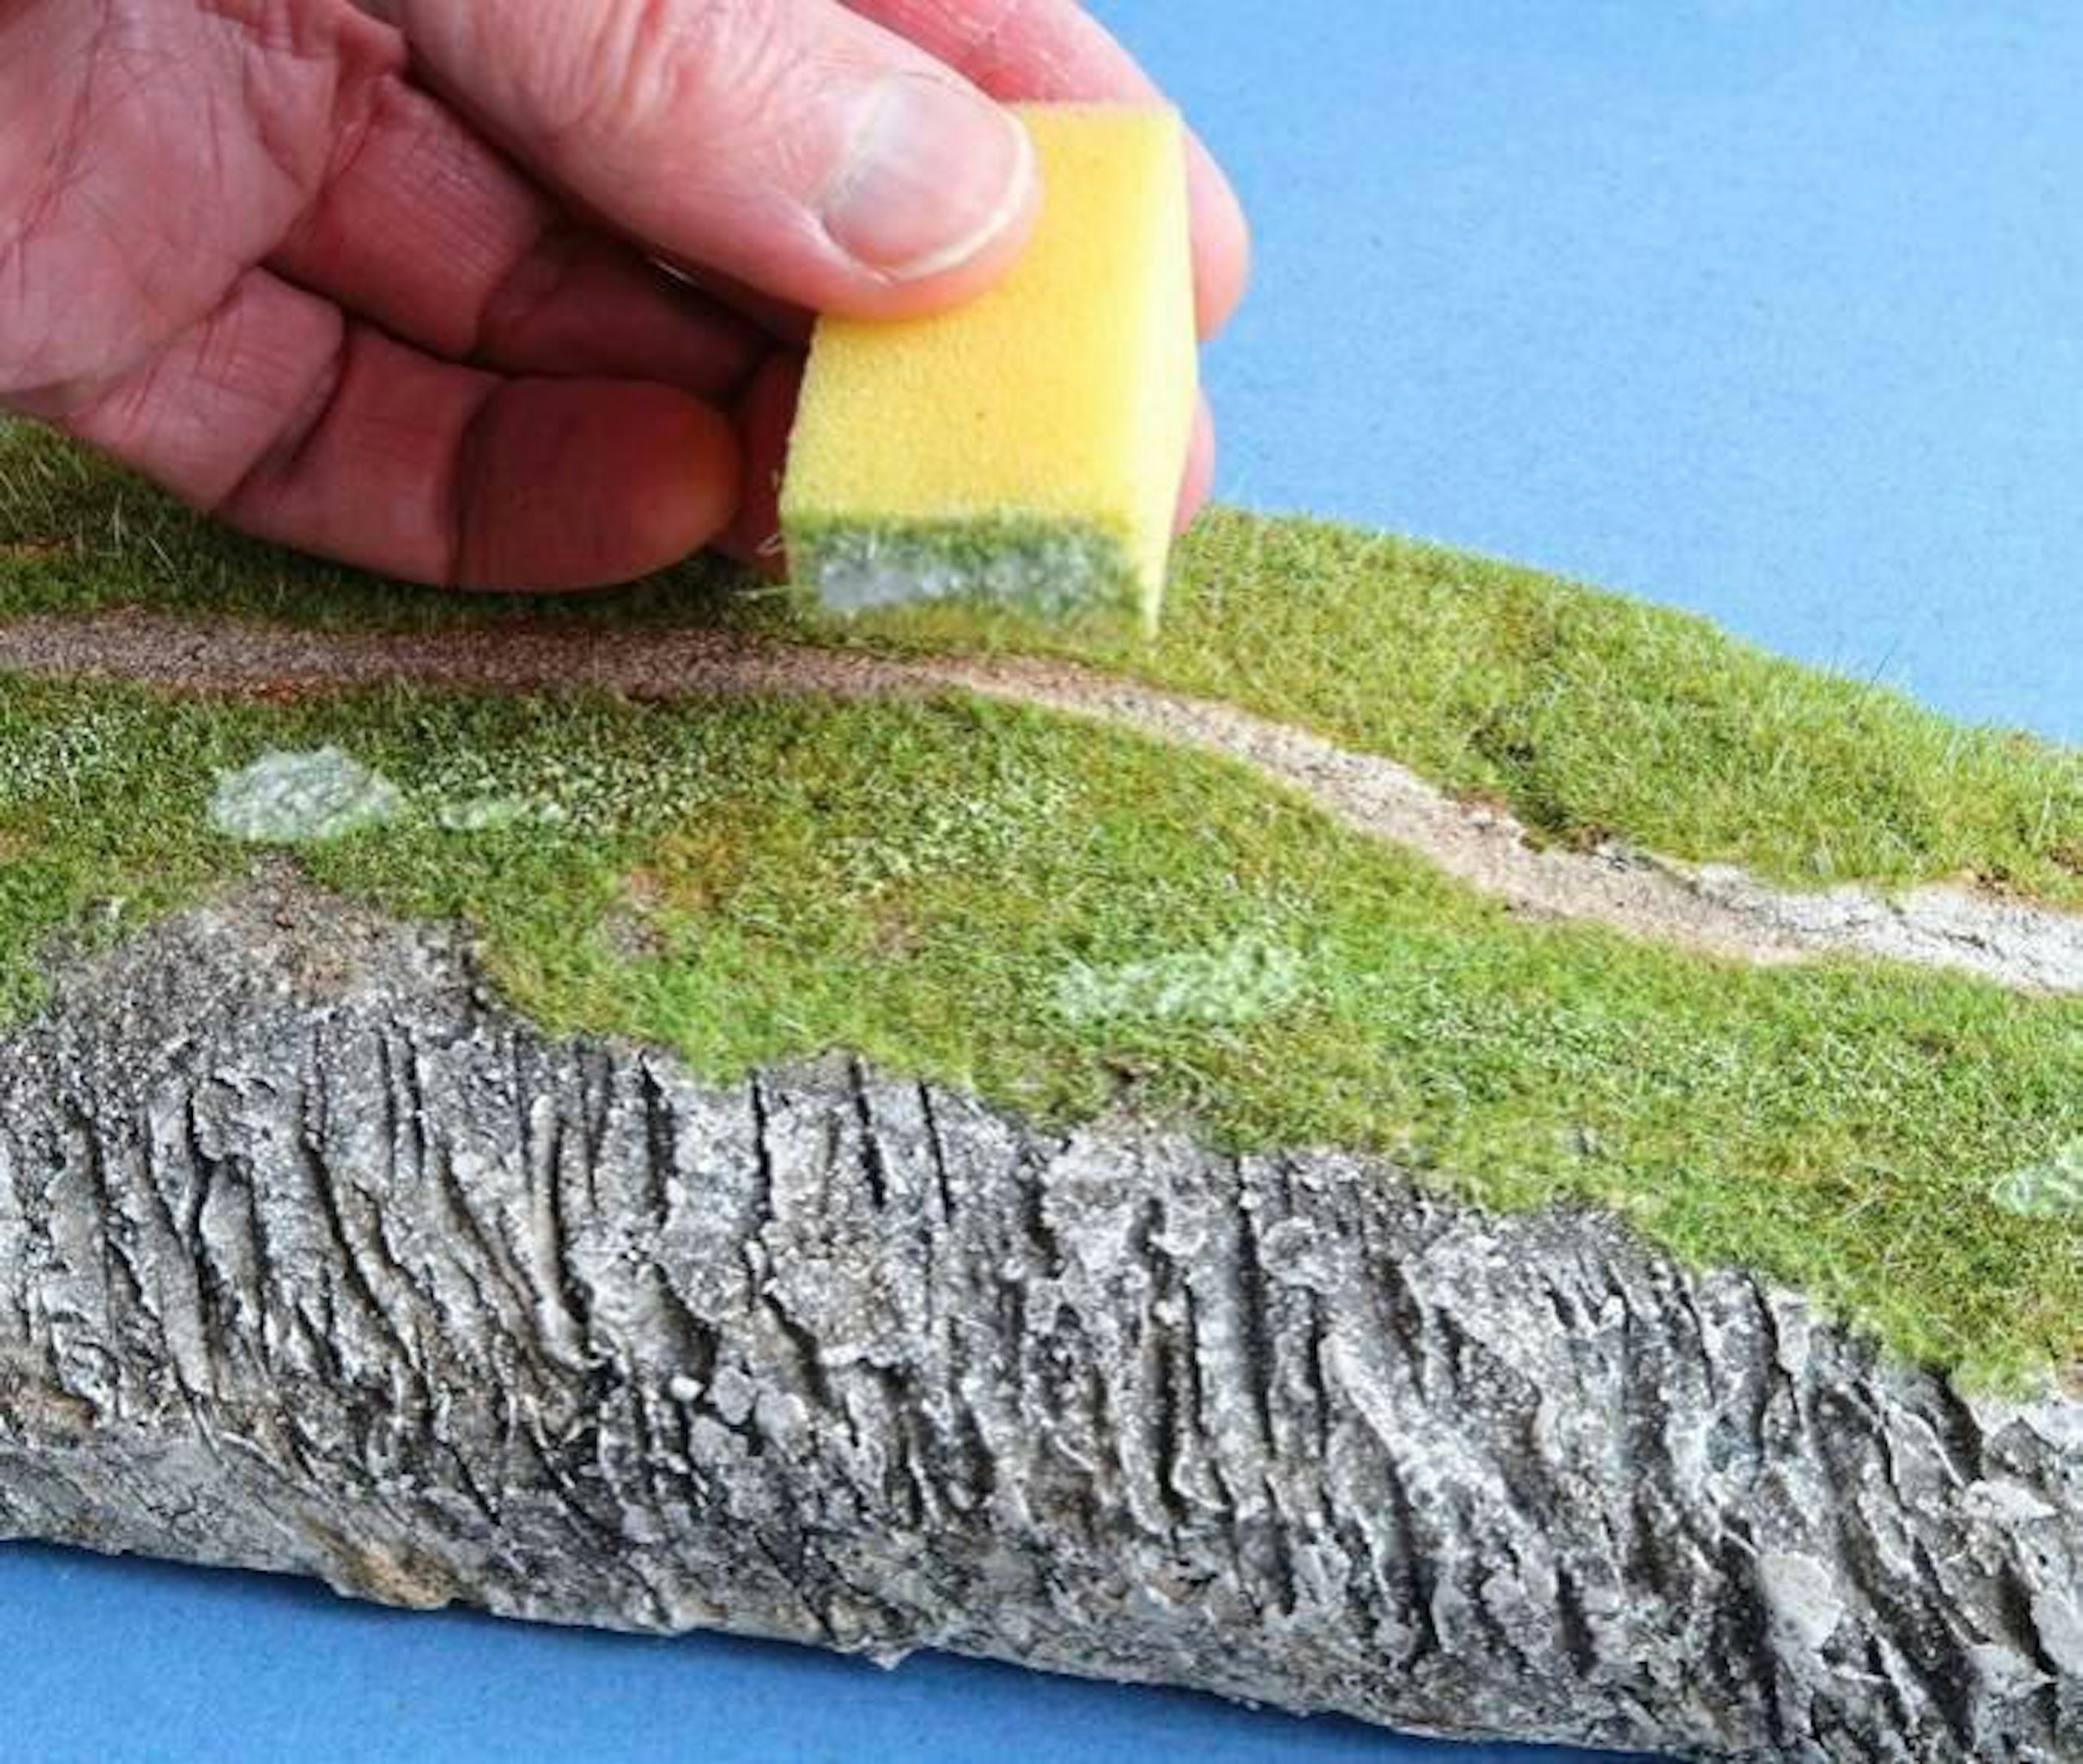
24 After the glue had dried, I sponged on some Static-Tac, spreading the glue on top of the first layer in places. This meant I could add taller fibres in some areas, as well as grass tufts.
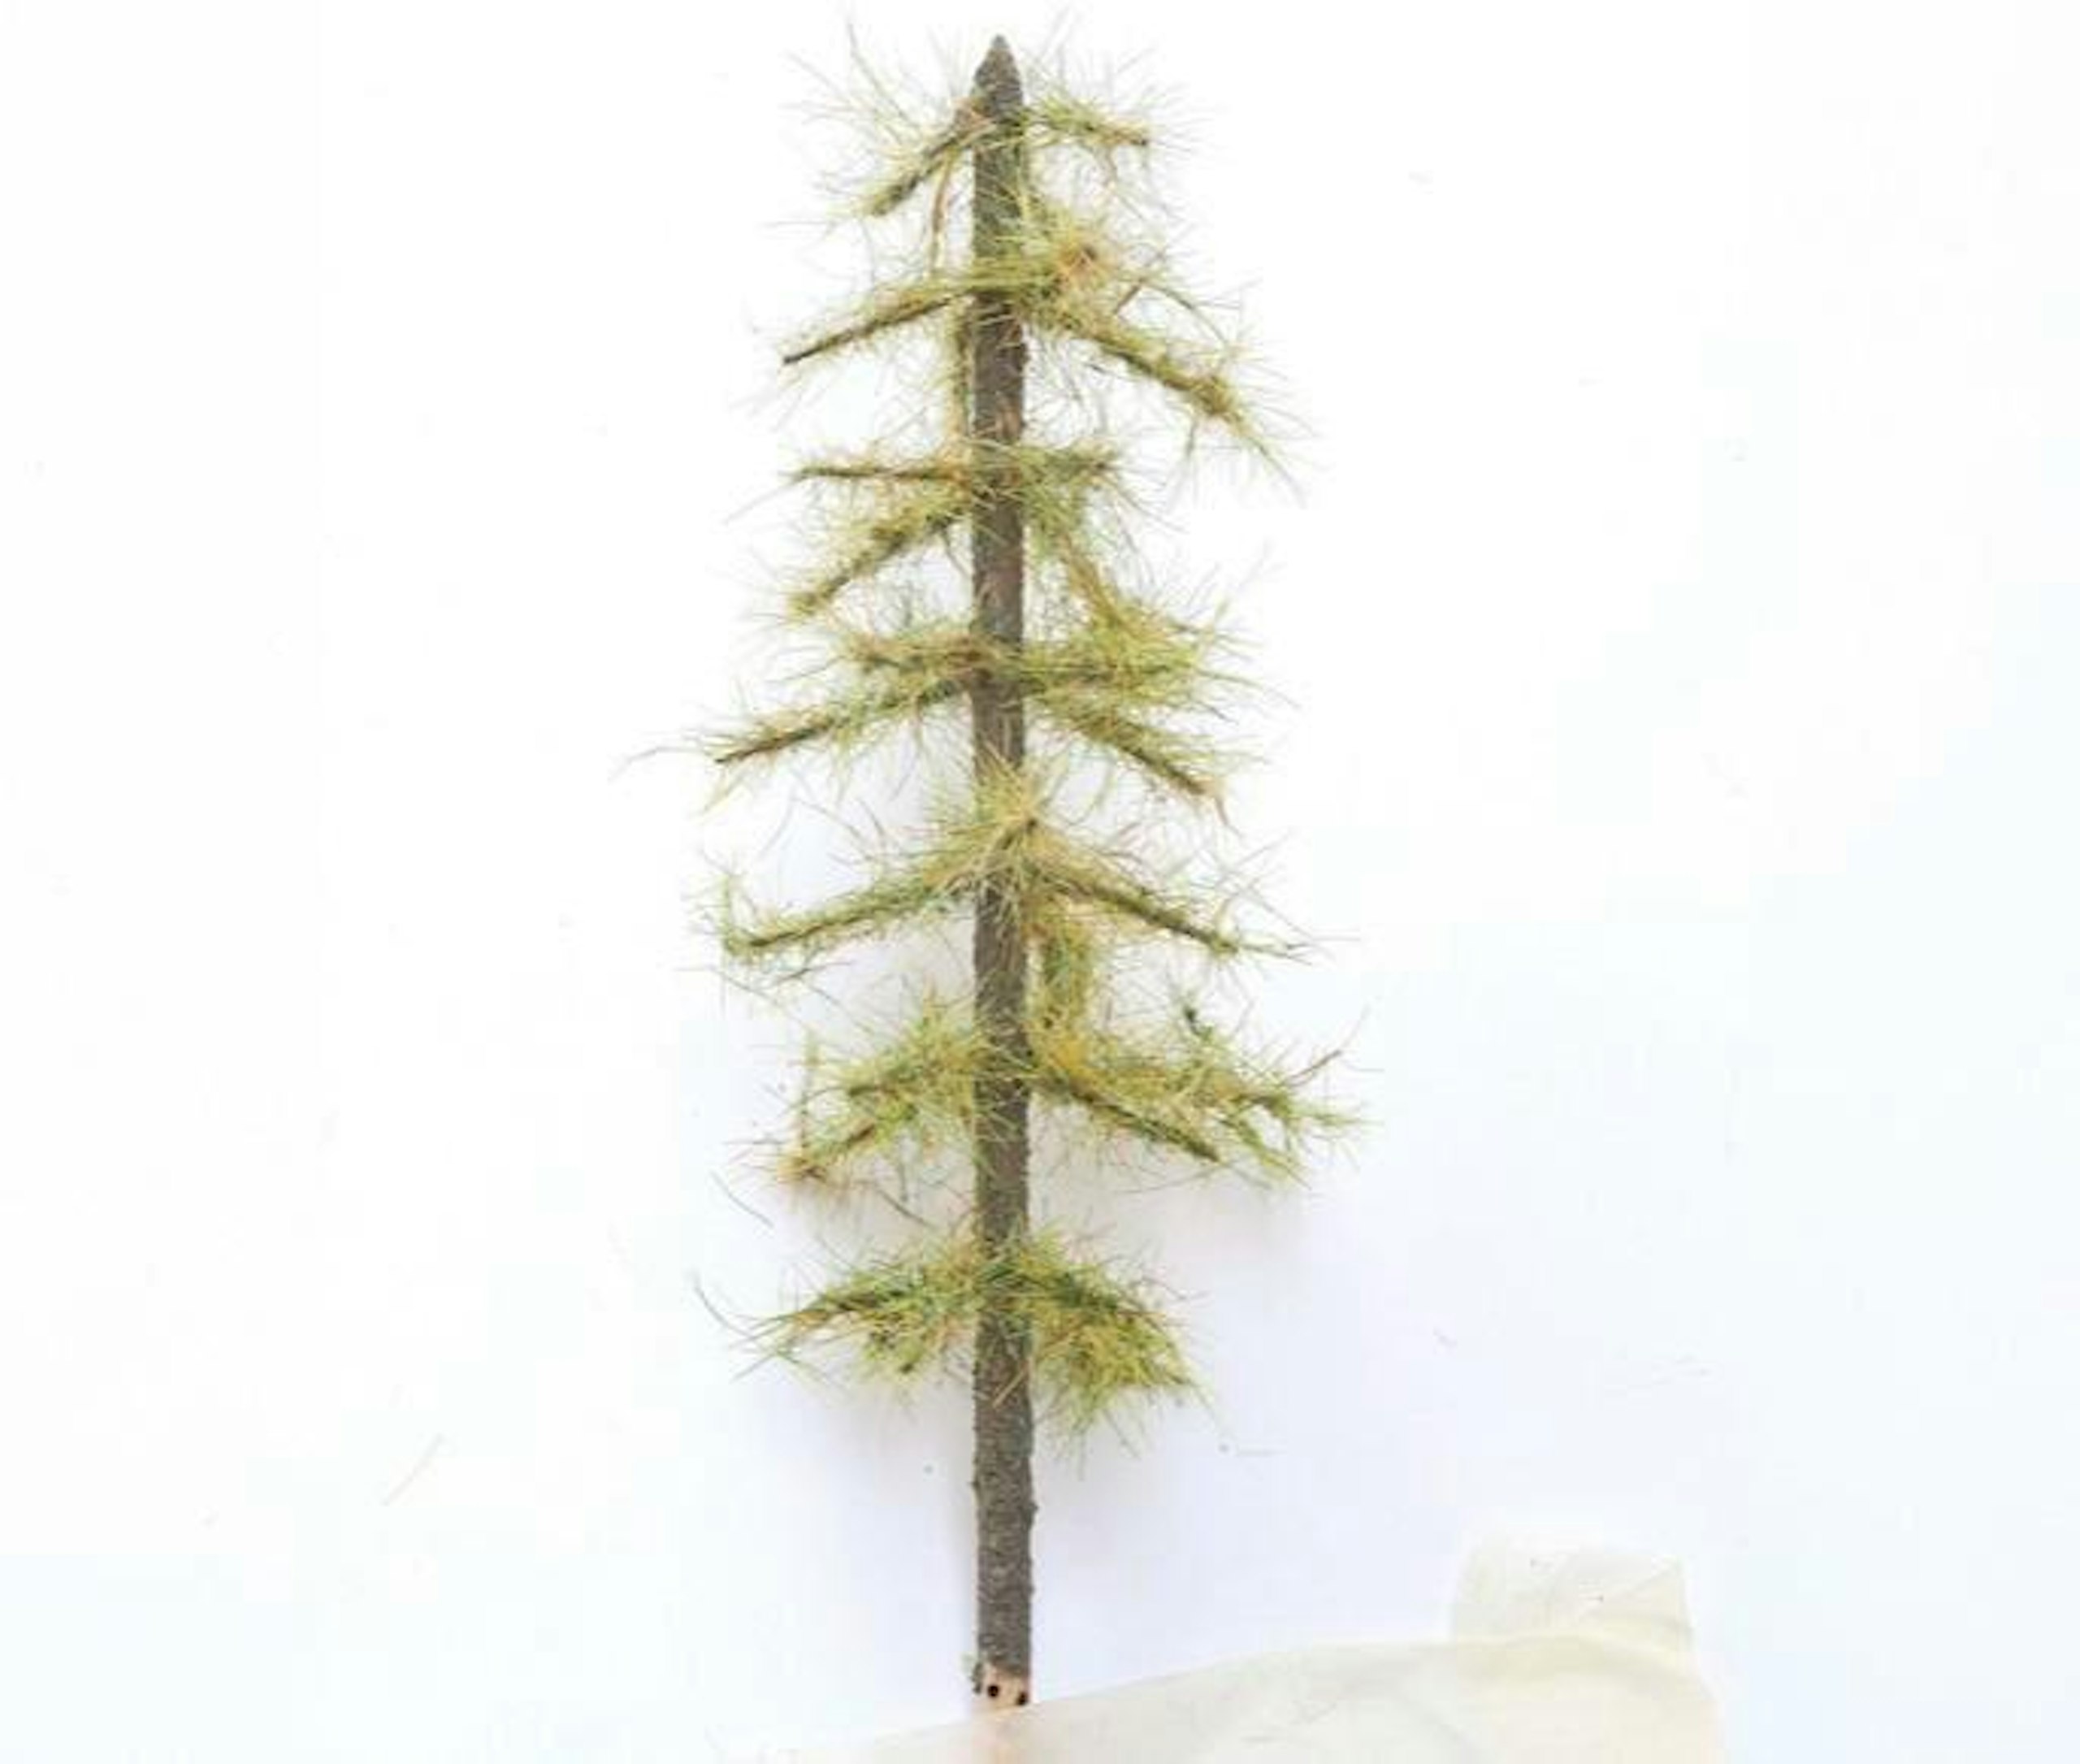
25 Small twigs were added to represent felled trees, and then it was up to my imagination as to how the landscape developed (see MR354 for how to create great value fir trees).
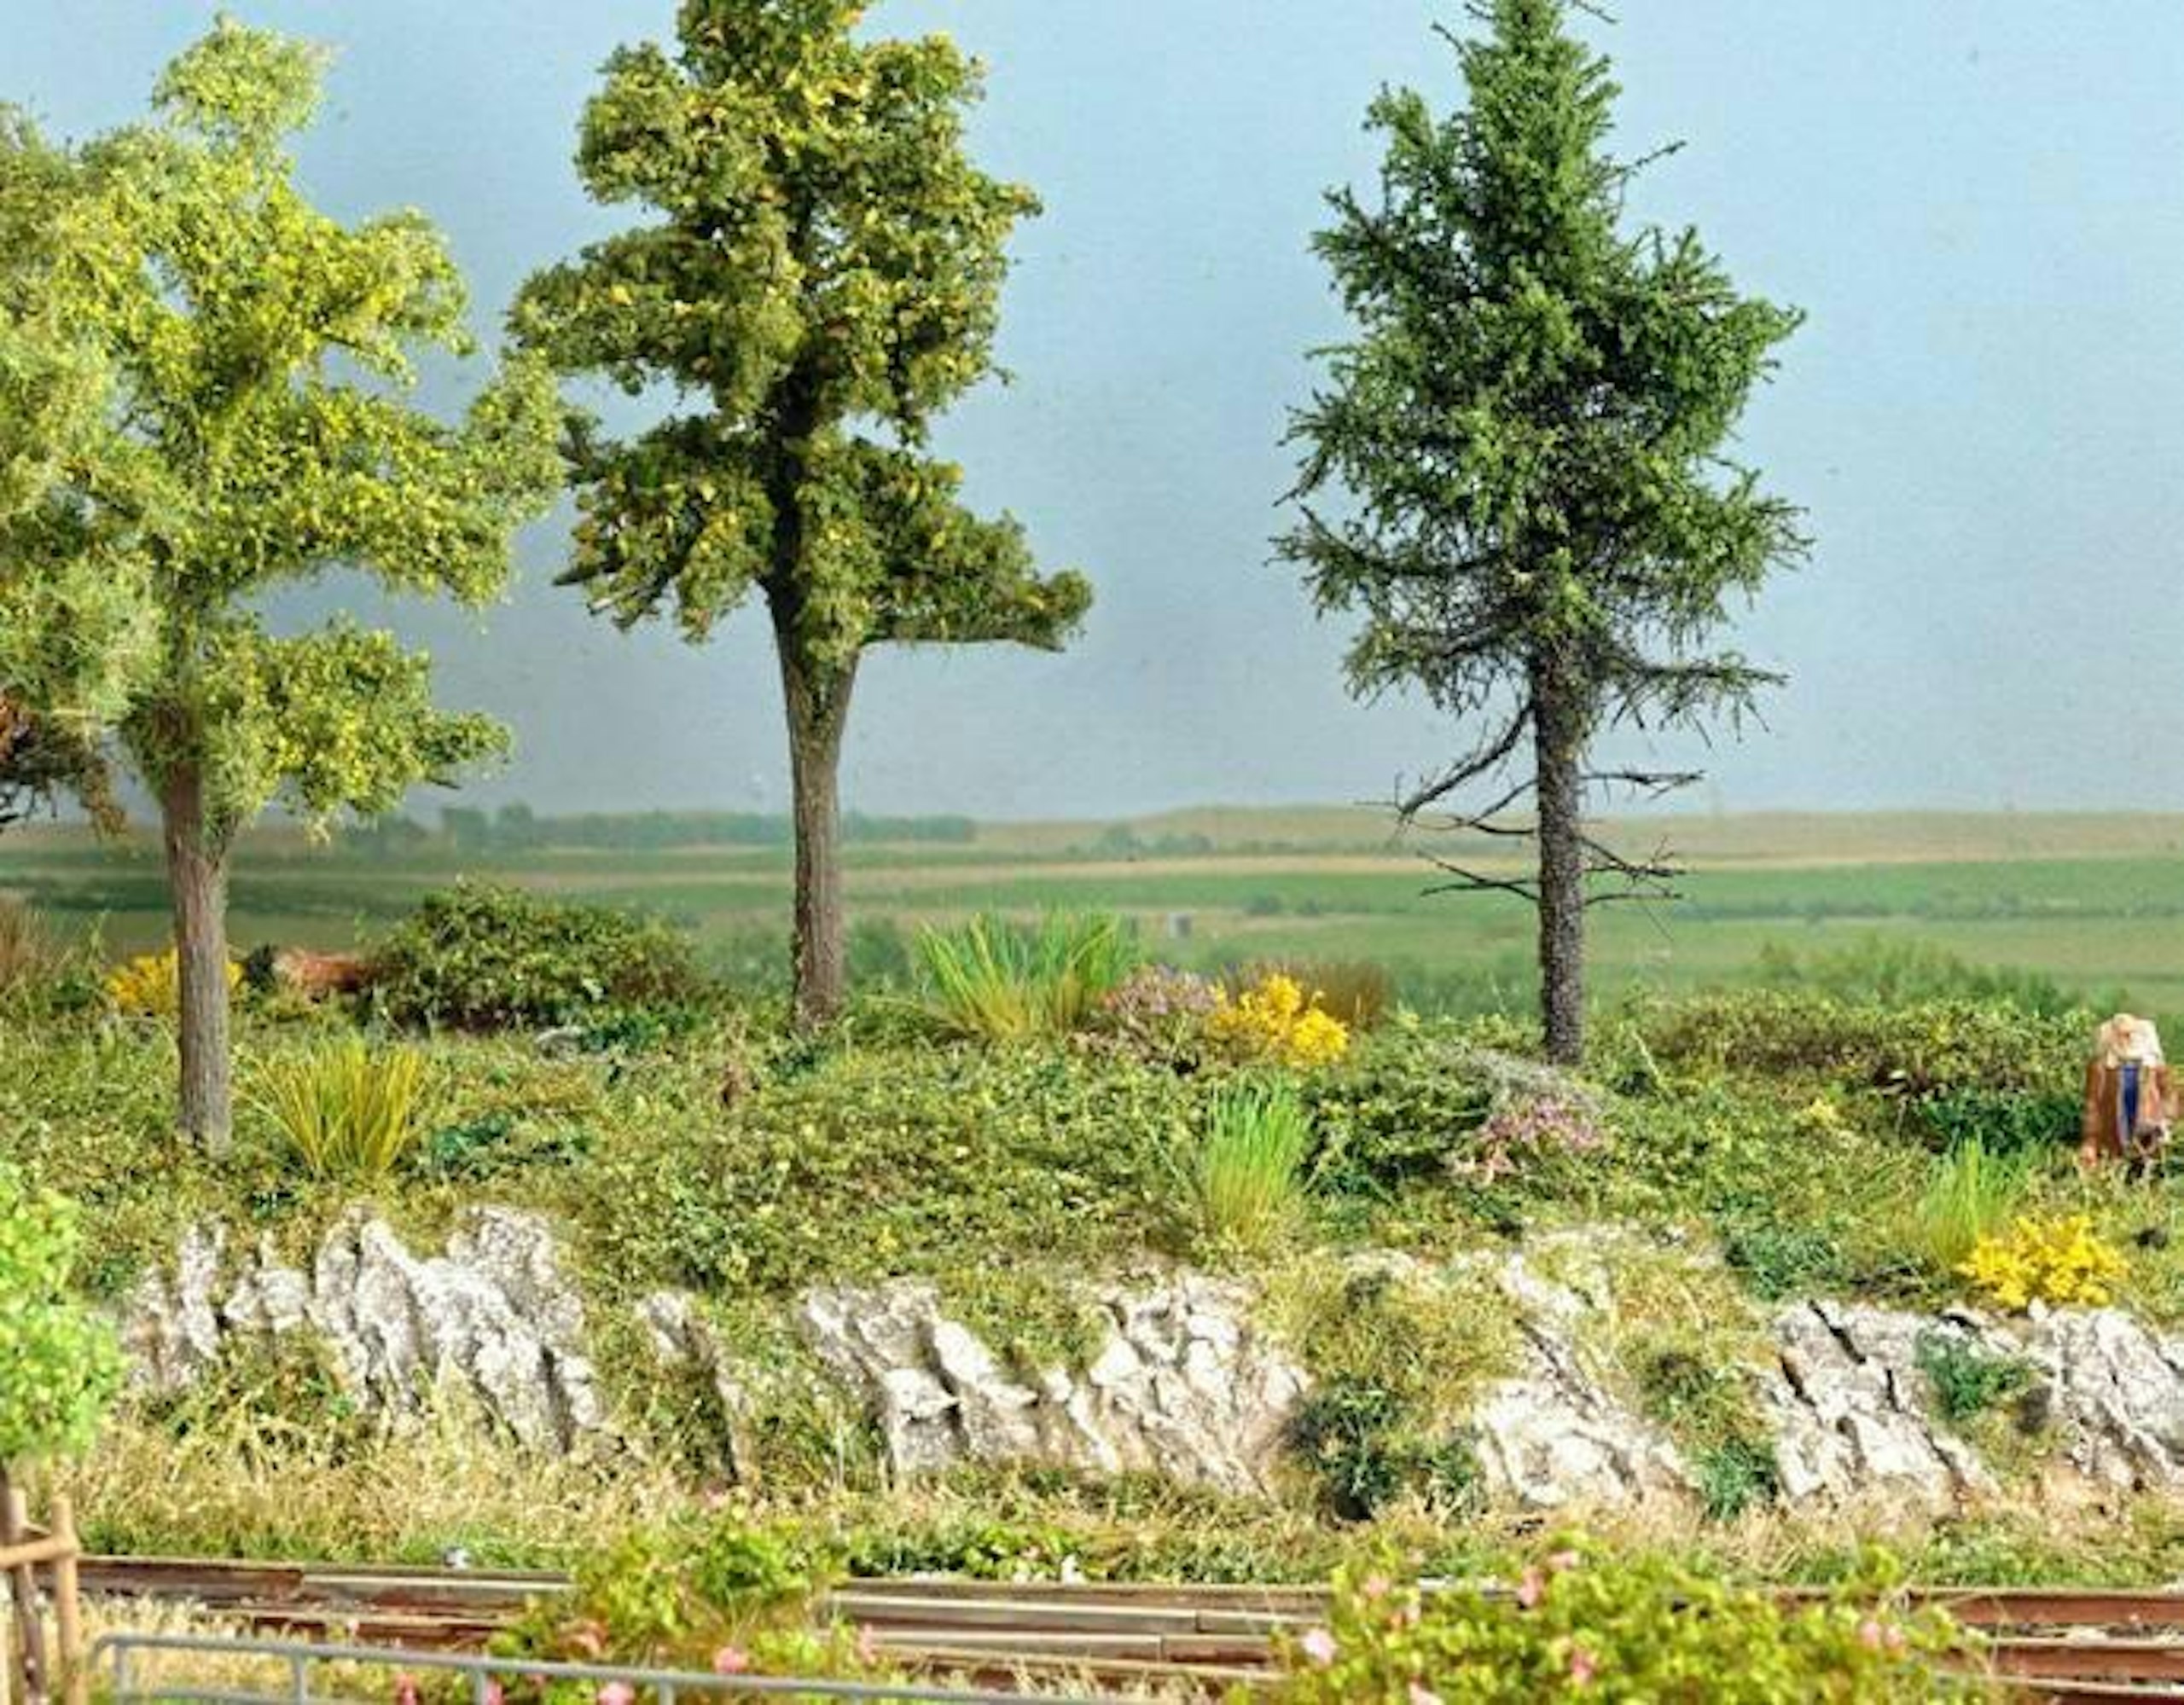
26 The completed embankment after the addition of trees, grass tufts, scatter materials, twigs from the garden and foliage.
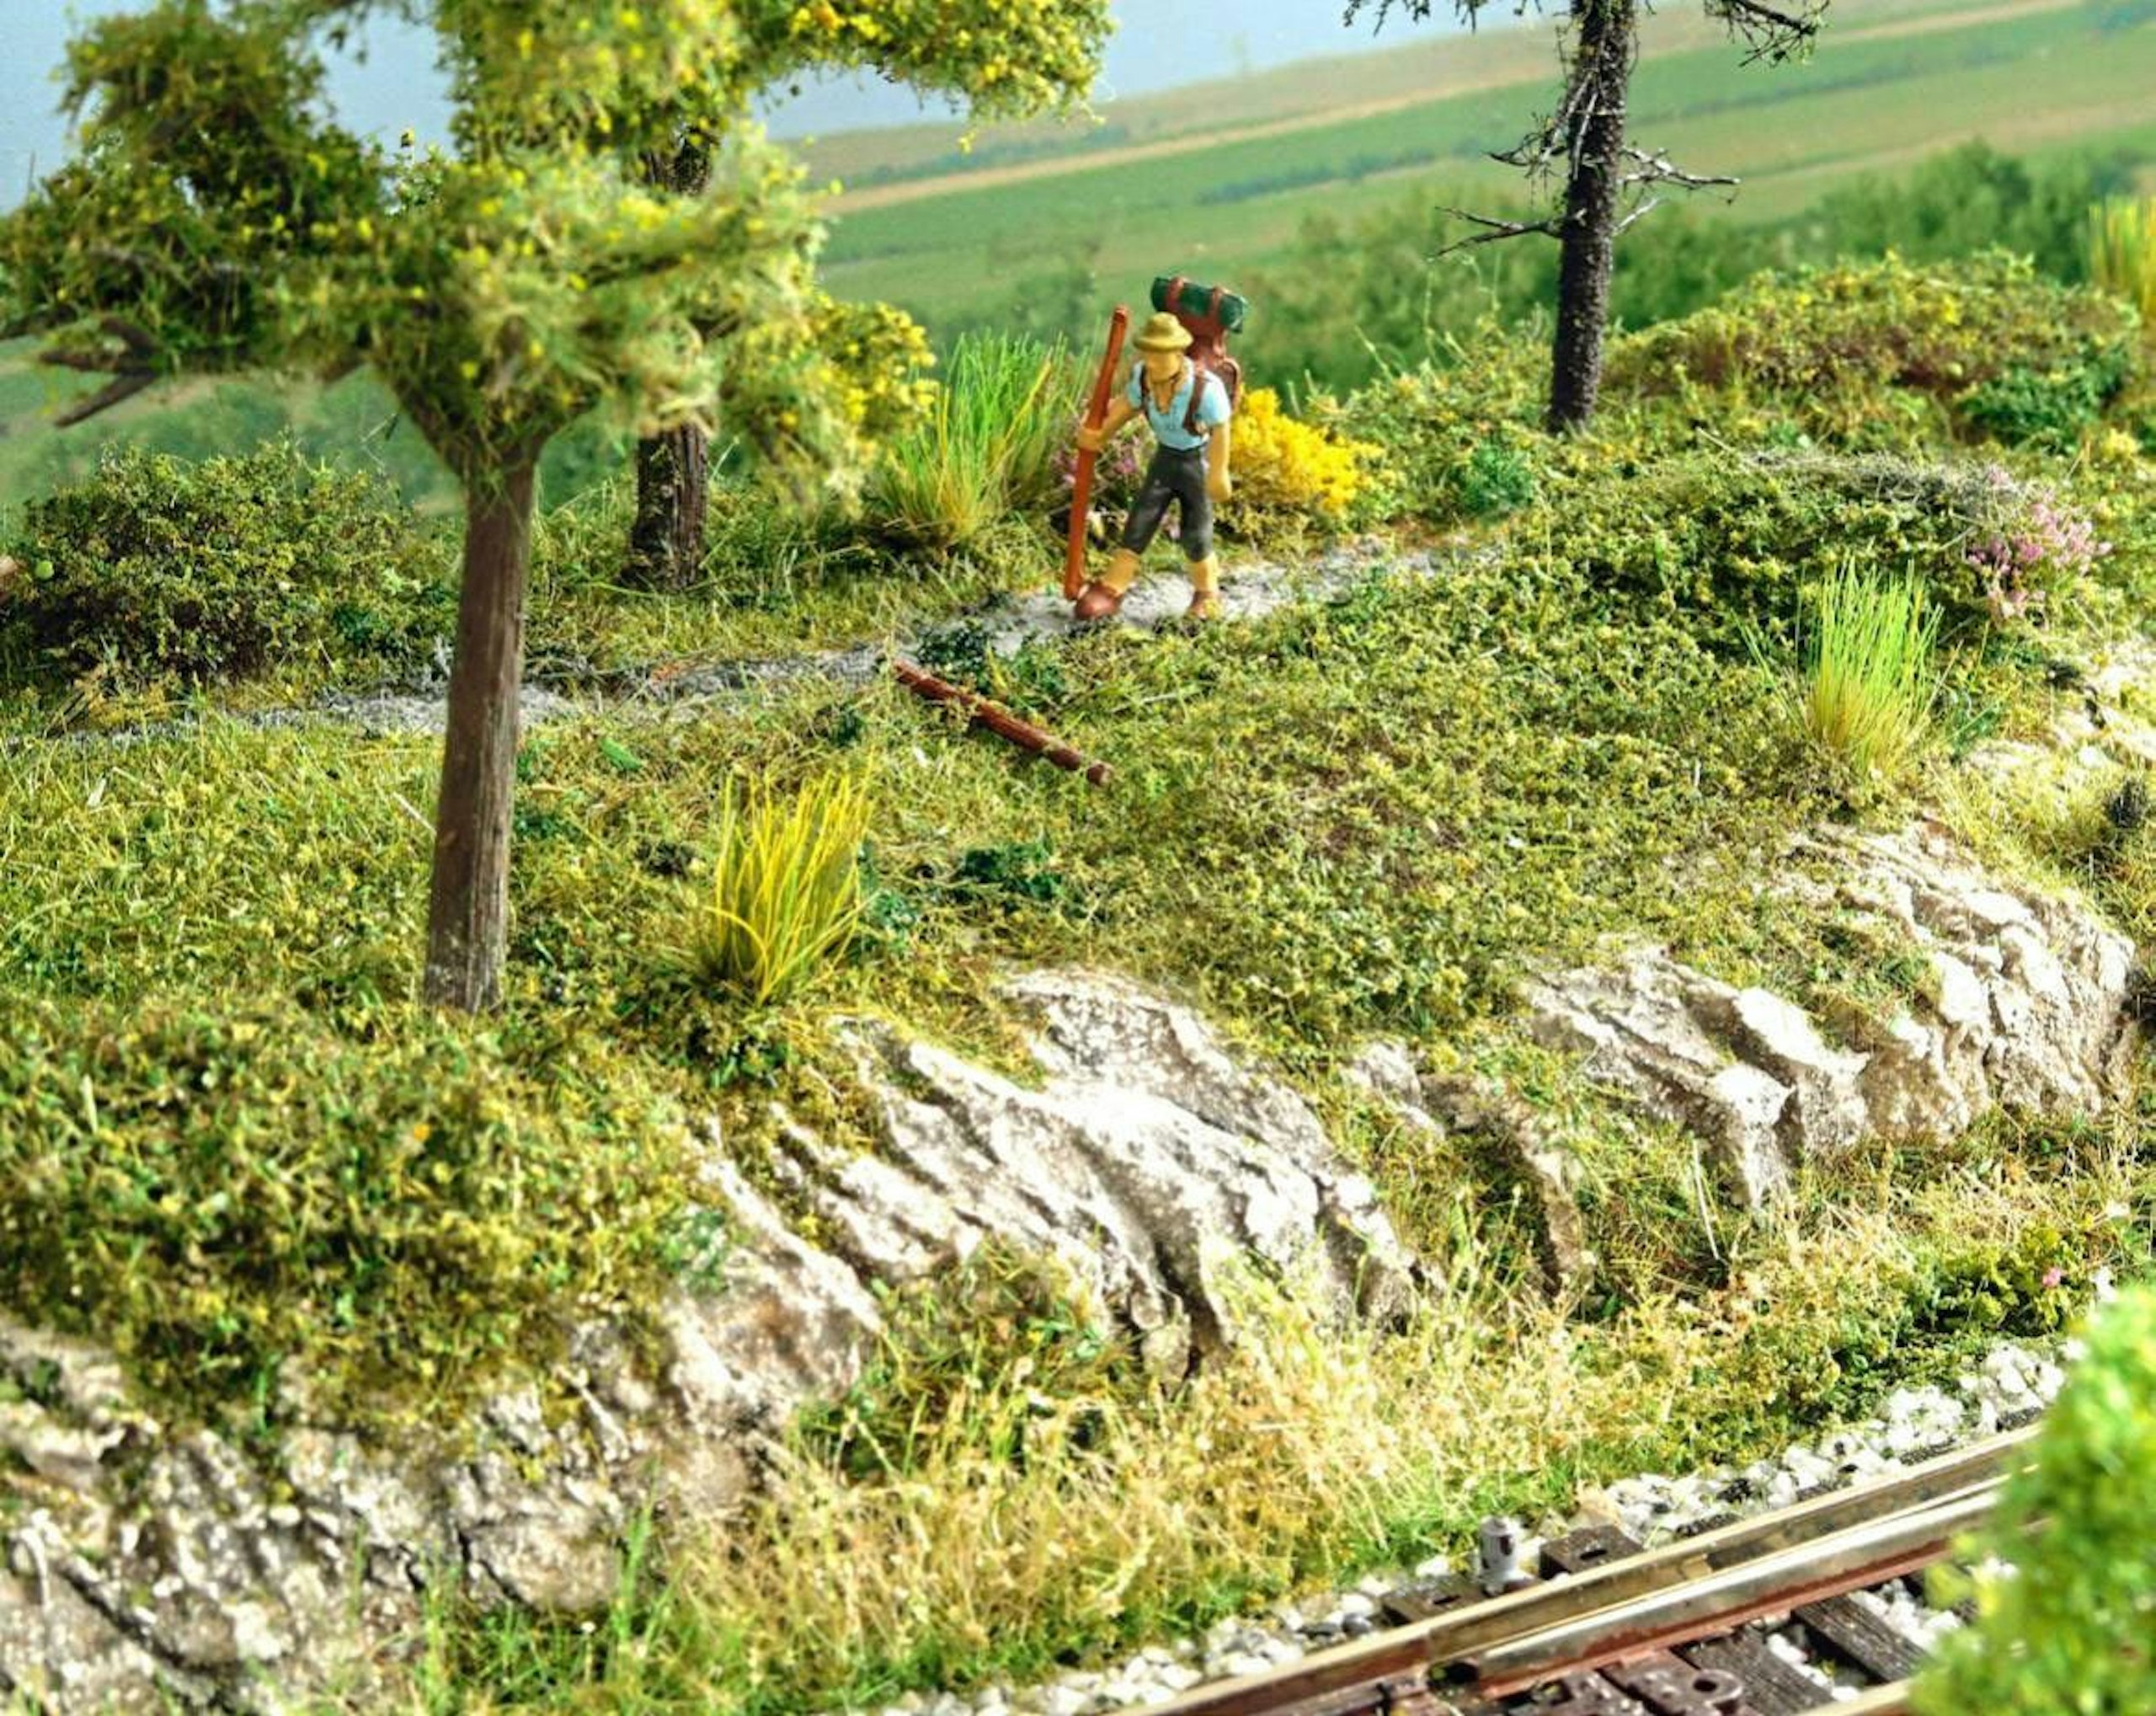
You can let your imagination run wild (quite literally) with regards to the planting.
Subscribe to a Model Rail Print+ Subscription today and you'll get instant digital access, PLUS FREE UK delivery so you will never miss an issue.