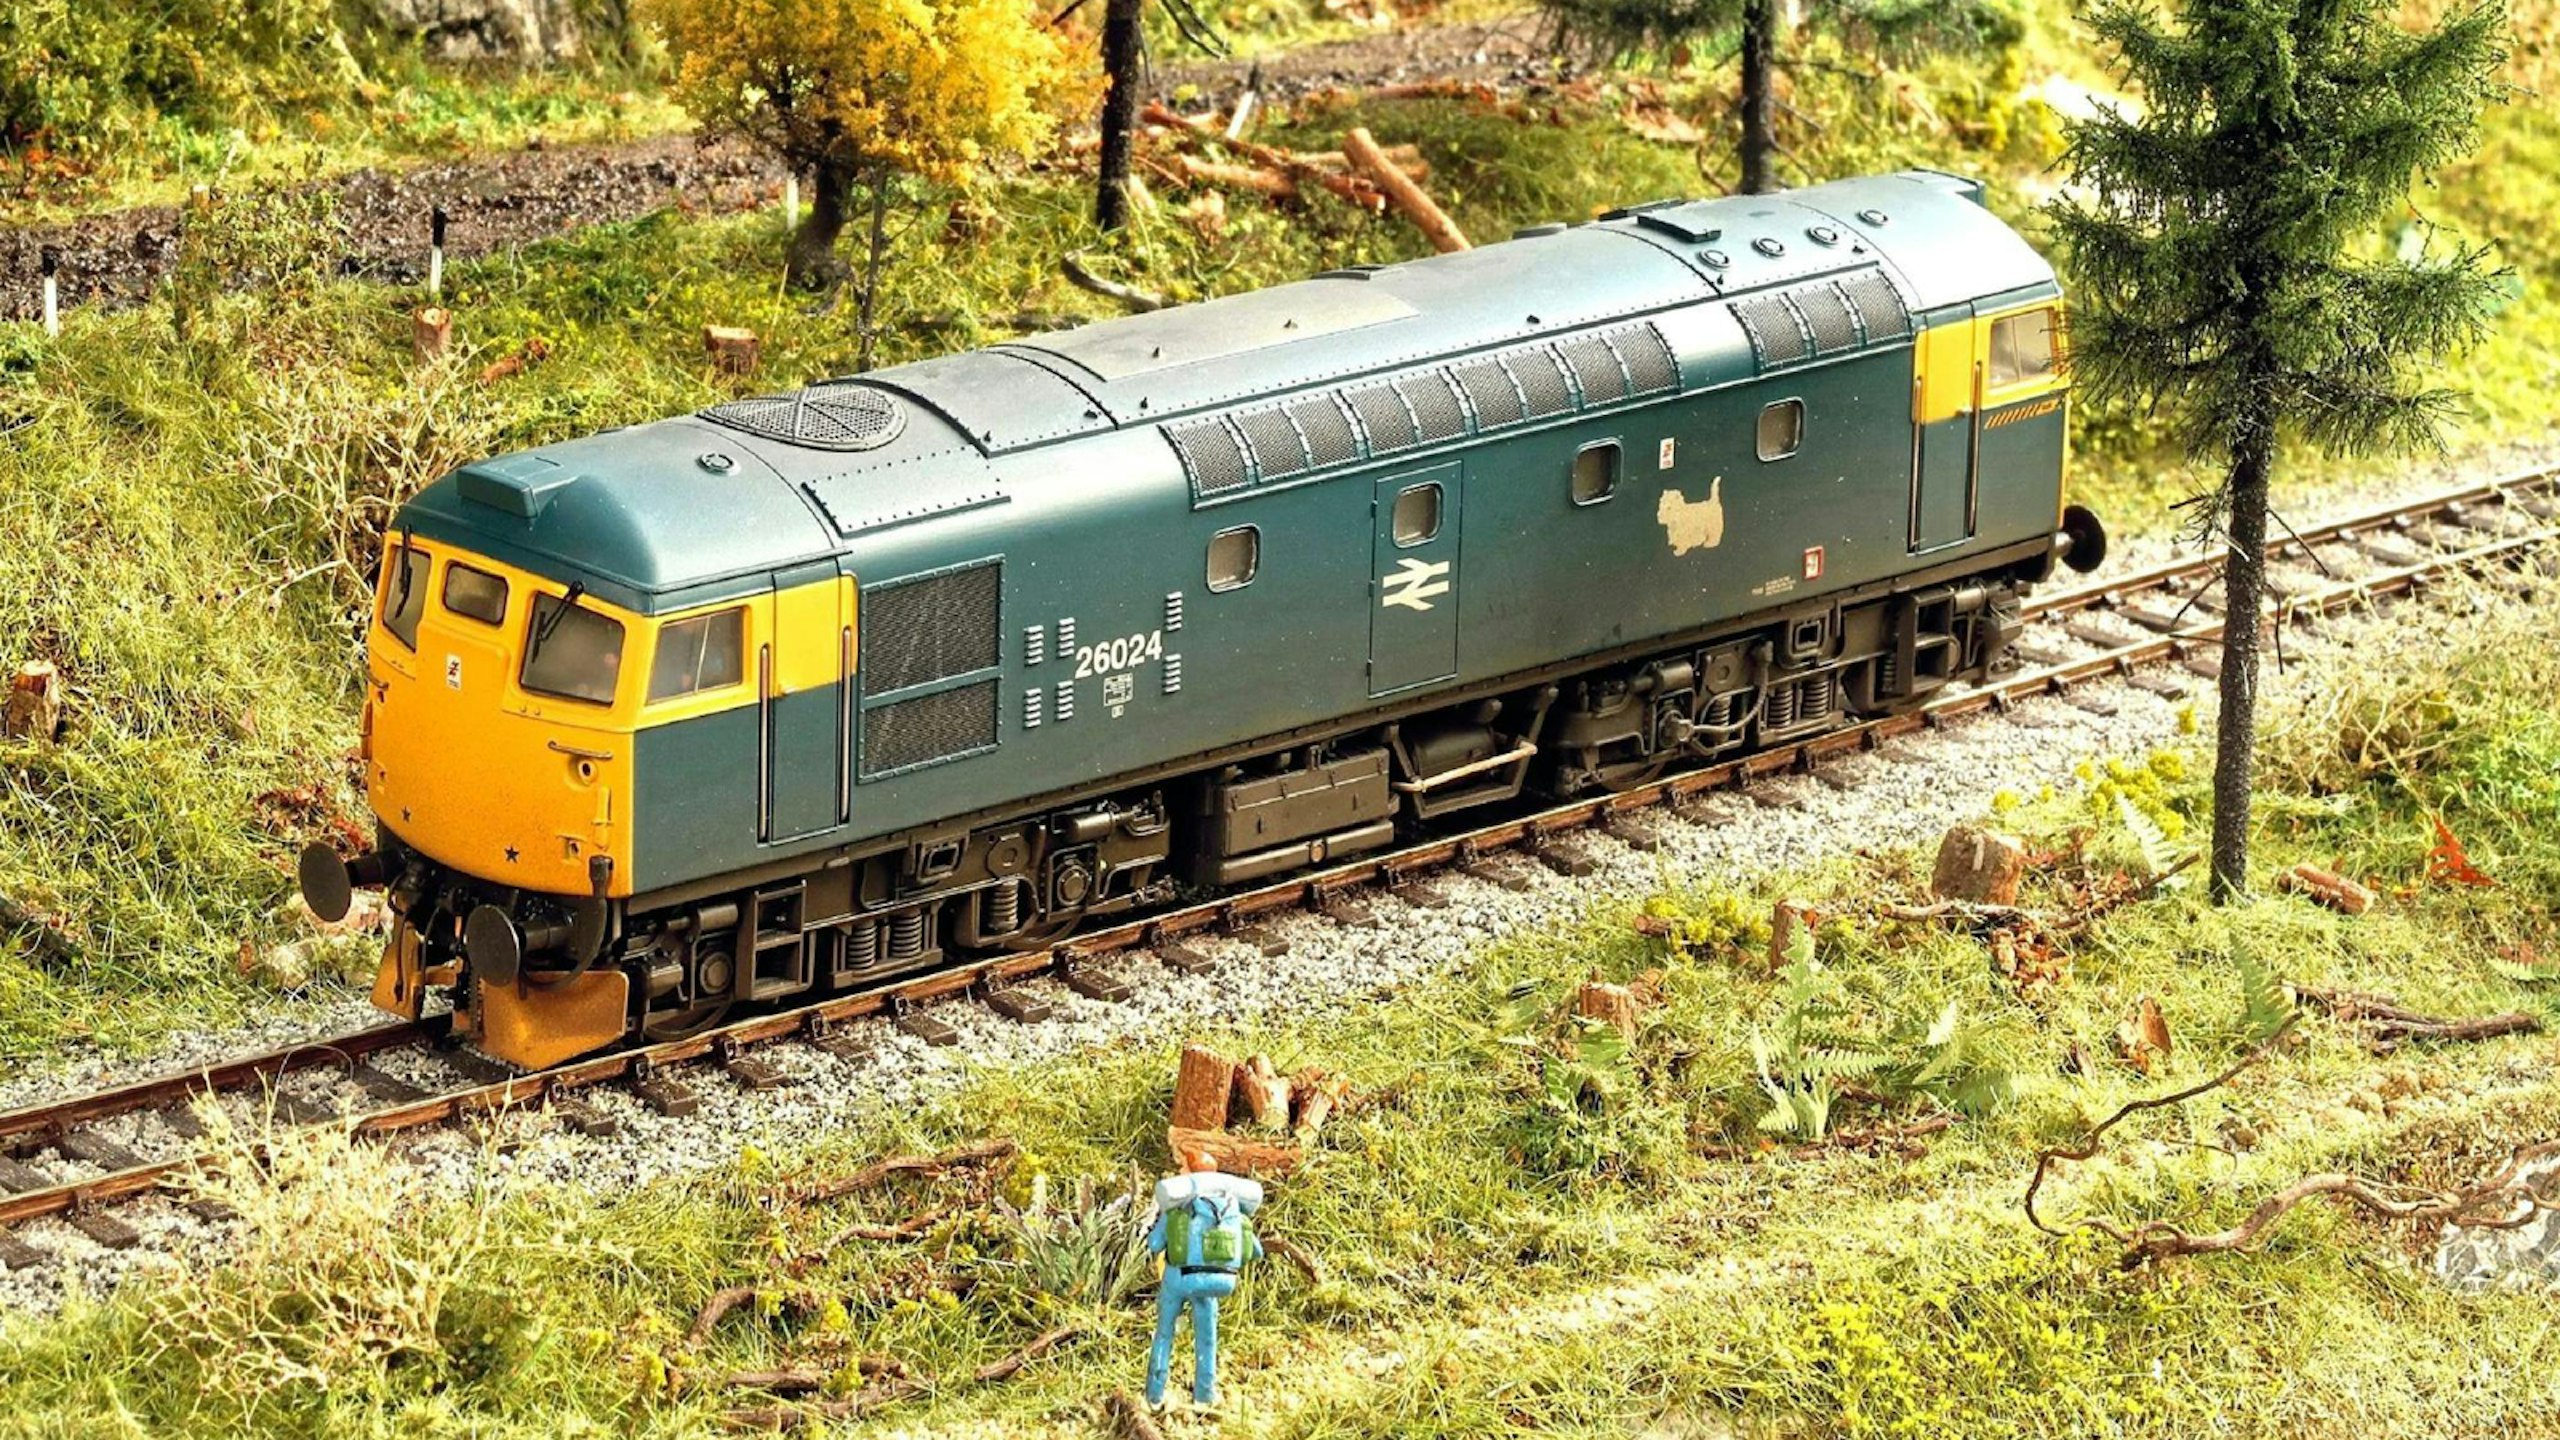
Workbench
A non-working scenic diorama, or ‘photo plank’, is a fun way to pose your models, either just for show or for a photo shoot. Here, Peter Marriott explains how to create a mini backdrop that’s limited only by your imagination.
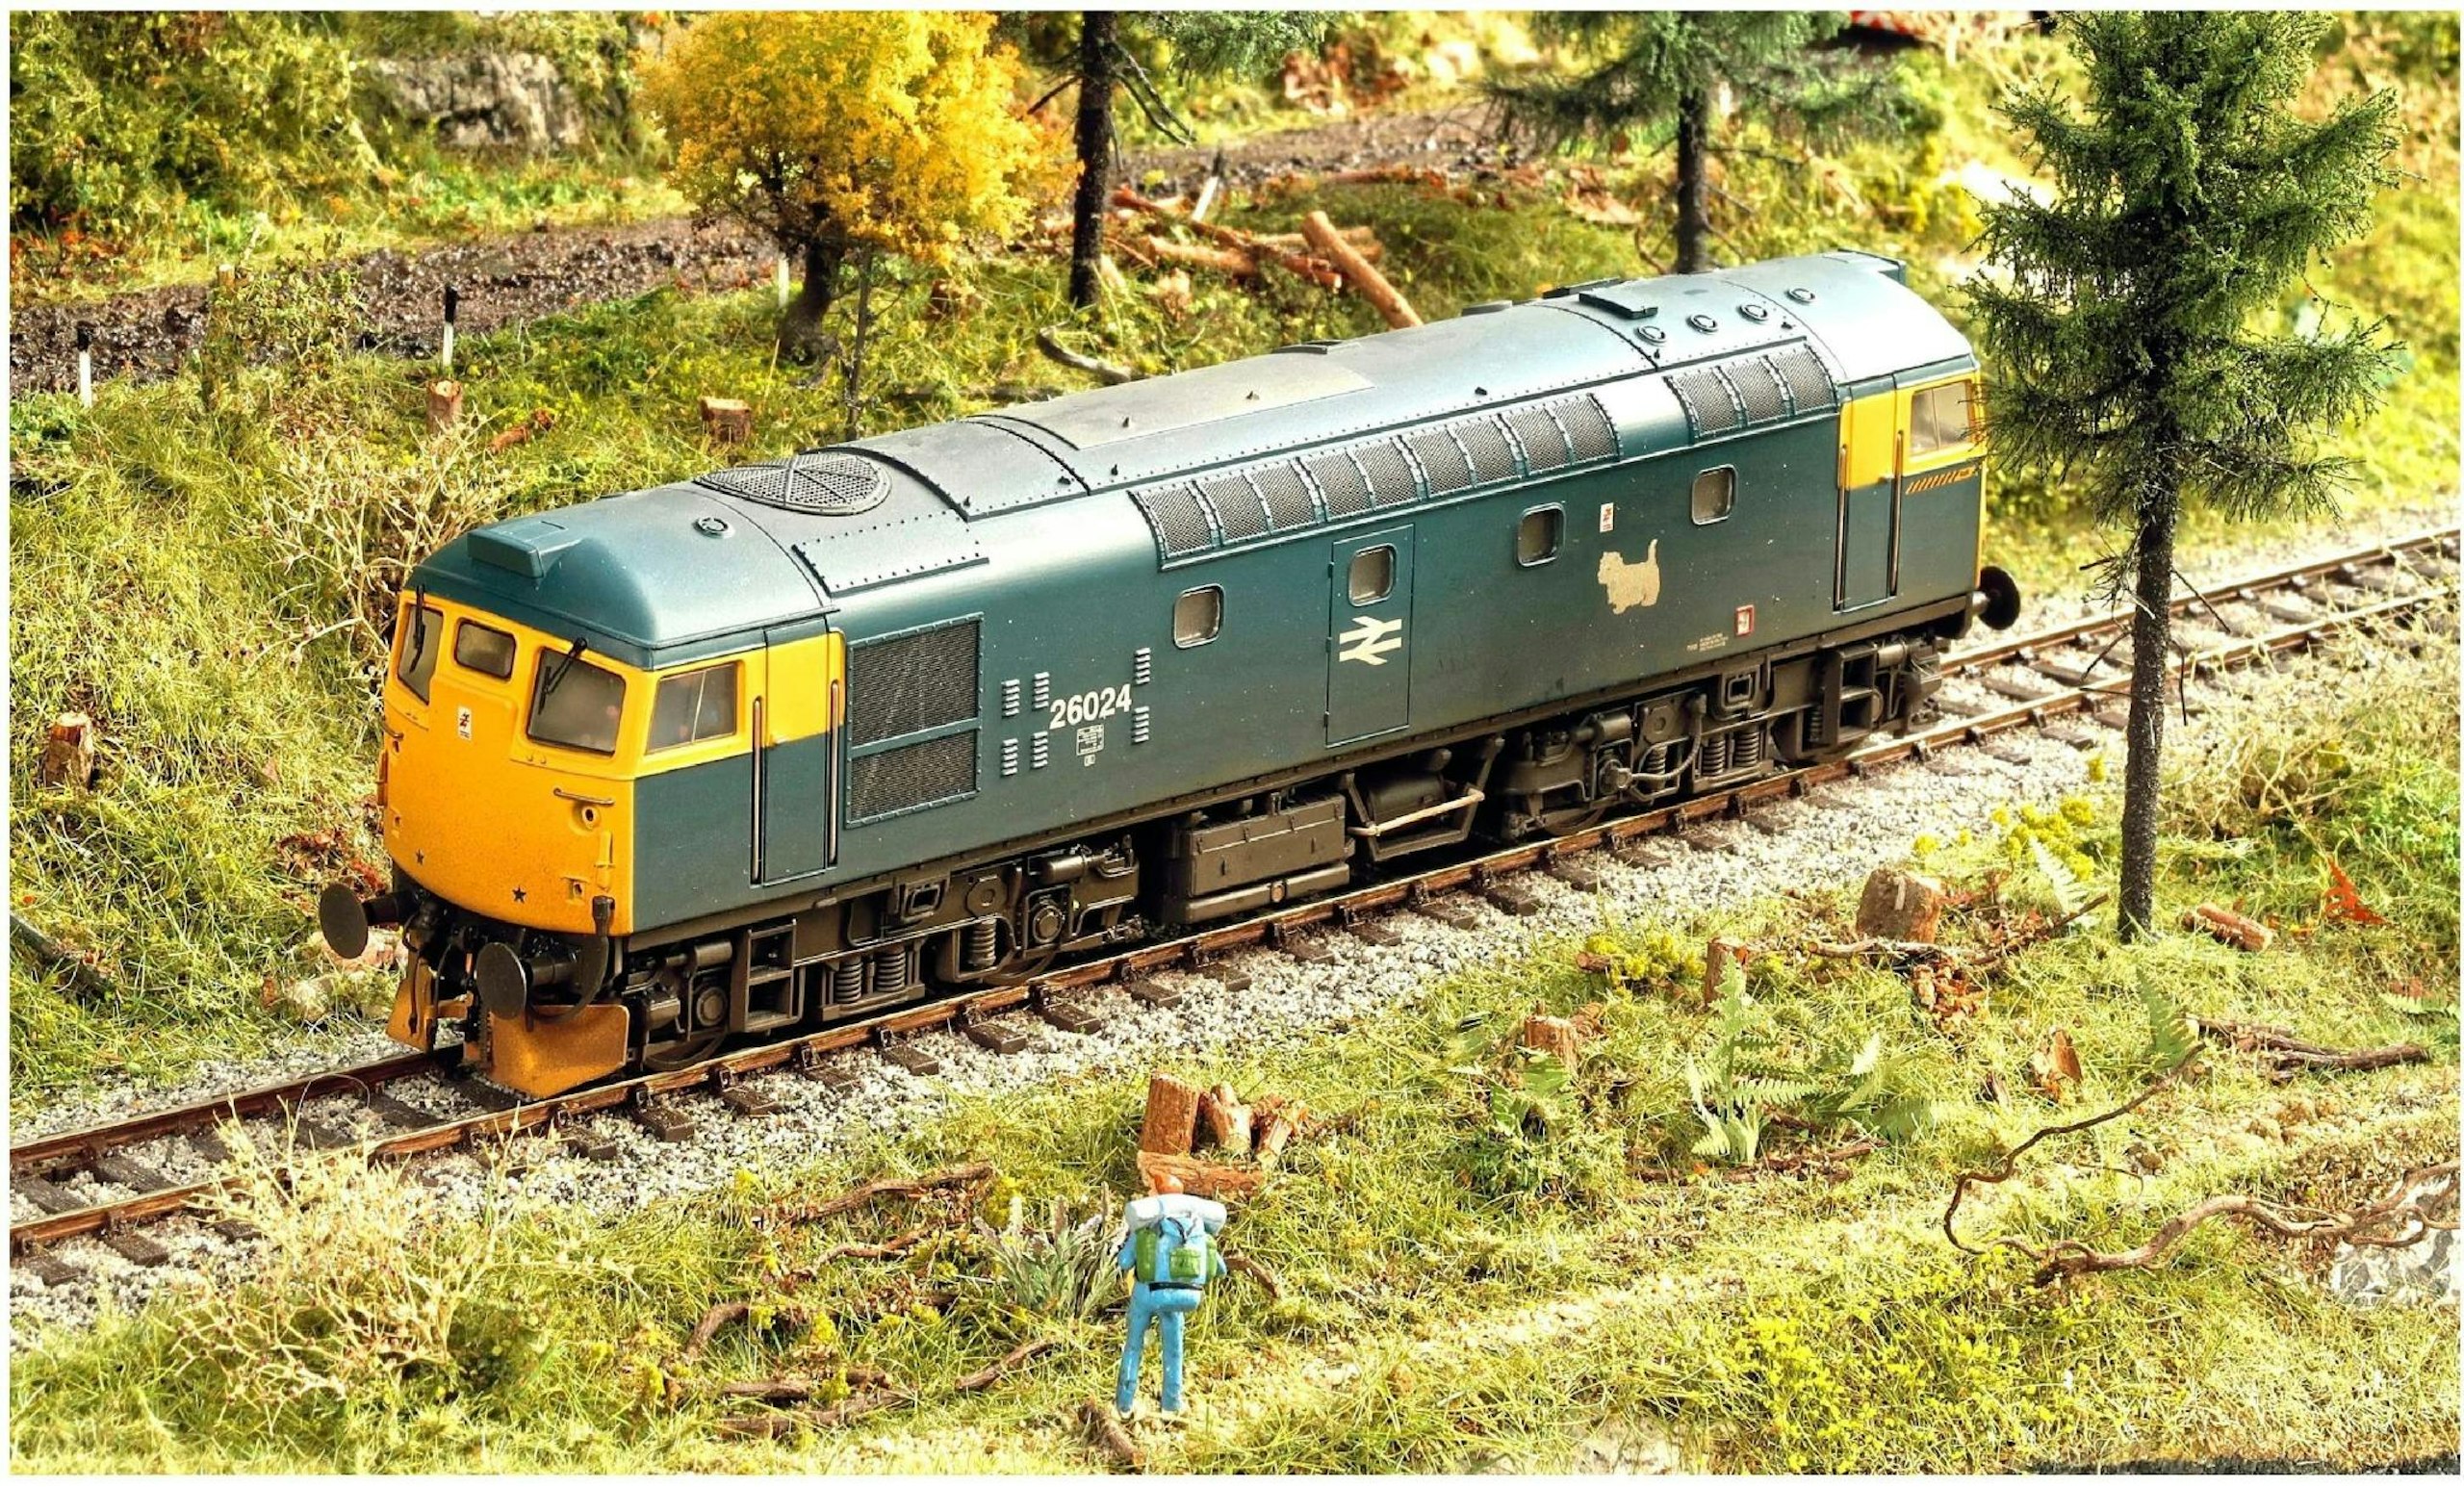

Few of us have room for more than one layout at home, but it’s fun to be able to pose some of our favourite locomotives on a scenic diorama or two. It certainly makes a pleasant change from sitting models on a bookshelf.
Most miniature locomotives and rolling stock look much better when set within a scenic backdrop, and the latter need not take up lots of room – just enough to feature some foreground and background detail, and wide enough to cater for the models in question.
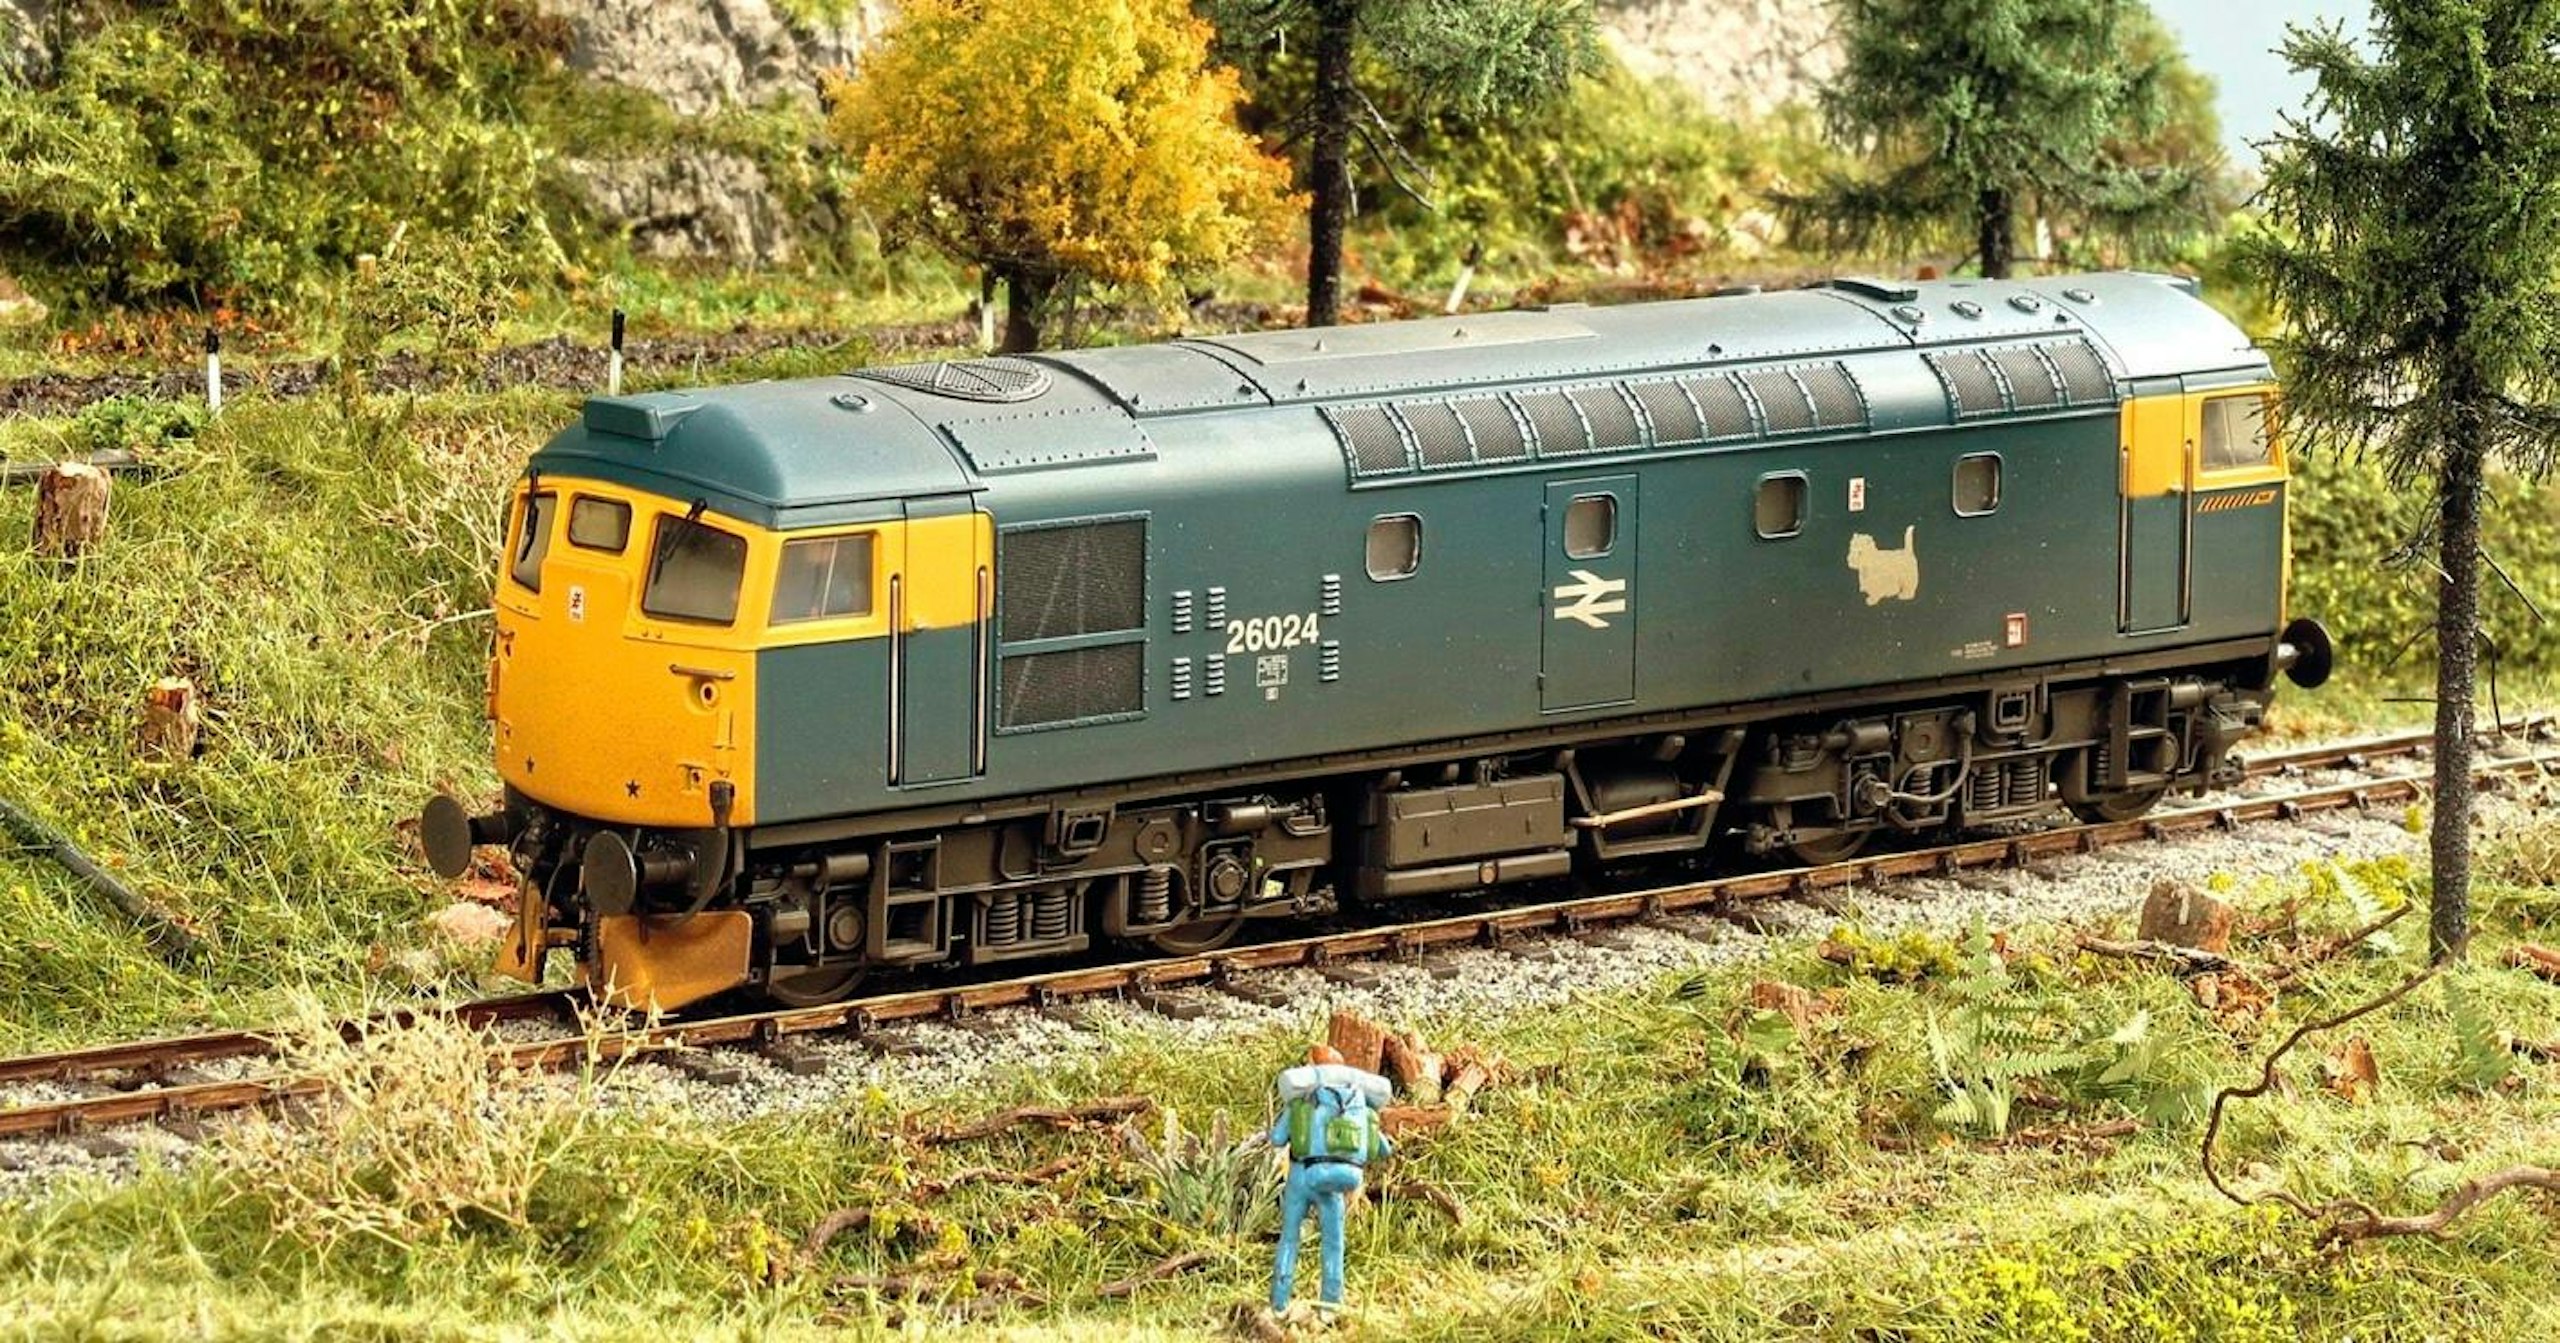
Scenes could be urban, industrial or rural, depending on your interests, and perhaps dictated by the models themselves. That was the case with this diorama, which measures just 2ft long, and which presents a woodland scene that lends itself to parts of Scotland, Wales or chunks of Northern England. In my case, I’m using it for a Scottish scene, so I can show off my Class 26s and other Scottish Region traction.
A non-working scenic diorama, or ‘photo plank’ as they’re often termed, also provides an ideal backdrop for photographing models. However, whether the scene is for static display or photo shoots, creating a believable composition is important.
The model locomotives or rolling stock need to be displayed prominently, yet in harmony with their surroundings. Scenic contours play an important role, therefore, with a transition from a lower foreground towards the rails set above the base level of the board. Beyond the tracks, a rising backdrop serves to frame the models nicely and avoids real life intruding behind the scene, without necessarily having to include areas of flat ‘sky’.
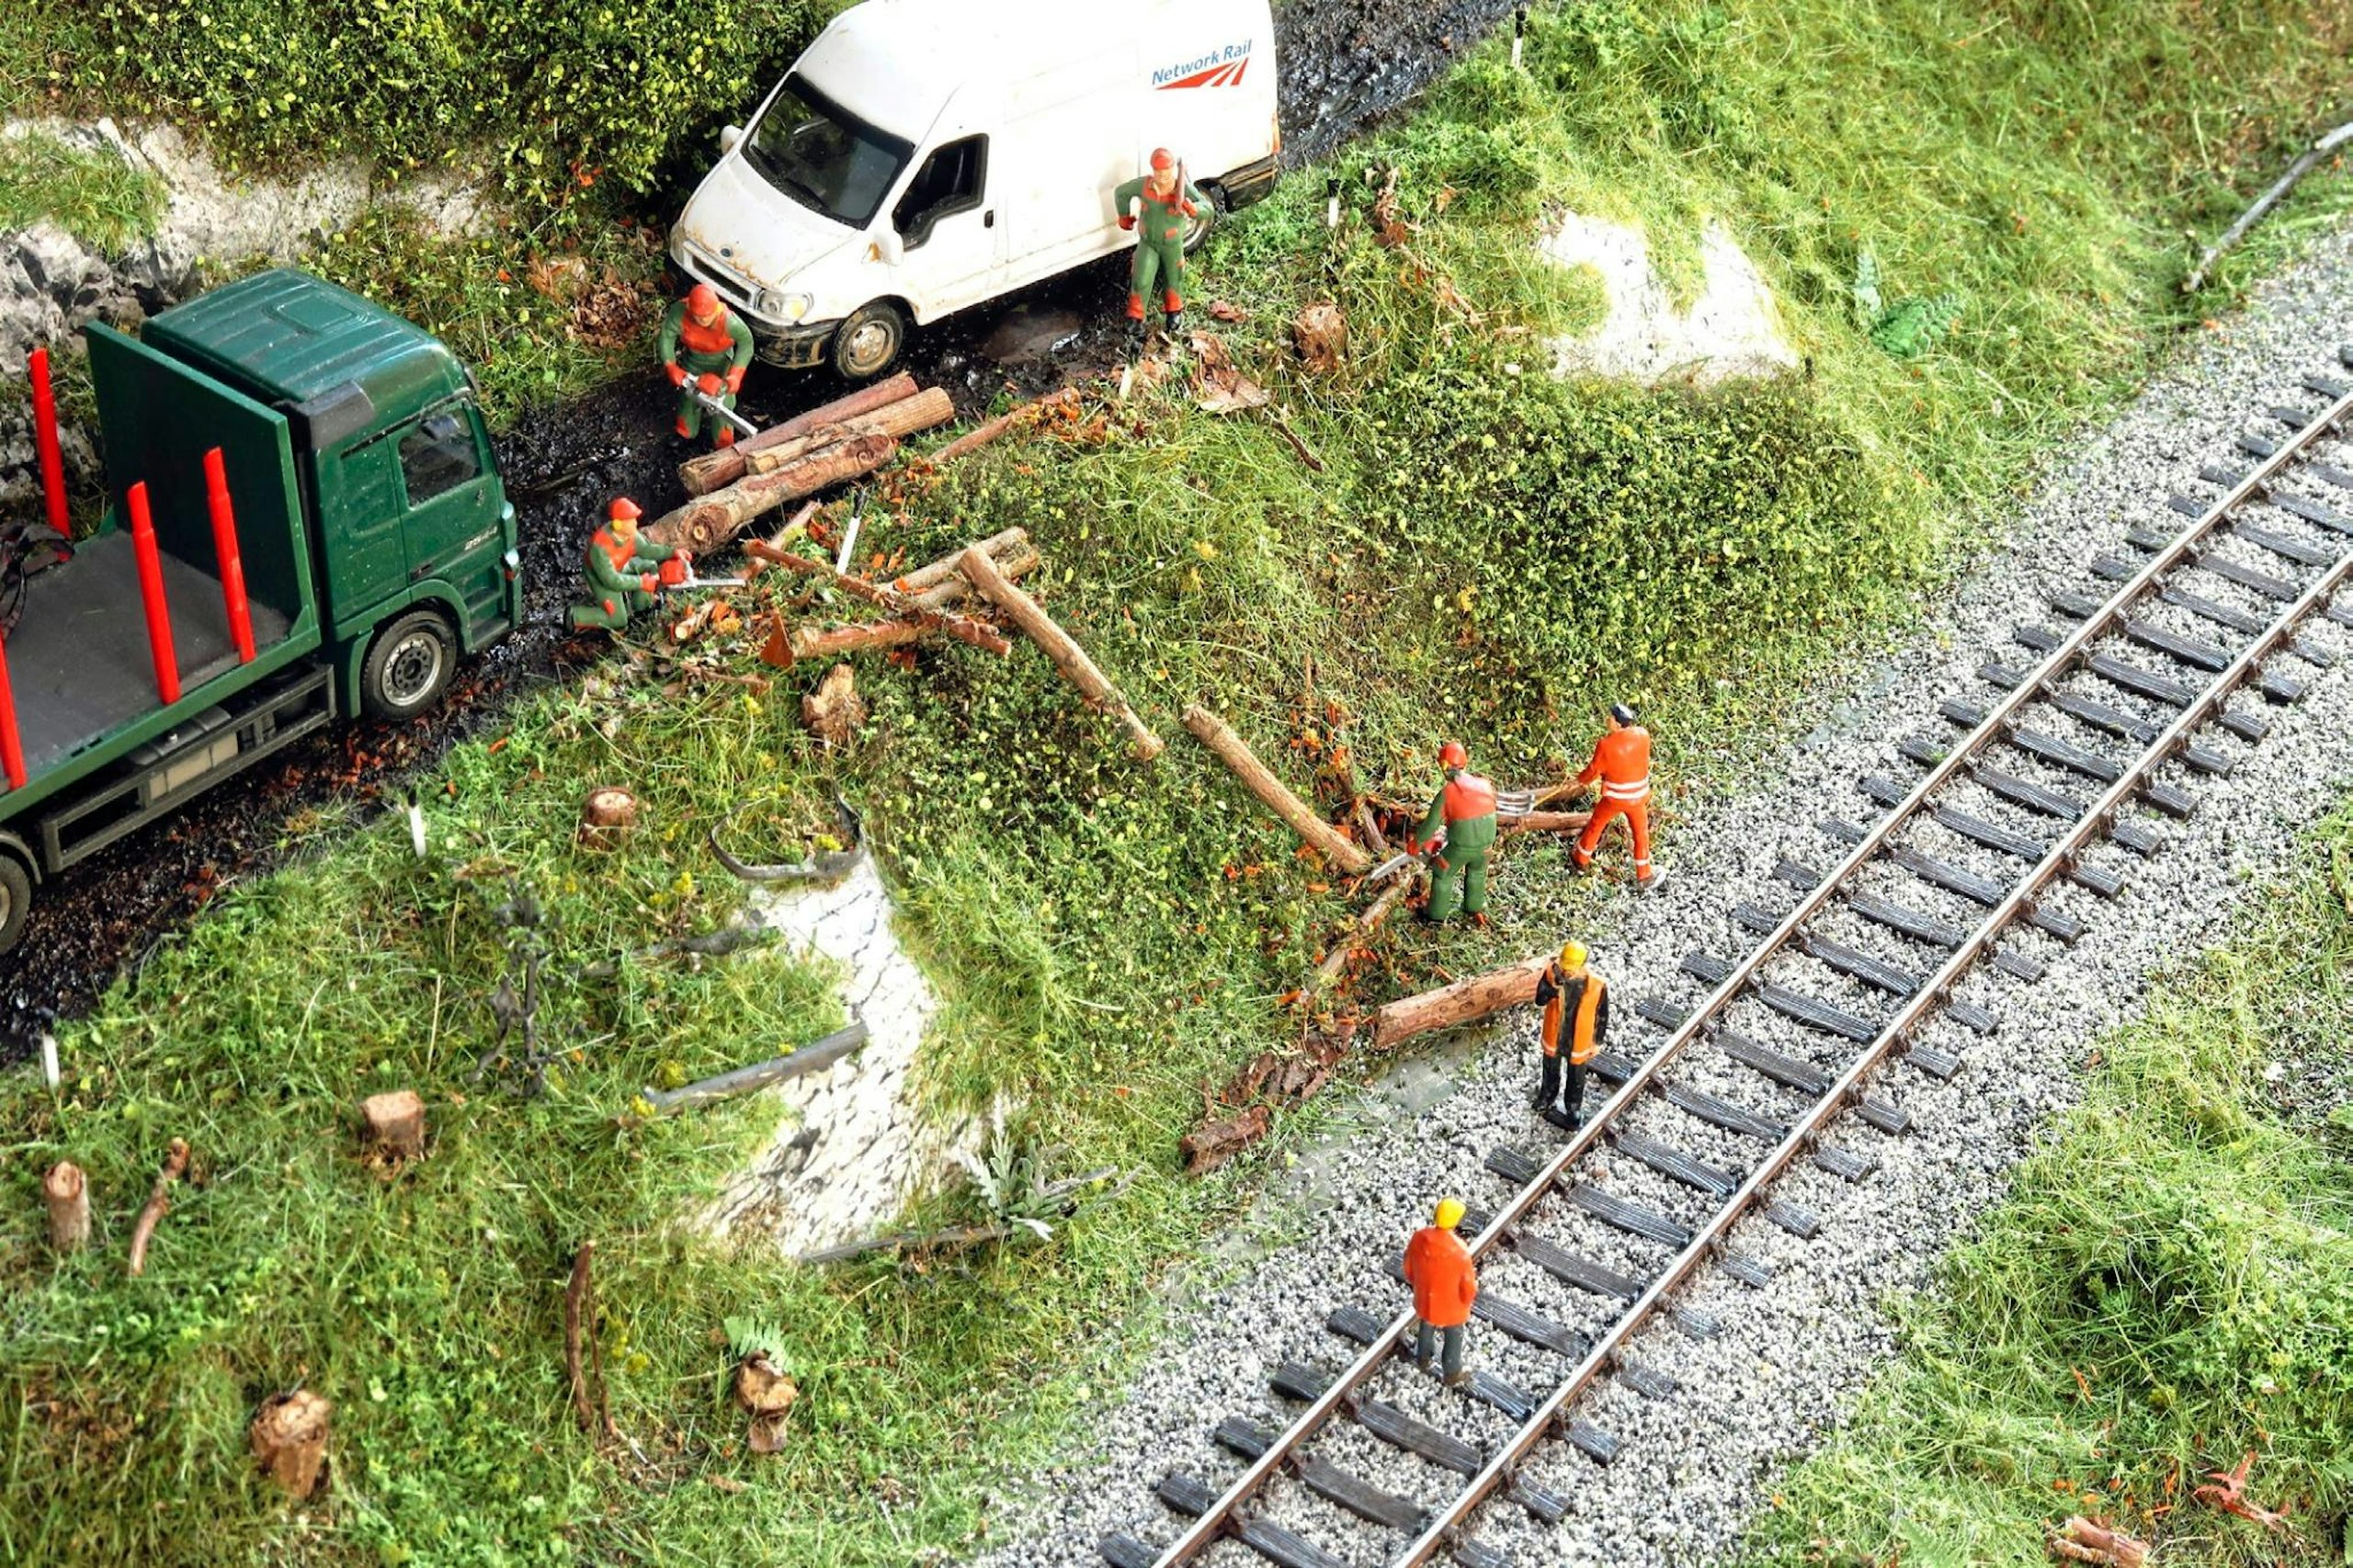
My scene features a single-track railway line passing through coniferous trees, as hikers walk along a winding footpath in the foreground. To the rear, a raised forestry track breaks up the scenery and allows for road vehicles and cameo scenes to be added to the middle distance, adding extra visual interest.
Given the modest size of the diorama, I felt justified in investing in some high-quality, ready-made trees from the Primo Models range (which are very reasonably priced and look superb). Placing these trees carefully, the trains are framed nicely by the greenery when viewed from most angles.
LIGHTWEIGHT OPTION
The baseboard was made from tough polystyrene foam, making it extremely lightweight so it can be moved with one hand and displayed on even light-duty shelving. The foam also makes it easy to shape into contours and allows trees and other vegetation to be fixed into the material.
I made good use of the Woodland Scenics Sub Terrain system, which features foam products in all manner of shapes and sizes. A cheaper option is to employ foam packaging salvaged from new domestic goods (such as washing machines), while roof insulation foam is available from DIY stores in various dimensions and densities.
Most foams are easy to cut and shape with sharp knives or a hot wire cutting tool, which creates much less mess. The final scenic contours can be refined using wet plaster or plaster-impregnated bandage. The latter is often preferable, as it can be lighter in weight when dry, and the material can be draped over a simple forming structure to create smooth or uneven contours.
It took me about three weeks to complete the entire scene. The work was spread out, roughly taking about an hour per day, with overnight rests to allow the glue and paint to dry in between stages. I learned a lot from trying out some new scenic techniques and materials, and I was pleased with the overall results.
Working on small dioramas such as this is perfect for practising various aspects of scenic modelling, allowing you to build up your confidence before working on a ‘proper’ layout.
What you will need
SHOPPING LIST
♦ Various Woodland Scenics foam, scenic, plaster and glue products
Availability: Bachmann stockists
Web: www.bachmann.co.uk
♦ Various Noch scatter materials and an electrostatic grass planting tool
Availability: Noch stockists or Gaugemaster
Web: www.gaugemasterretail.com
♦ Ready-made, premium trees
Availability: Primo Models
Web: www.primomodels.co.uk
TOOLS
♦ Foam knife and spare blades
♦ Tweezers
♦ Scissors
♦ Paintbrushes
♦ Electrostatic grass applicator
STEP BY STEP
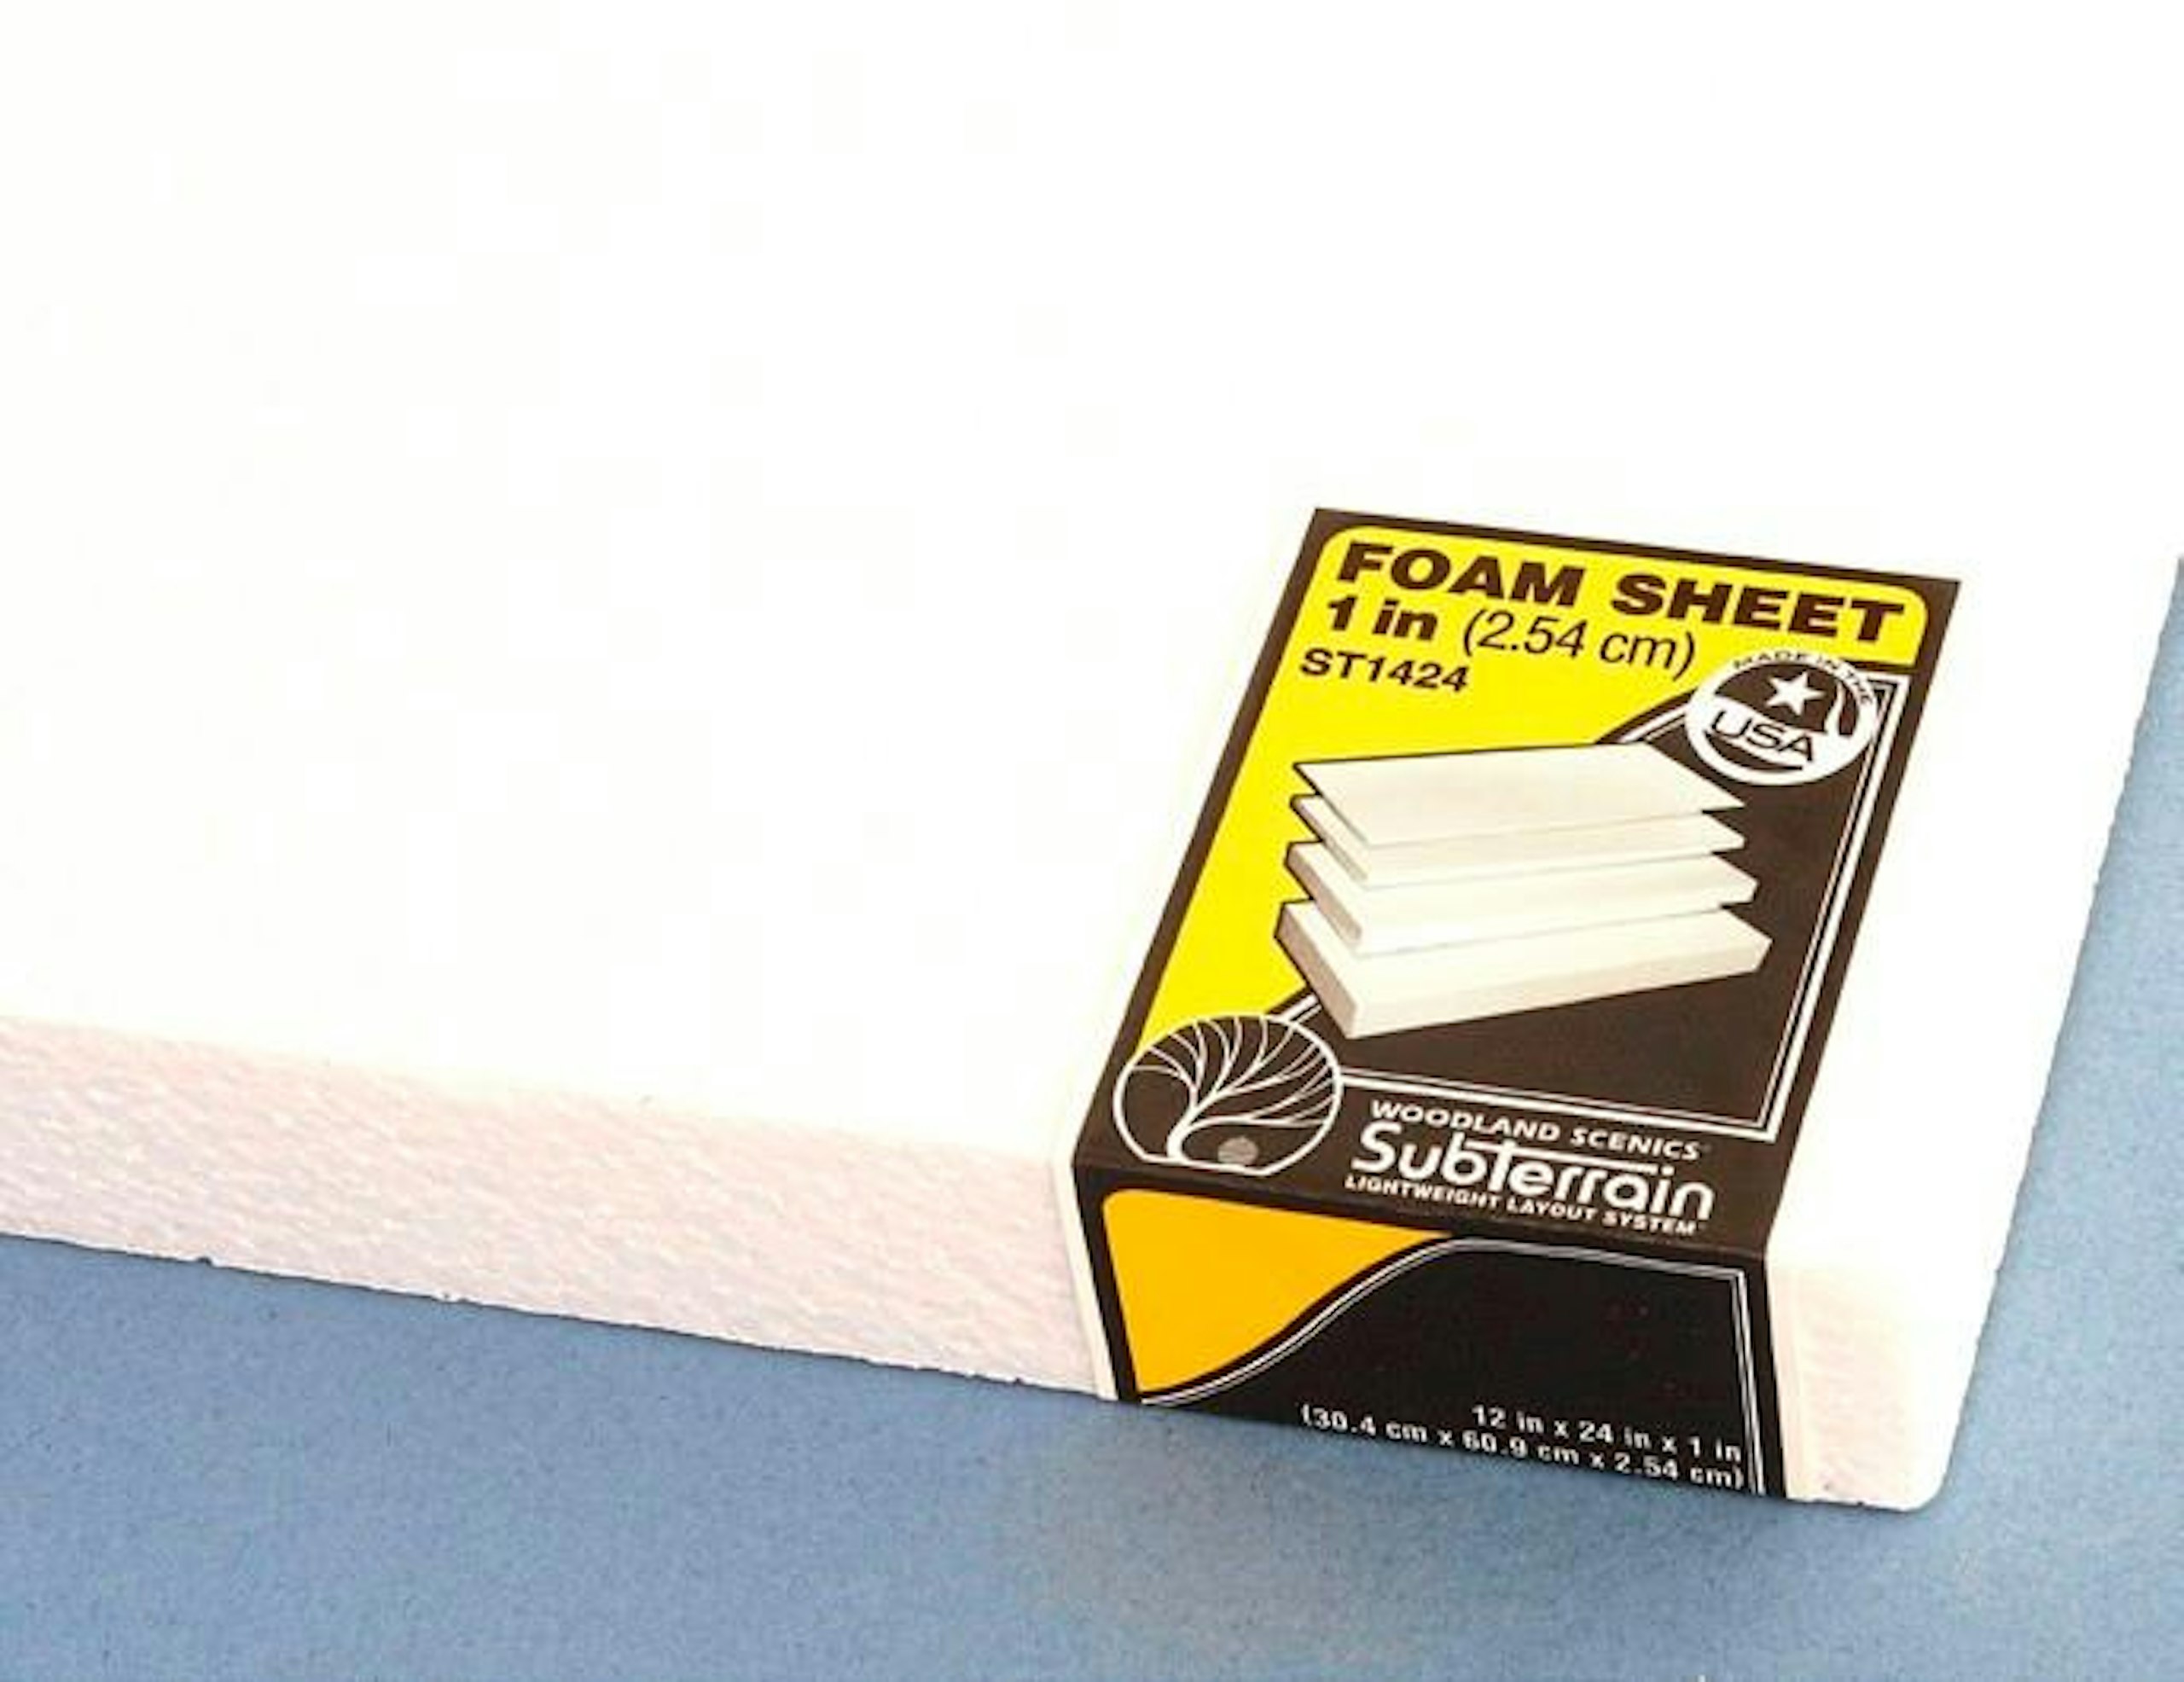
1 Woodland Scenics foam sheets are a fast way to create lightweight dioramas. They’re produced in thicknesses from 0.25in up to 4in, with each sheet a standard size of 2ft by 1ft.

2 Flexible risers are also available, in 2ft sections, ranging from 0.5in to 4in tall, with ascending and descending sections to match. They allow tracks or roads to be set above the baseboard.
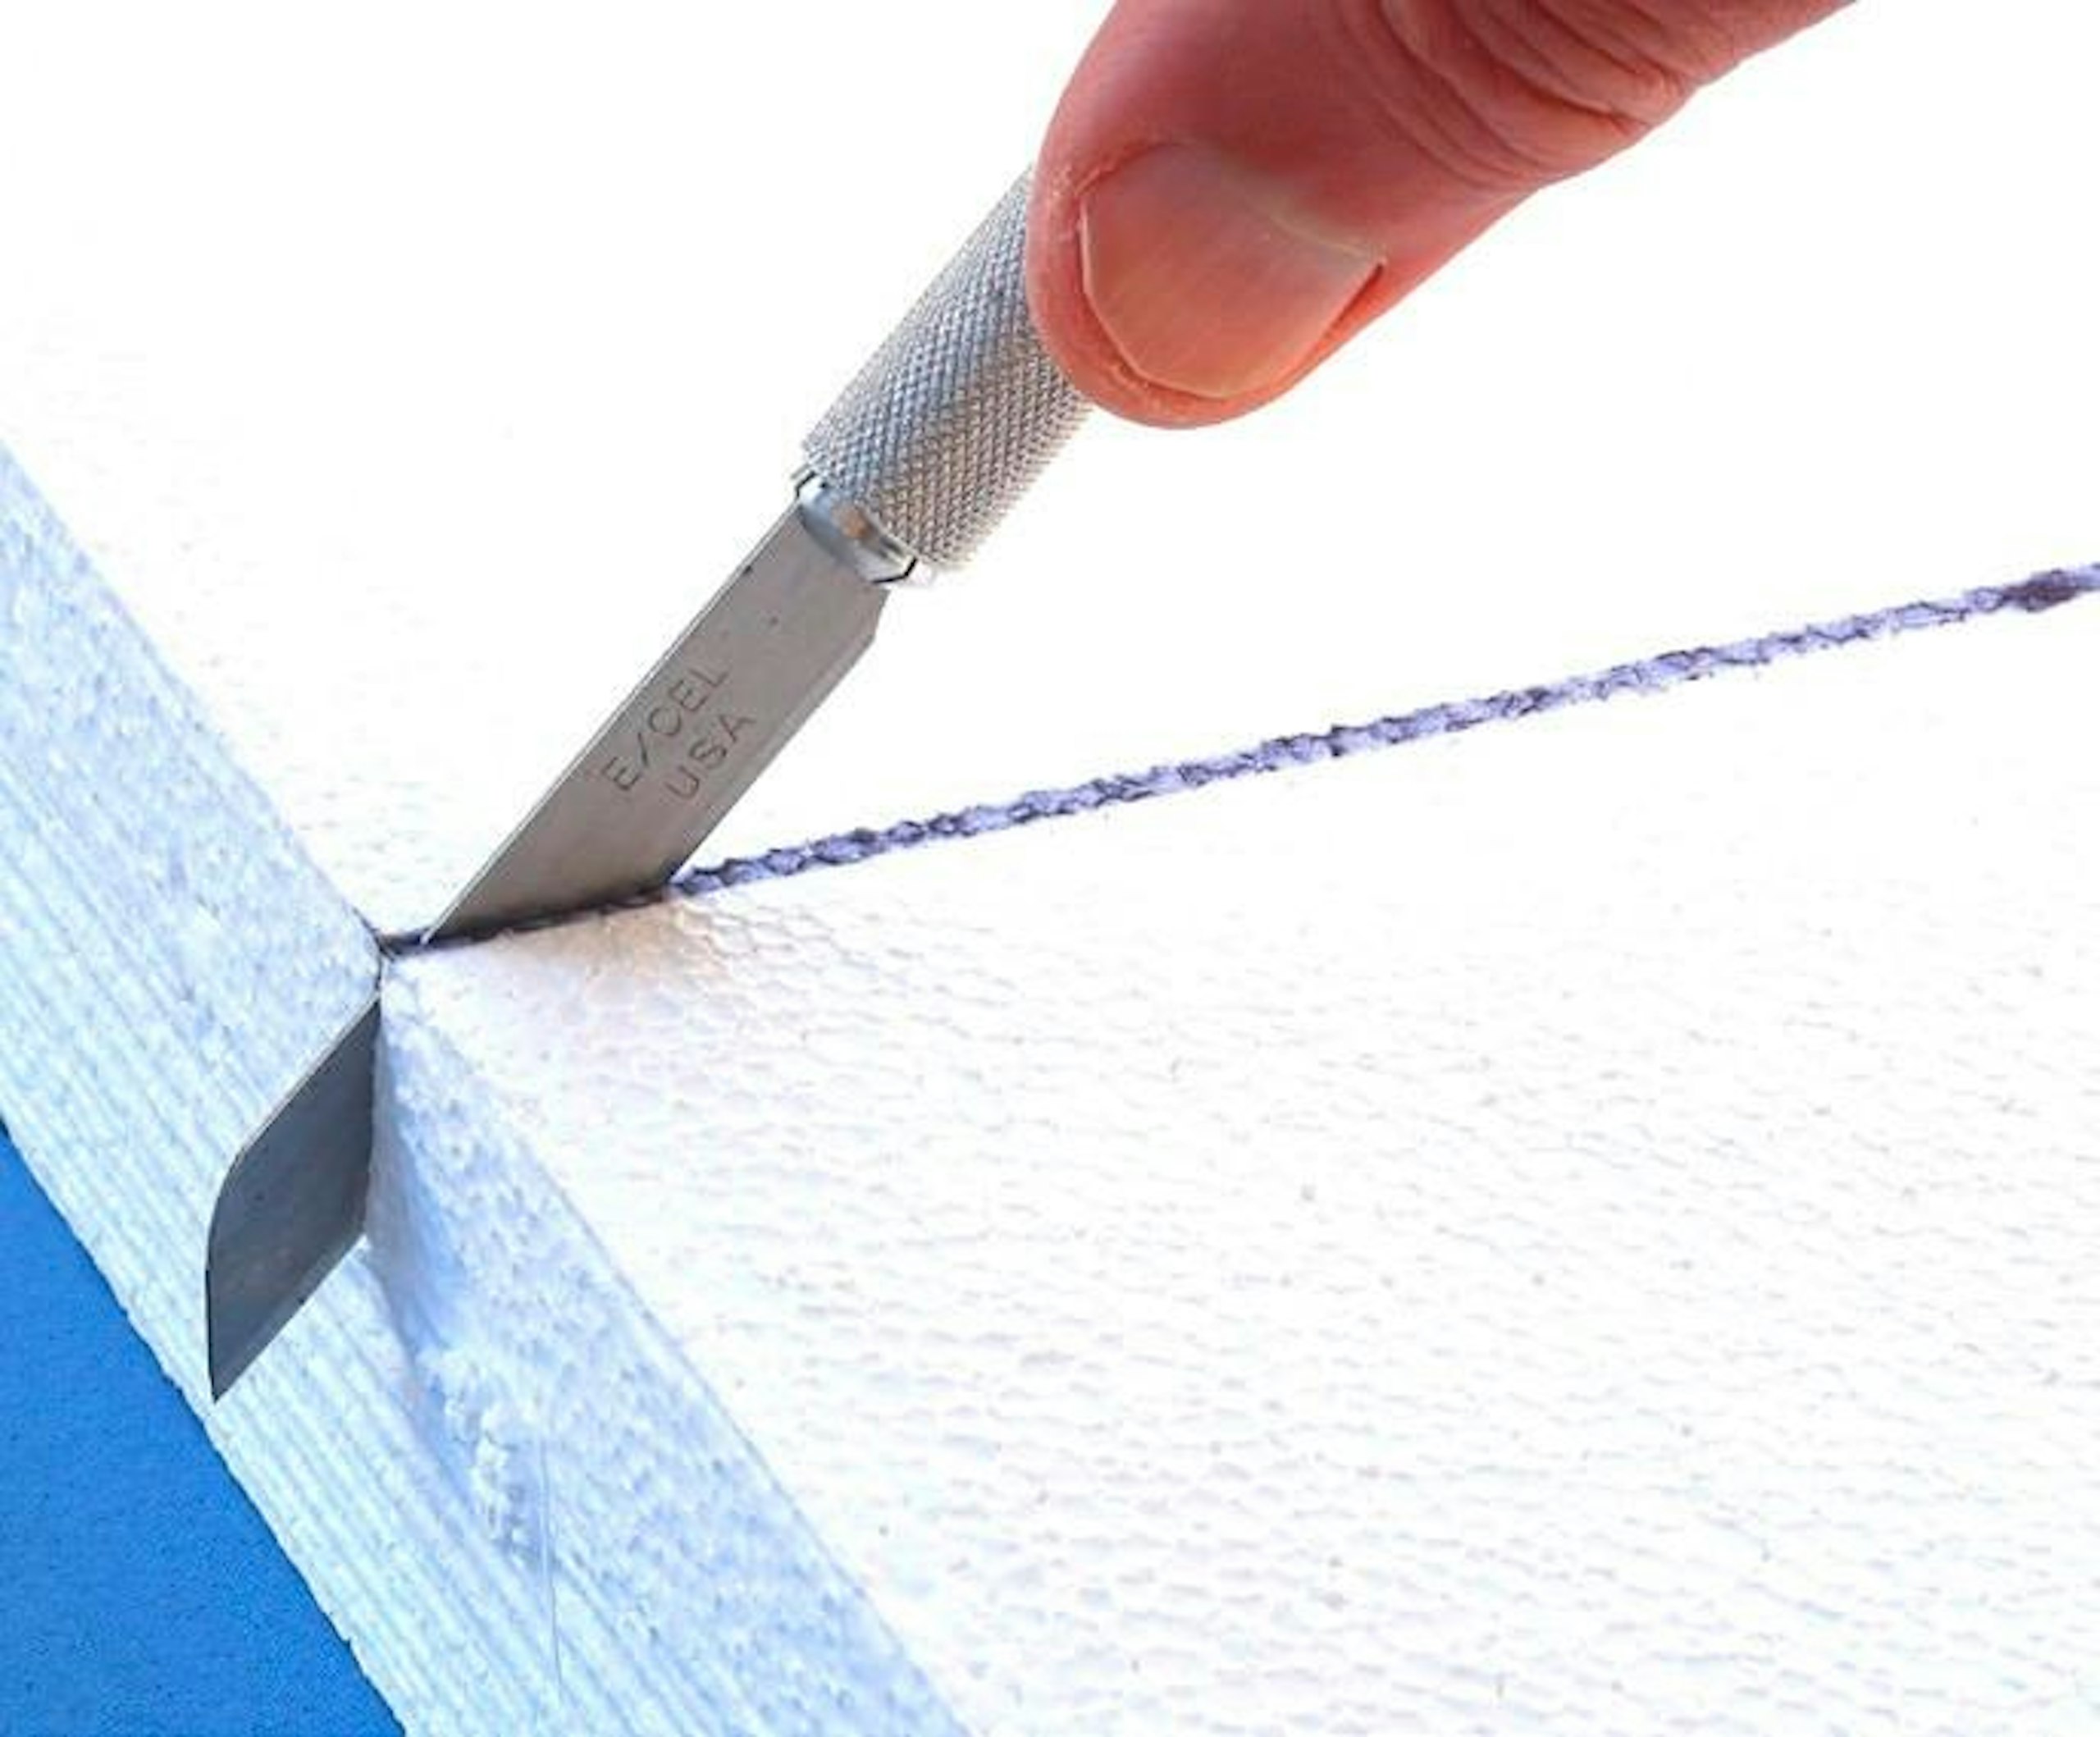
3 A foam knife, with a 2in blade, makes it easier to cut through thicker foam sheets and risers. A fresh blade will give a clean cut, reducing mess.
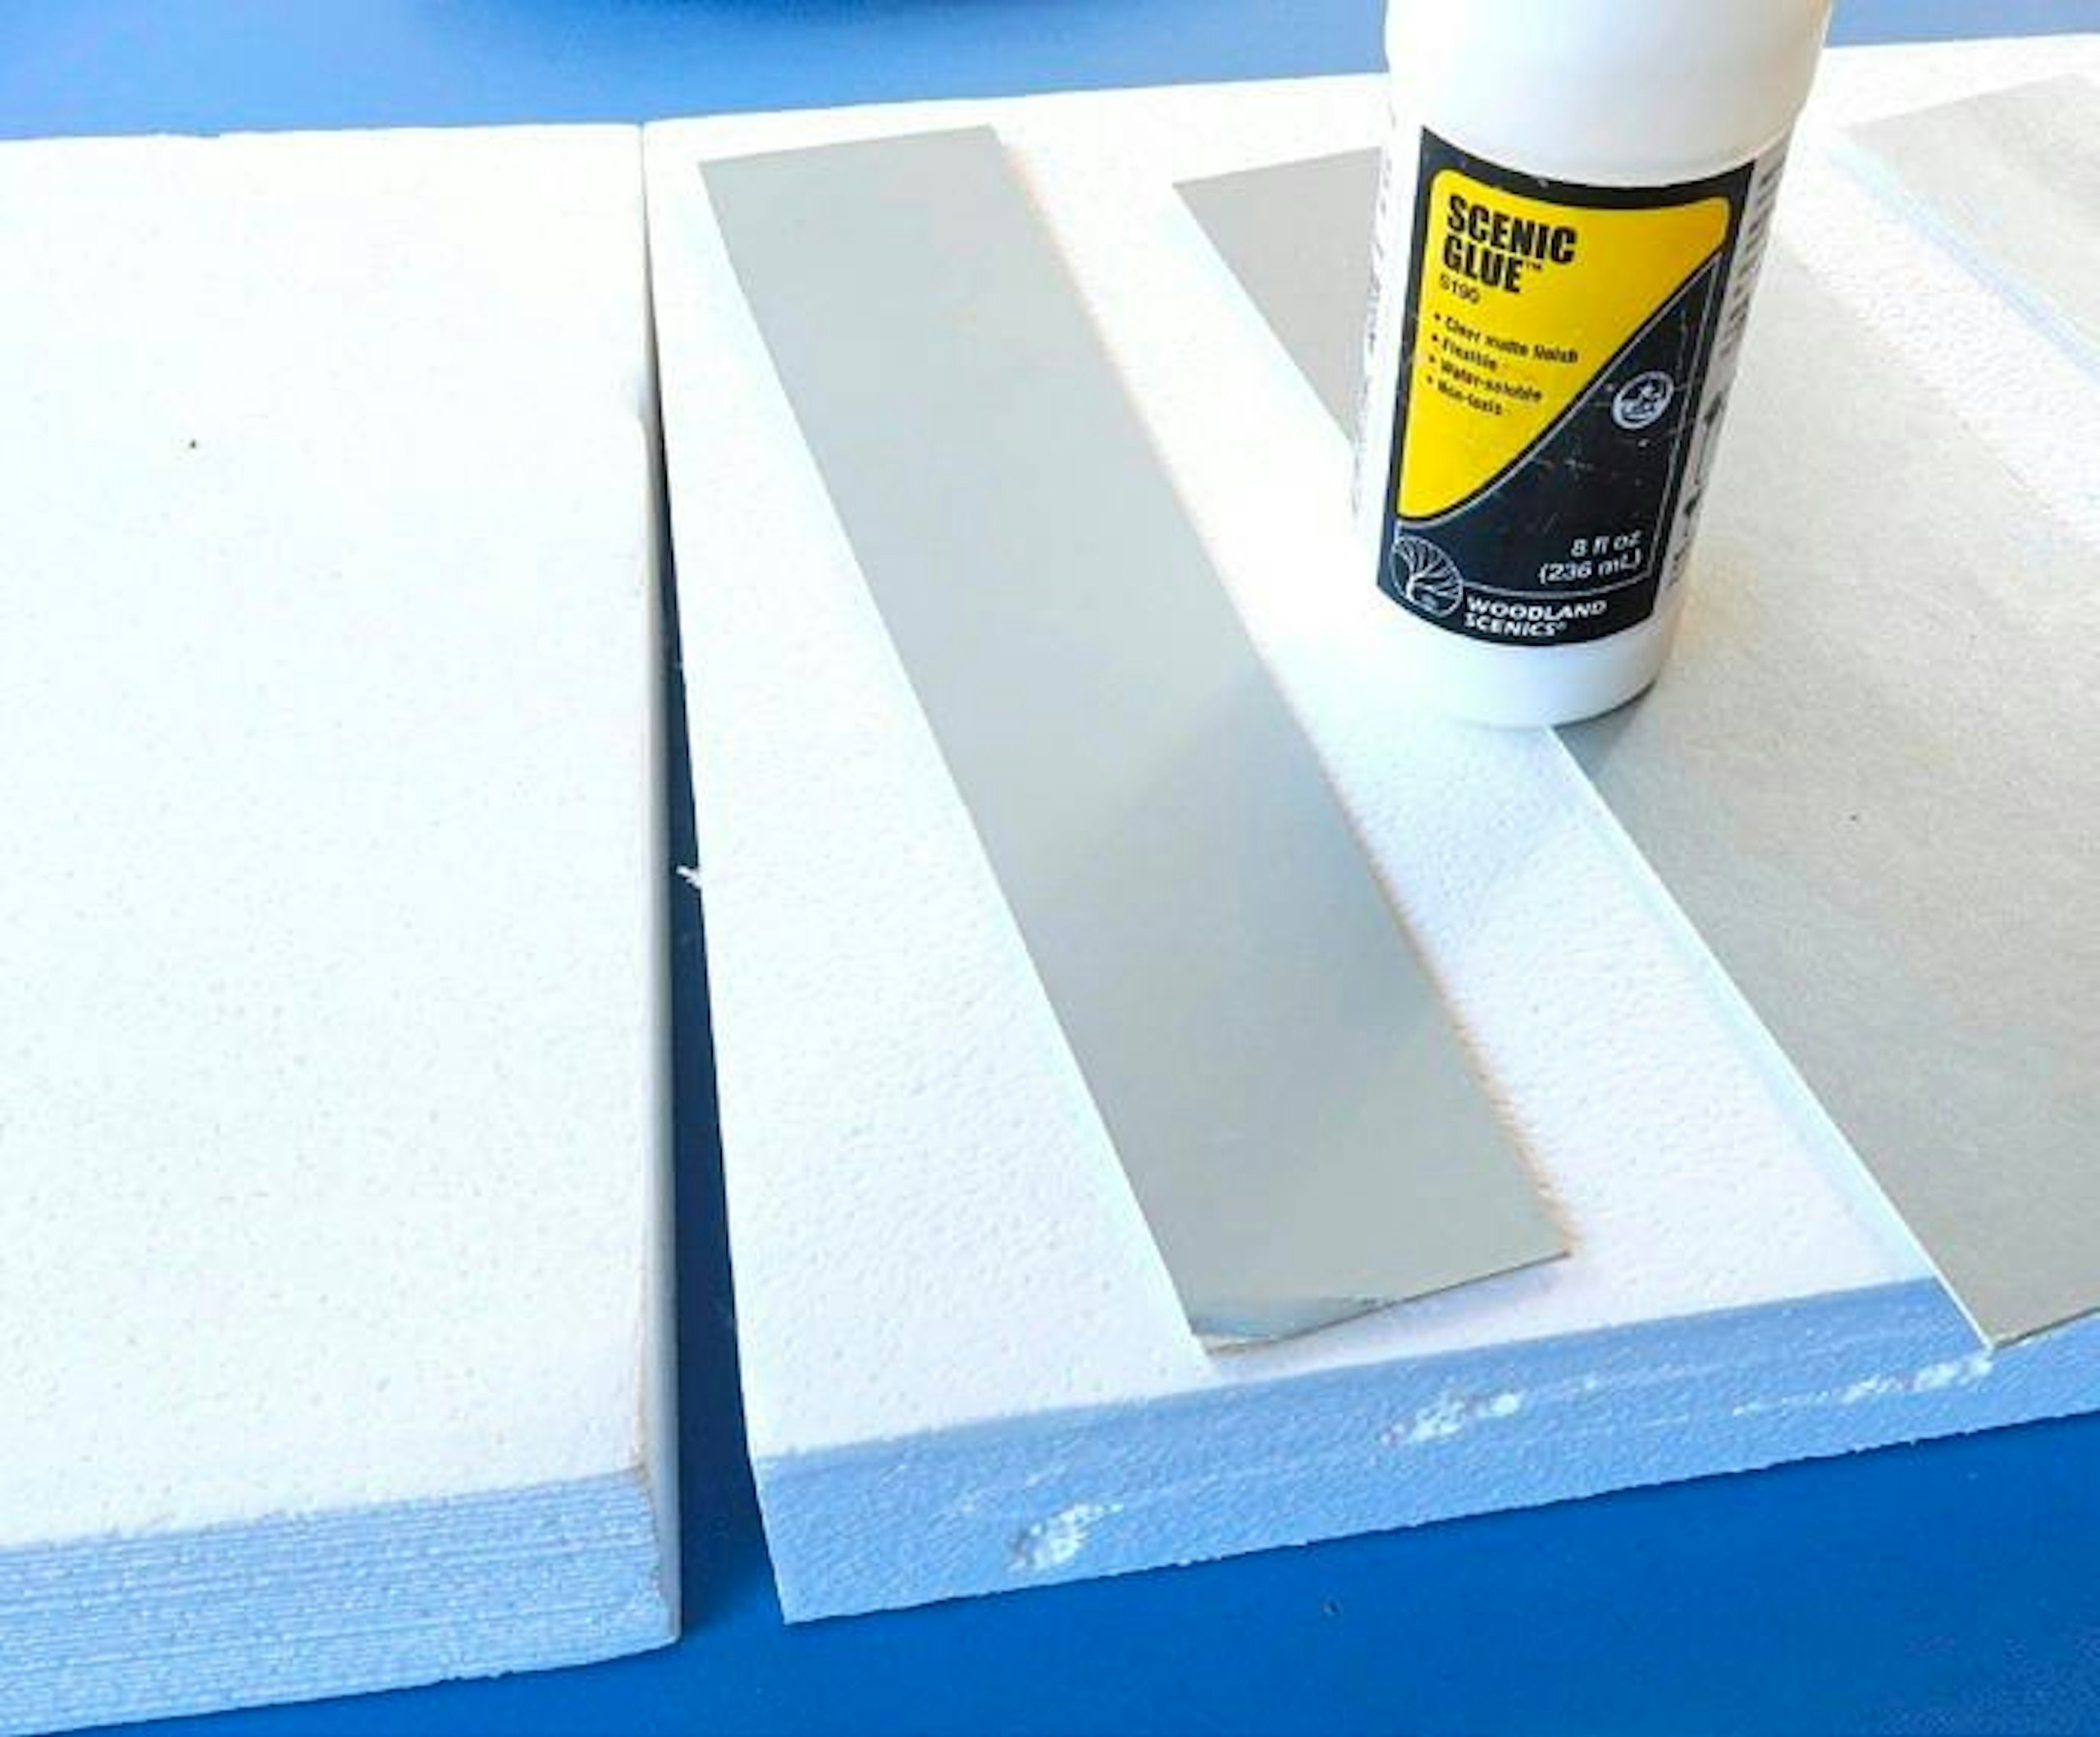
4 My diorama needed to be 3ft by 1ft, so I used two foam sheets, the second trimmed to 1ft long. The two were joined end-to-end, with reinforcing panels cut from mounting card.
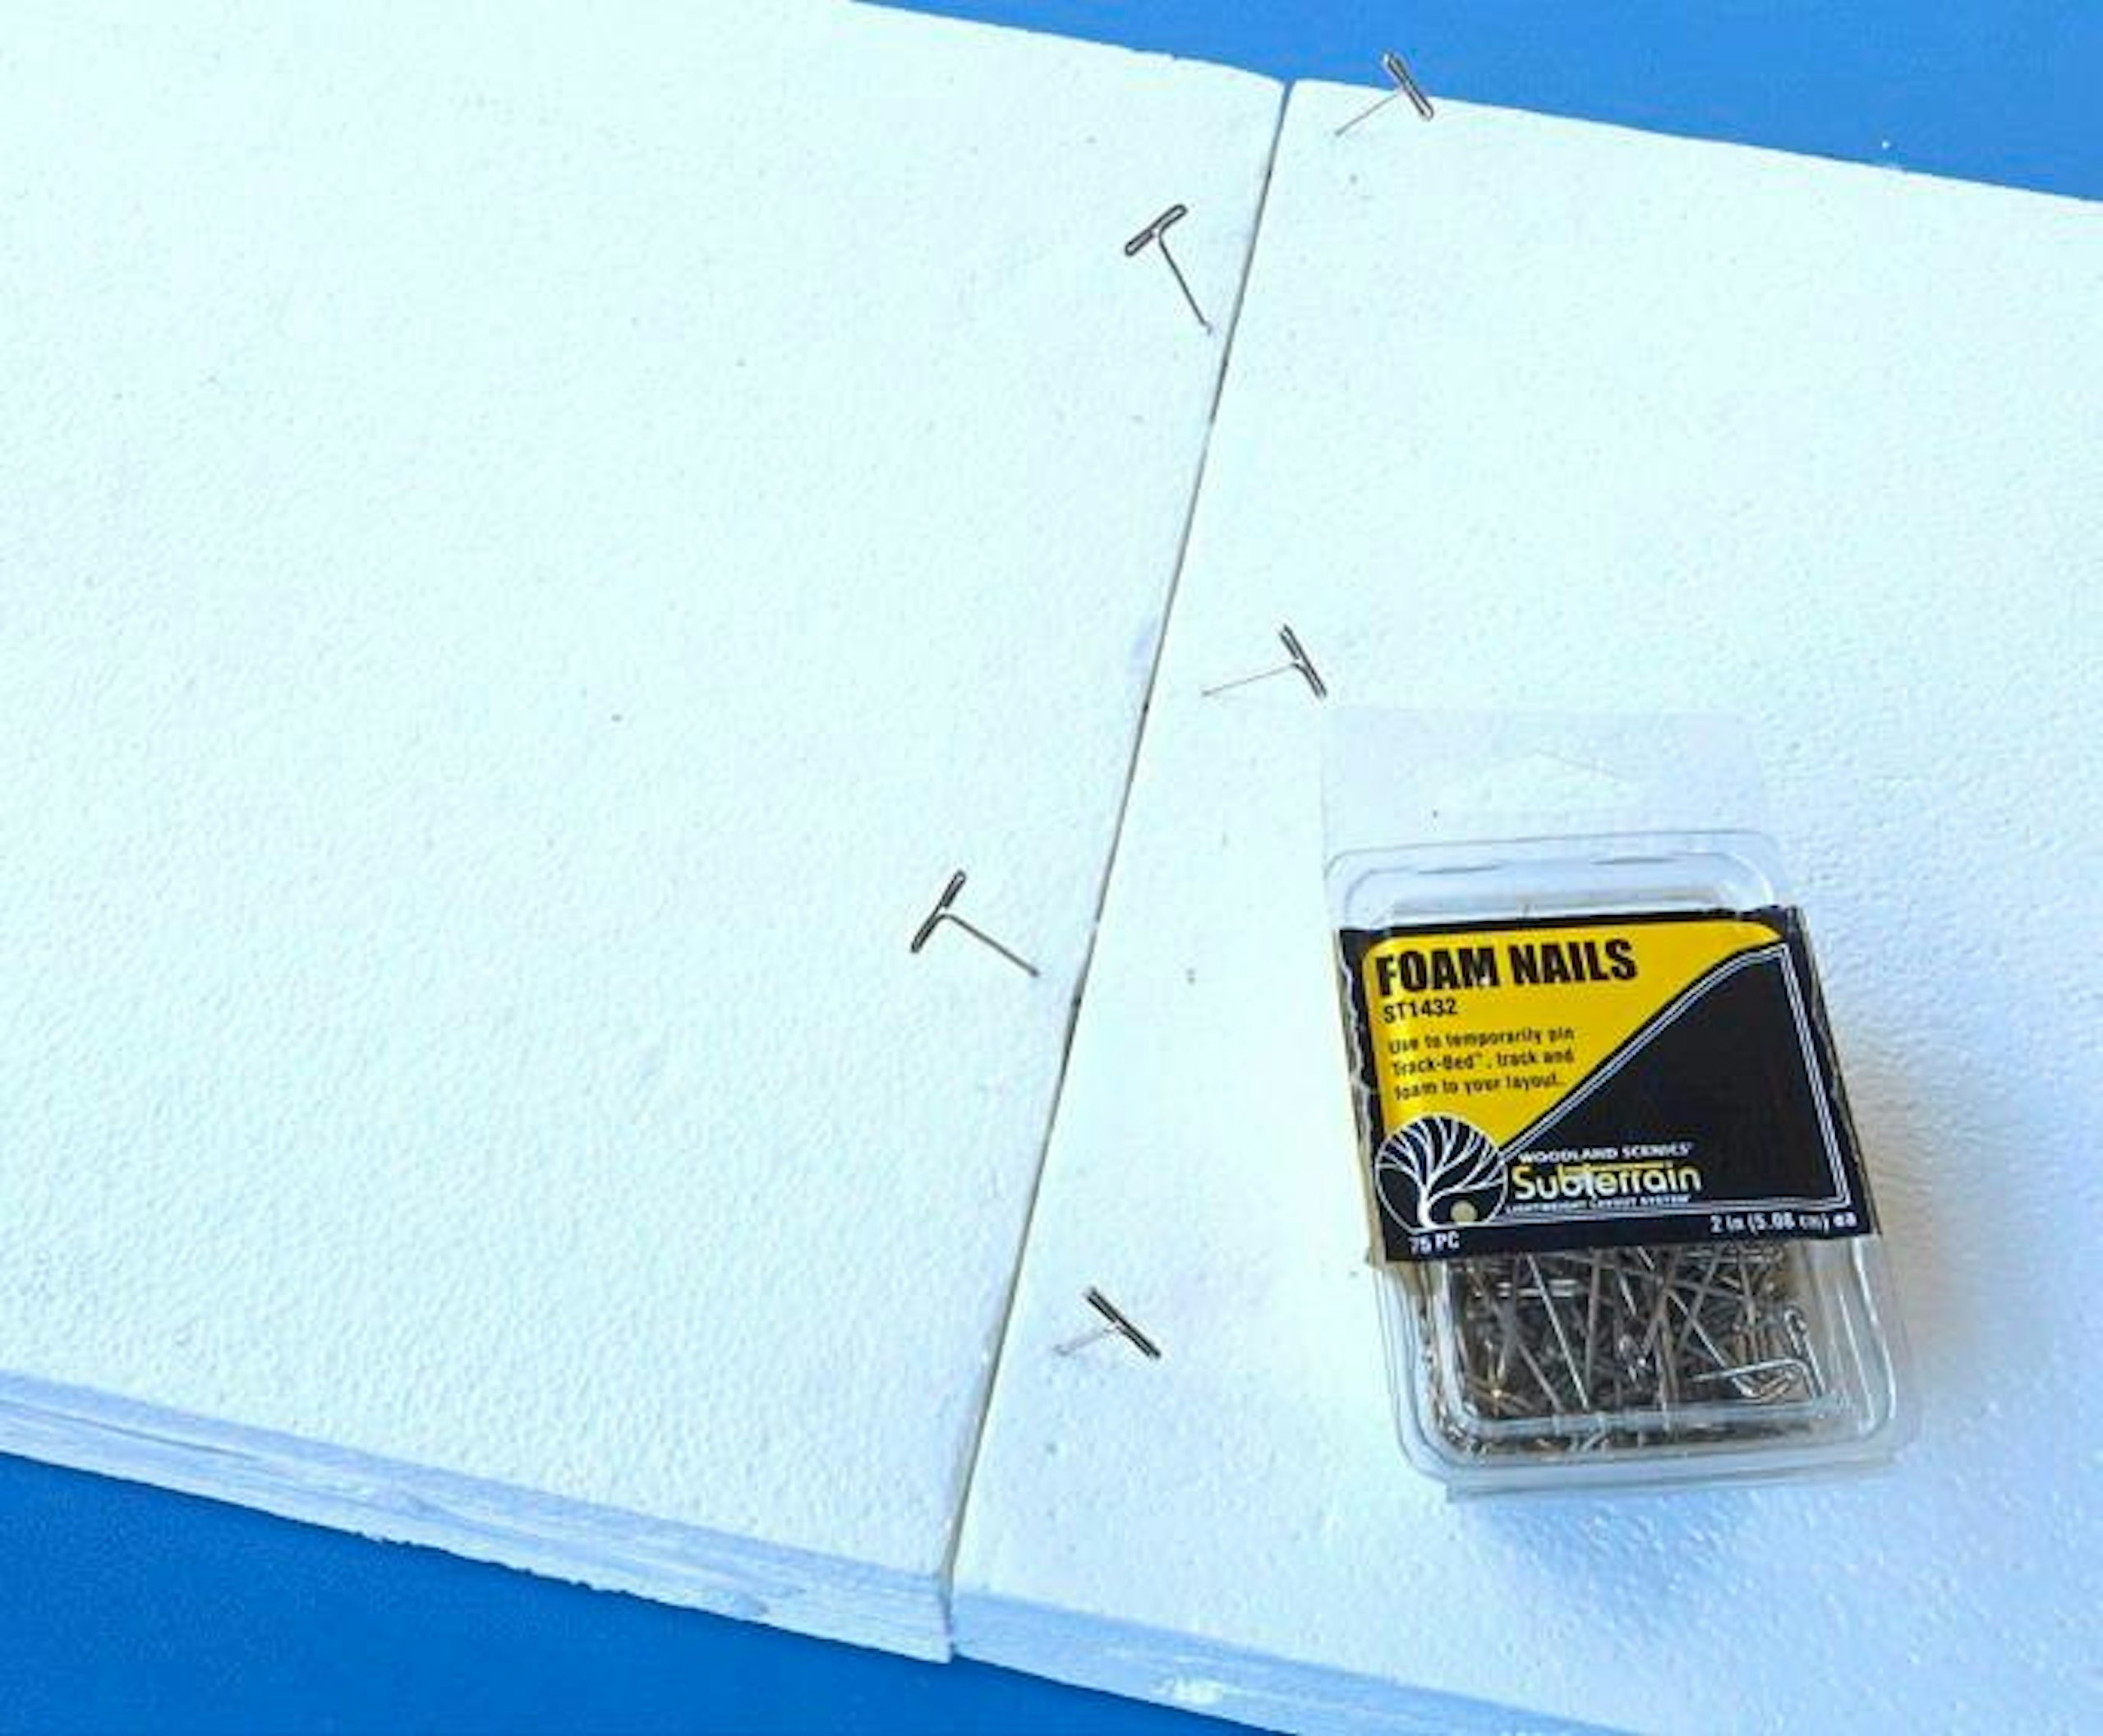
5 The mounting card strip was glued underneath the join, plus strips at each end of the boards, so it would sit level. I used Woodland Scenics Foam Tack glue, with nails clamping the parts.
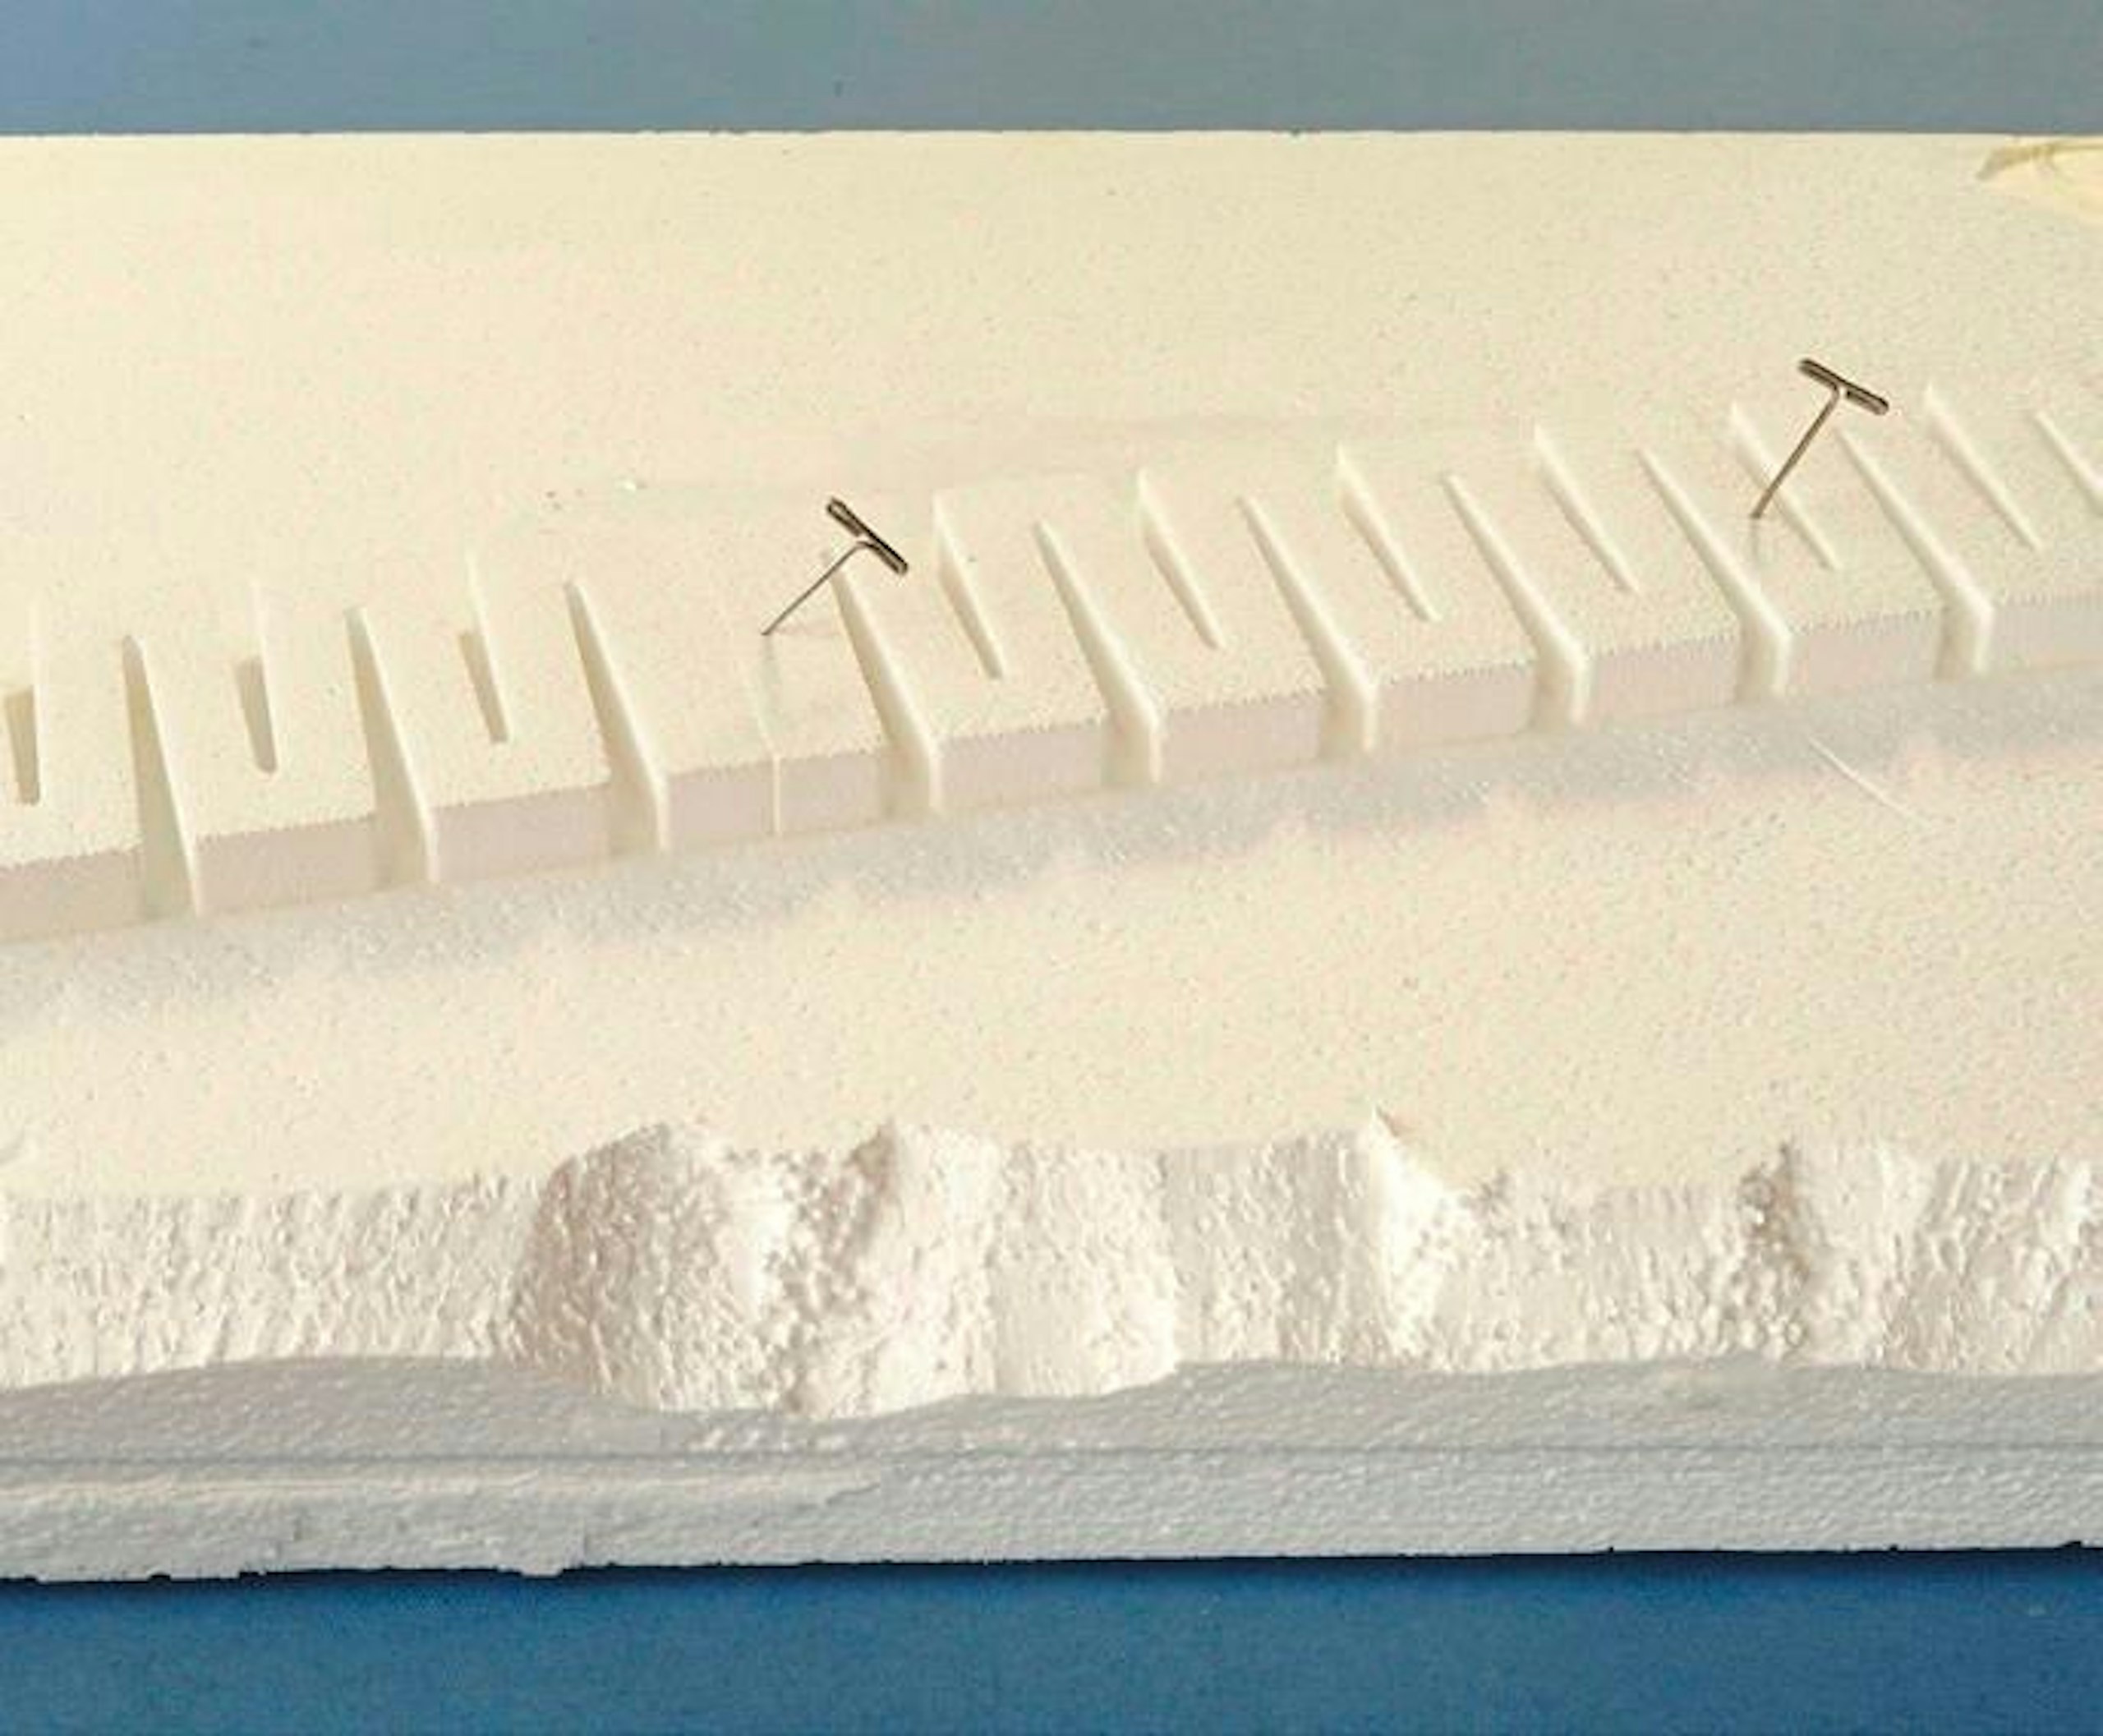
6 For the trackbed, I used 0.5in risers, fixed in place with PVA and clamped with Foam Nails while the adhesive cured. I also began chamfering the front edge to create contours.
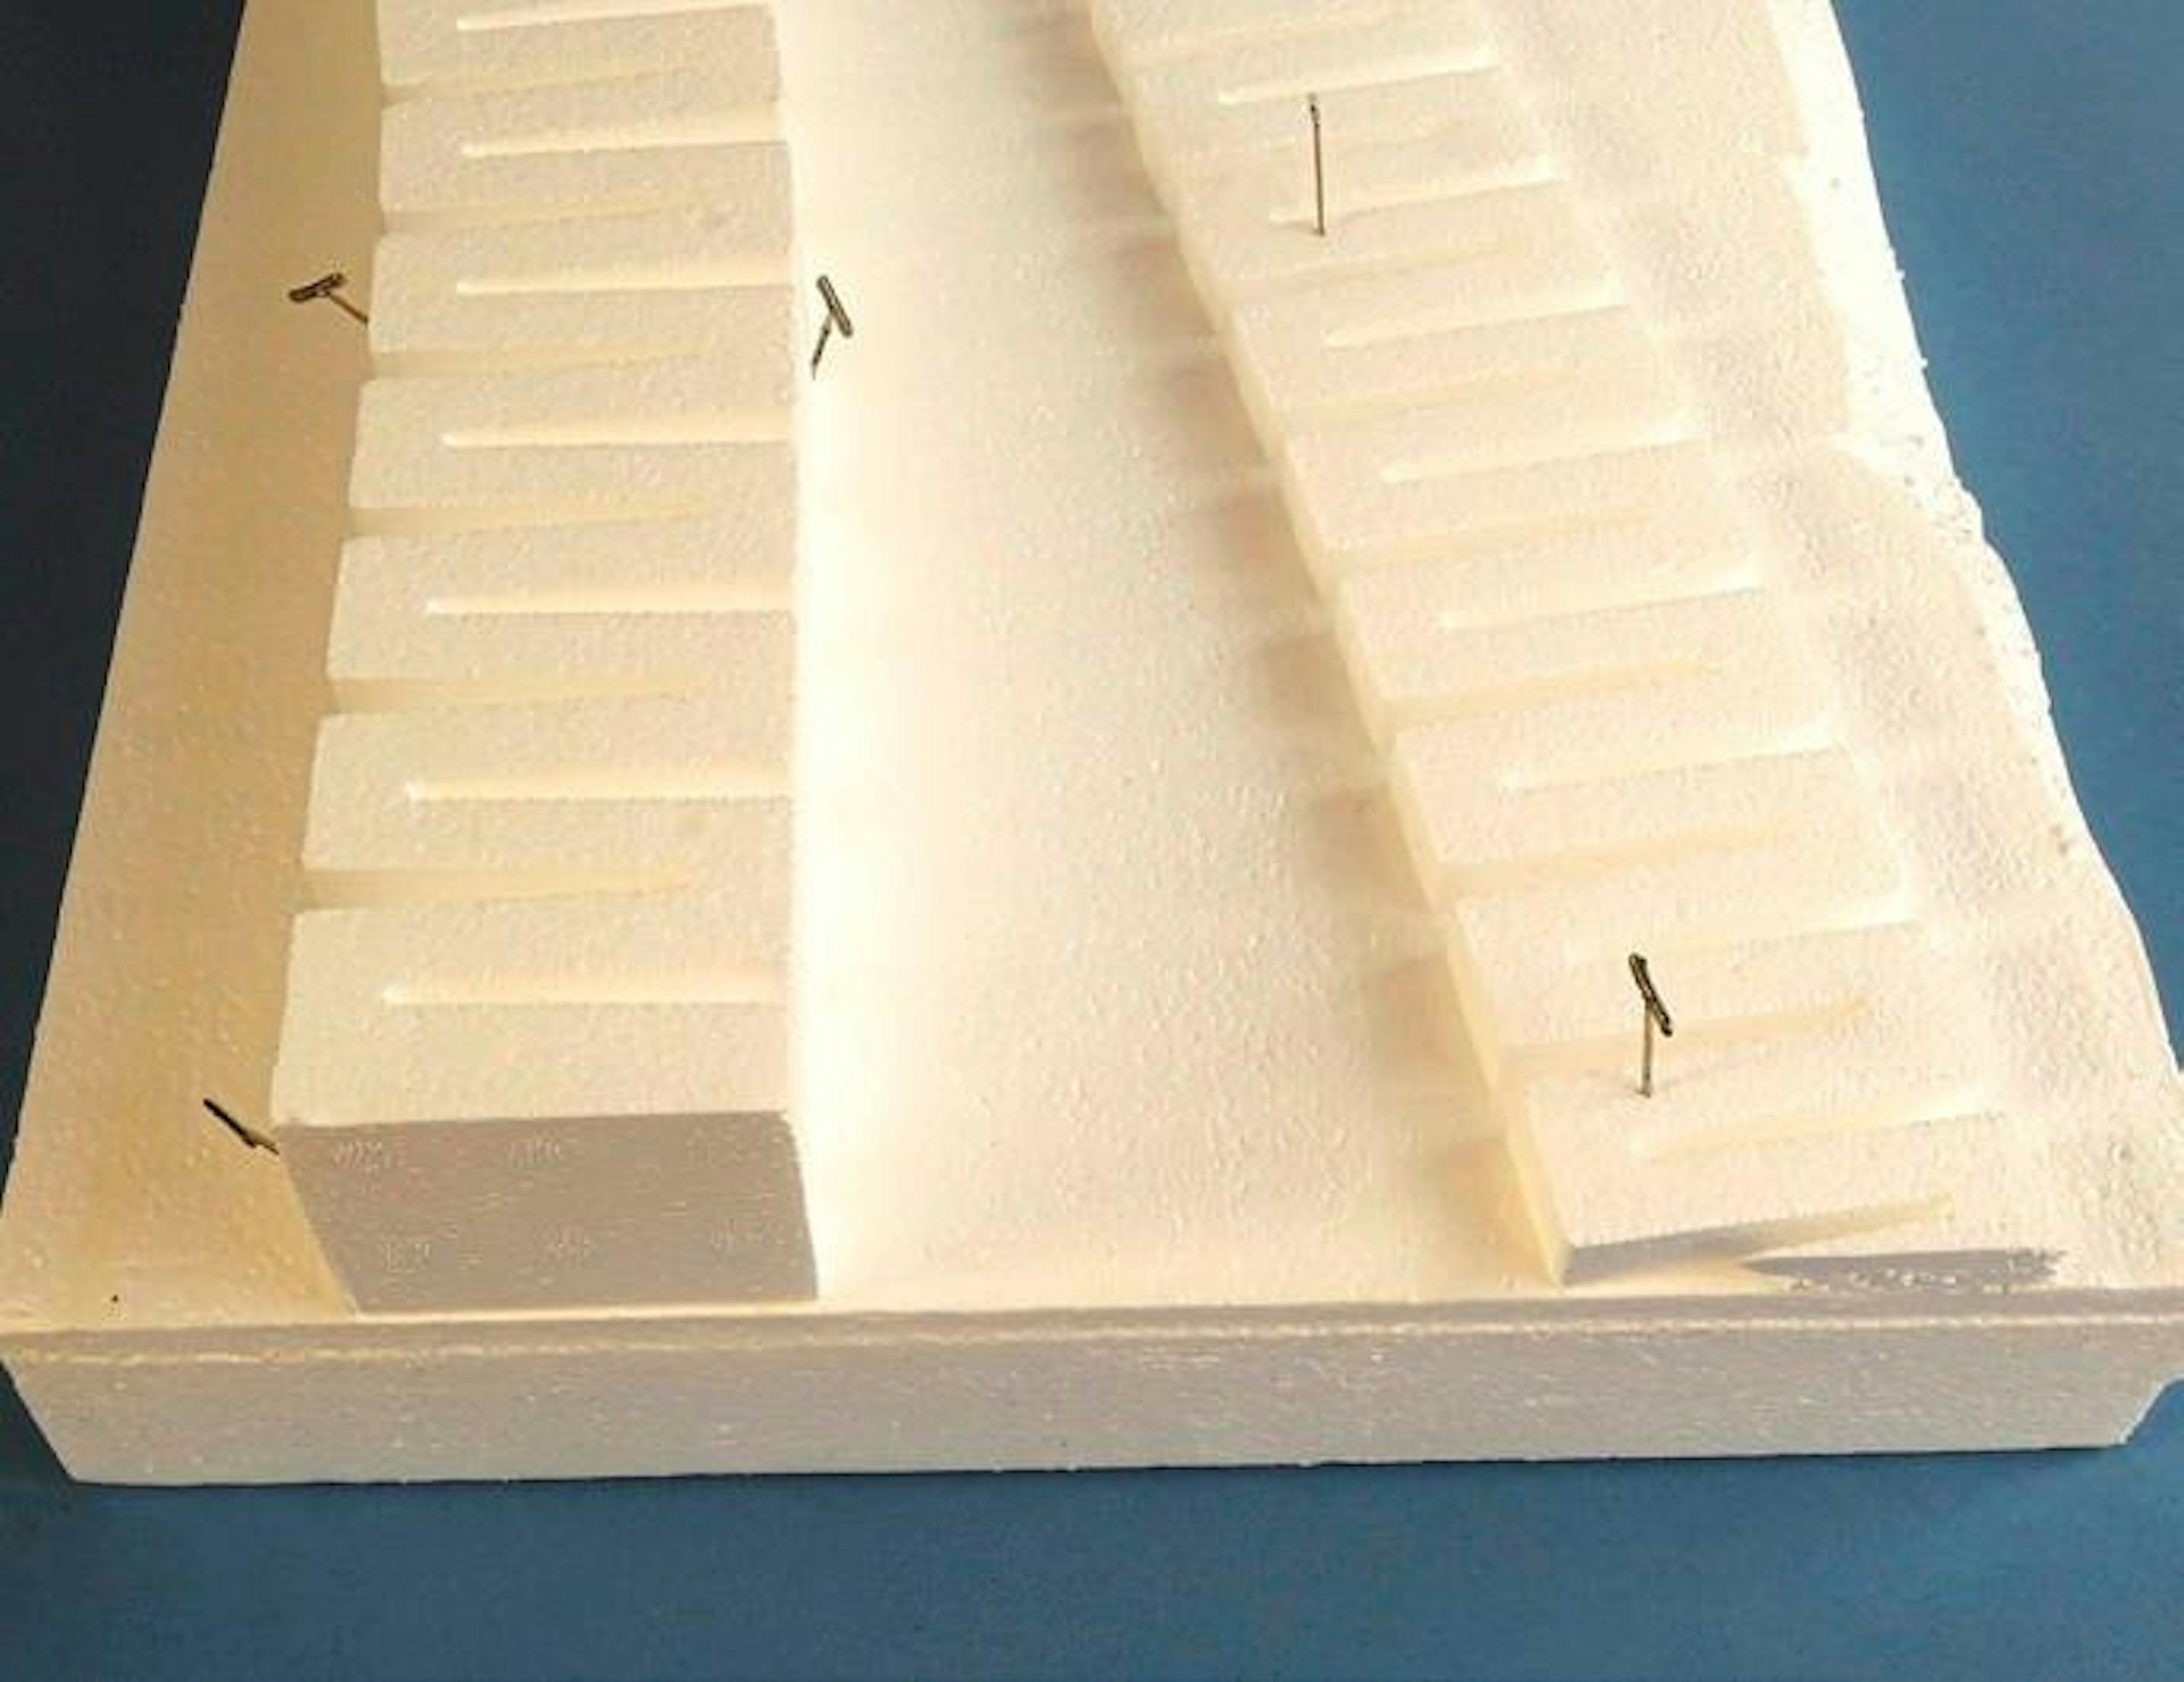
7 A roadway will feature in the background, above the height of the rails, so 2in tall foam risers were fixed in position.
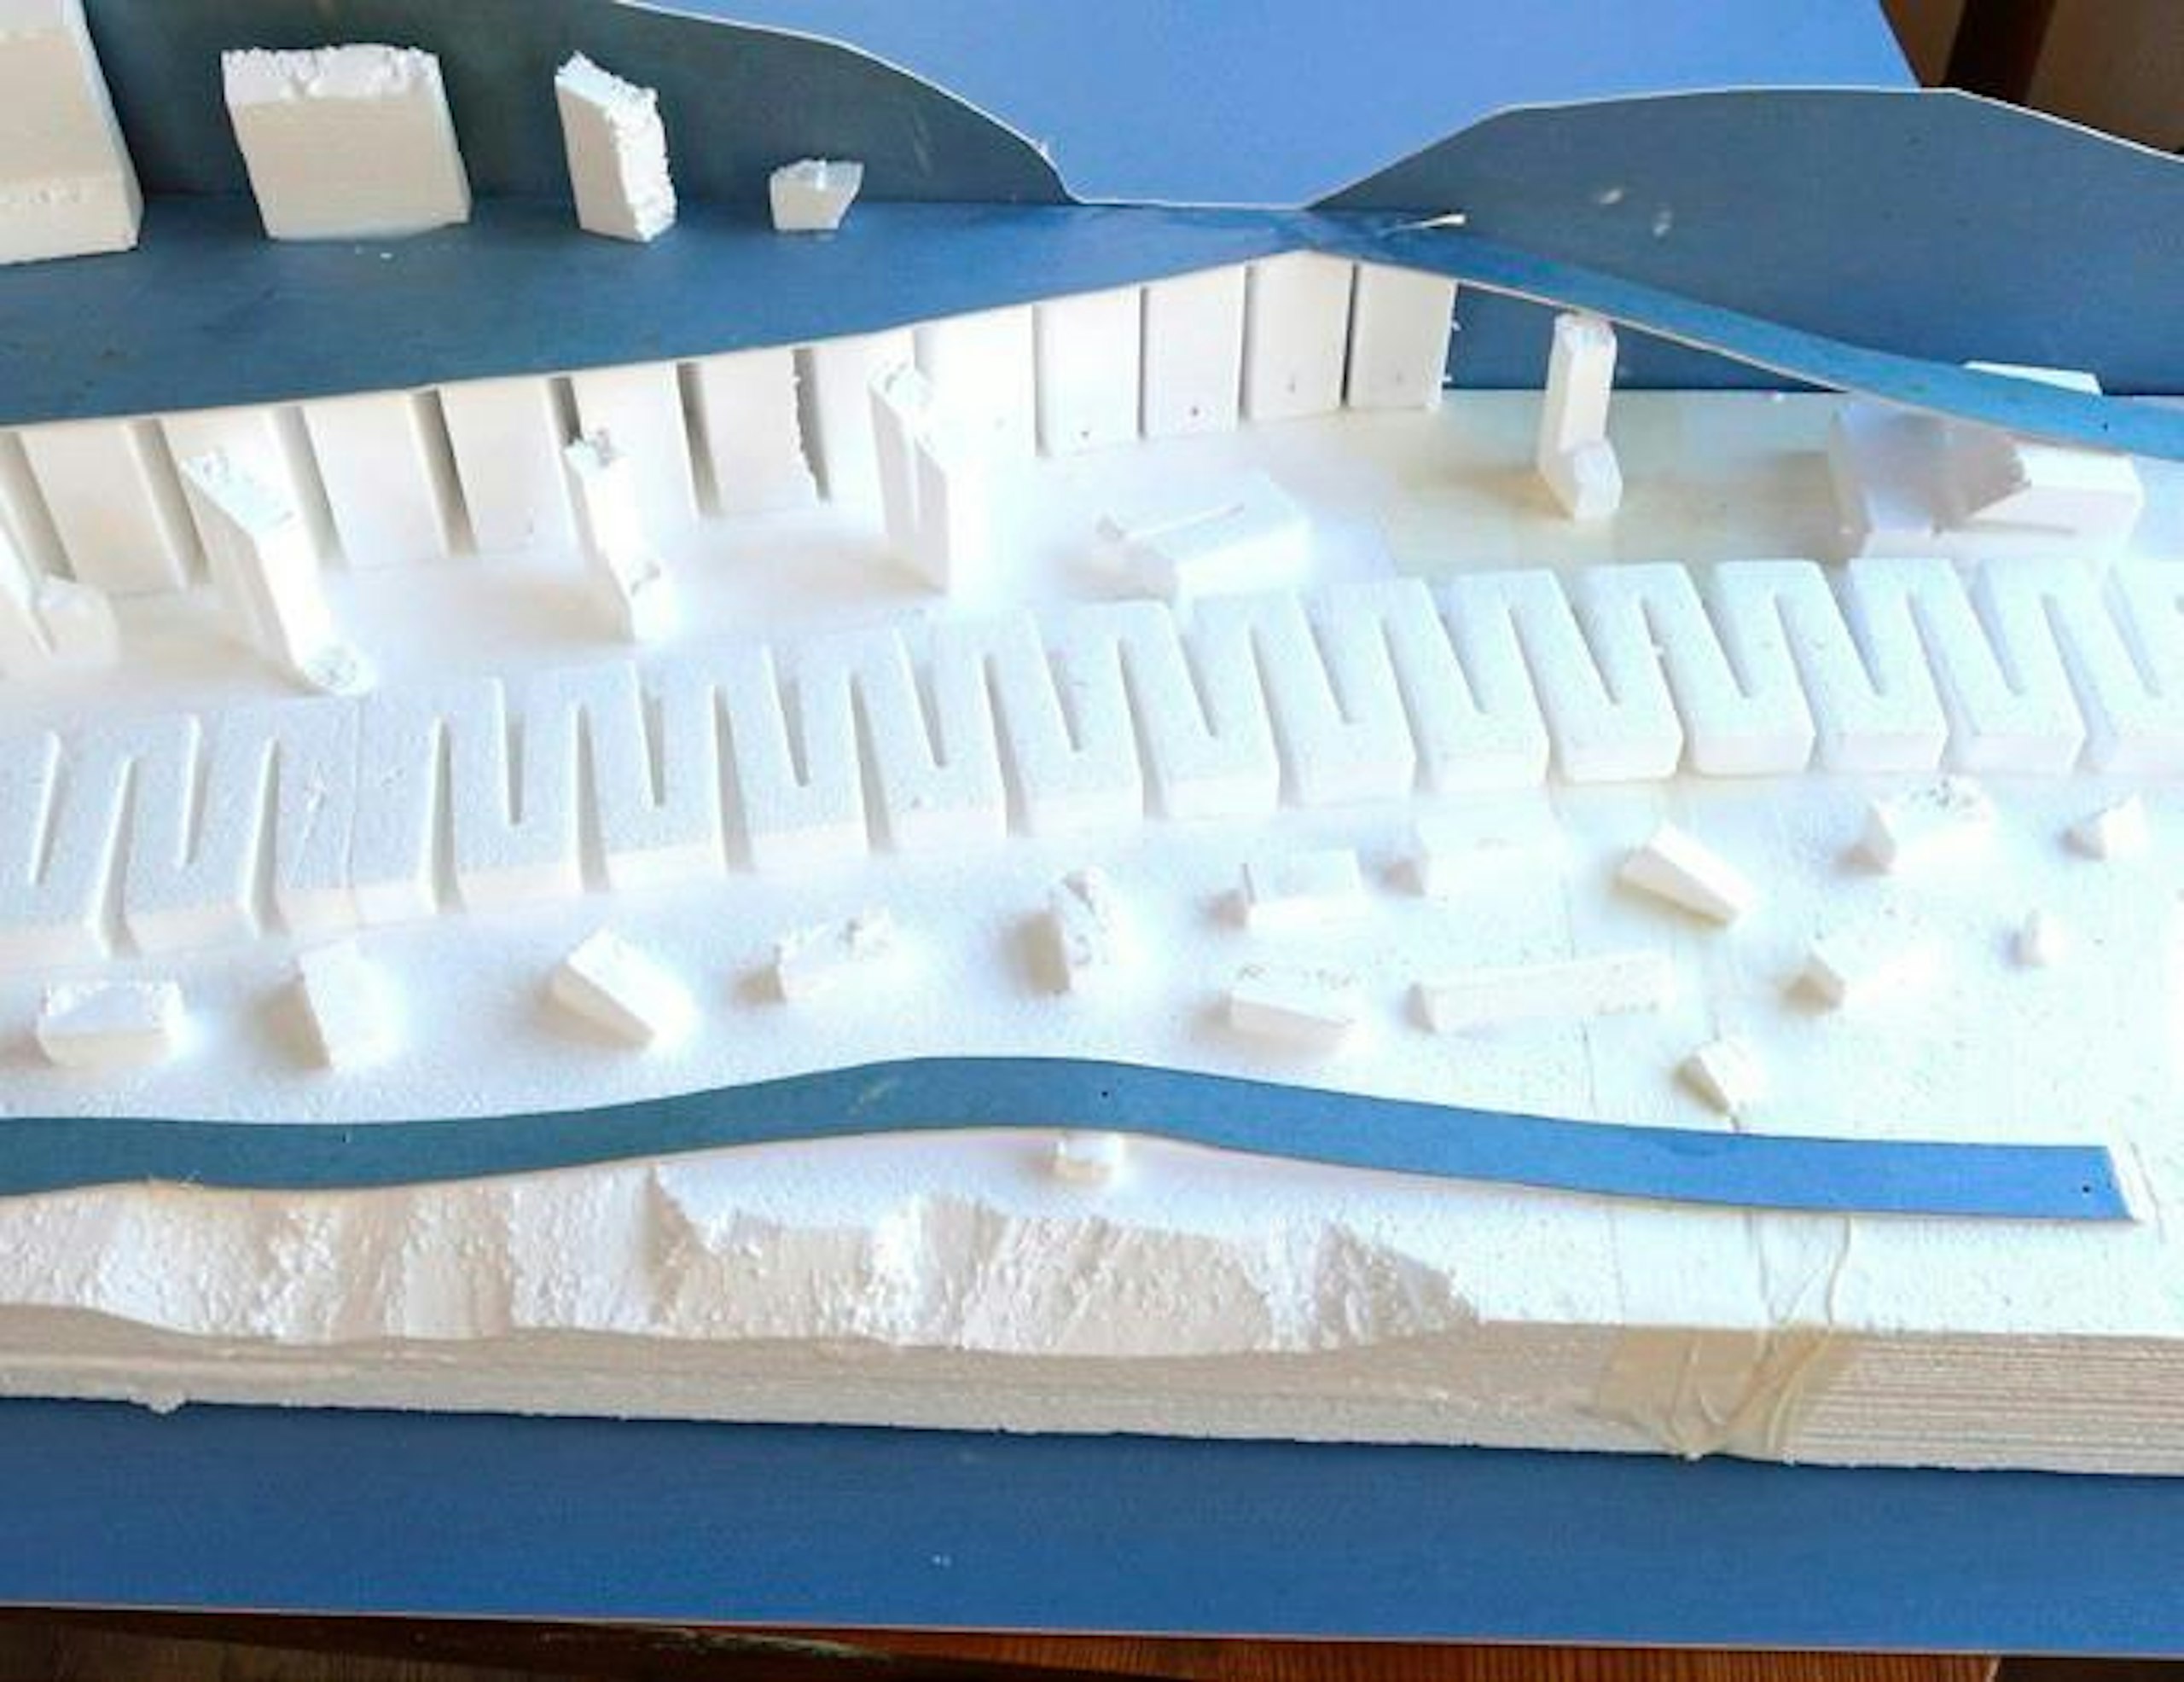
8 The roadway and route of the foreground footpath were set out with mounting card cut to shape. The card was also cut and fitted to the rear to act as a backscene former.
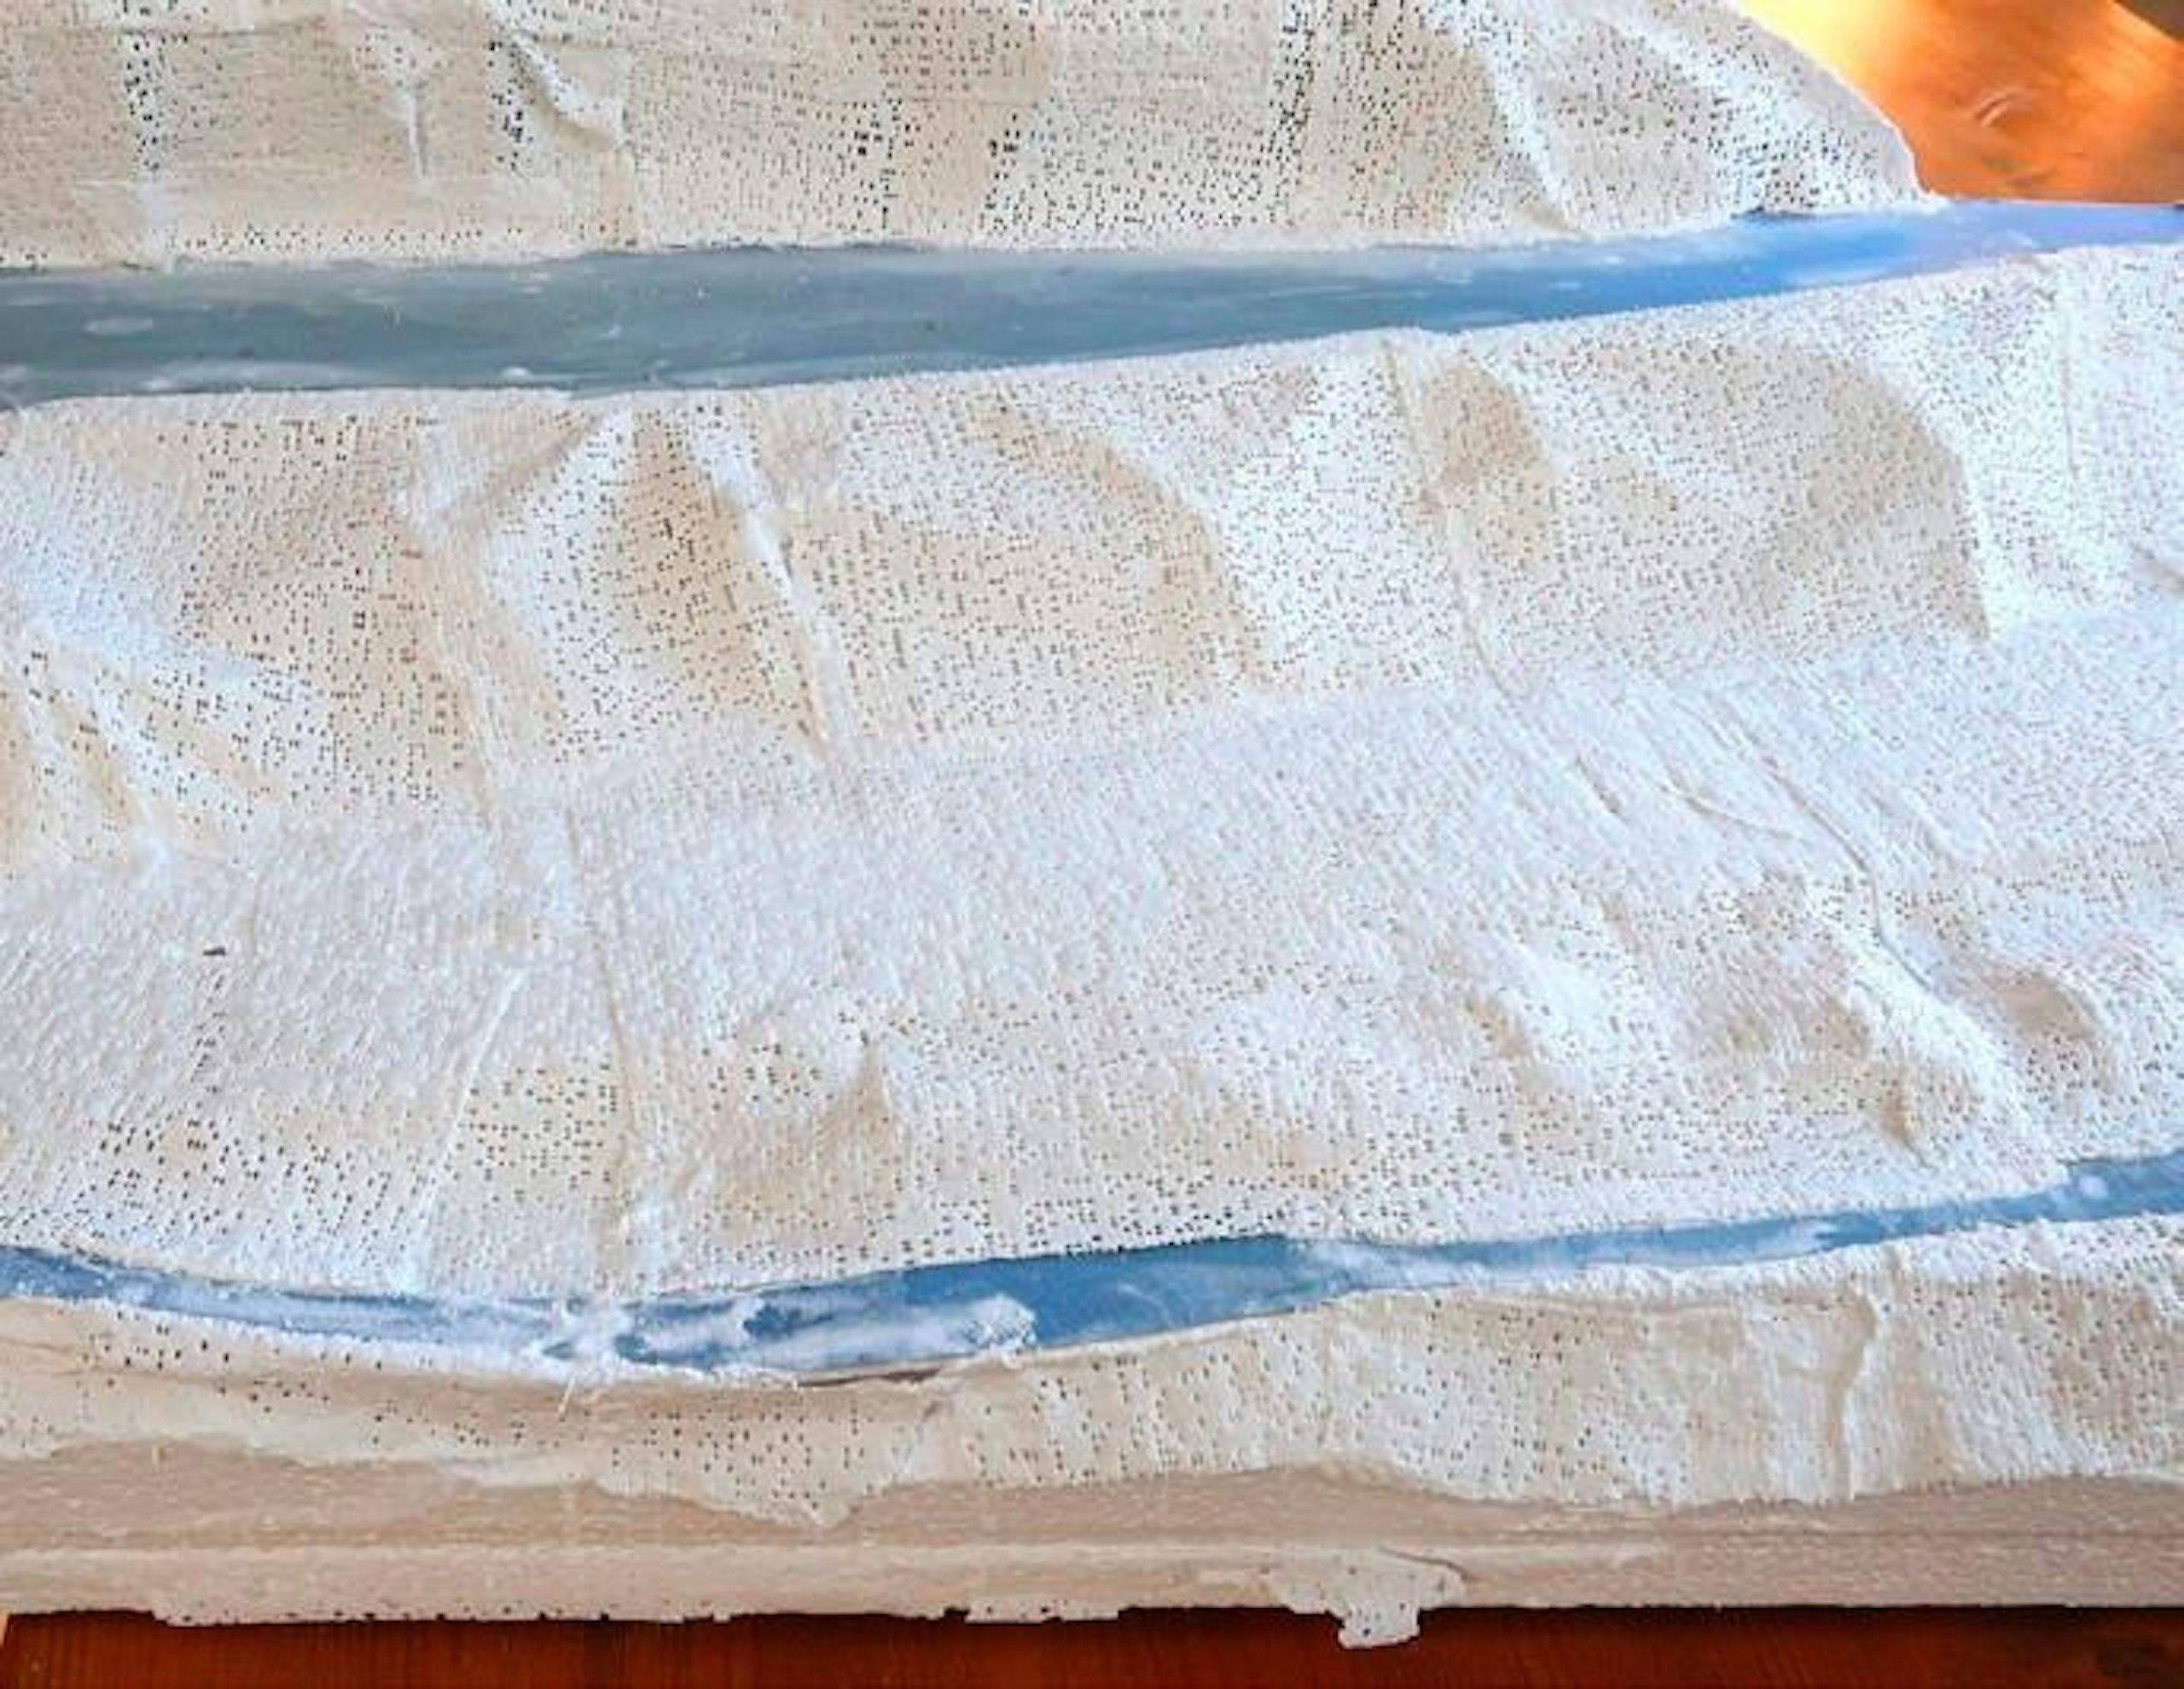
9 Offcuts were bonded in random areas to help with scenic contours, overlain with strips of plaster cloth. It is immersed in water, then spread over the surface and smoothed out.
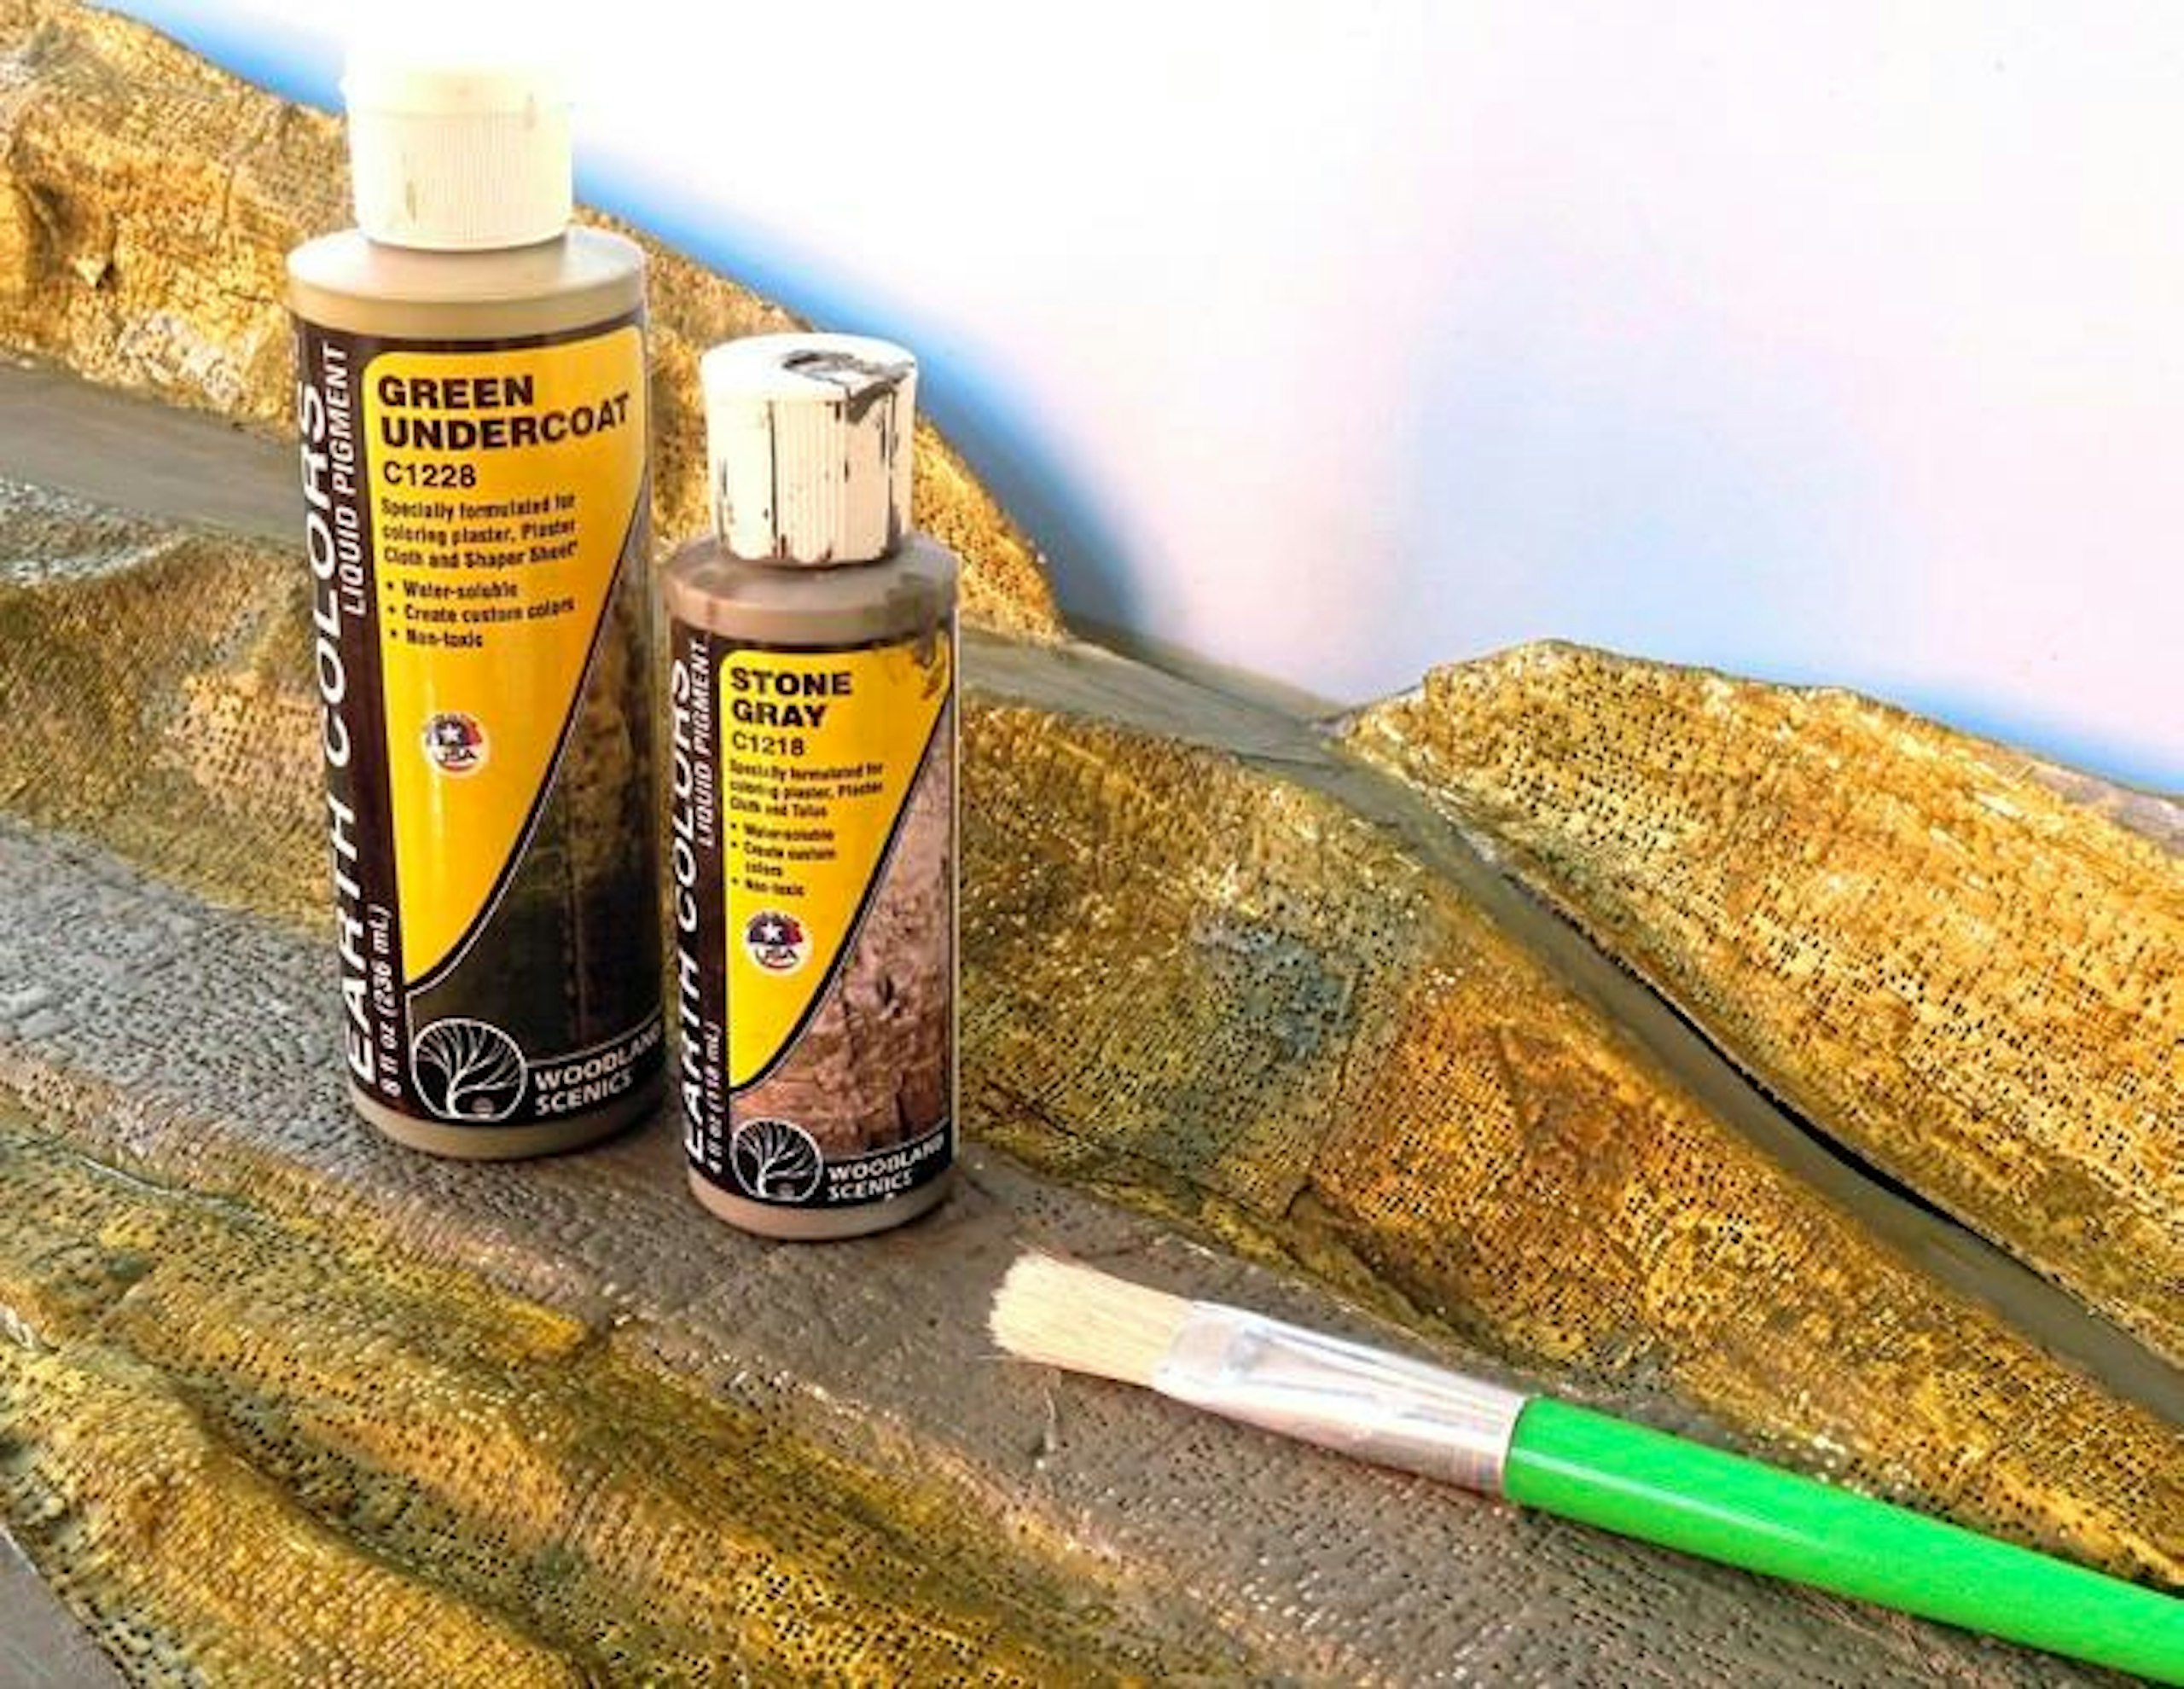
10 The plaster cloth can be shaped and draped to form the desired contours, including over the trackbed, then allowed to dry out before painting the surface with acrylic colours.
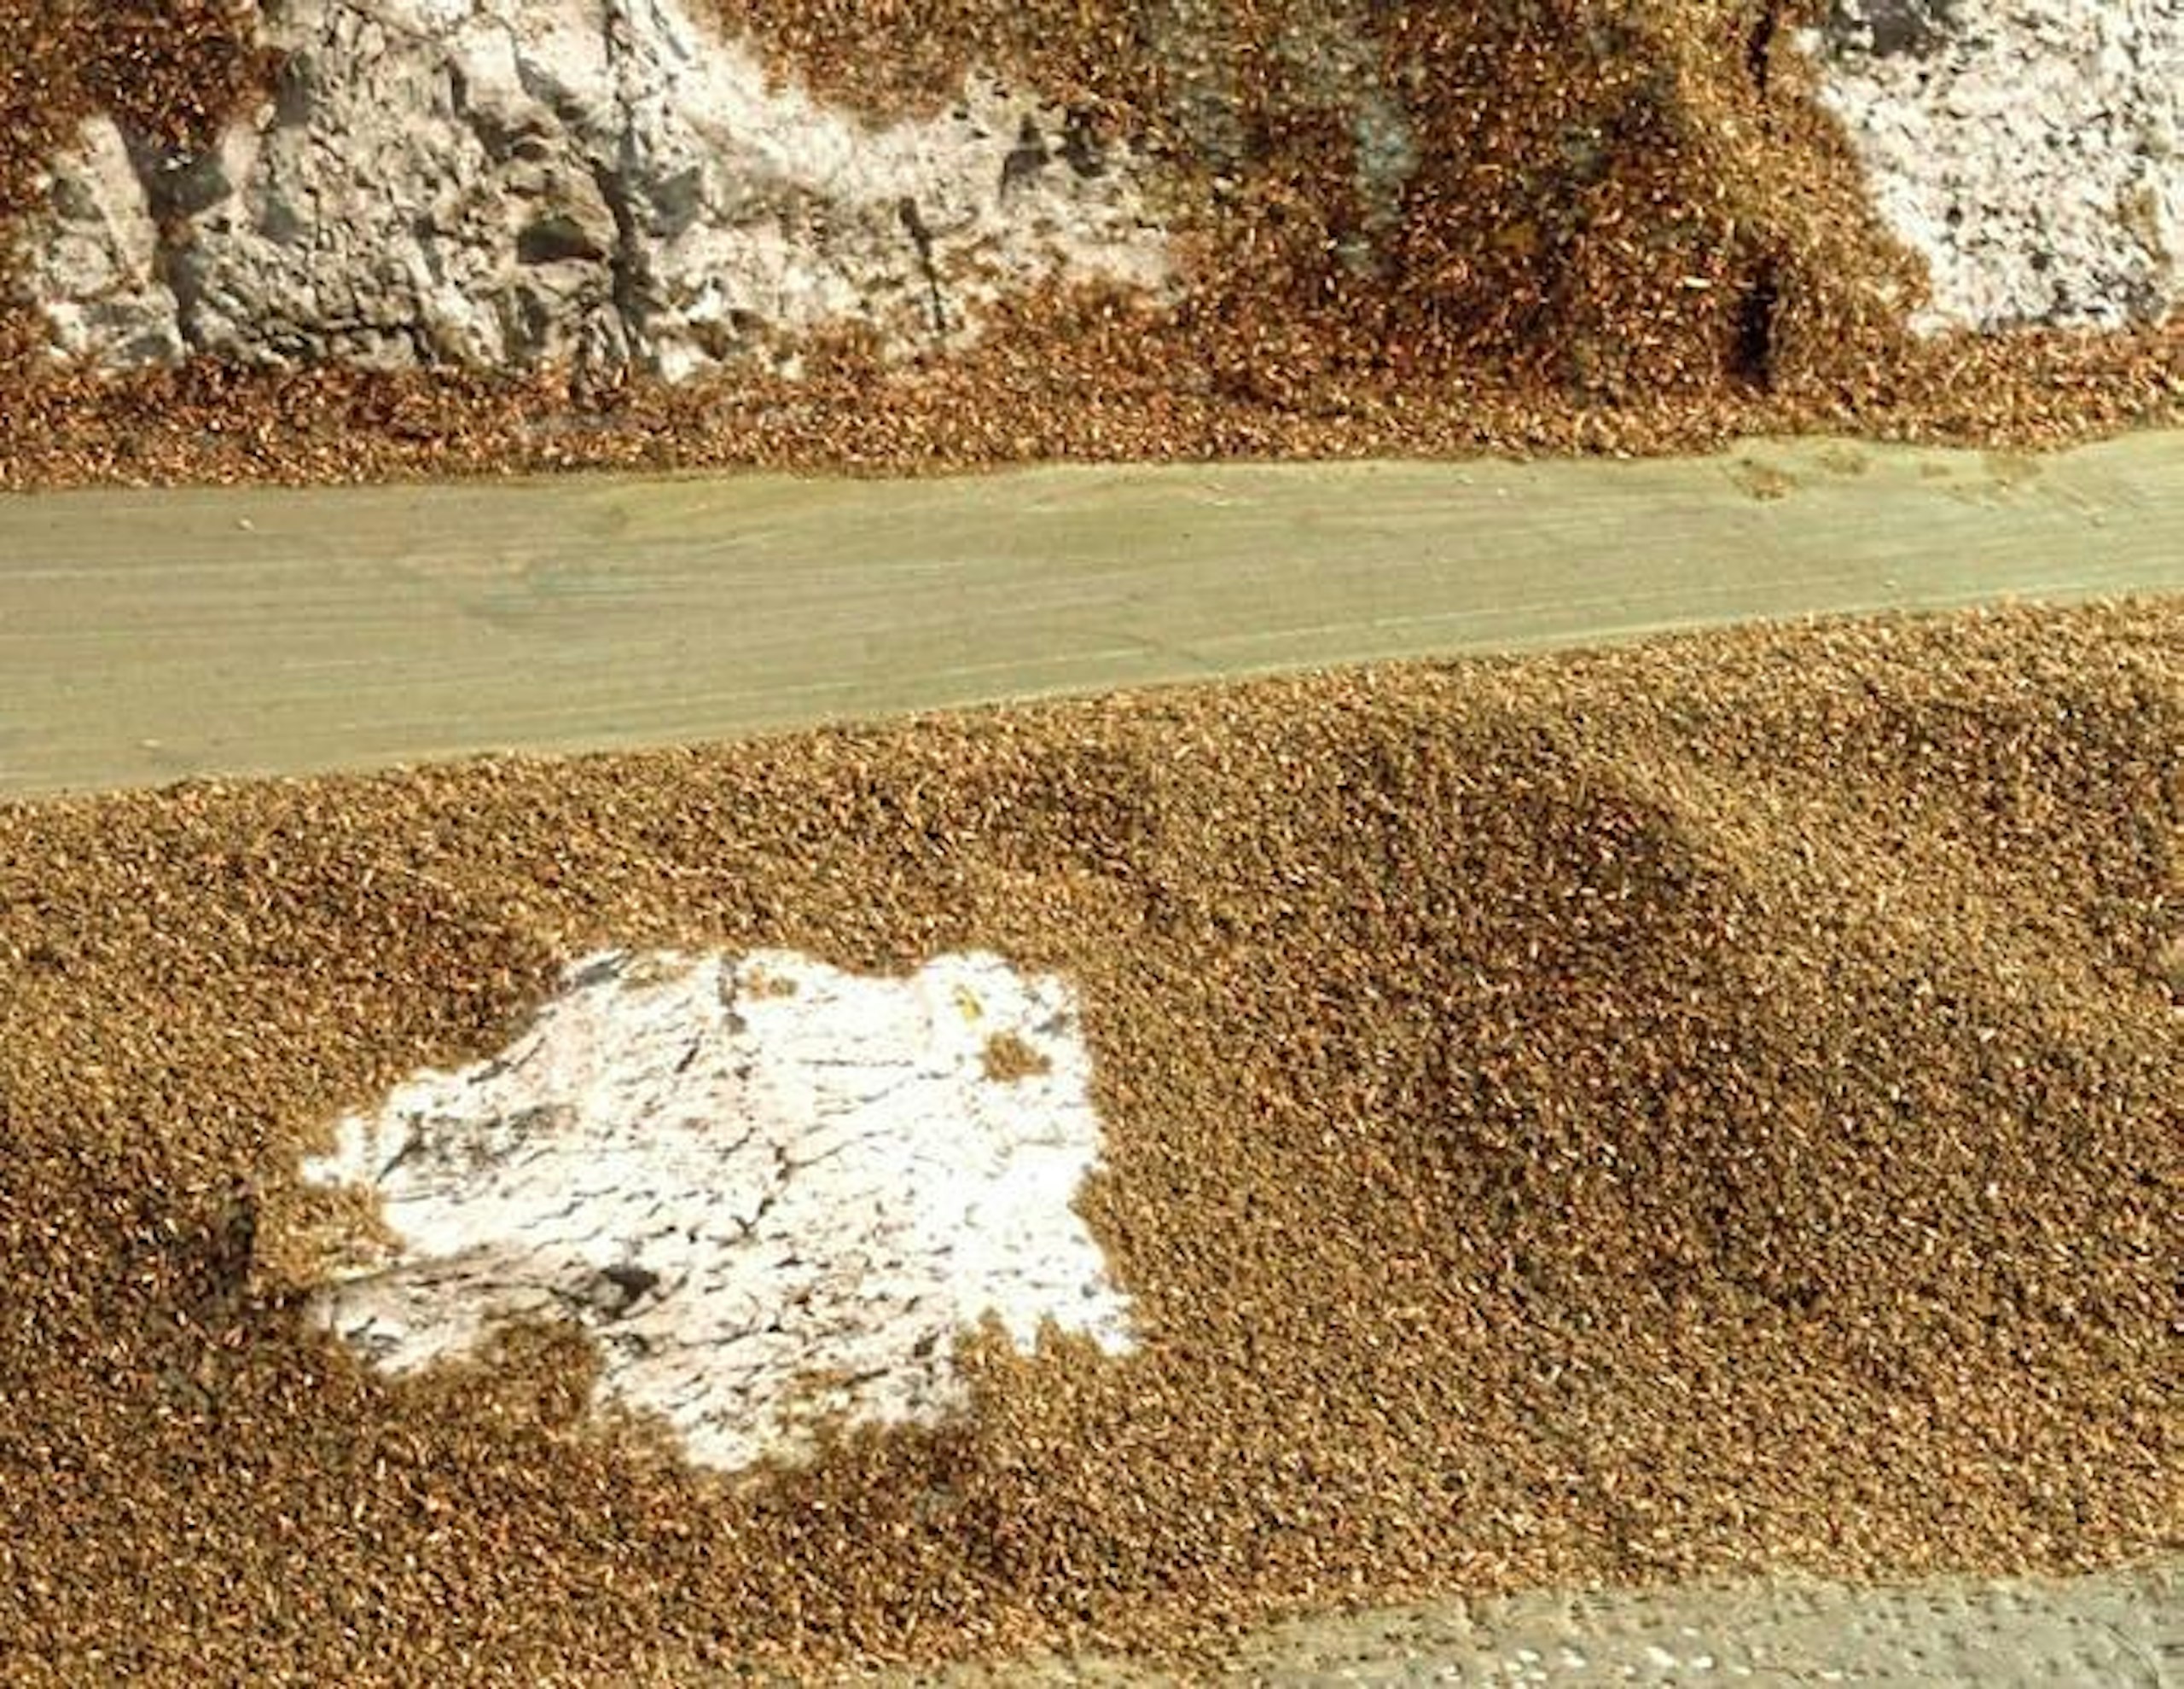
11 When the paint was dry, I spread a layer of PVA over the surface and sprinkled a blend of earthy brown scatter materials. When dry, the excess scatter was shaken away.
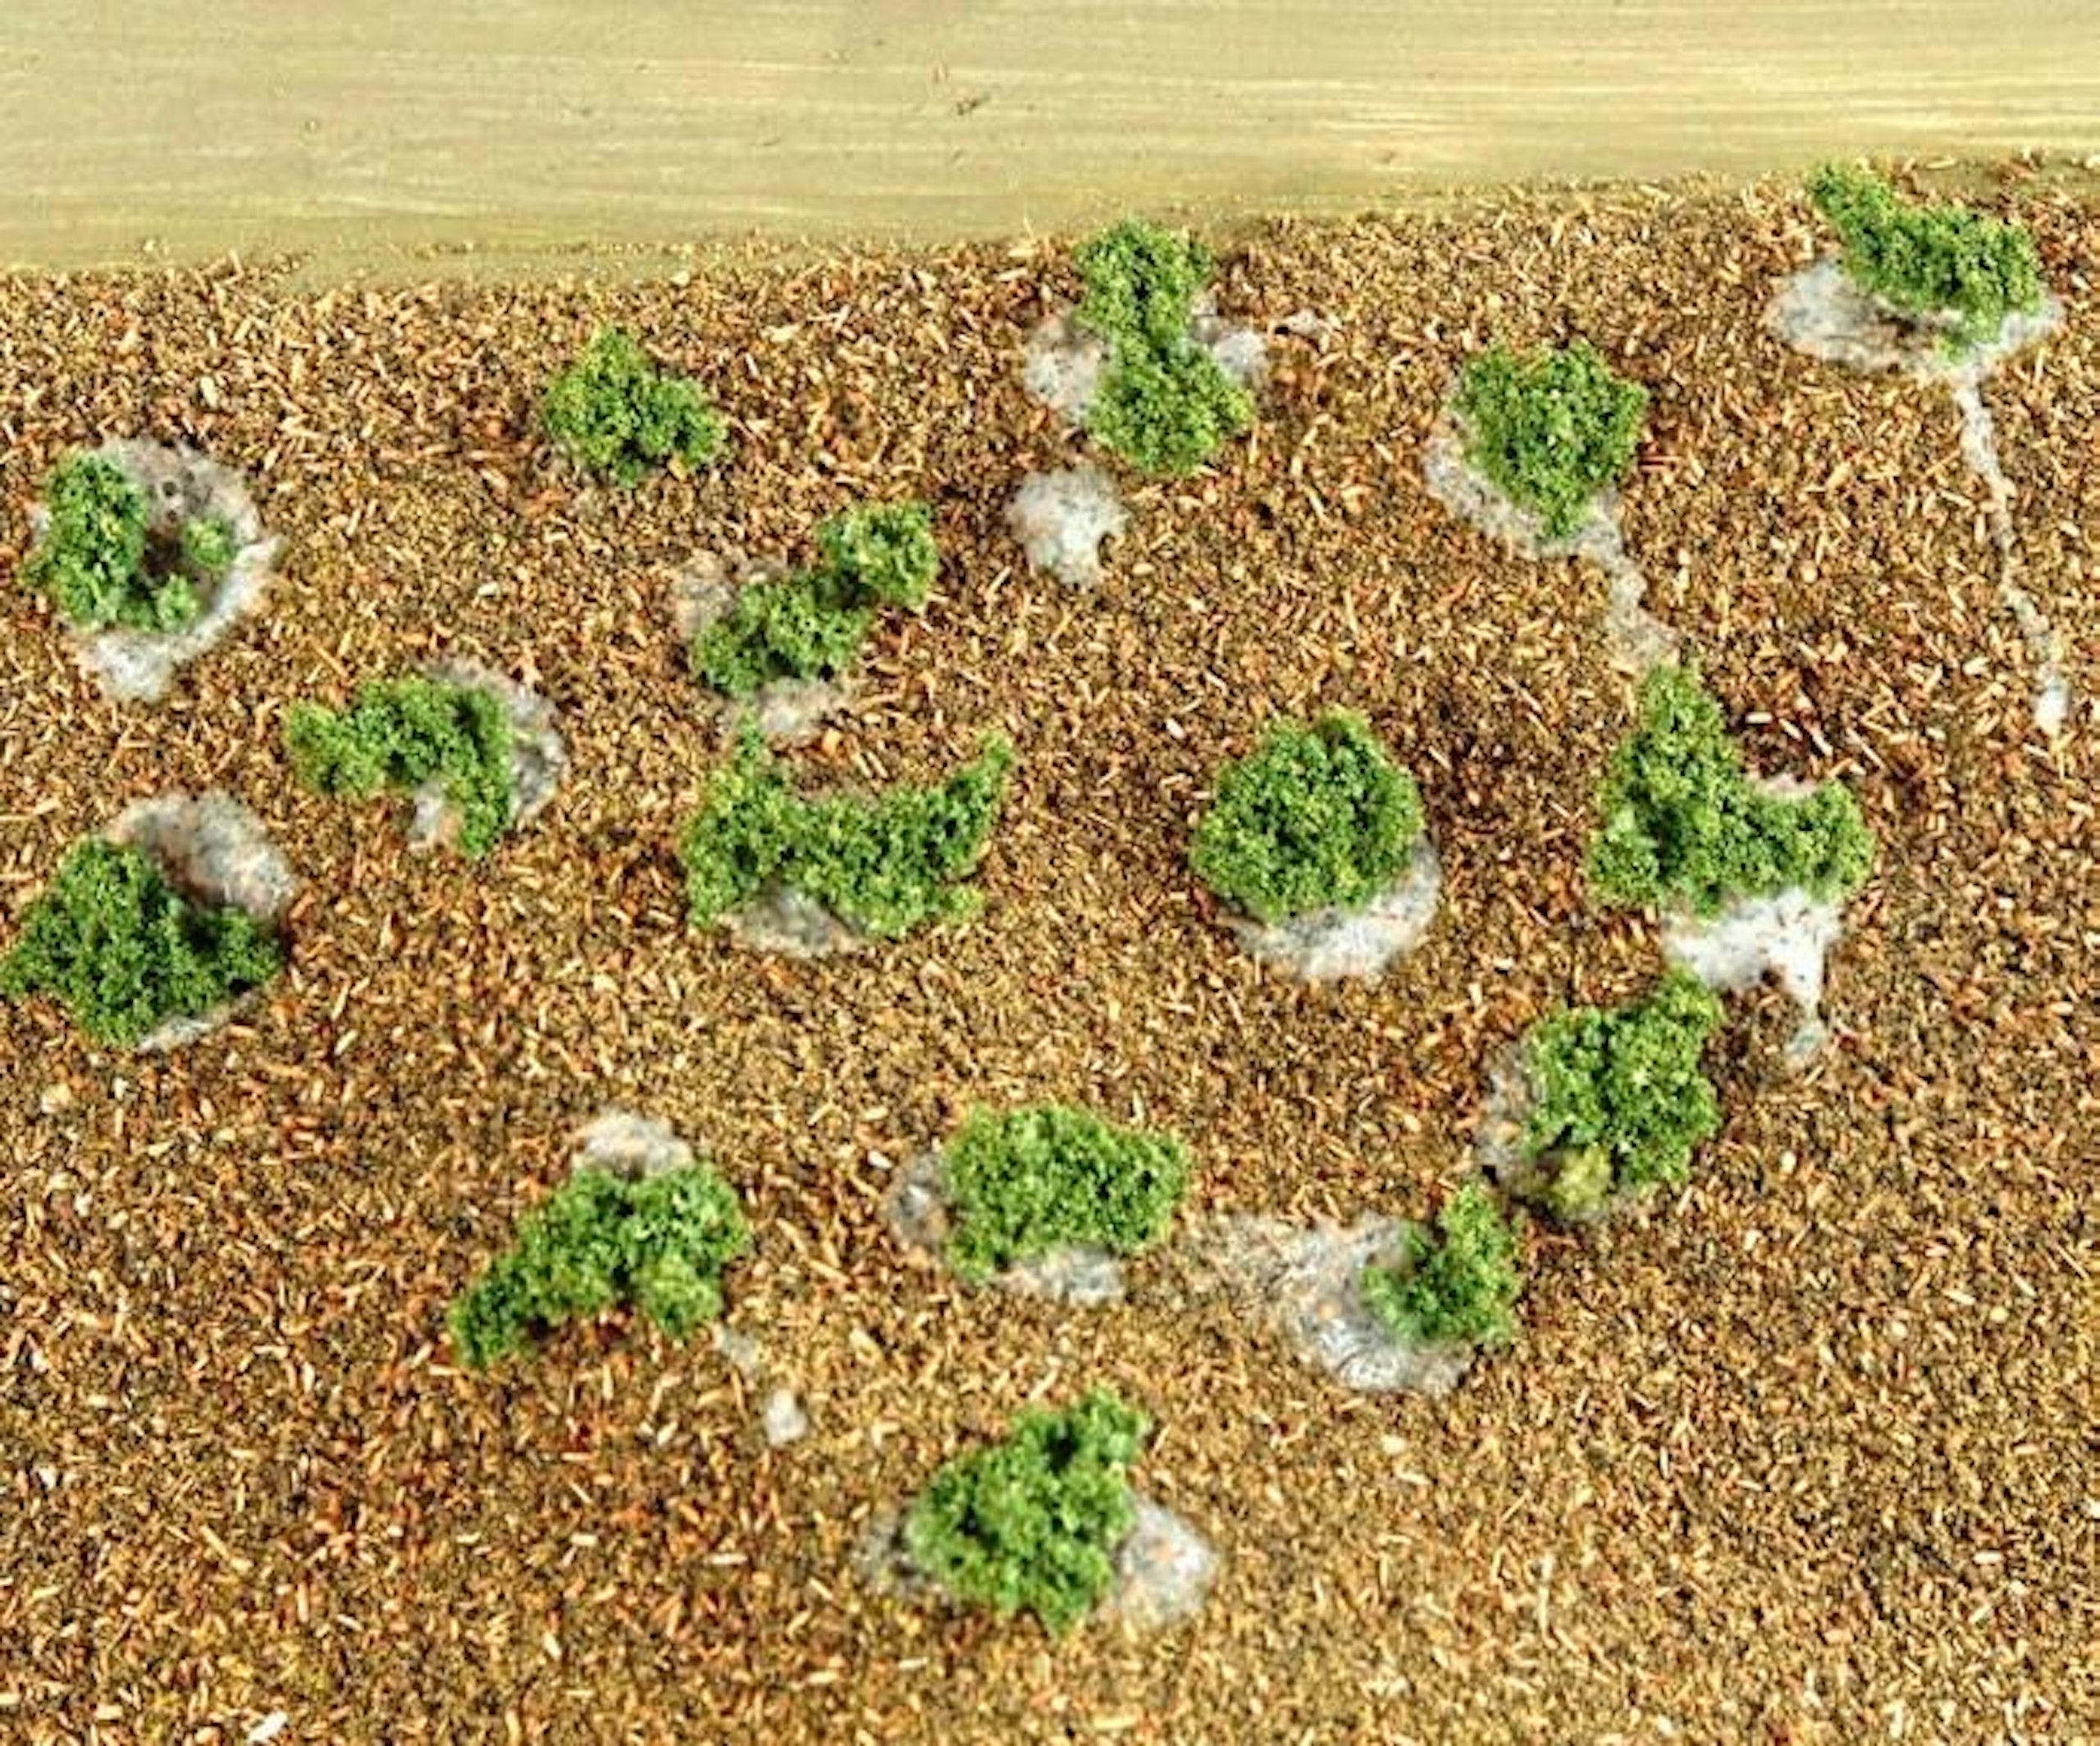
12 Woodland Scenics Clump Foliage was broken up into small randomly shaped balls, which were fixed into small blobs of PVA along the sides of the embankments.
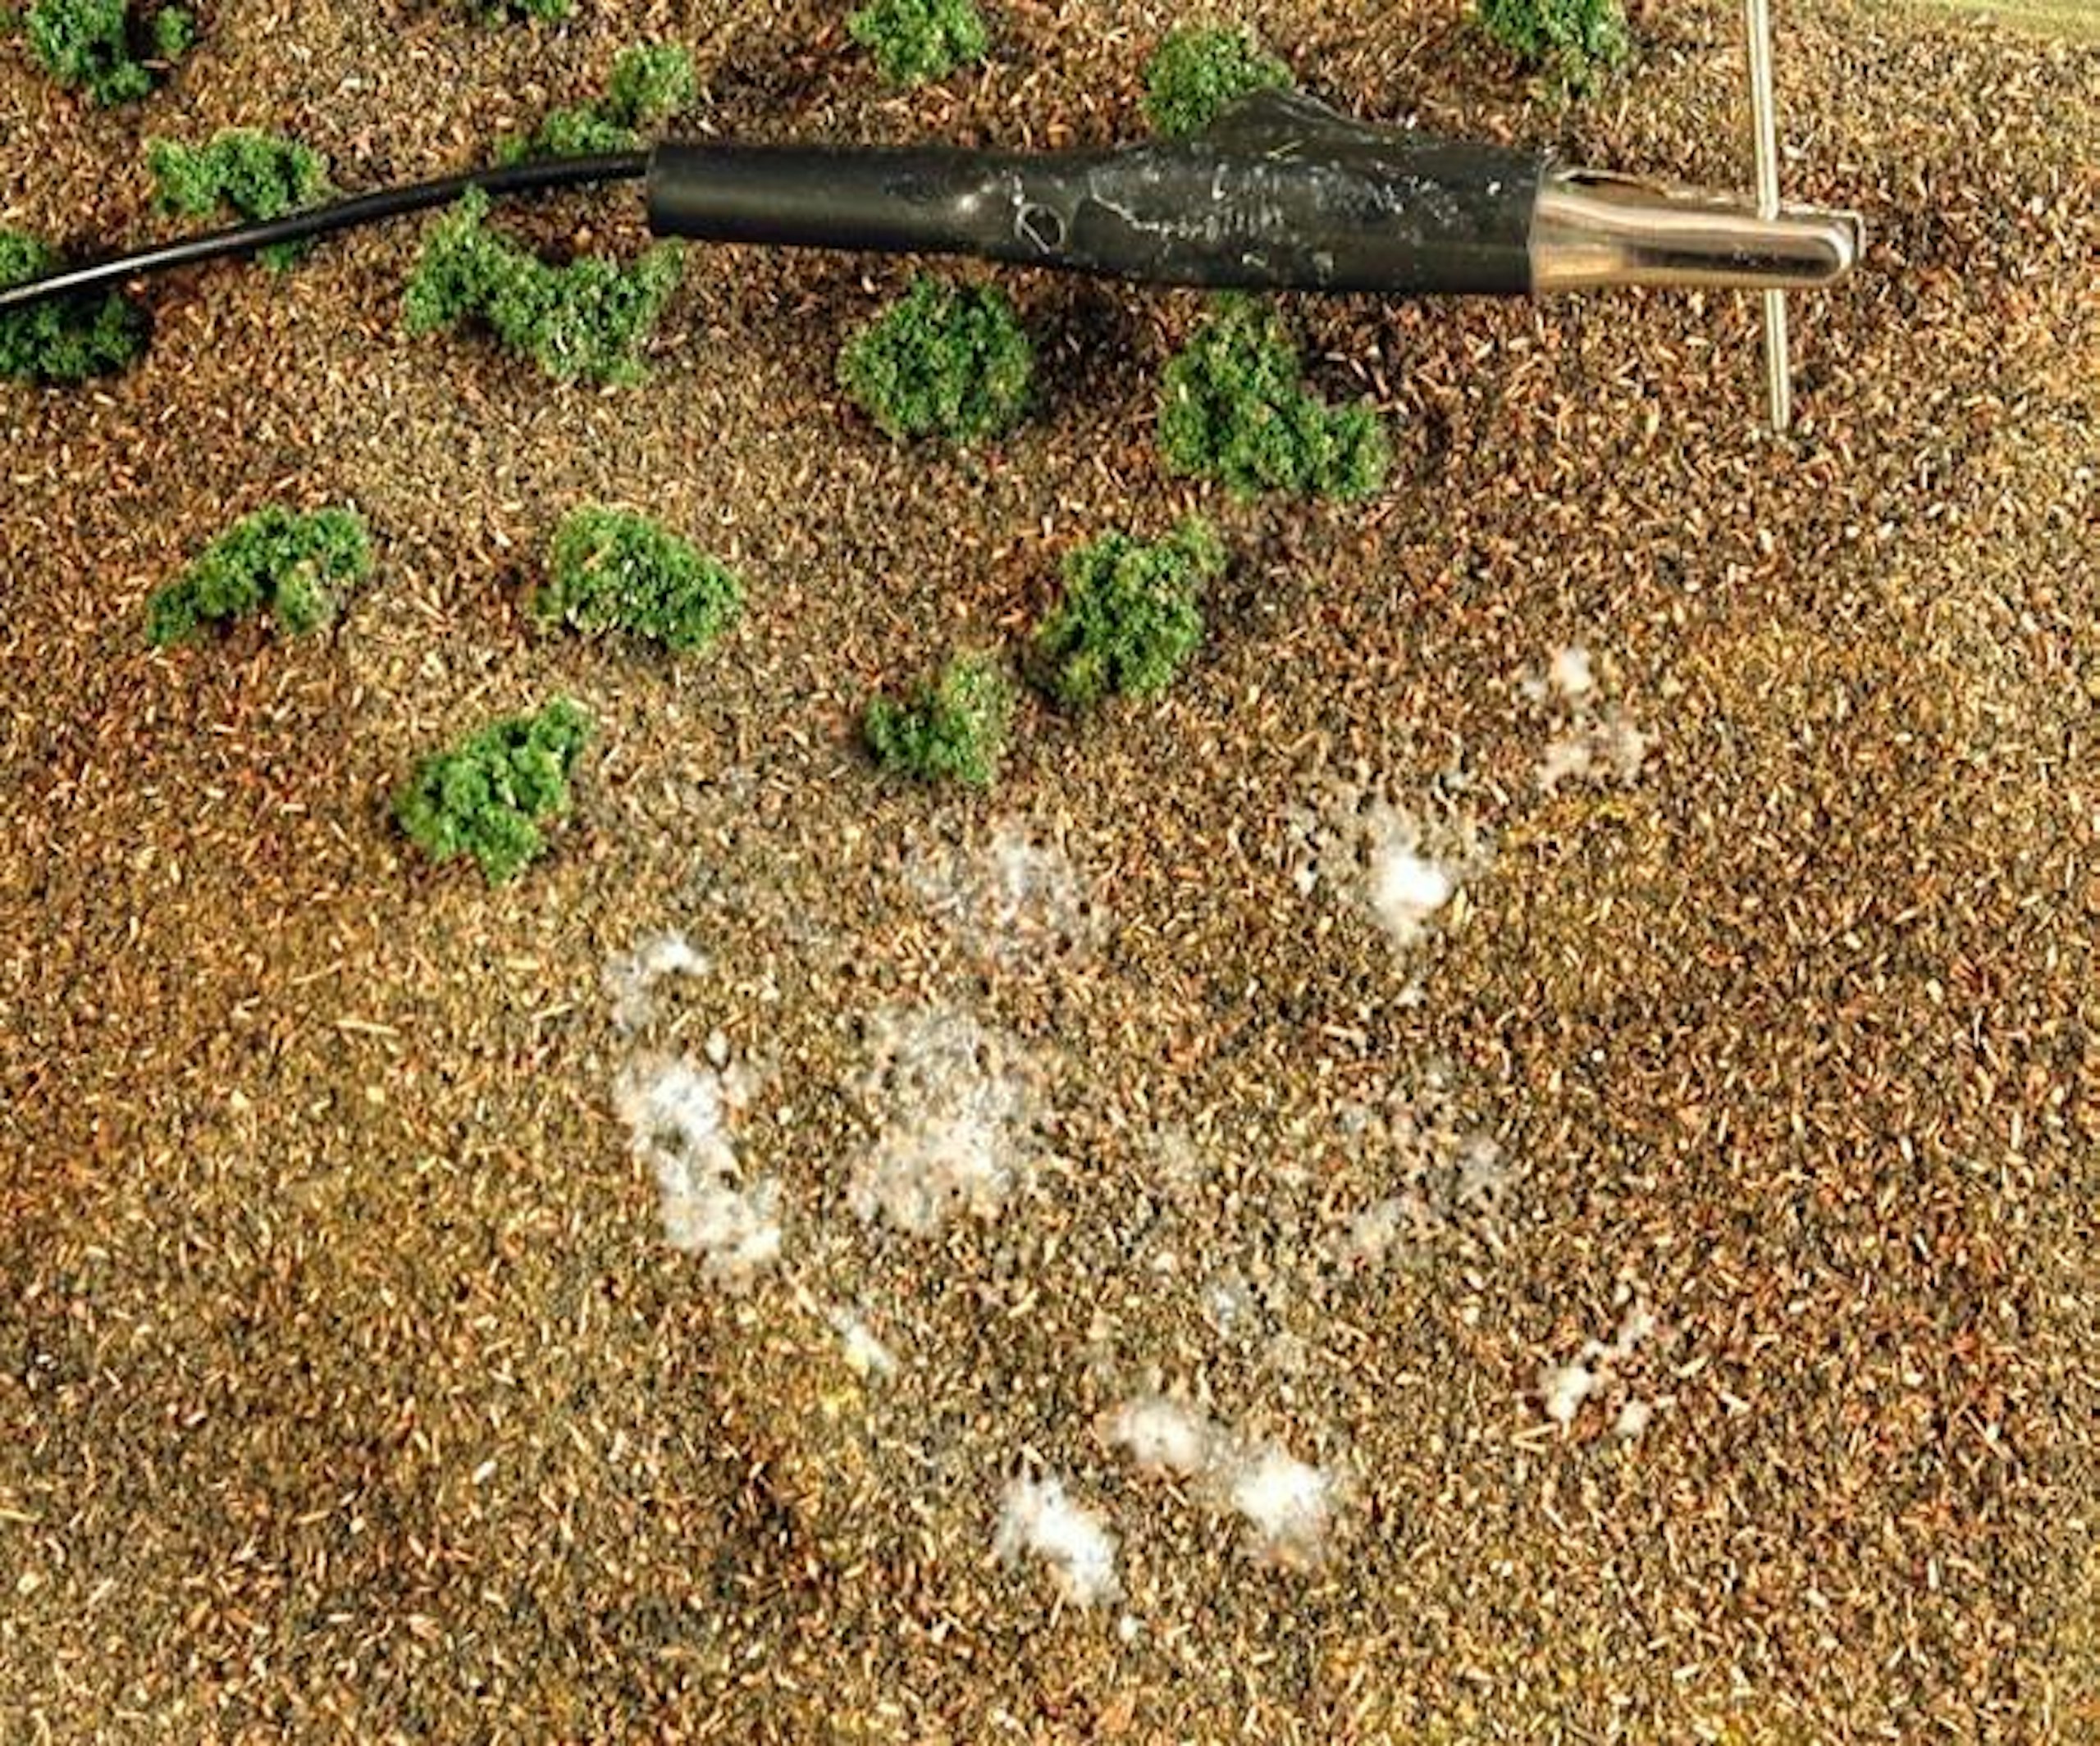
13 I tried using Modge Podge Mat. Using a coarse-bristled brush, I dabbed the Modge Podge on, then attached the cable of my grass applicator to a nail sunk into the baseboard.

14 After loading my Noch Gras-Master with Woodland Scenics 2mm static grass fibres, the machine was switched on, and the material was decanted over the wet Modge Podge.
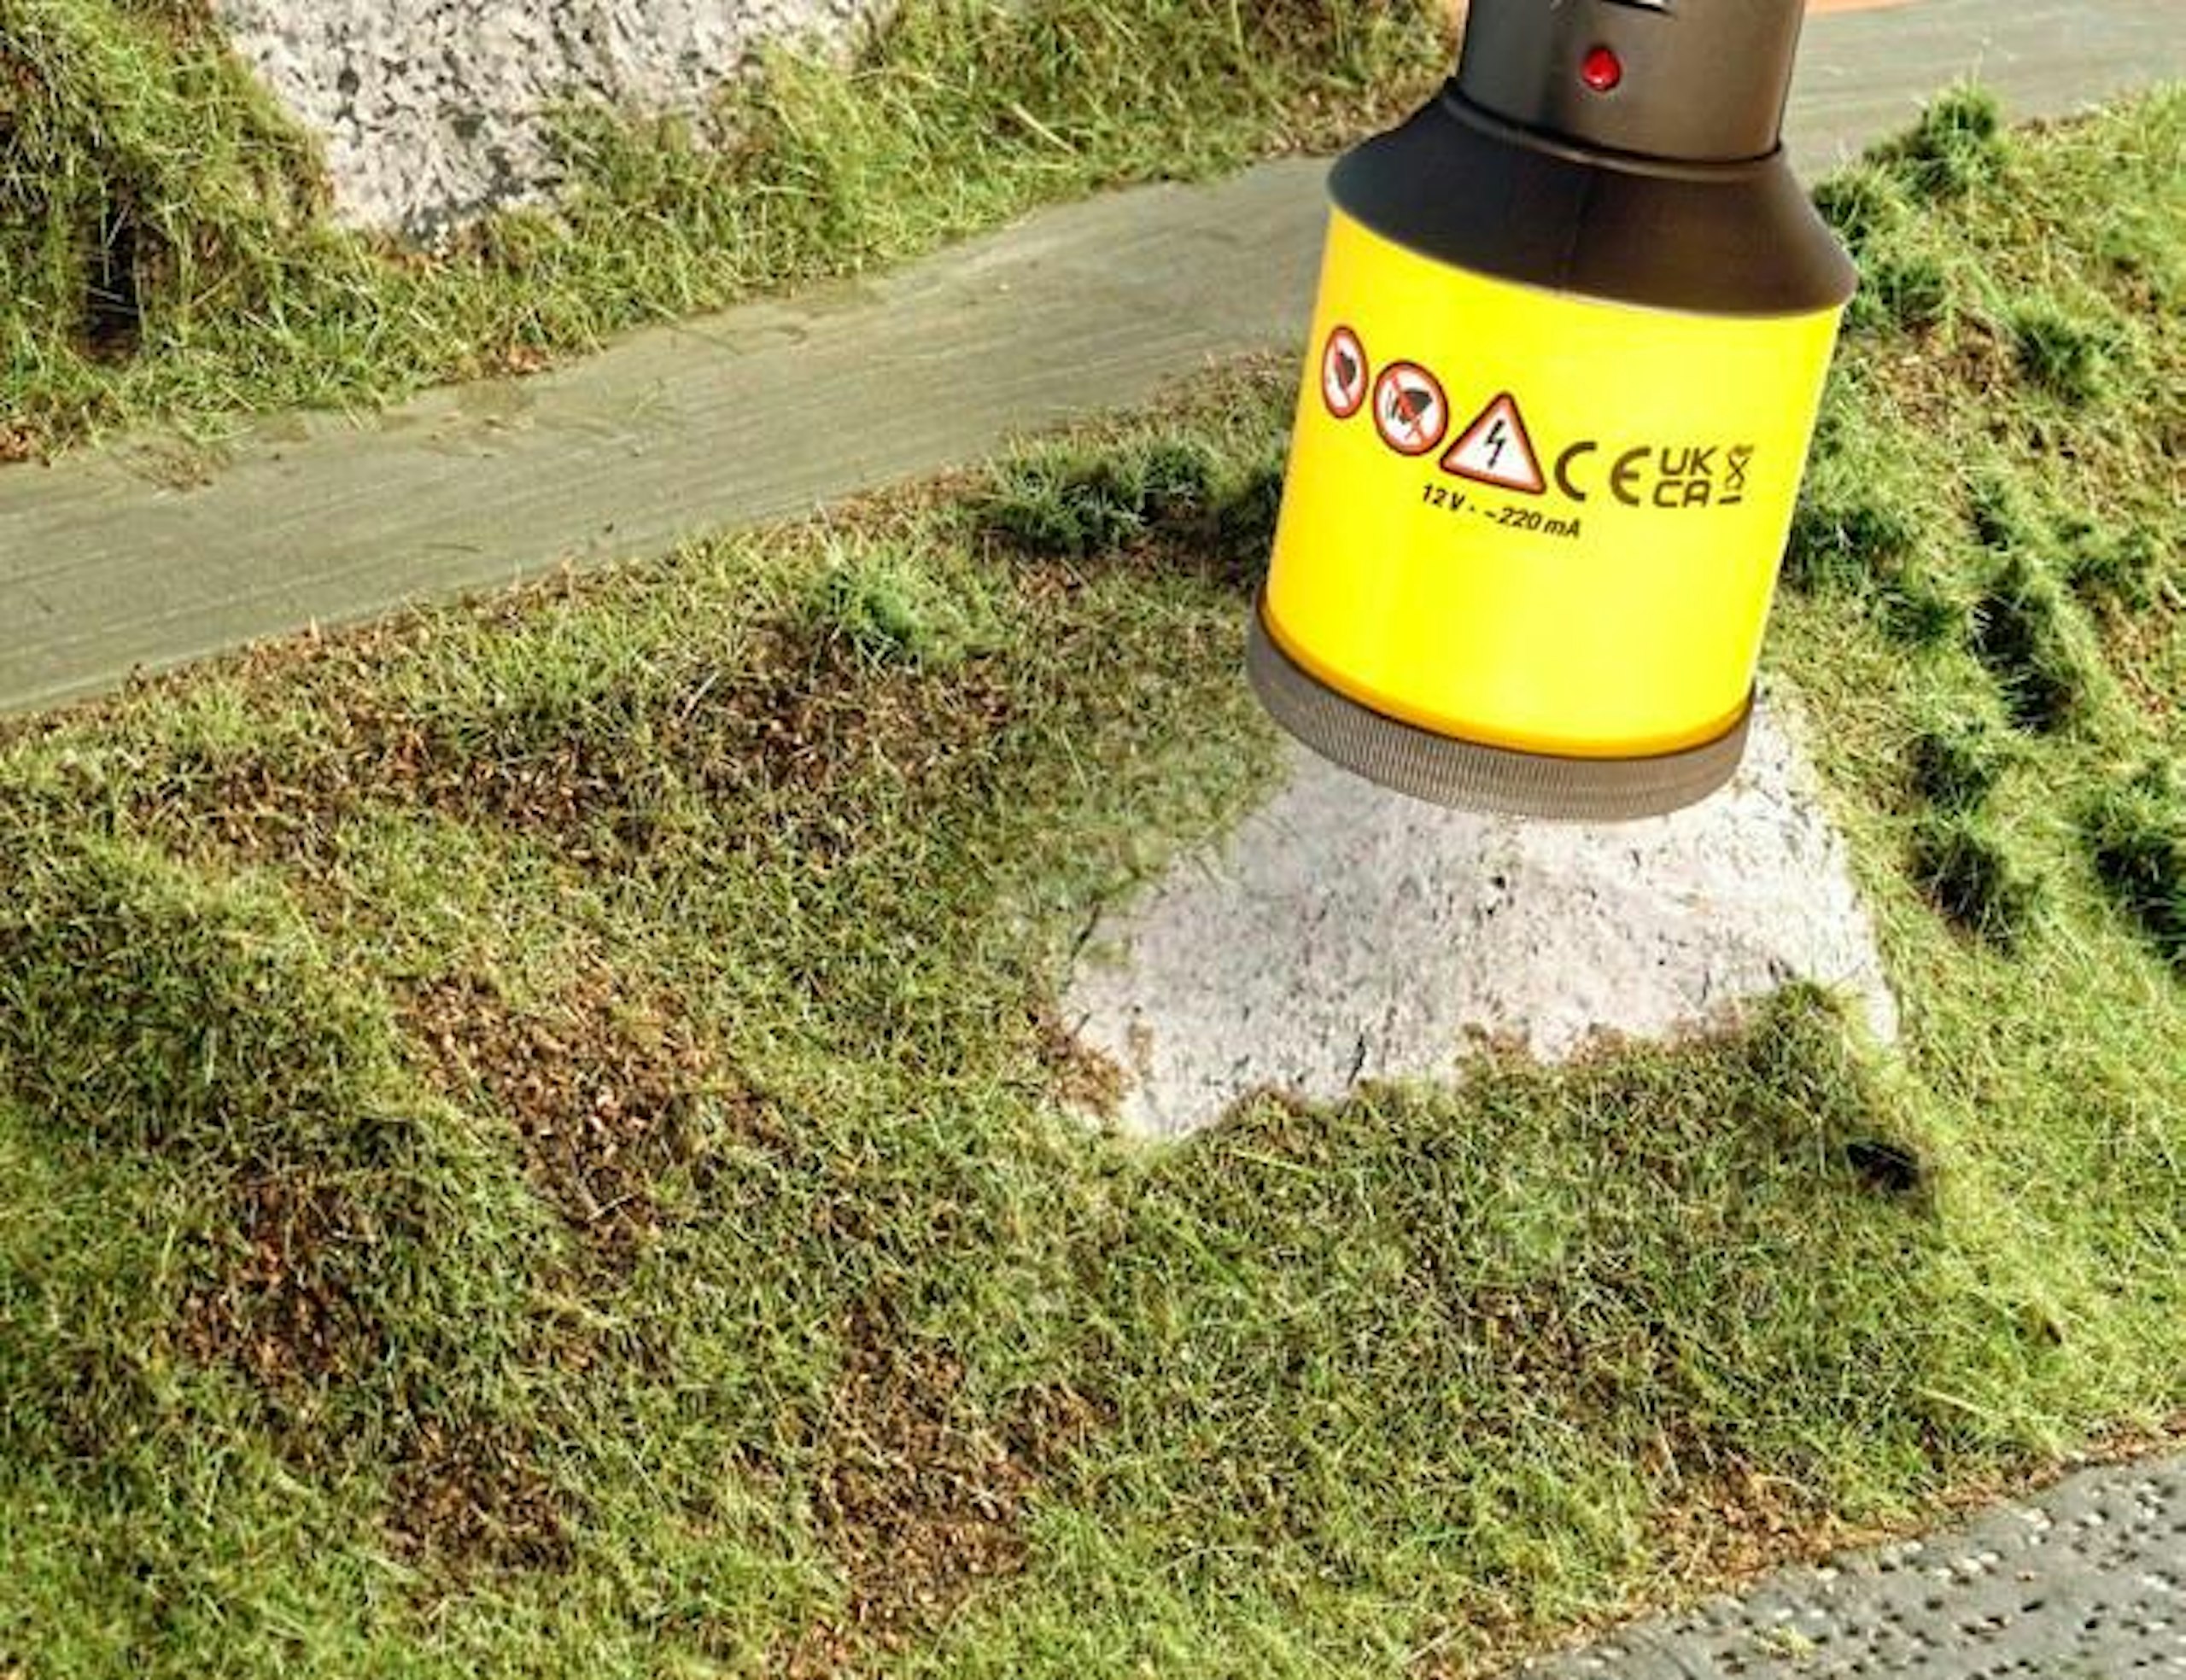
15 I was happy with how uneven – in a natural way – the scenery began to appear, with clumps of foliage and grass fibres combing with areas where the ‘soil’ still showed through.
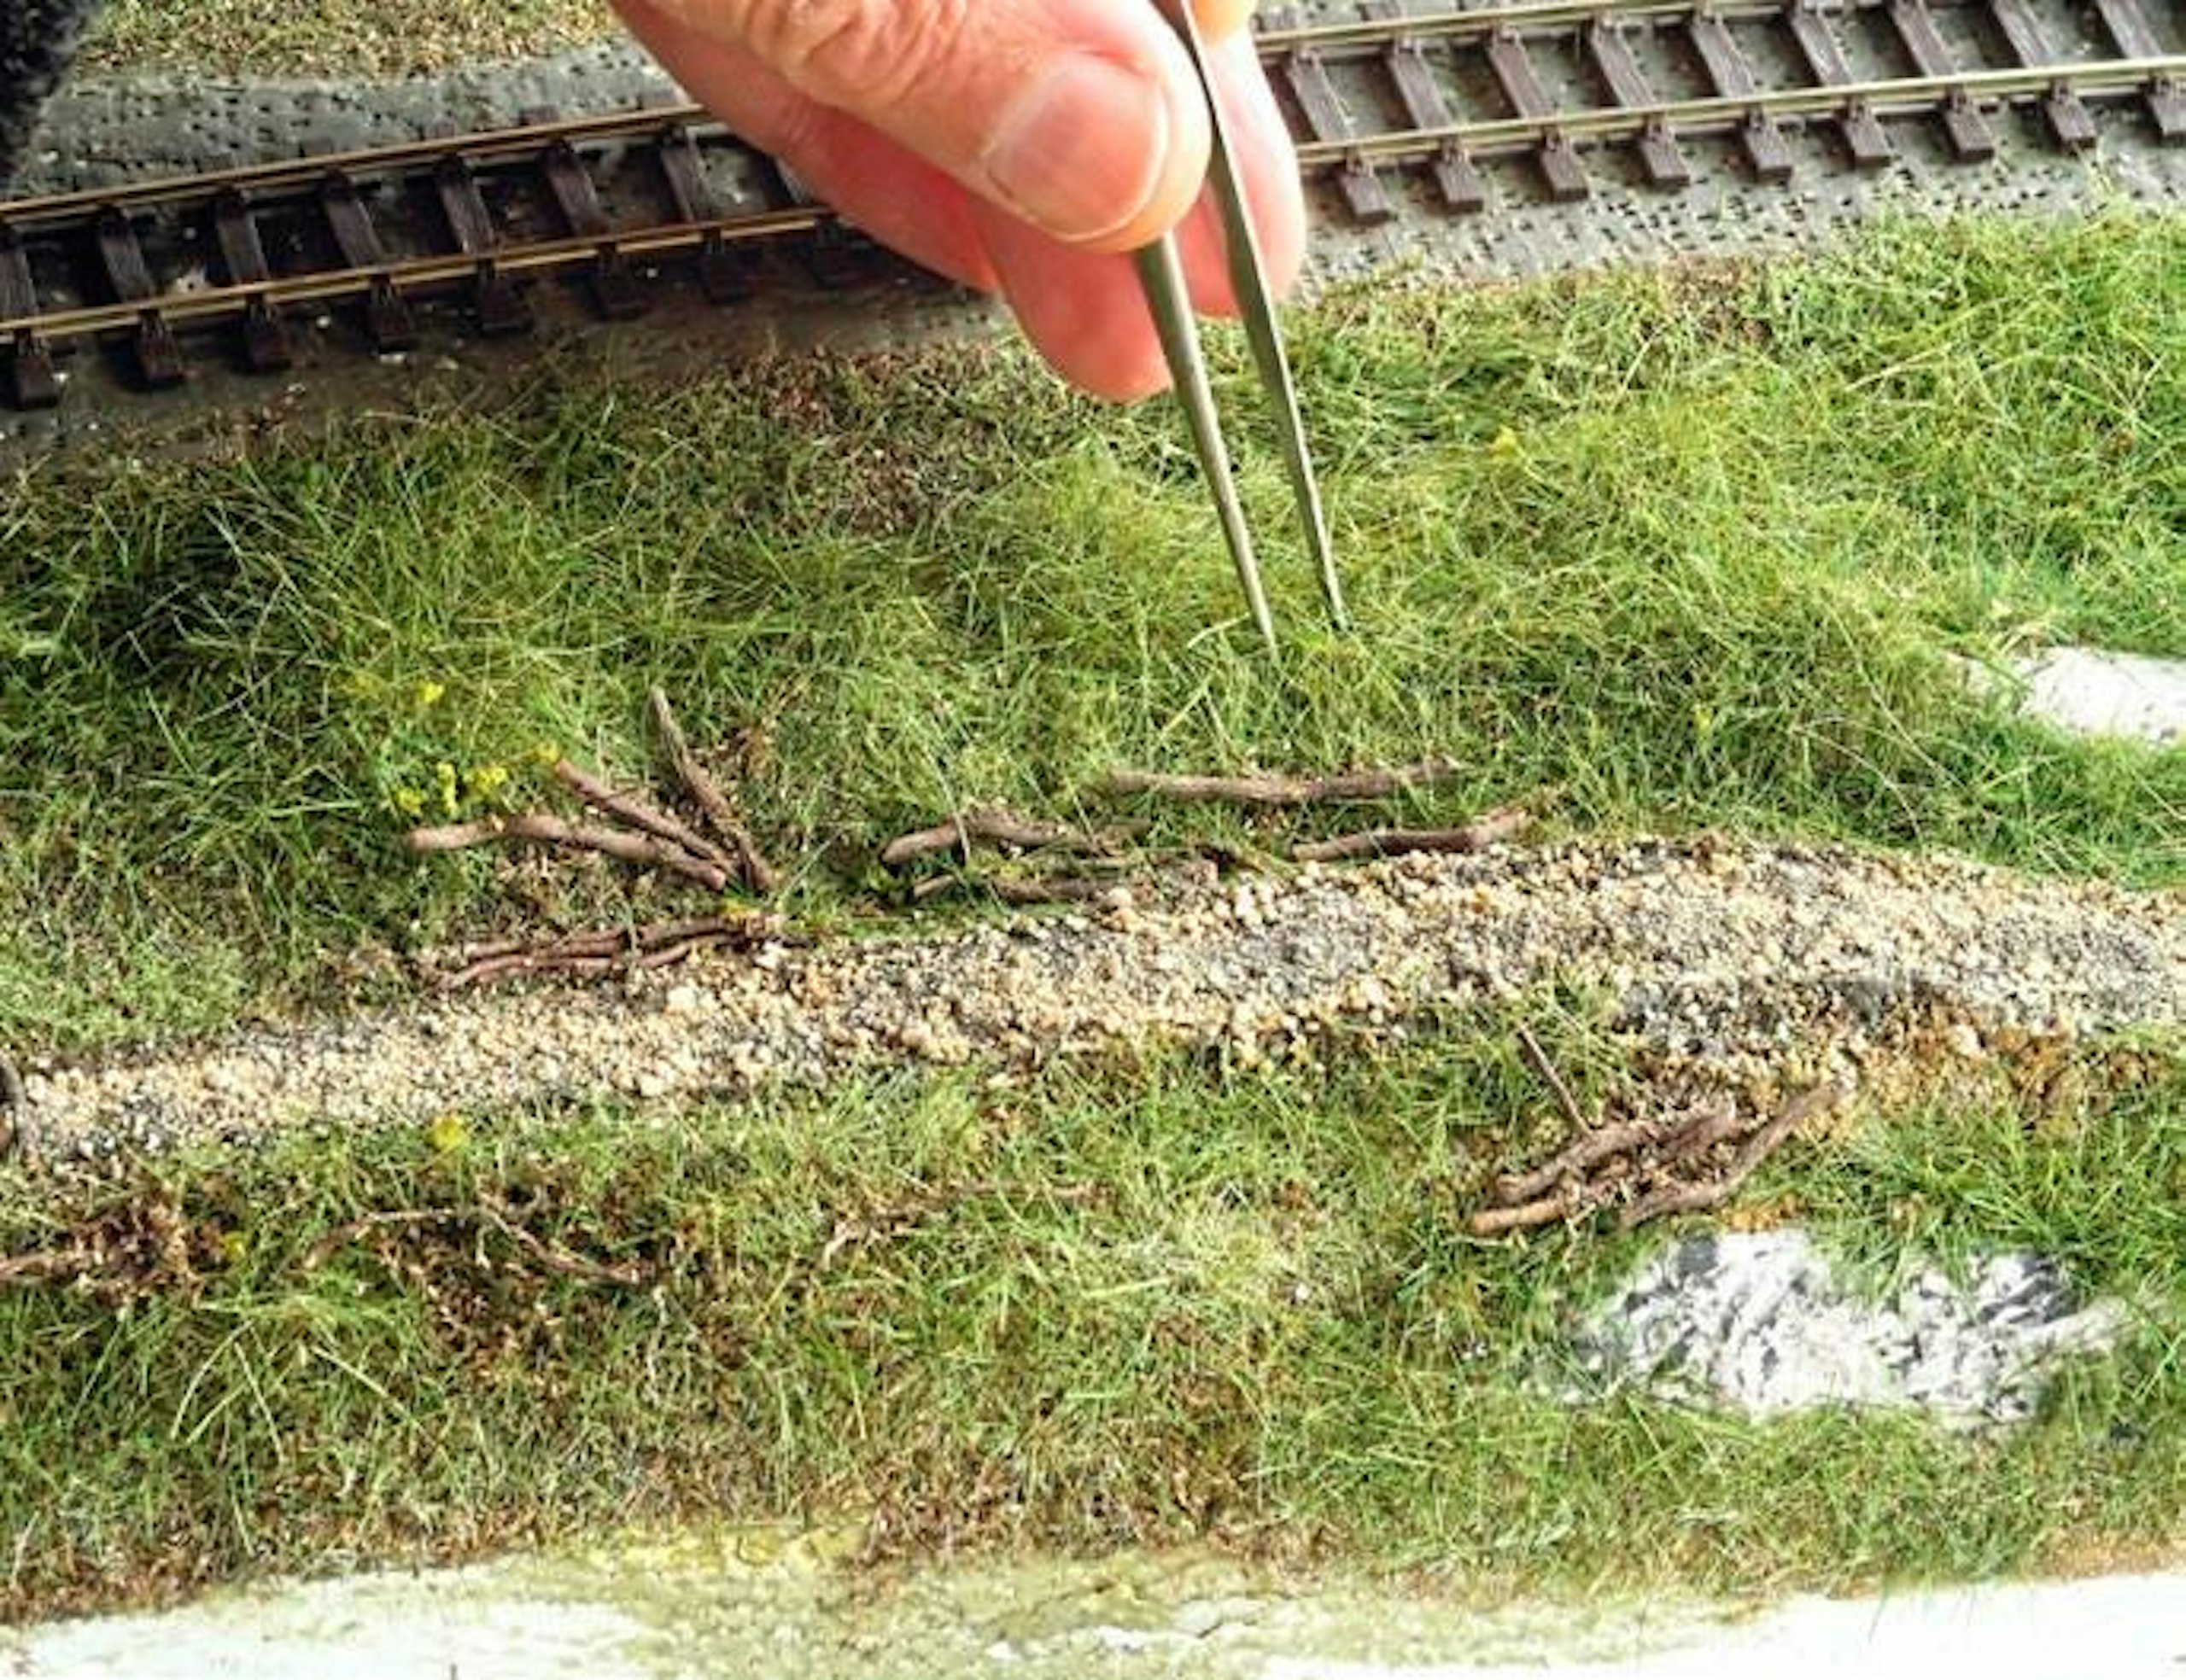
16 I used a pair of tweezers to pull any excess static grass fibres from the landscape to create the appearance of plants growing at different heights.
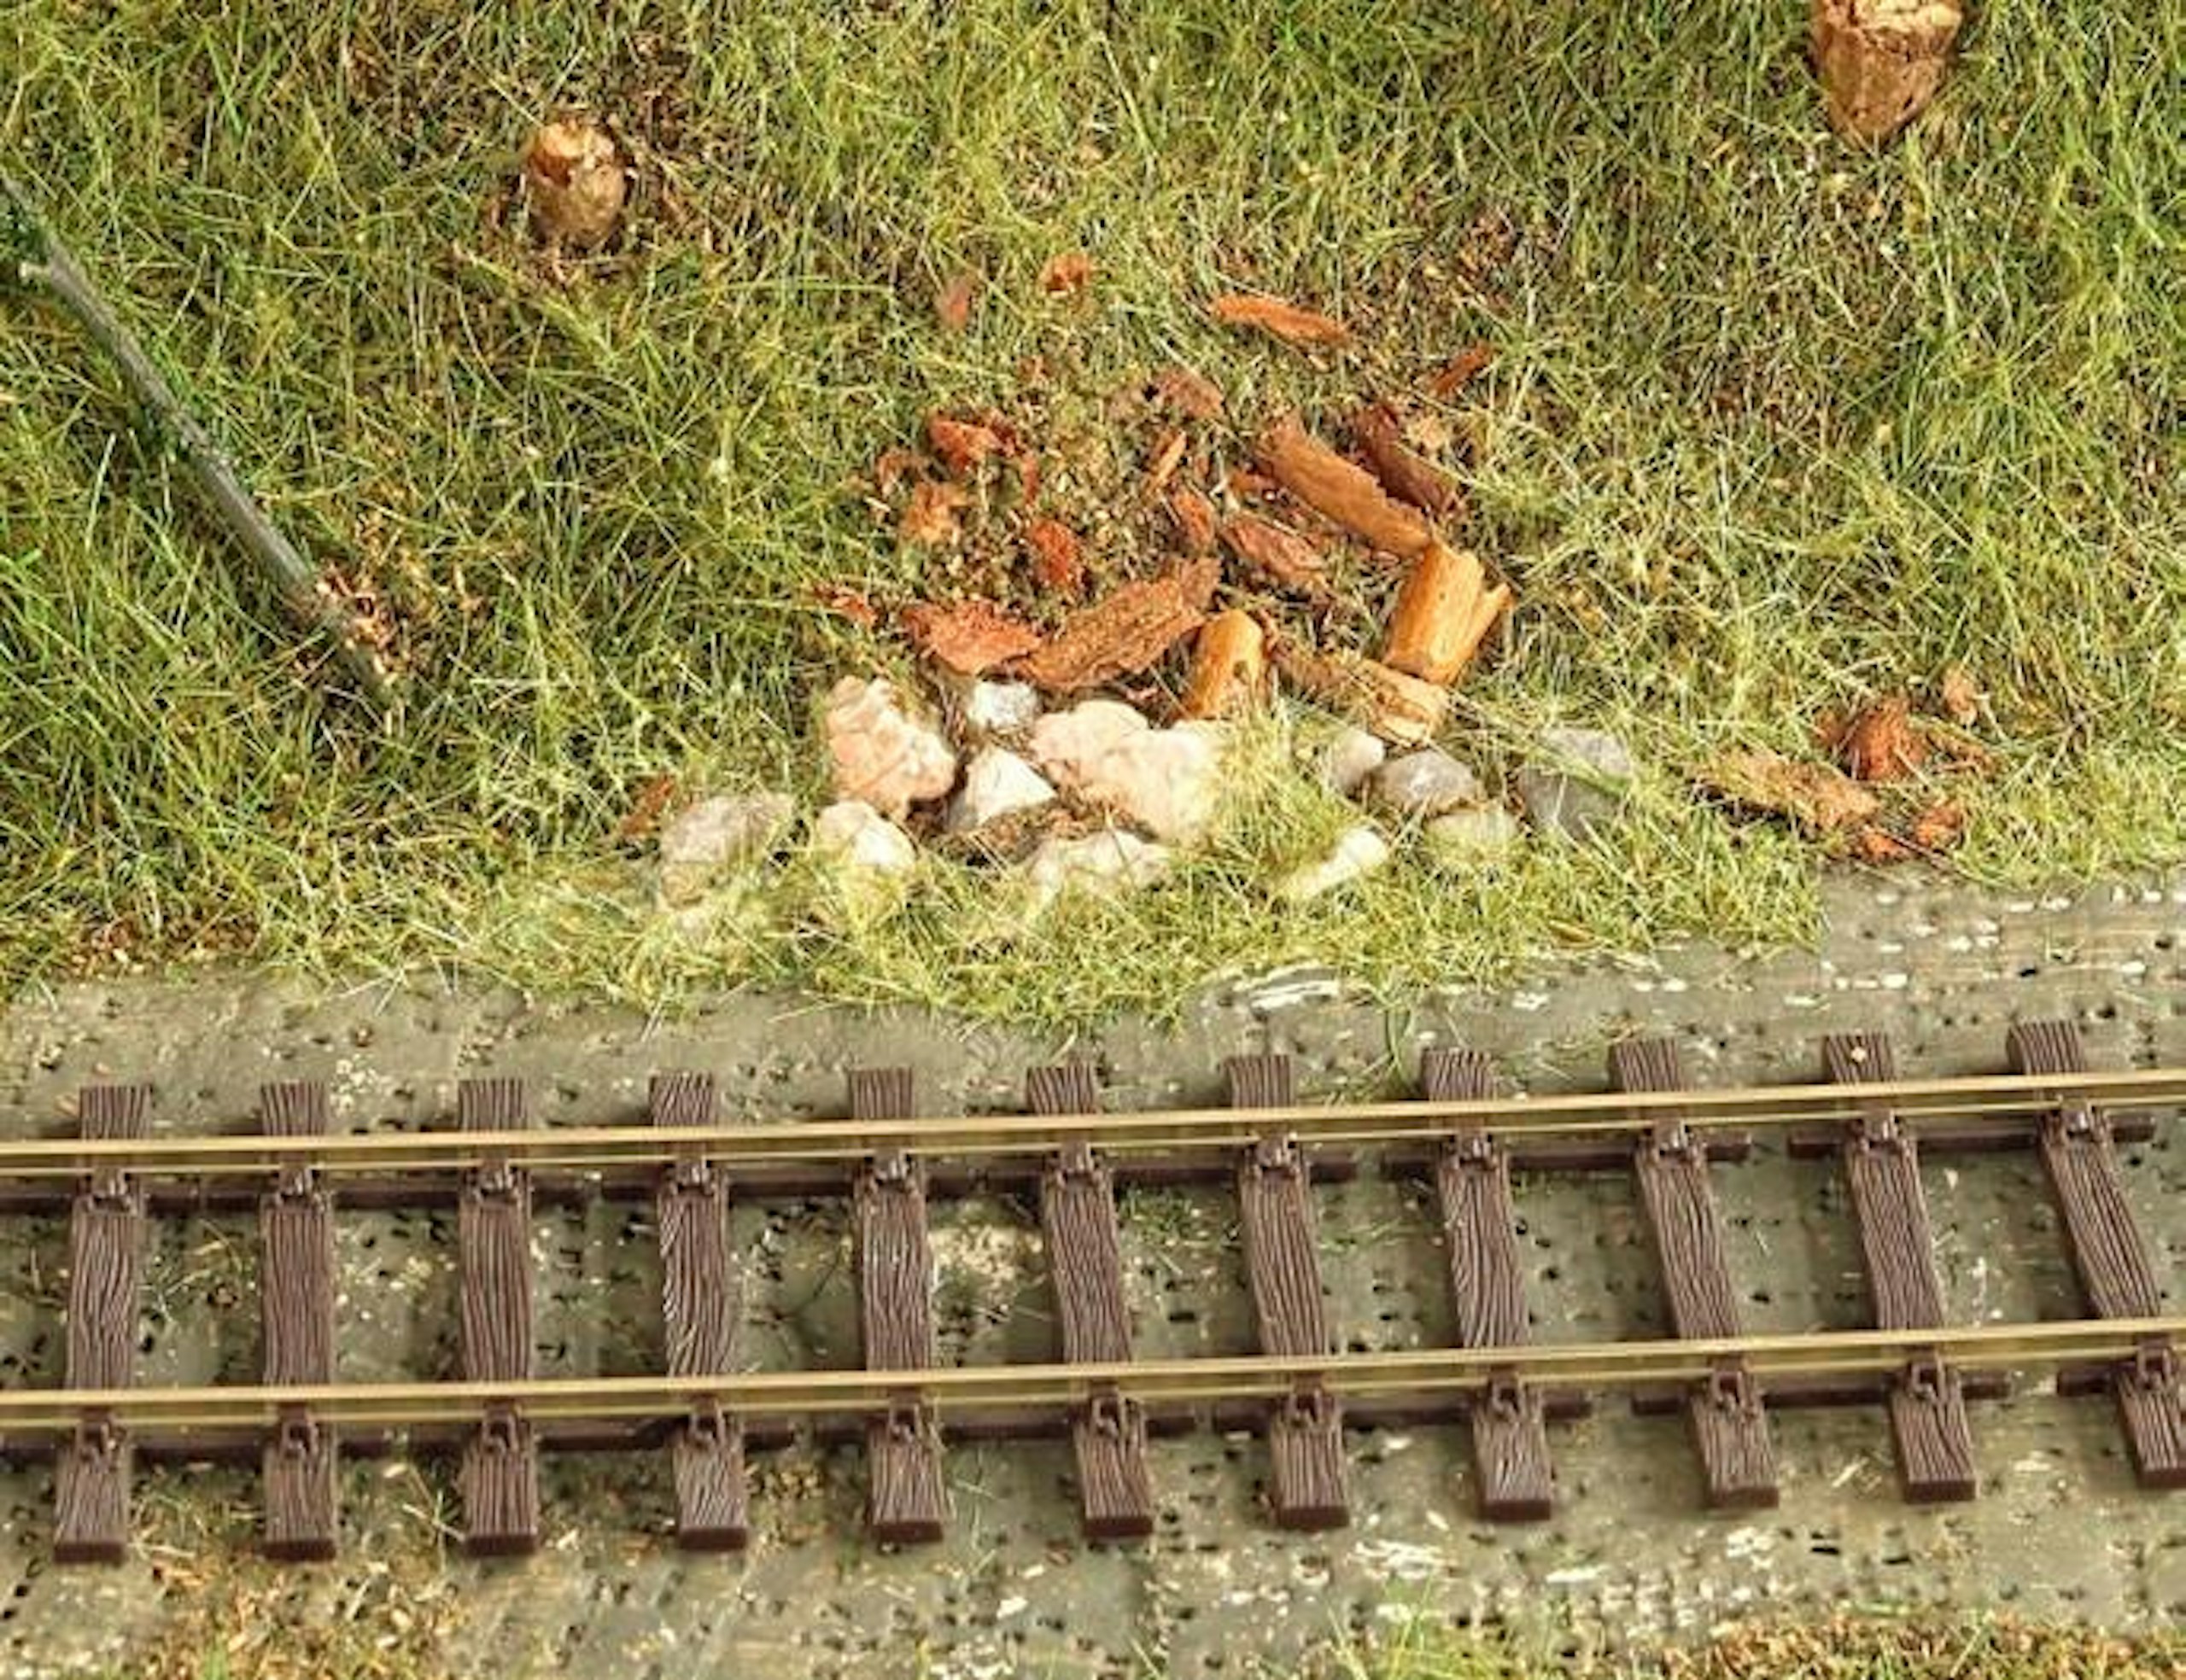
17 Small, real rocks and pieces of twigs were positioned at the bottom of the slopes and embankments, each fixed with a thin PVA-type glue, applied through a pipette.
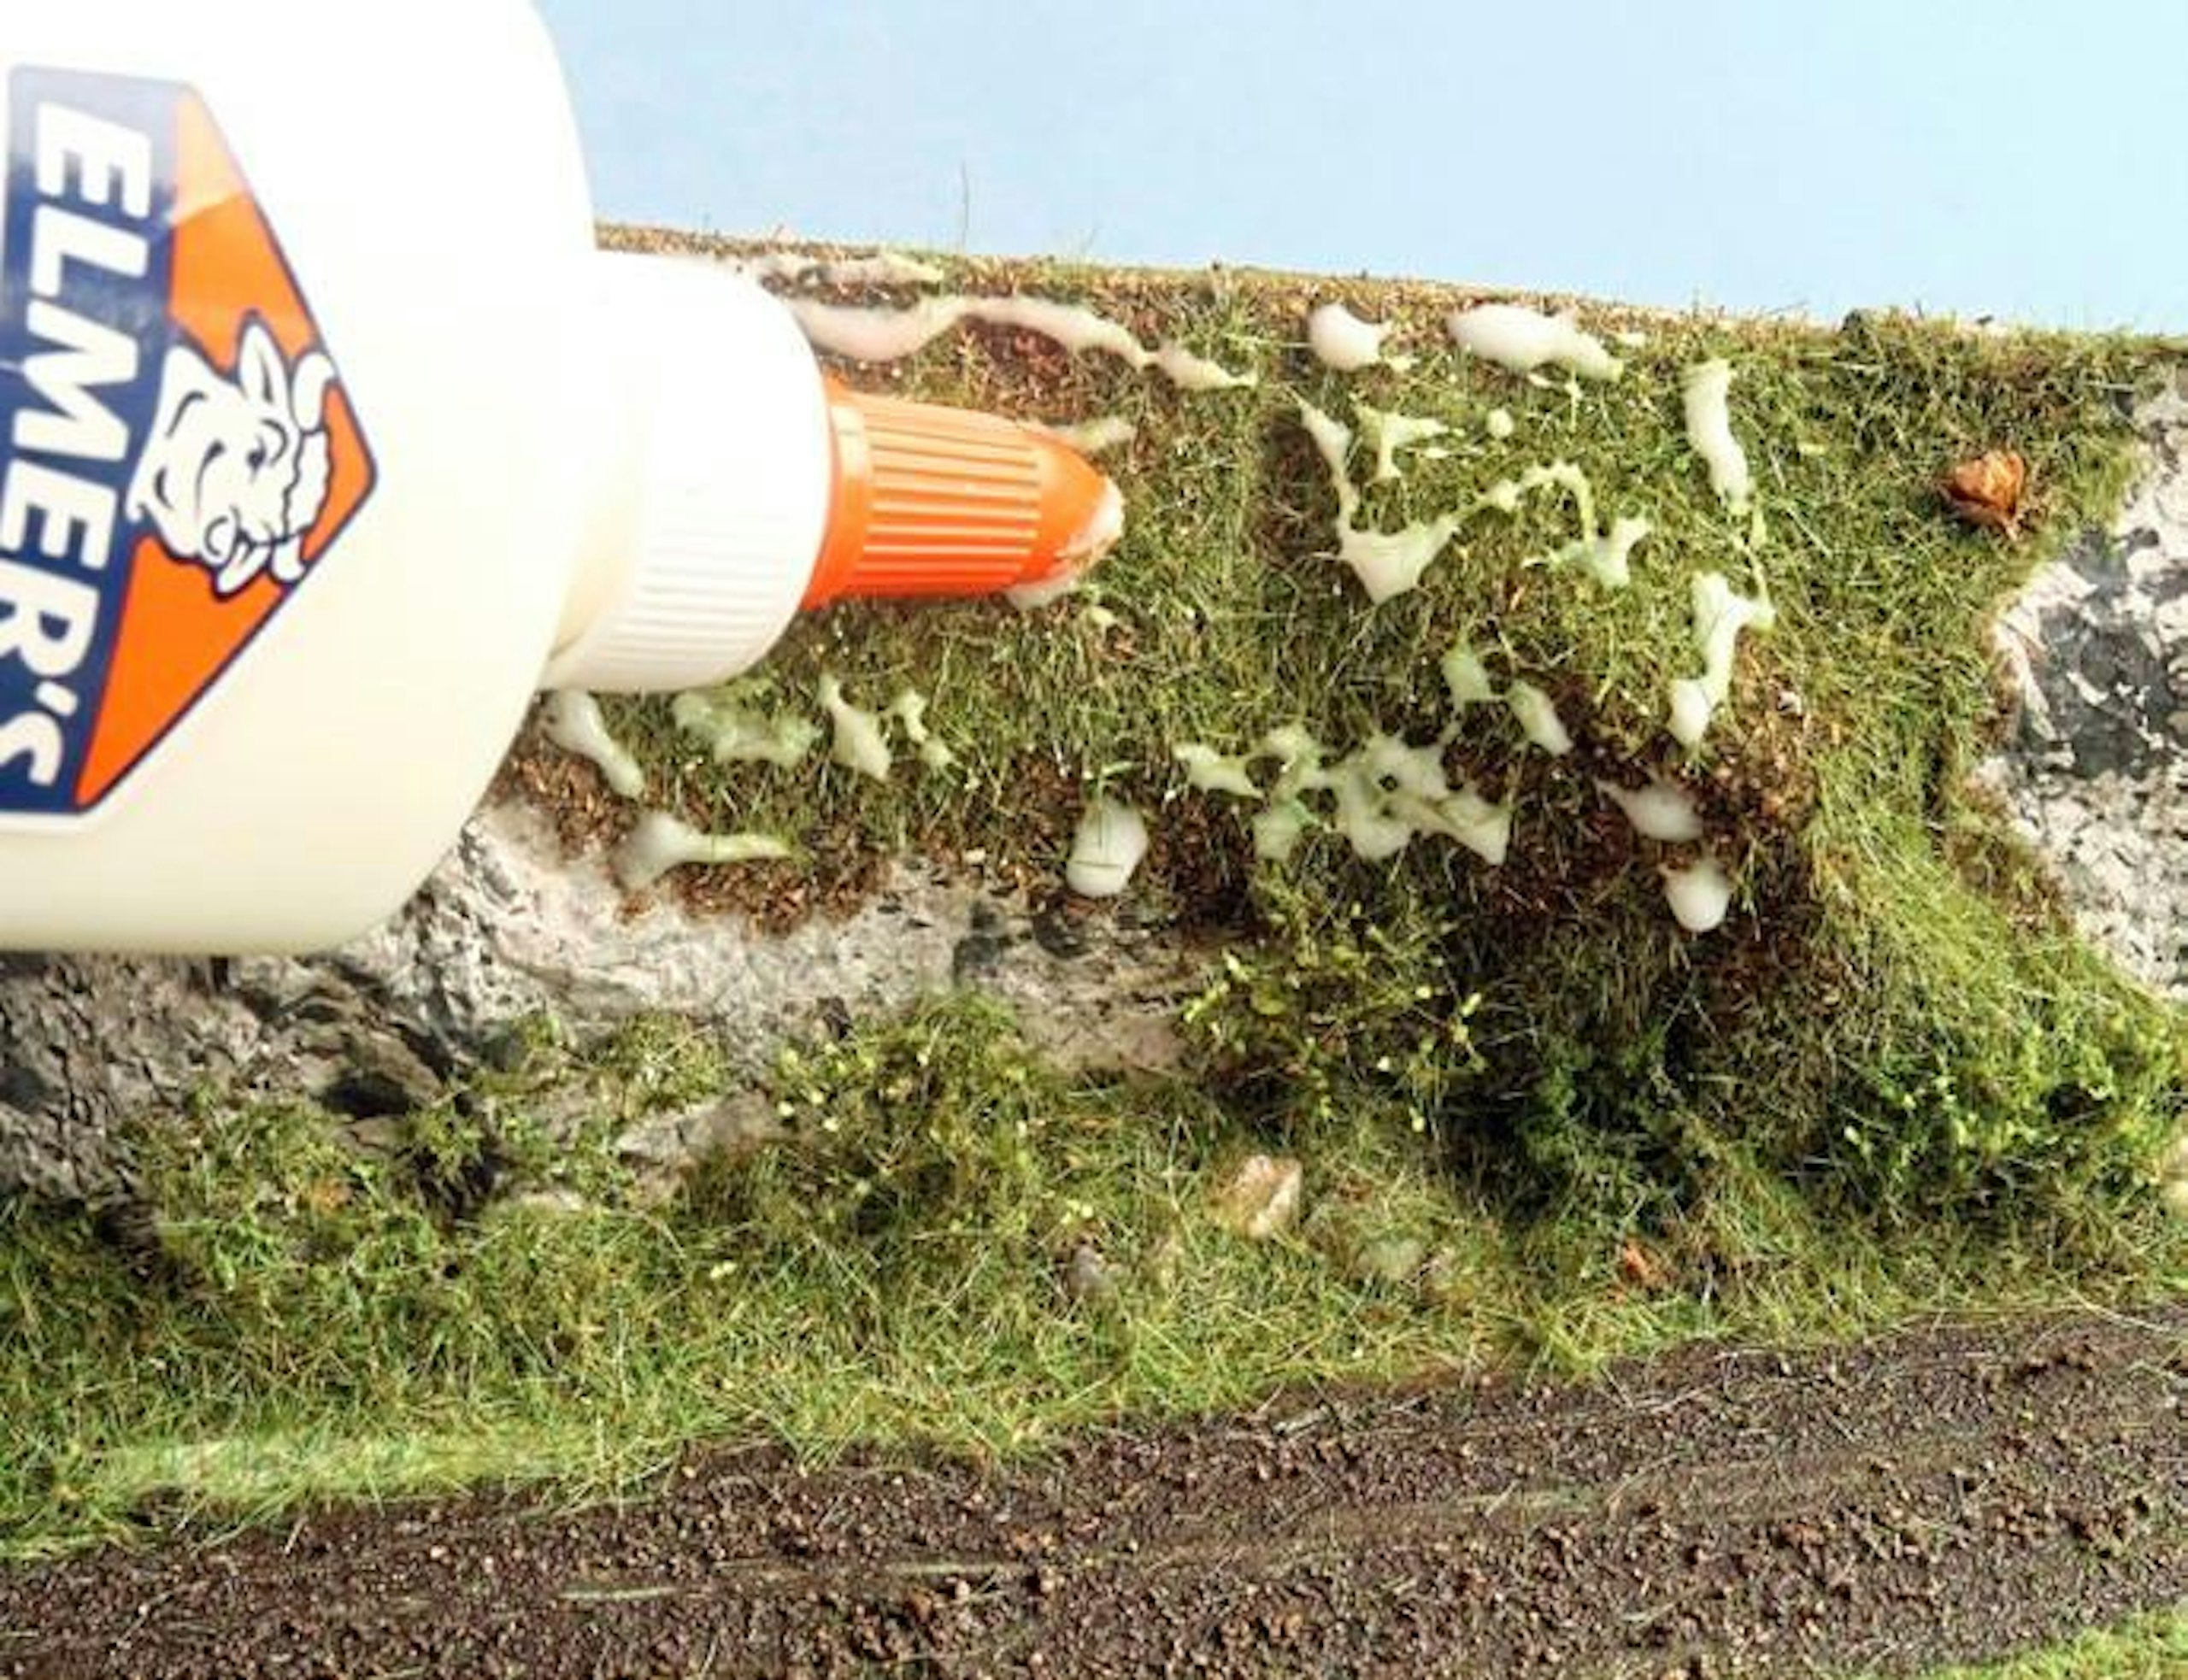
18 The Elmer’s School Glue was applied over the steeper areas of the rear embankment, propping the diorama slightly to allow the glue to stay put rather than dripping downwards.
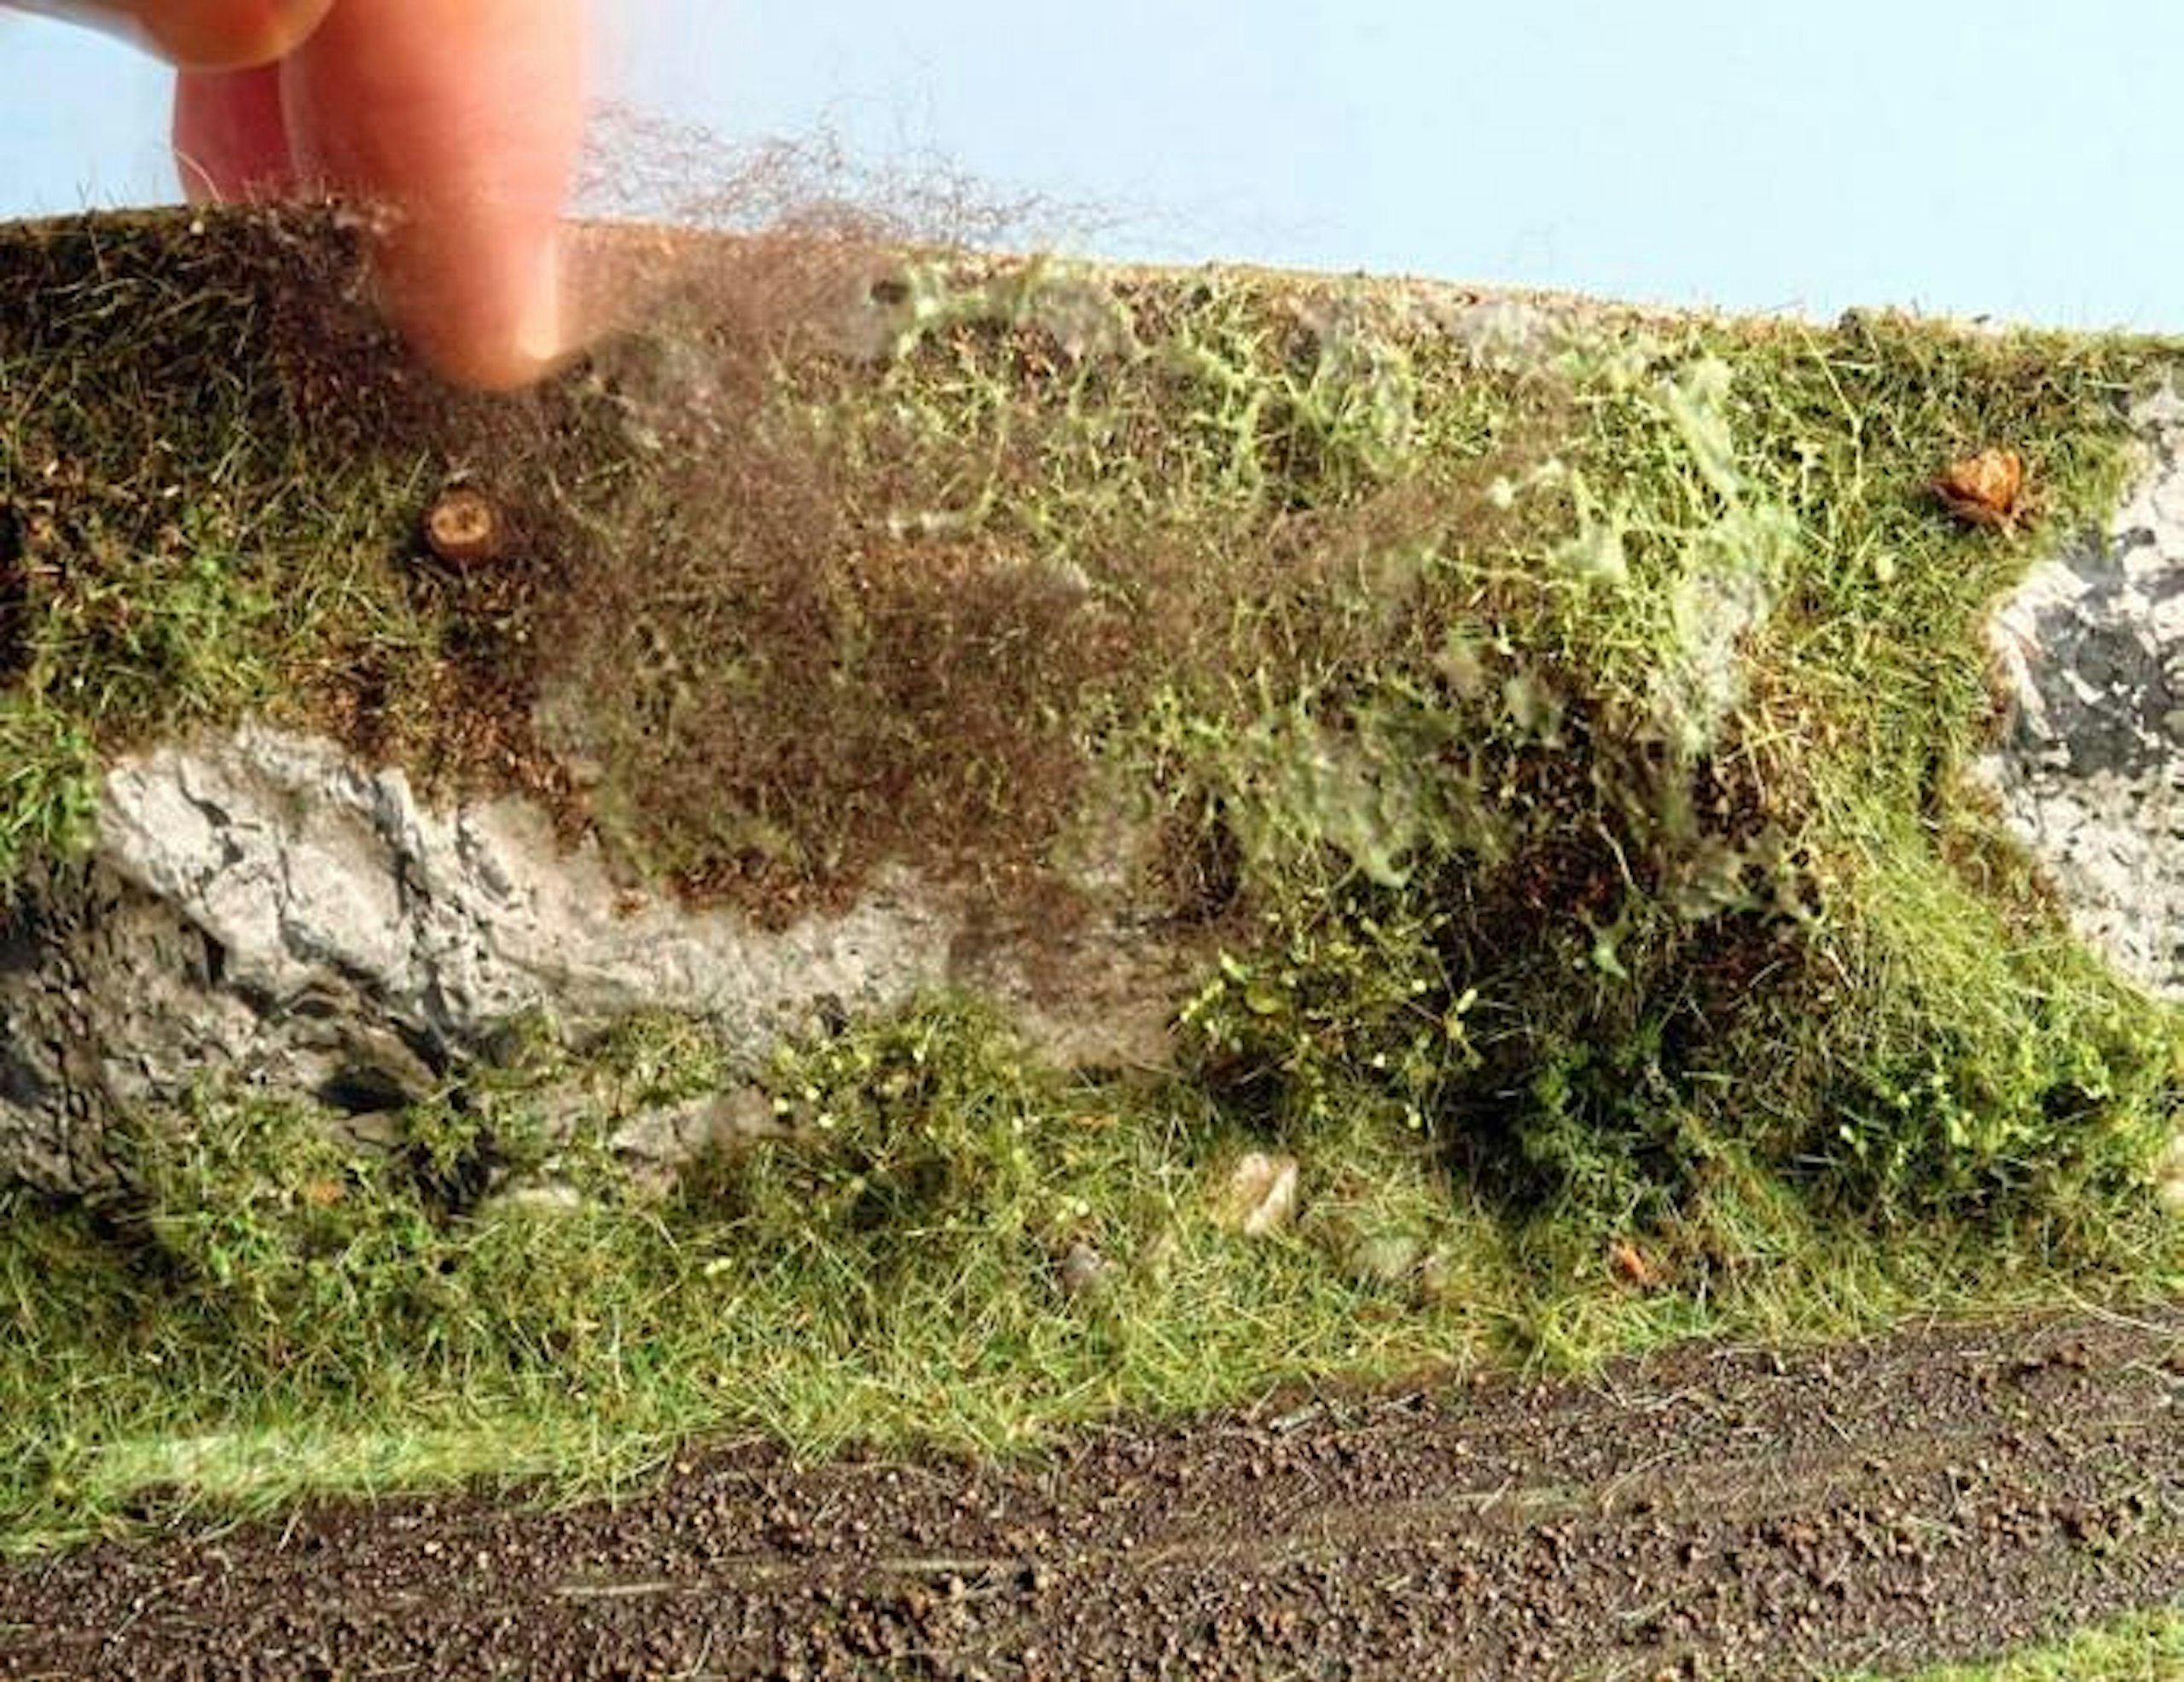
19 Bits of Woodland Scenics brown Poly Fibre were pushed gently into the adhesive, taking care not to press to hard – most of the fibre needs to remain above the surface.
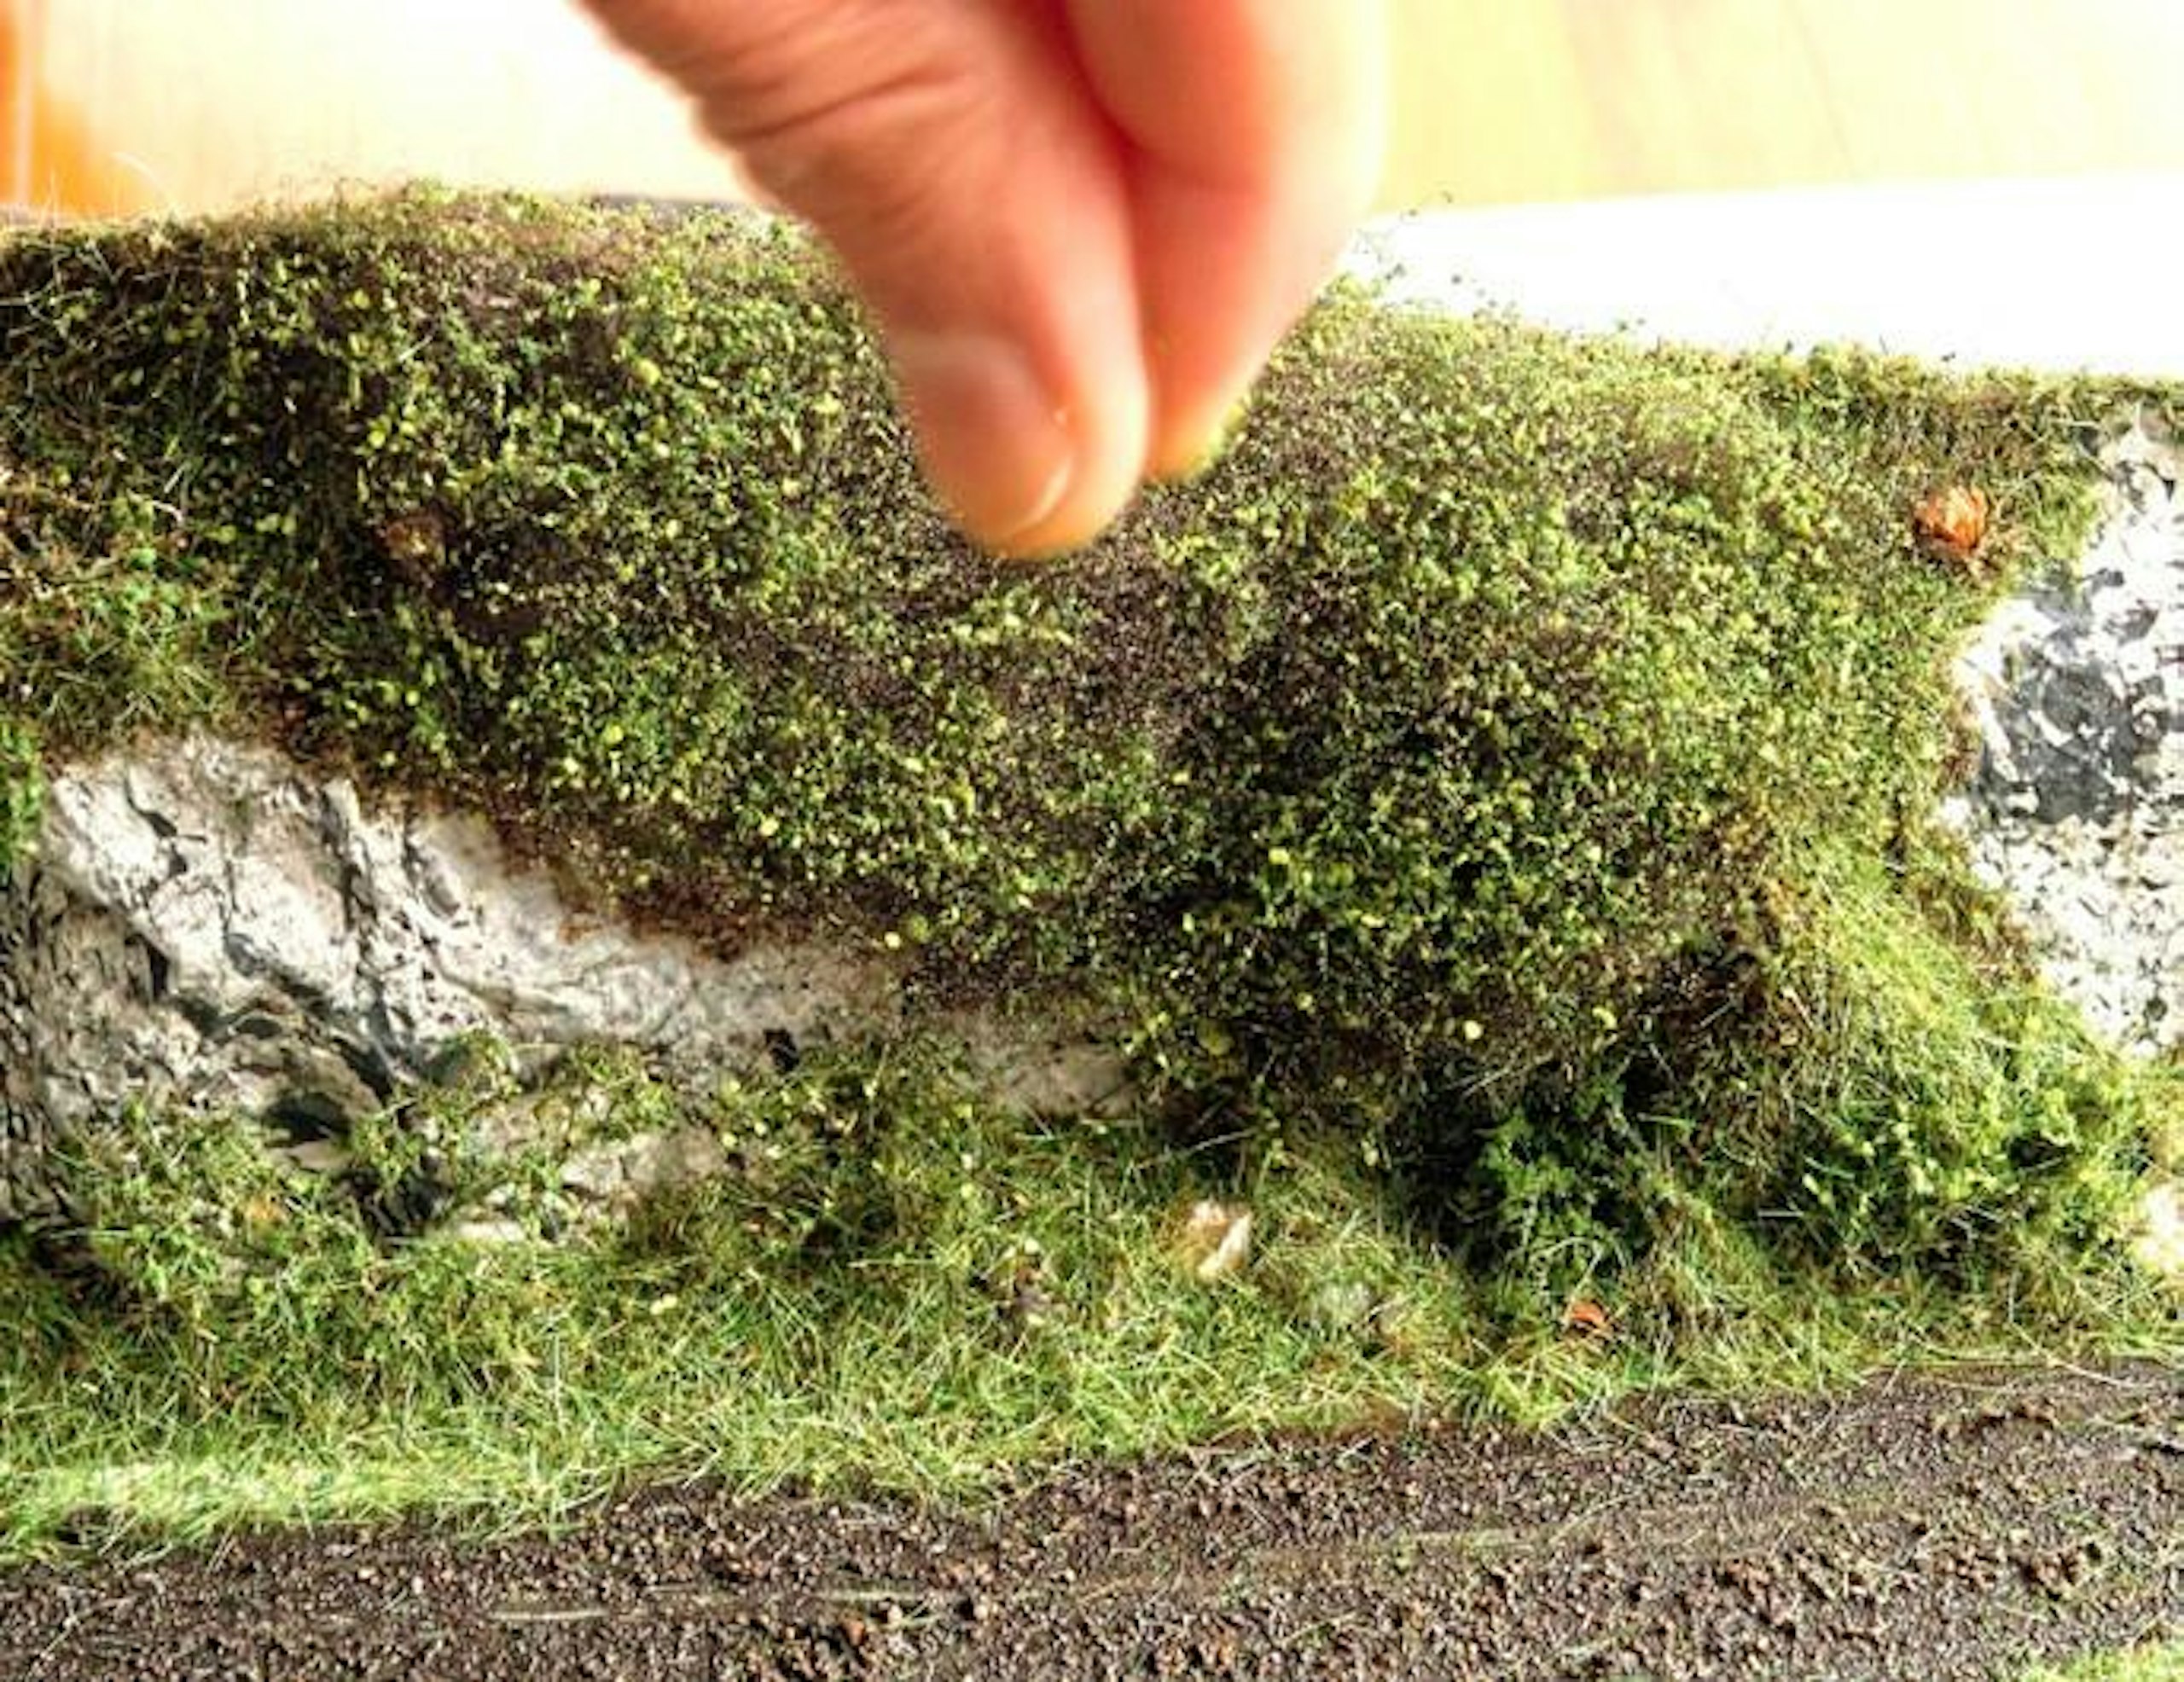
20 After misting the poly fibre with hairspray, I sprinkled over a mix of Woodland Scenics Fine Turf and Noch light green Laub, which gave the appearance of leaves on the vegetation.
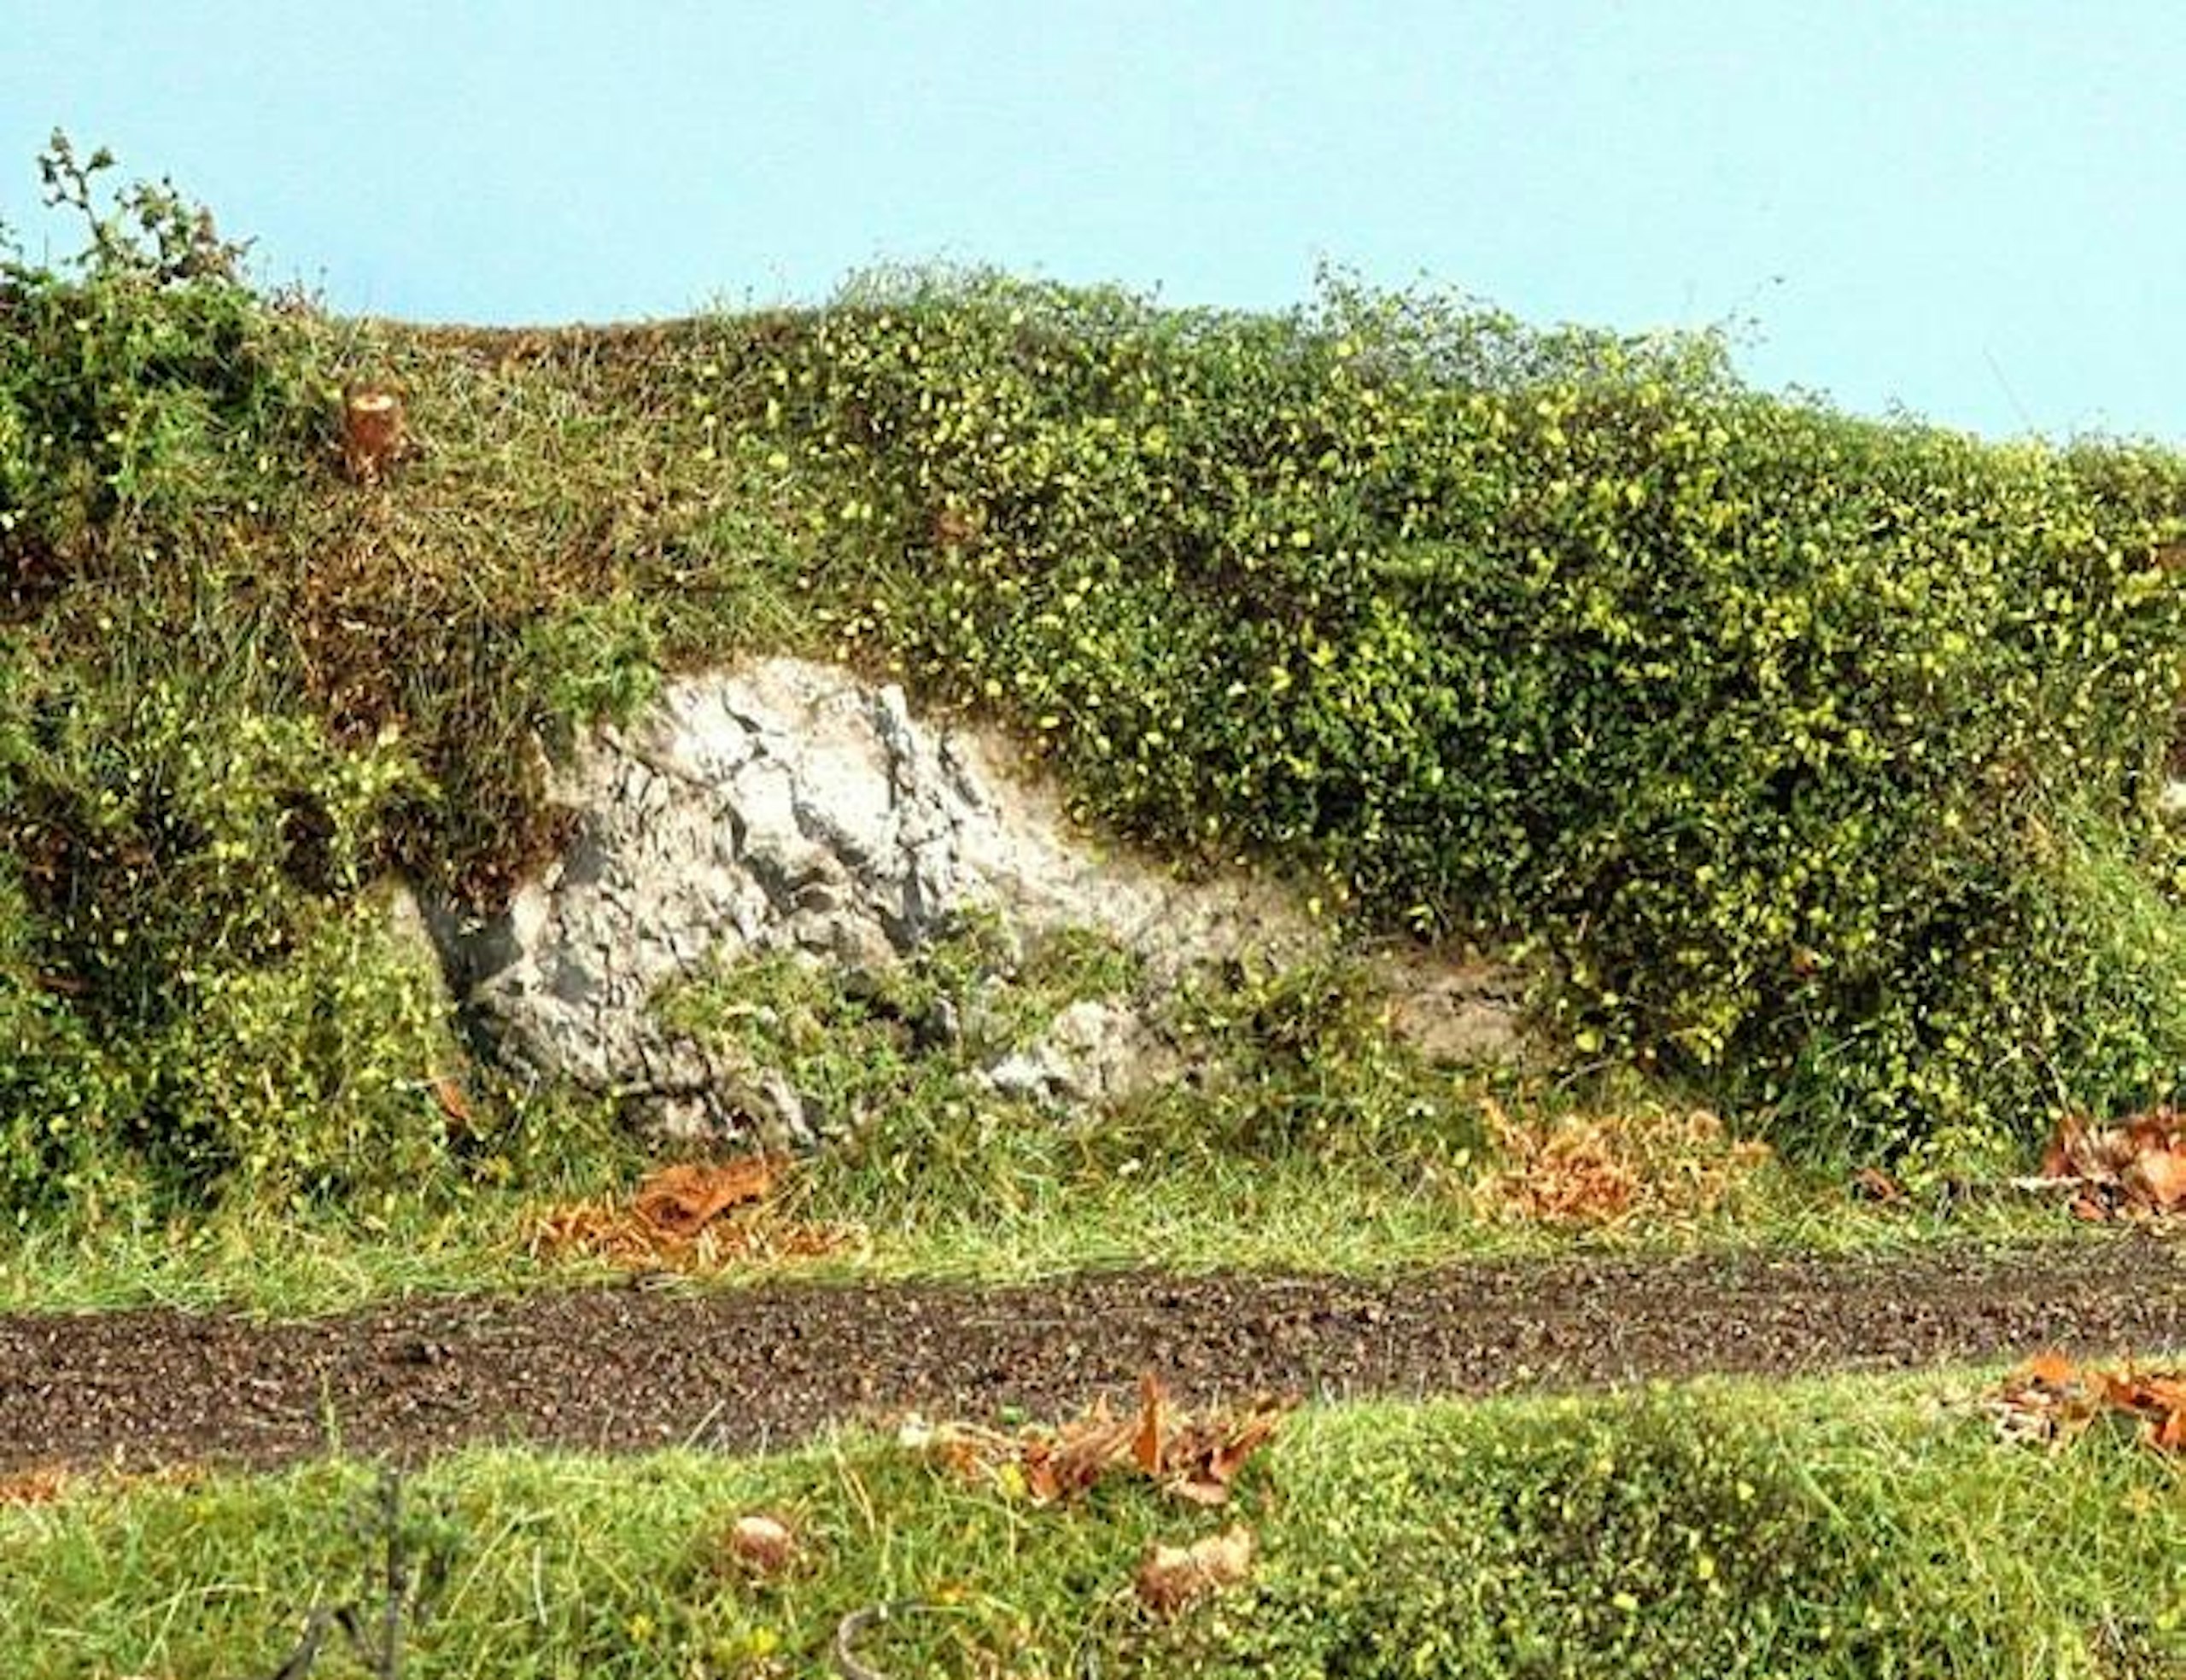
21 More hairspray acts to seal the scatter material in place, and another layer can be added if necessary. The blend of two different shades of scatter produced a natural tonal variation.
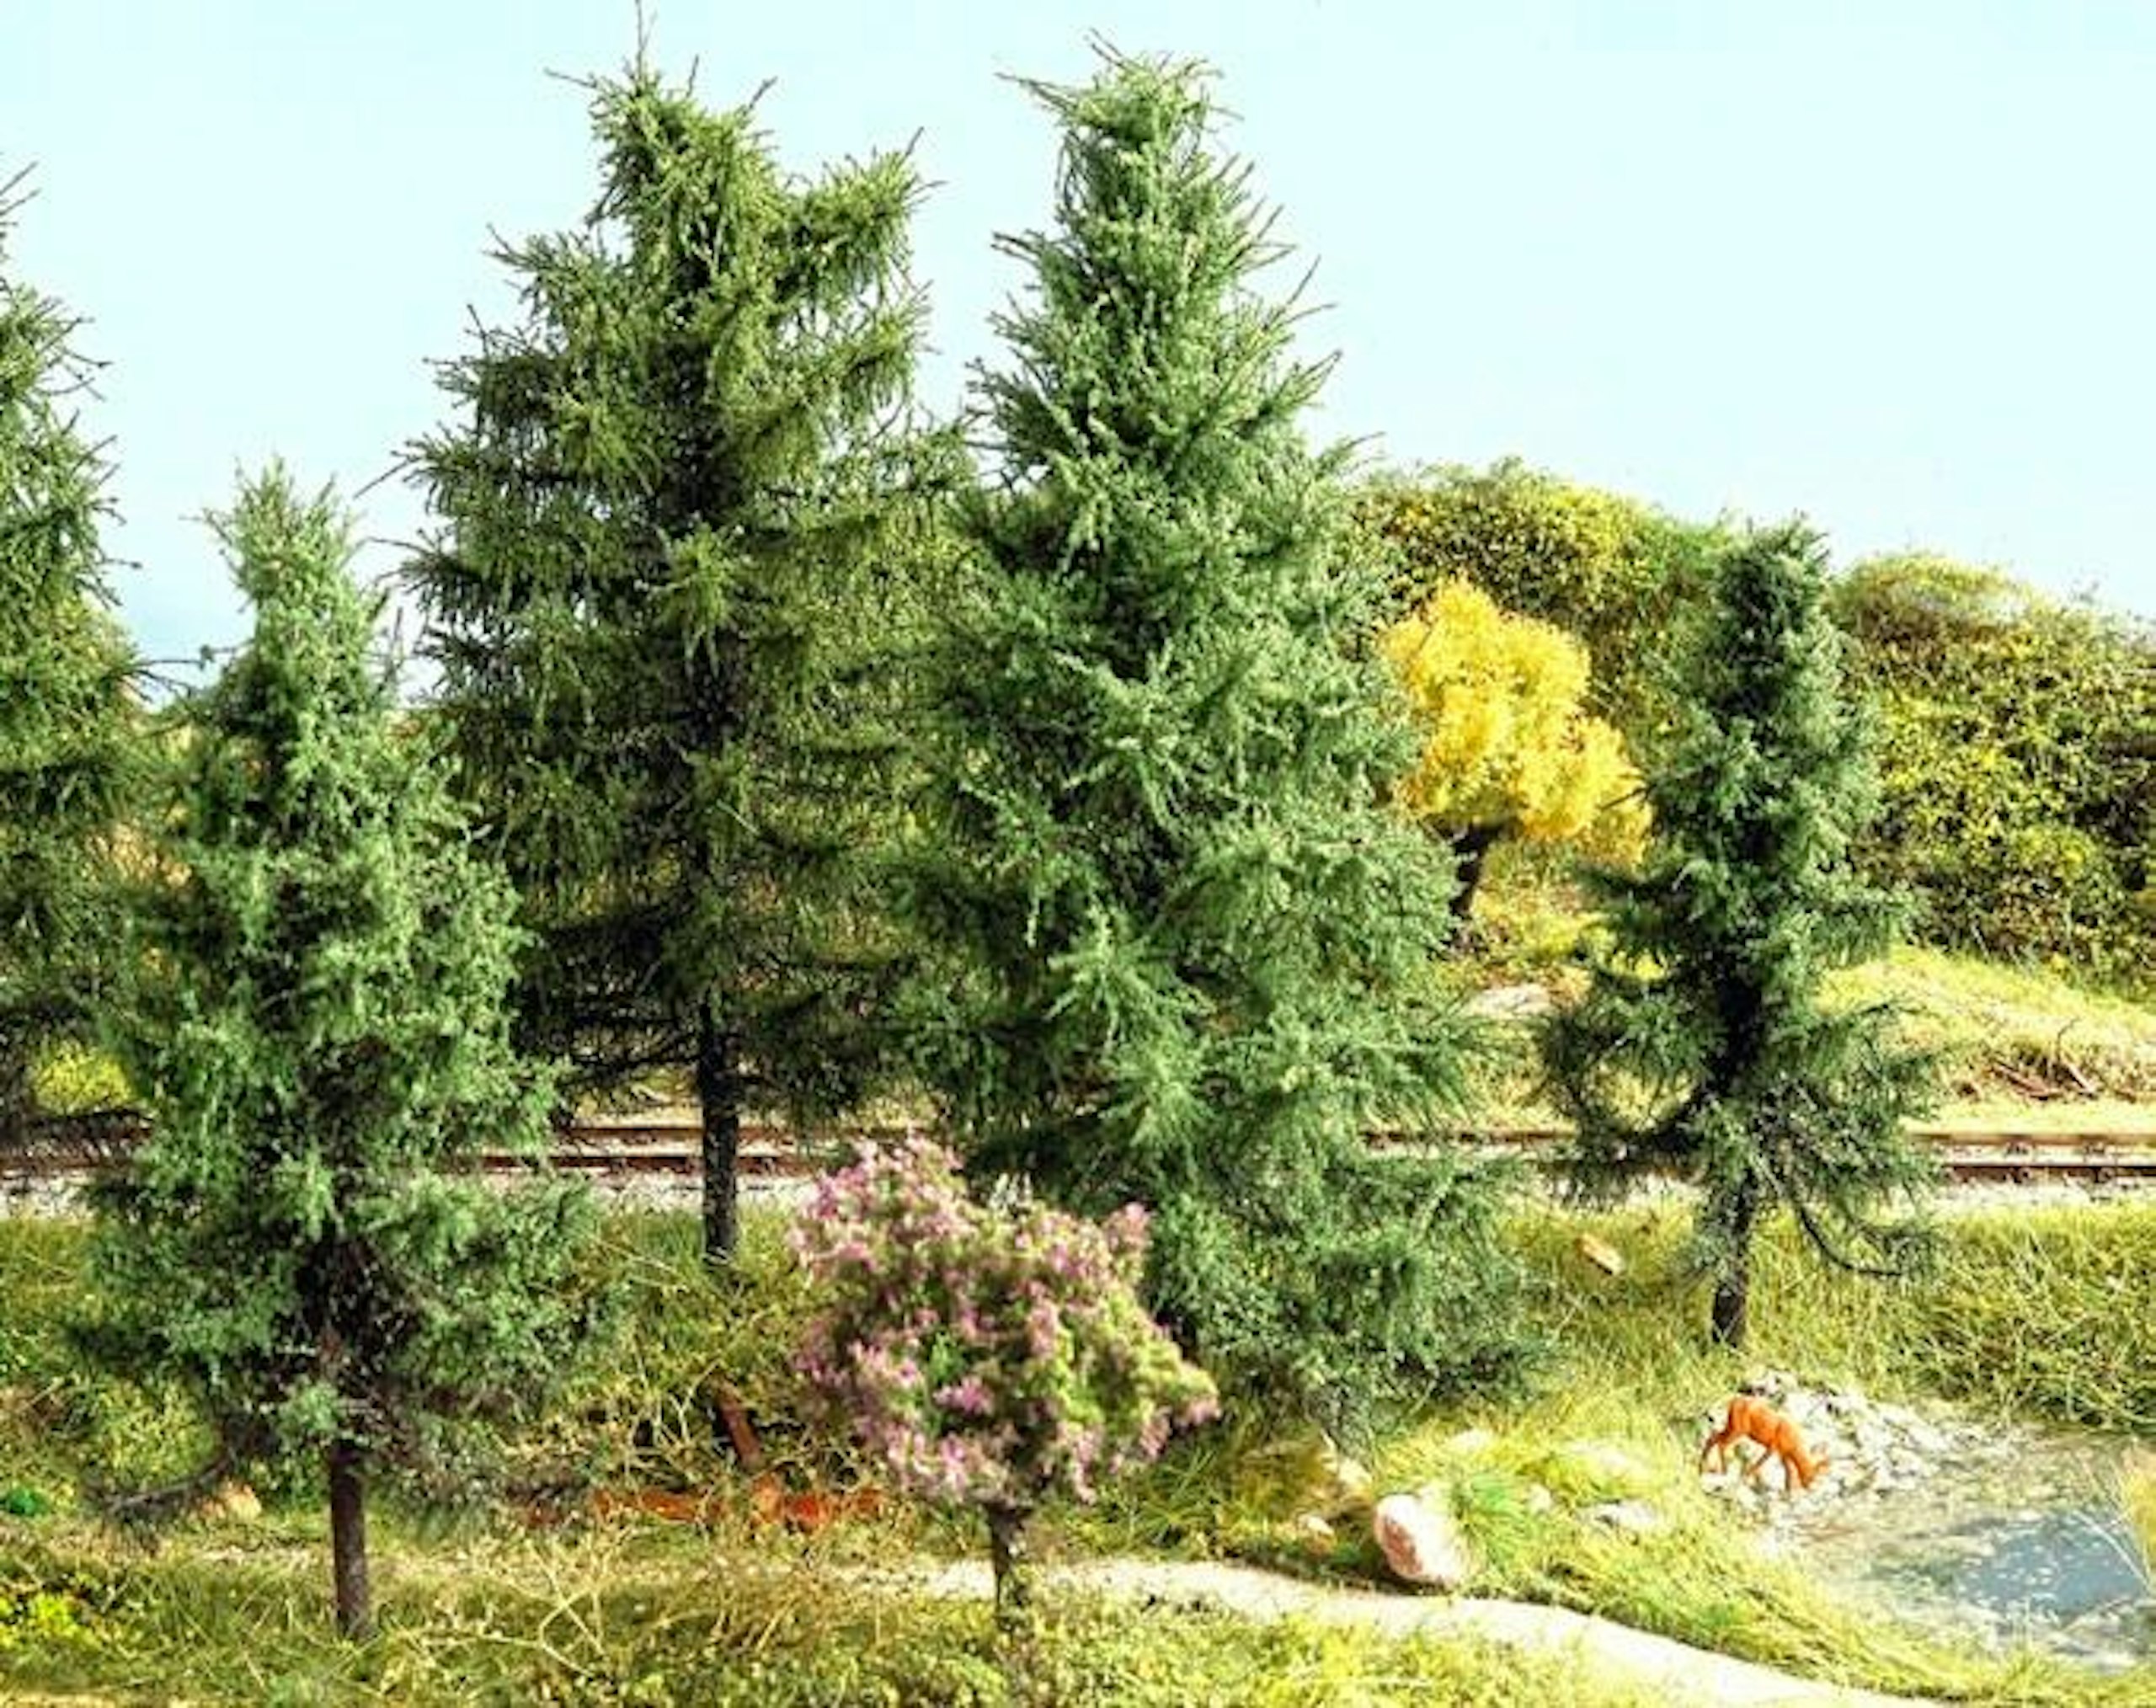
22 I bought trees from the excellent Primo Models range, fixing them into holes punched into the baseboard. I arranged them to allow trains to be visible in the centre of the scene.
Want to know more?
Certain aspects of this diorama have already featured in Model Rail’s Workbench pages:
♦ Making the pond: July 2023
♦ The forestry track: Summer 2023
♦ The footpath: March 2024
♦ The rockfaces: May 2023
♦ The felled trees: February 2023
Subscribe to a Model Rail Print+ Subscription today and you'll get instant digital access, PLUS FREE UK delivery so you will never miss an issue.