
Workbench
Always happy to try new materials, Peter Marriott experiments with an interesting range of modelling sheets that hail from Belgium.
PHOTOGRAPHY: PETER MARRIOTT

While visiting a model railway show in Belgium last September, I came across several products with great potential for use on modern image, UK-outline layouts. One product, produced by Modeltex, really caught my eye.
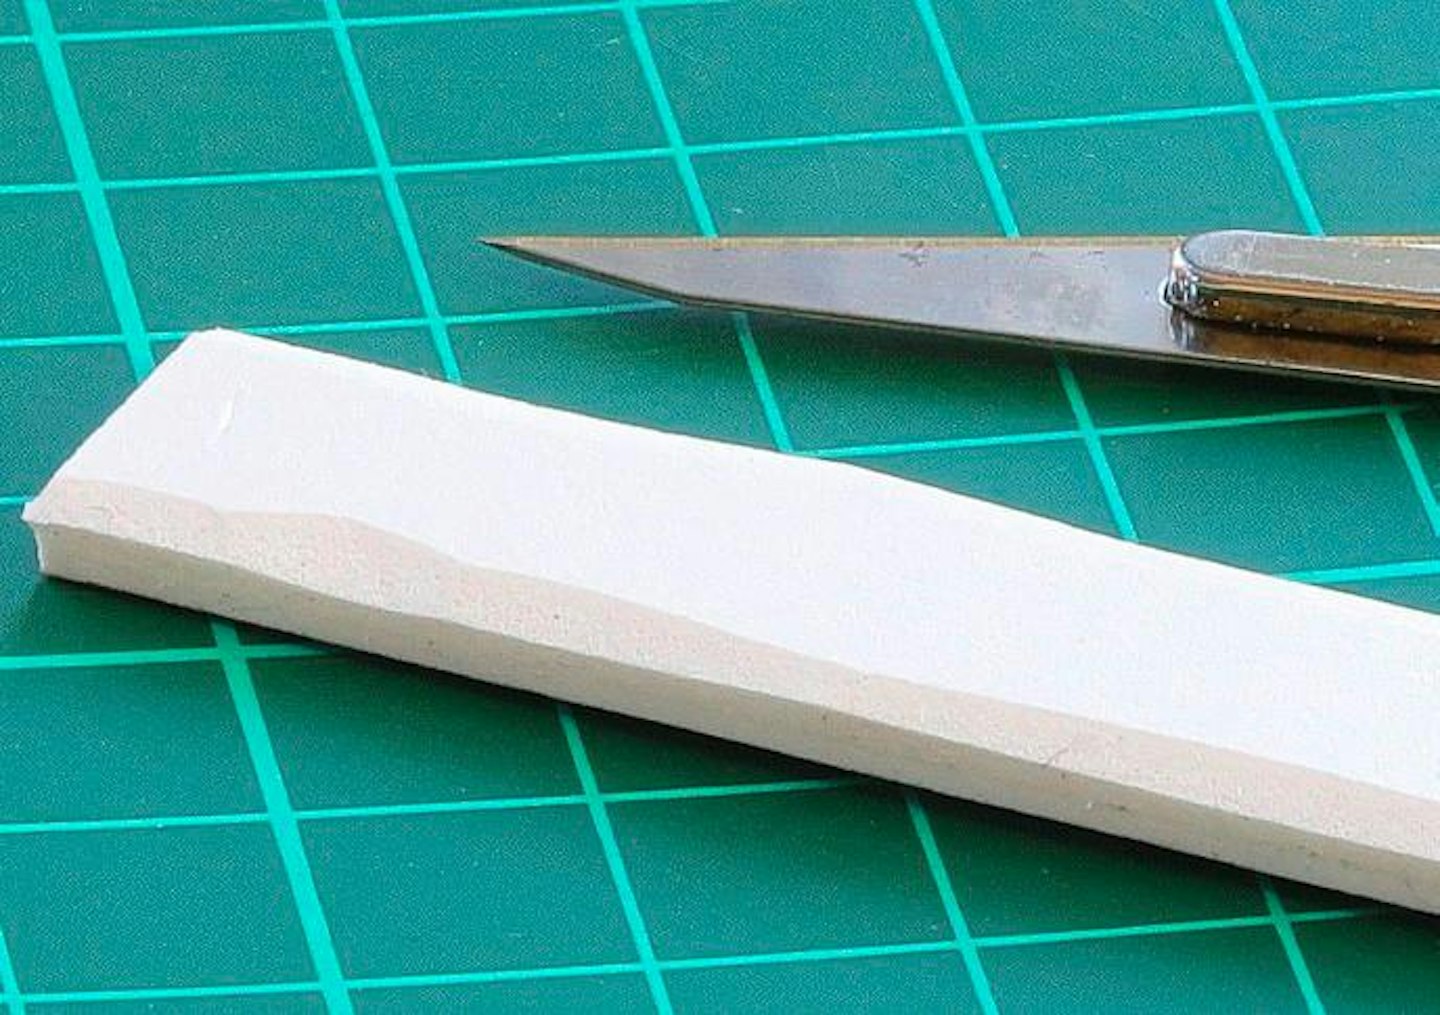
Consisting of foamboard coated with printed surface overlays, the sheets are available in A3 and A4 sizes, offering realistic materials to mimic concrete retaining walls and all manner of ‘panelled’ concrete ground coverings, some ostensibly aimed at airfield scenes, plus larger panels suitable for internal and external areas of hardstanding.
There are also asphalt and roads (with lane markings). Just the thing for a contemporary depot, goods terminal, warehouse or even a dock scene.
I opted for the Stelcon New pack. Stelcon is a heavy-duty form of concrete base commonly found in industrial locations, especially where heavy equipment is in operation. There’s also an option for ‘used’ Stelcon, which features a more weatherworn appearance.
The printed coatings look convincing, with varying degrees of subtle – or extensive – weathering. Some also feature areas of graffiti for gritty, urban environments. They feature a waterproof finish, so they’re less likely to smudge upon contact with waterbased paints and adhesives.
The basic sheets are 3mm thick and they’re designed for ‘N’ gauge or ‘HO’/’OO’ layouts. Having chatted to the Modeltex team, there’s a good chance that these sheets will be offered in other scales in the future.
While the printed detail looks convincing, thanks to the use of foamboard as a backing material, it’s possible to introduce extra surface texture using a variety of tools. The sheets possess a slightly satin finish, but once cut and installed, they can be toned down easily with a spray of matt varnish from an aerosol, which will also seal in any weathering (dry pigments would be worth trialing) or painted areas, while also offering a greater protection against UV light and subsequent fading.
I am pleased with the results of my first test of the Modeltex material which, incidentally, can be ordered online and shipped to the UK.
What you will need
TOOLS
◆ Craft knife and spare blades
◆ Cutting board
◆ Steel rule
◆ Paintbrushes
◆ Clay shaping tool
◆ Wooden cocktail sticks
STEP BY STEP
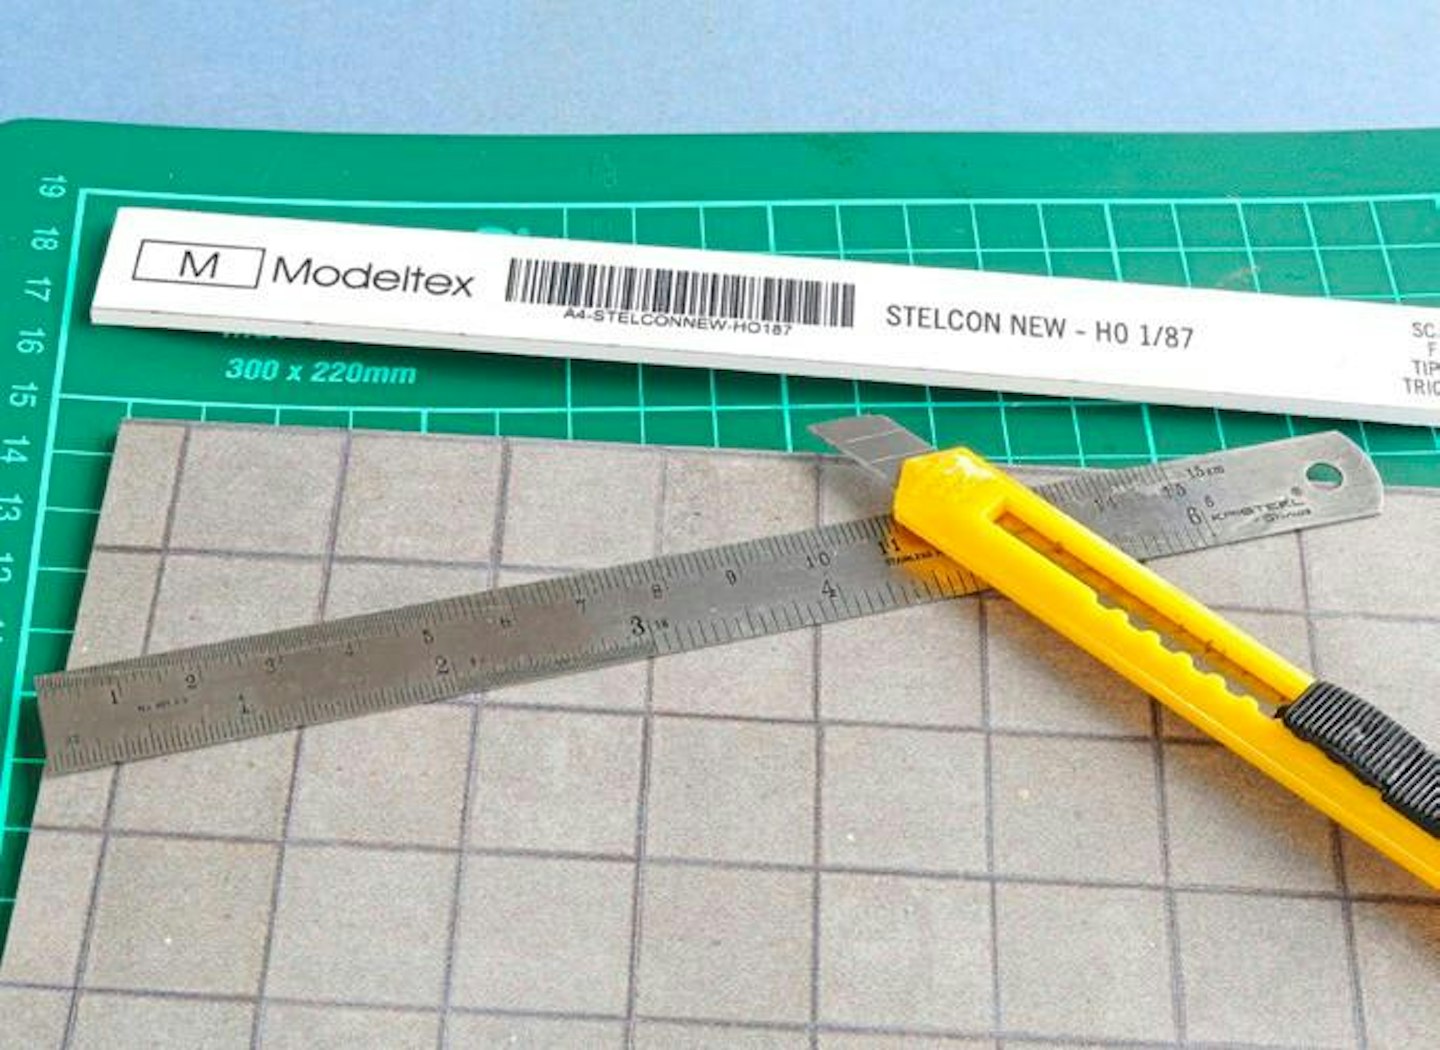
1 The first step is to cut off the header from the Modeltex sheet, using a sharp craft knife, steel ruler and self-sealing cutting board. I found it best to cut gradually through the thick material, over several light strokes. A fresh blade helps.
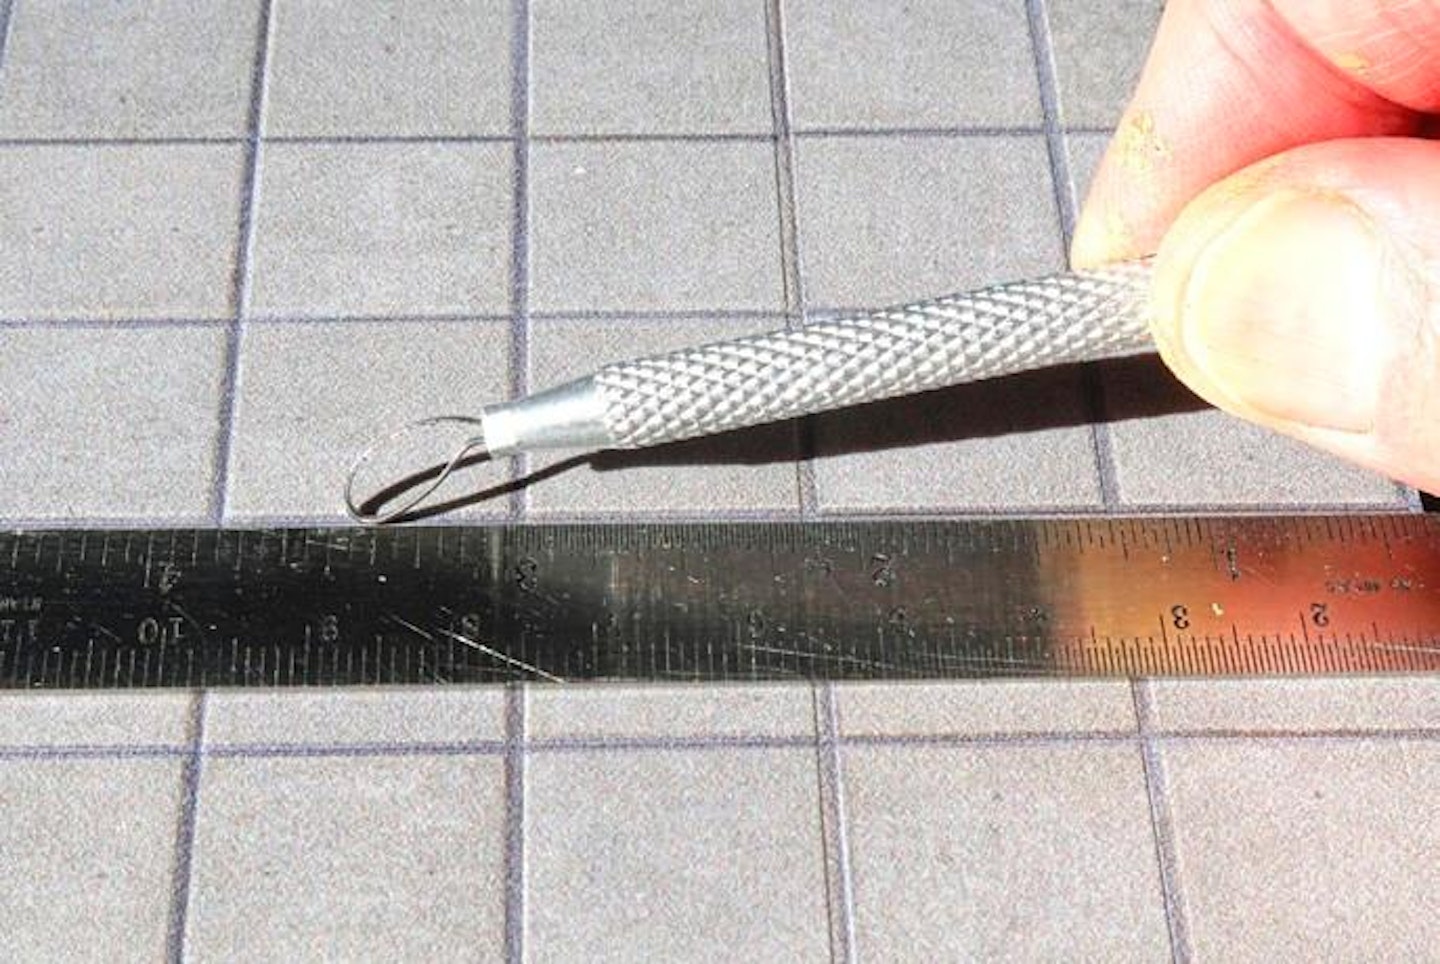
2 Due to the nature of the foamboard backing, the material will retain any impressions pushed into it. A steel clay cutting tool or a wooden stick can be useful for creating indentations into the top surface, especially recessed seams between the concrete panels, guided by a steel rule.
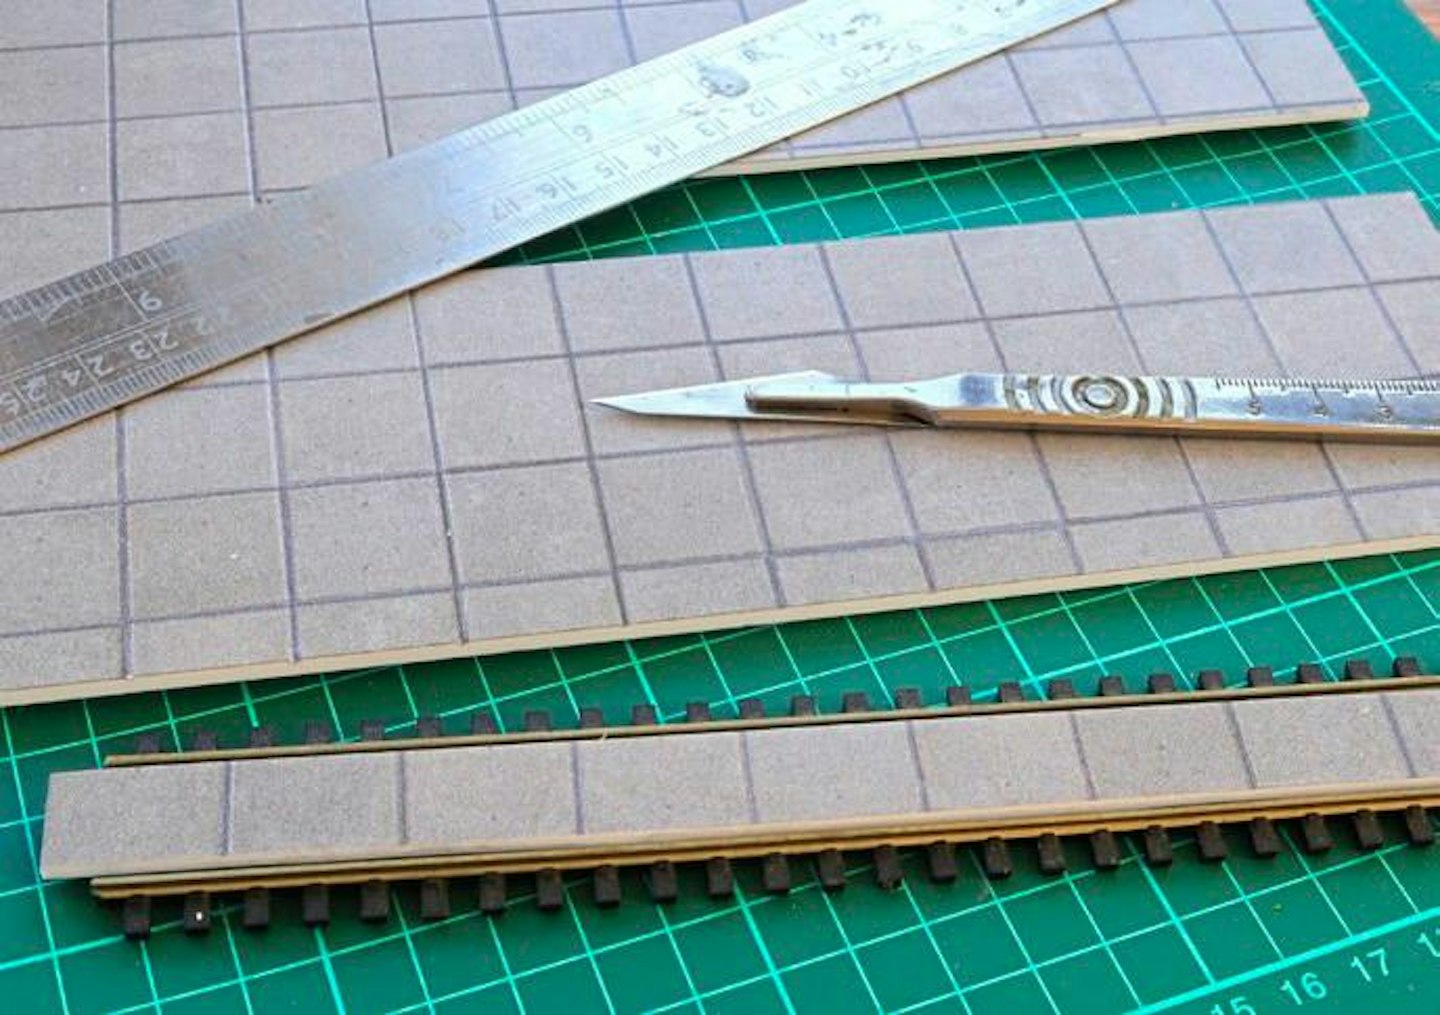
3 For my diorama, I wanted to feature a railway line running through the concrete apron, so I cut a channel into the material to match the ‘OO’ gauge track. Again, I cut gradually through the board to achieve a clean, accurate cut.
4 To allow the in-fill strip to sit between the rails, I chamfered the underside of each edge to give clearance for the moulded rail chairs and fasteners. The width of the infill also had to allow sufficient clearance for the wheel flanges of rolling stock.
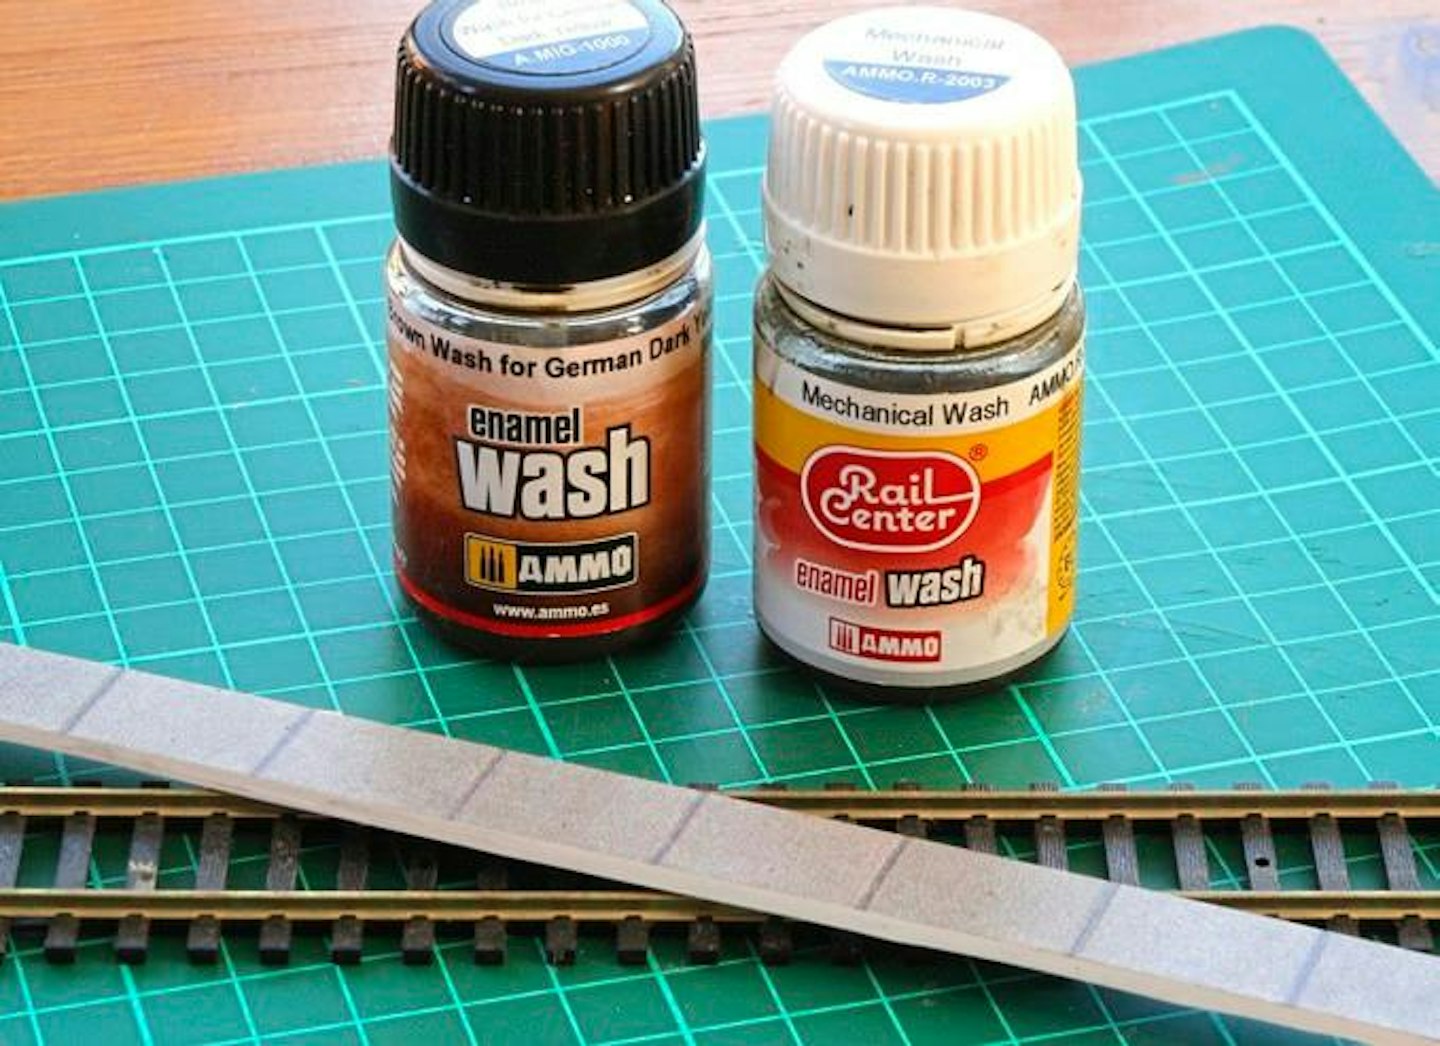
5 To colour the white, exposed edges of the Modeltex board, I used a pair of grey and brown weathering wash shades I had to hand, which did the trick well. They were brushed along the edge of the foam and allowed to dry.
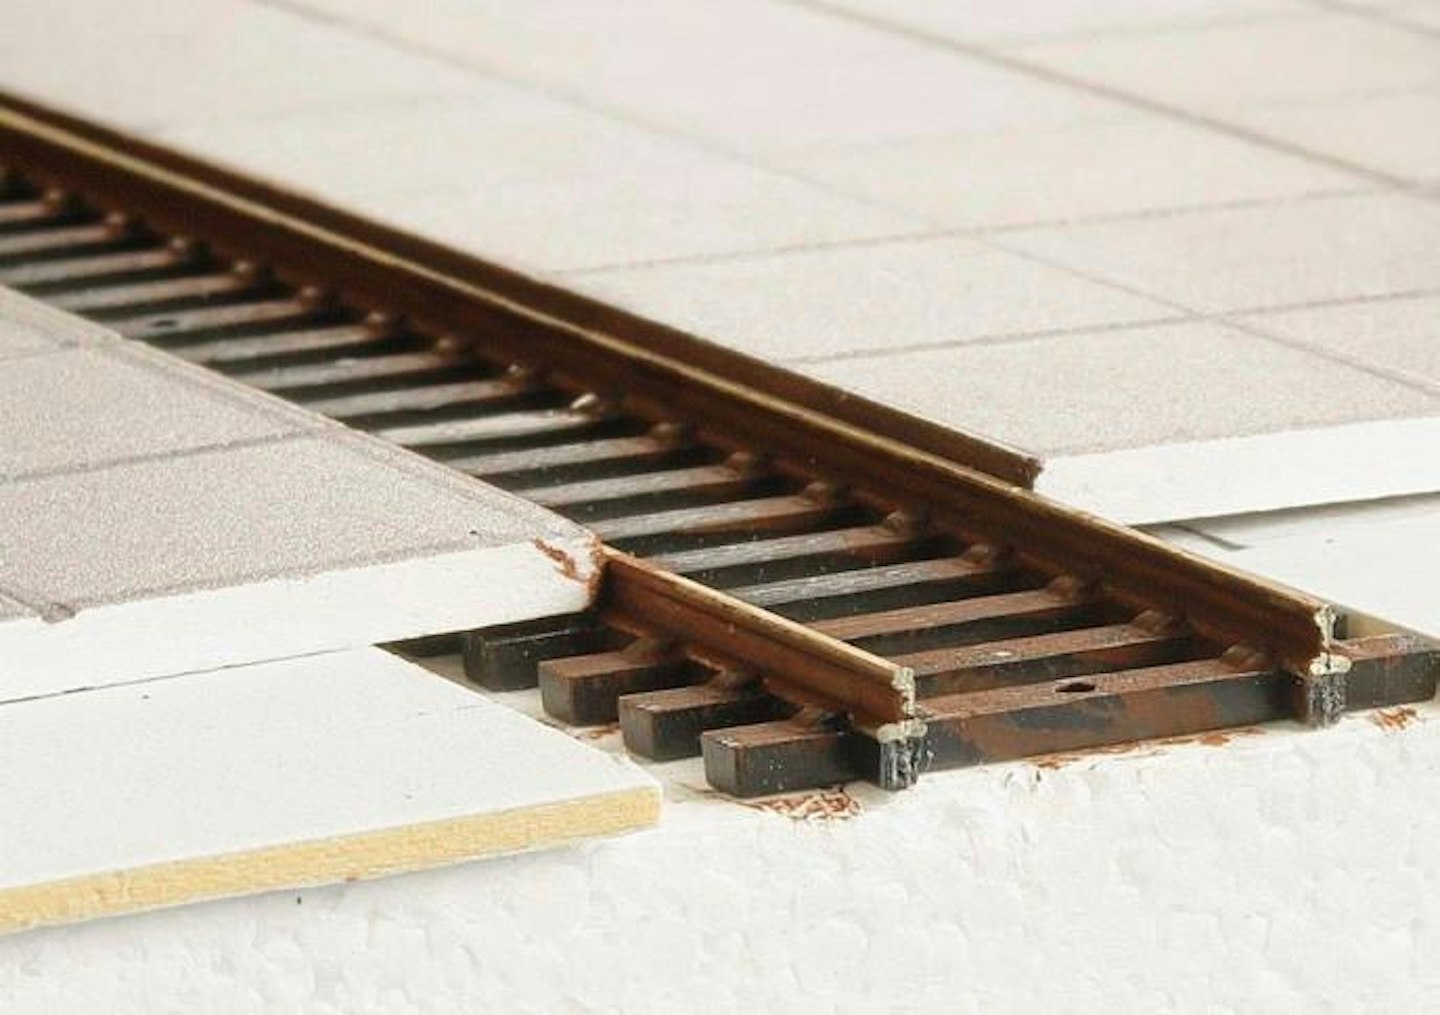
6 It took time to get the Modeltex board set at the right height in relation to the rails, which need to sit slightly proud of the surface to allow them to be cleaned. Eventually, I settled on mounting card fillets.
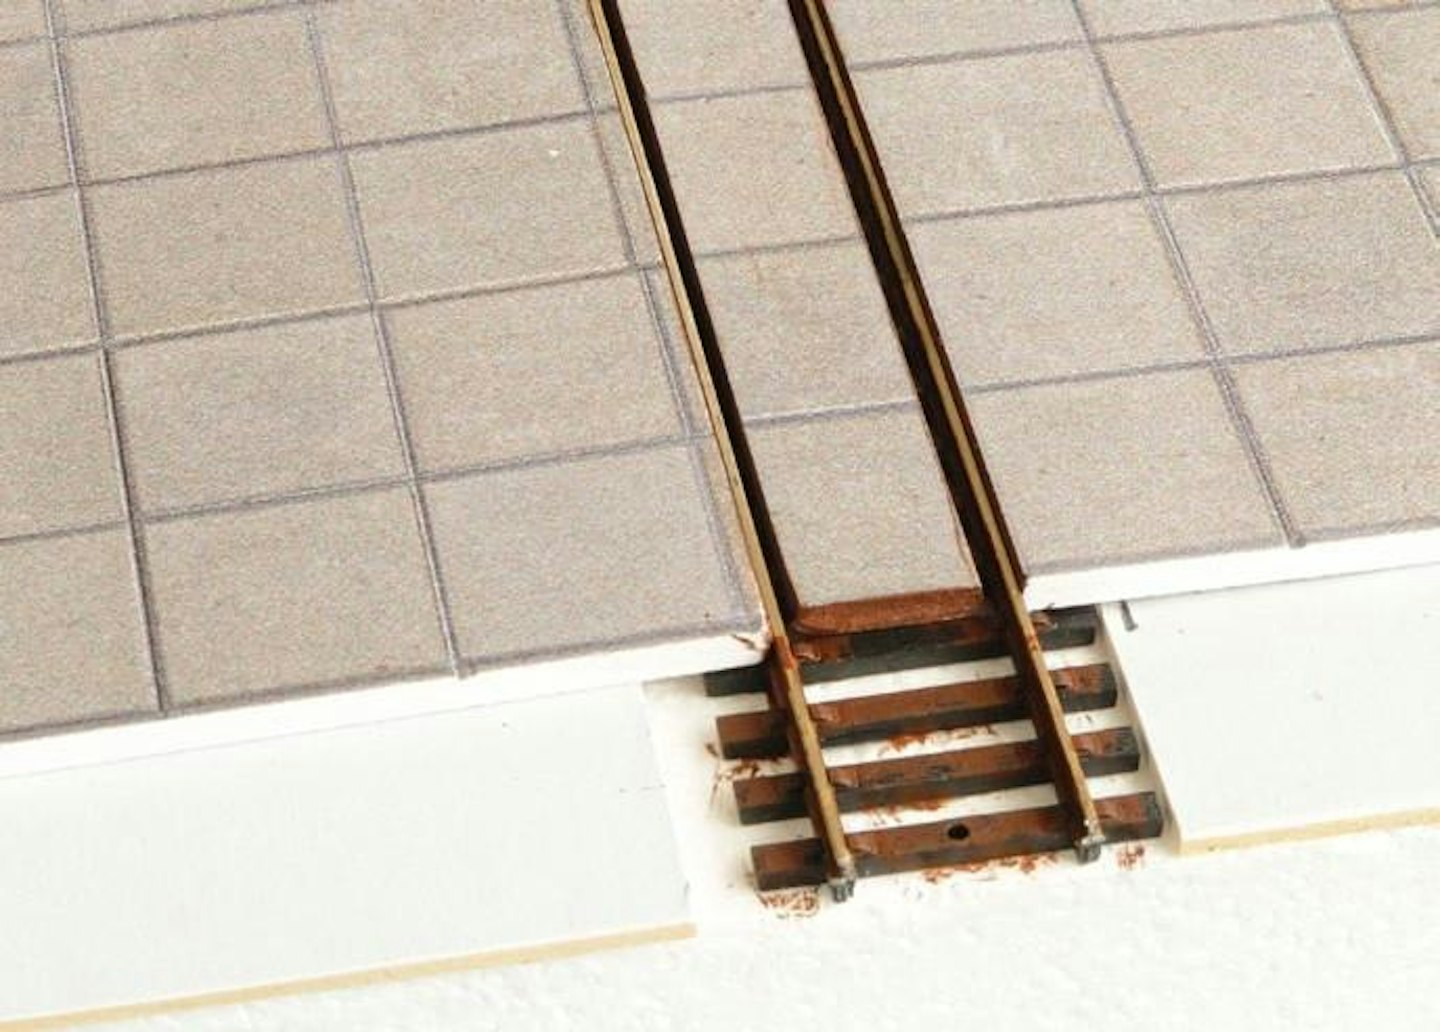
7 Woodland Scenics Scenic Glue was used to fix the Modeltex and card in place, although most PVA formulas will be suitable. The infill strips were added too, ensuring an even gap to the rail on each side and double-checking wheel clearance.

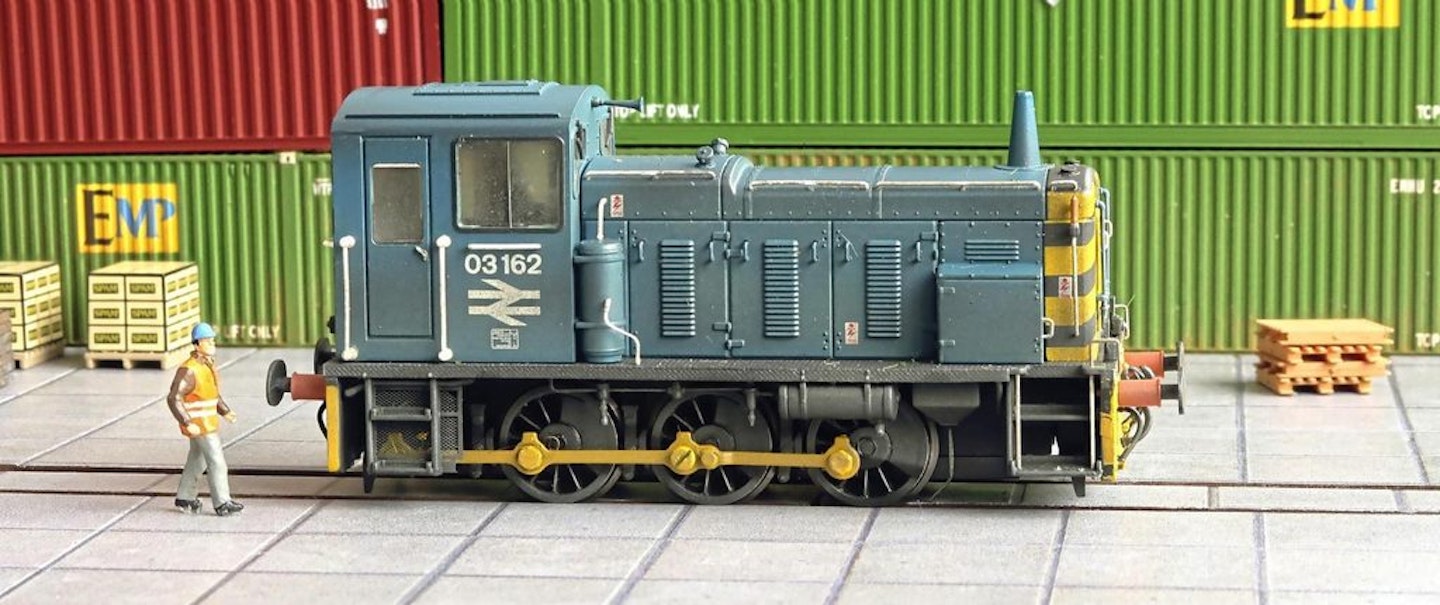
8 Here’s a finished diorama. Adding imprints into the Modeltex sheets gives the surface more effective relief, and some weathering alongside and between the rails adds extra realism. The concrete retaining walls are also formed from Modeltex sheets.

Each issue of Model Rail covers every stage of modelling, from buying your first model train set right through to museum standard fine-scale modelling. Find inspiration for your next project with our helpful tips, advice and in-depth detail on model trains and layouts.
Choose the right subscription for you and get instant digital access to the latest issue.